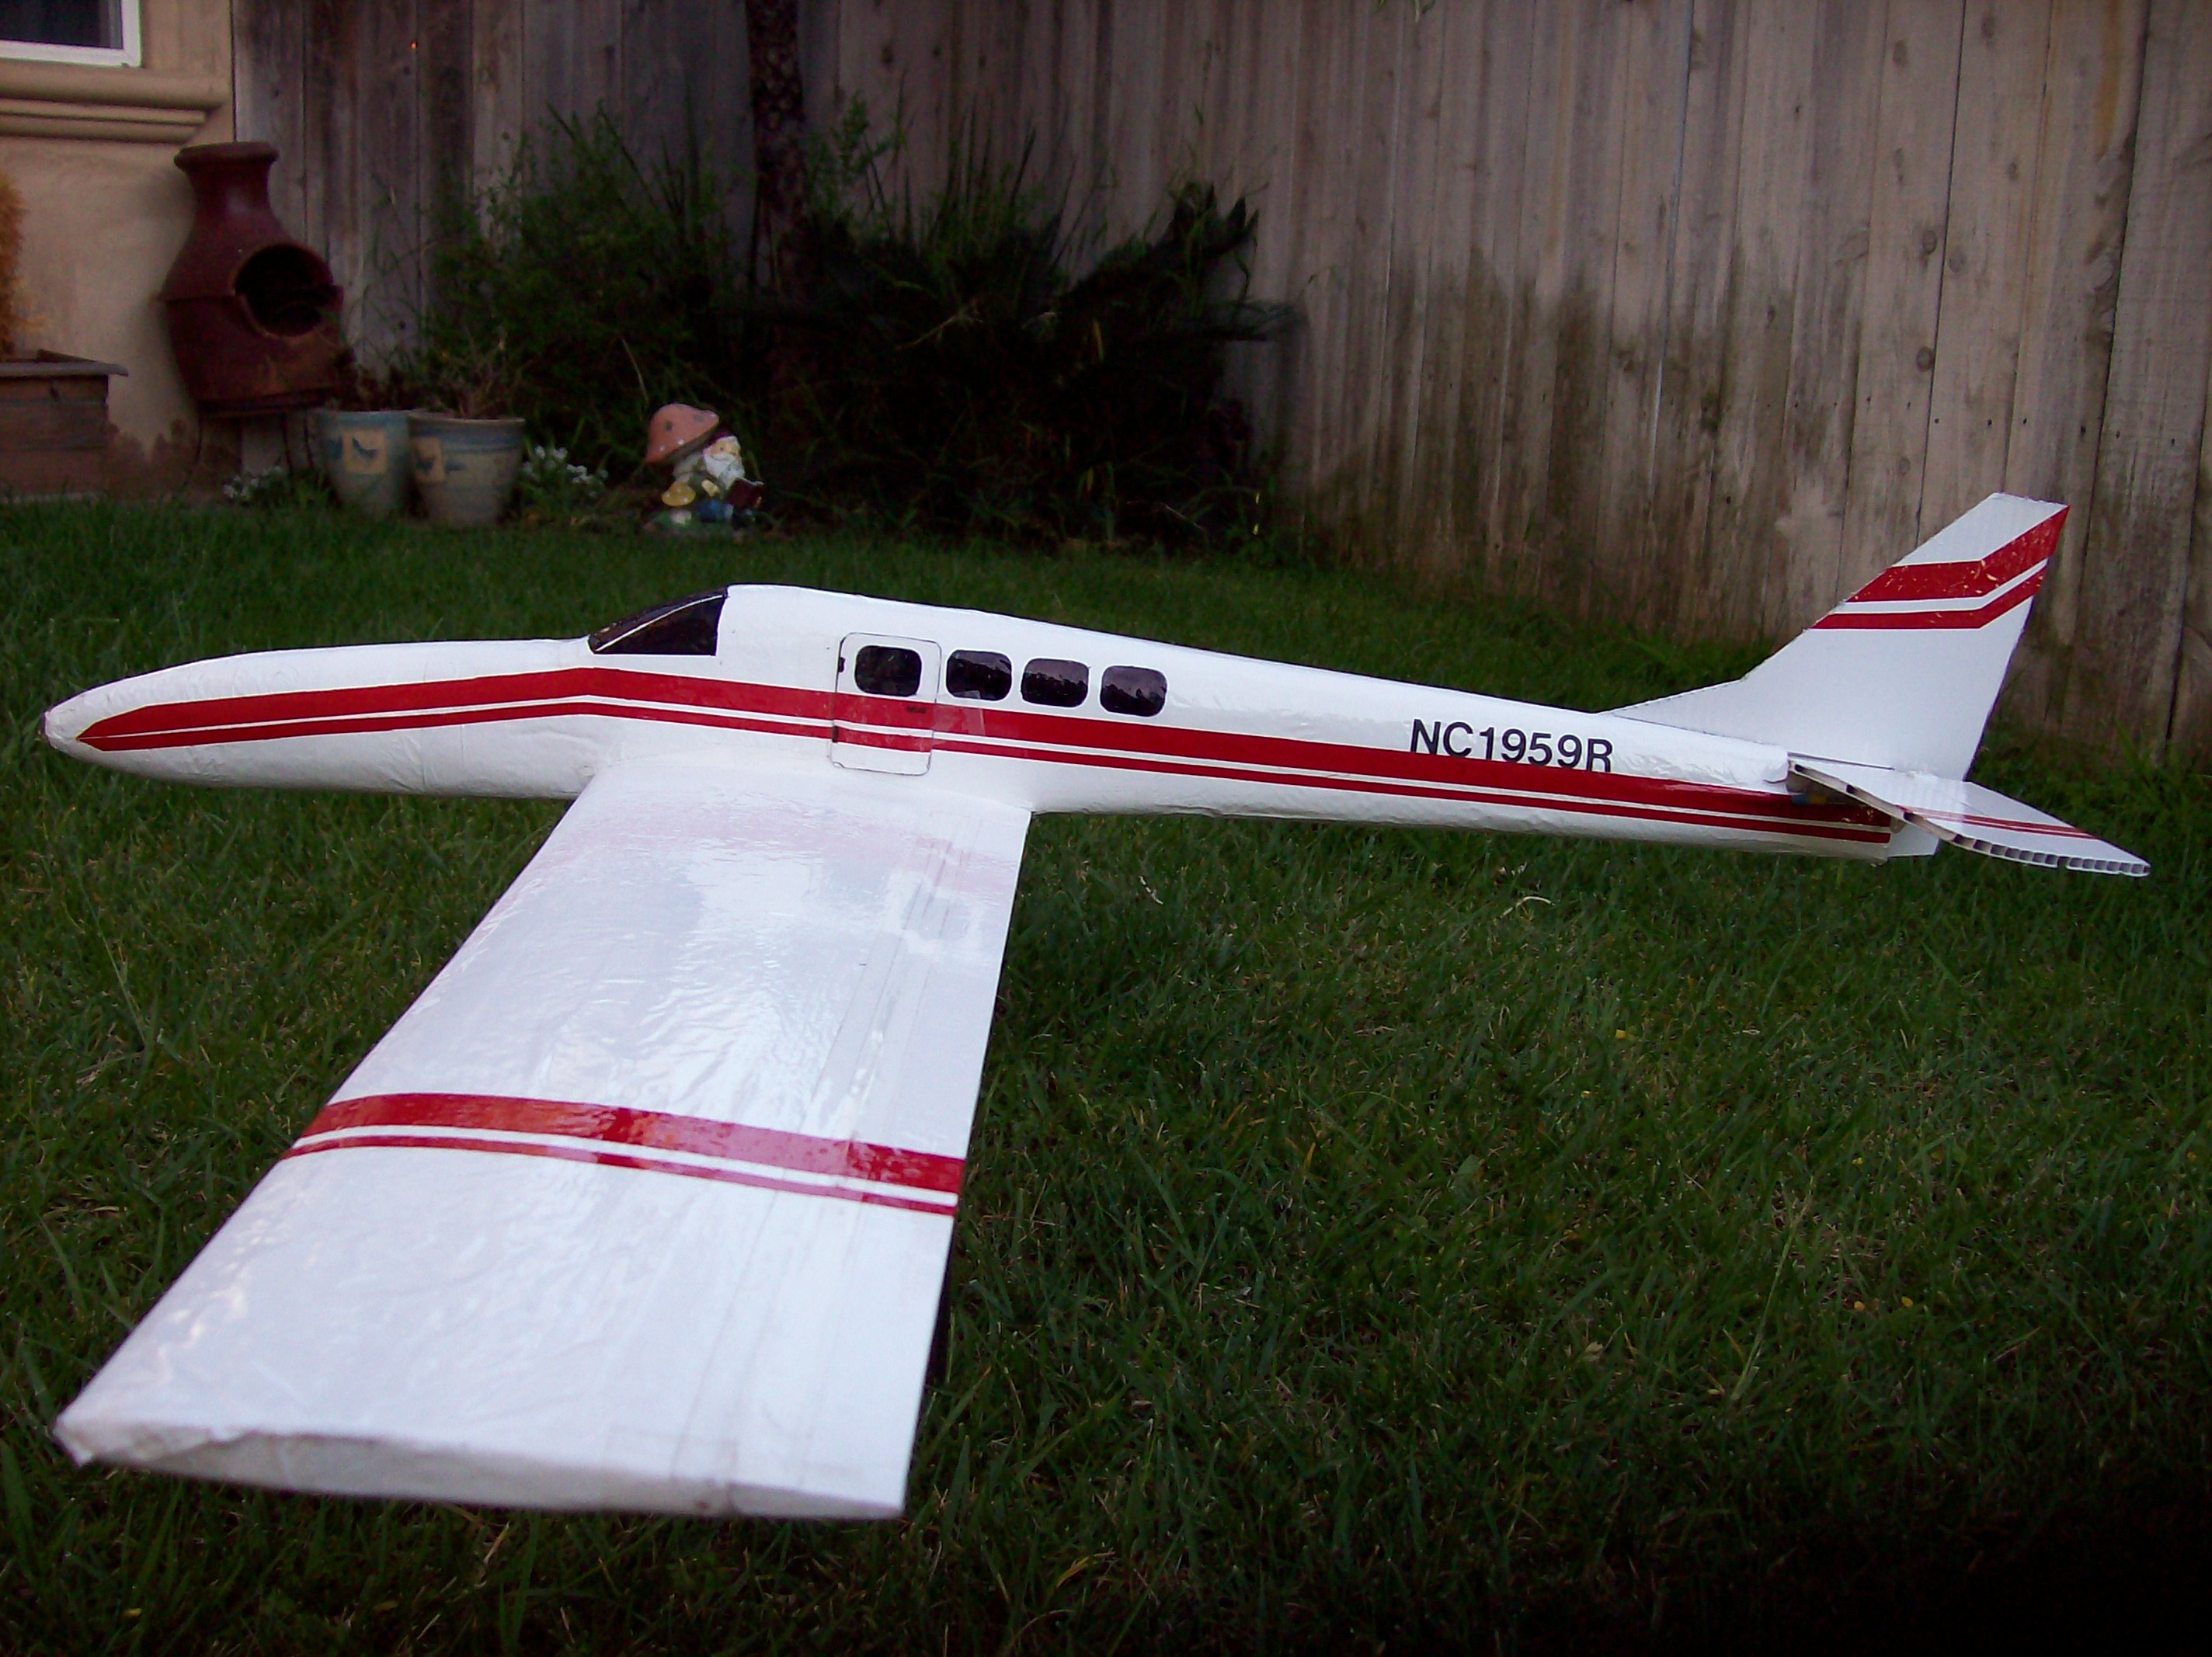
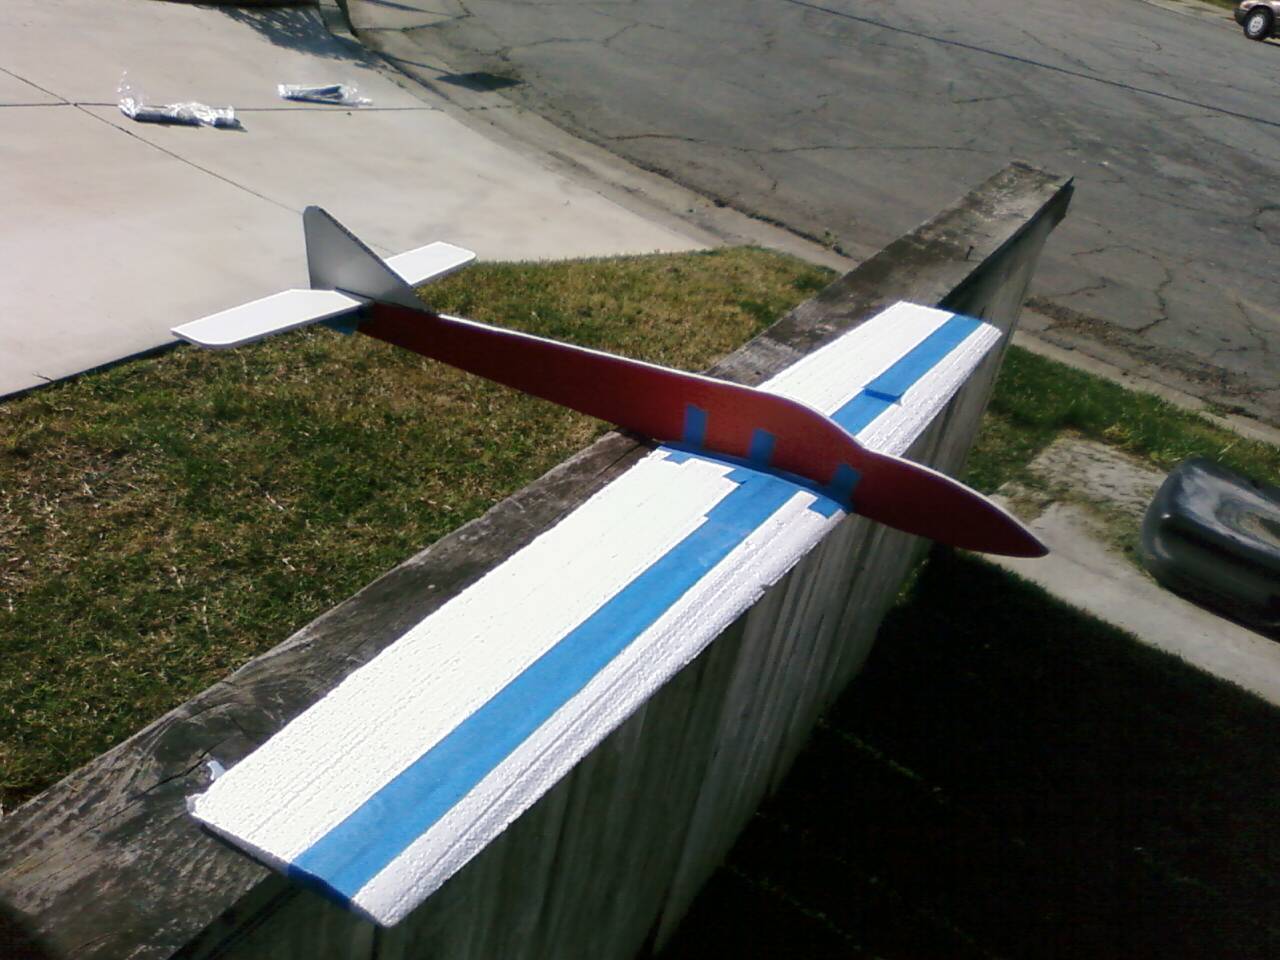
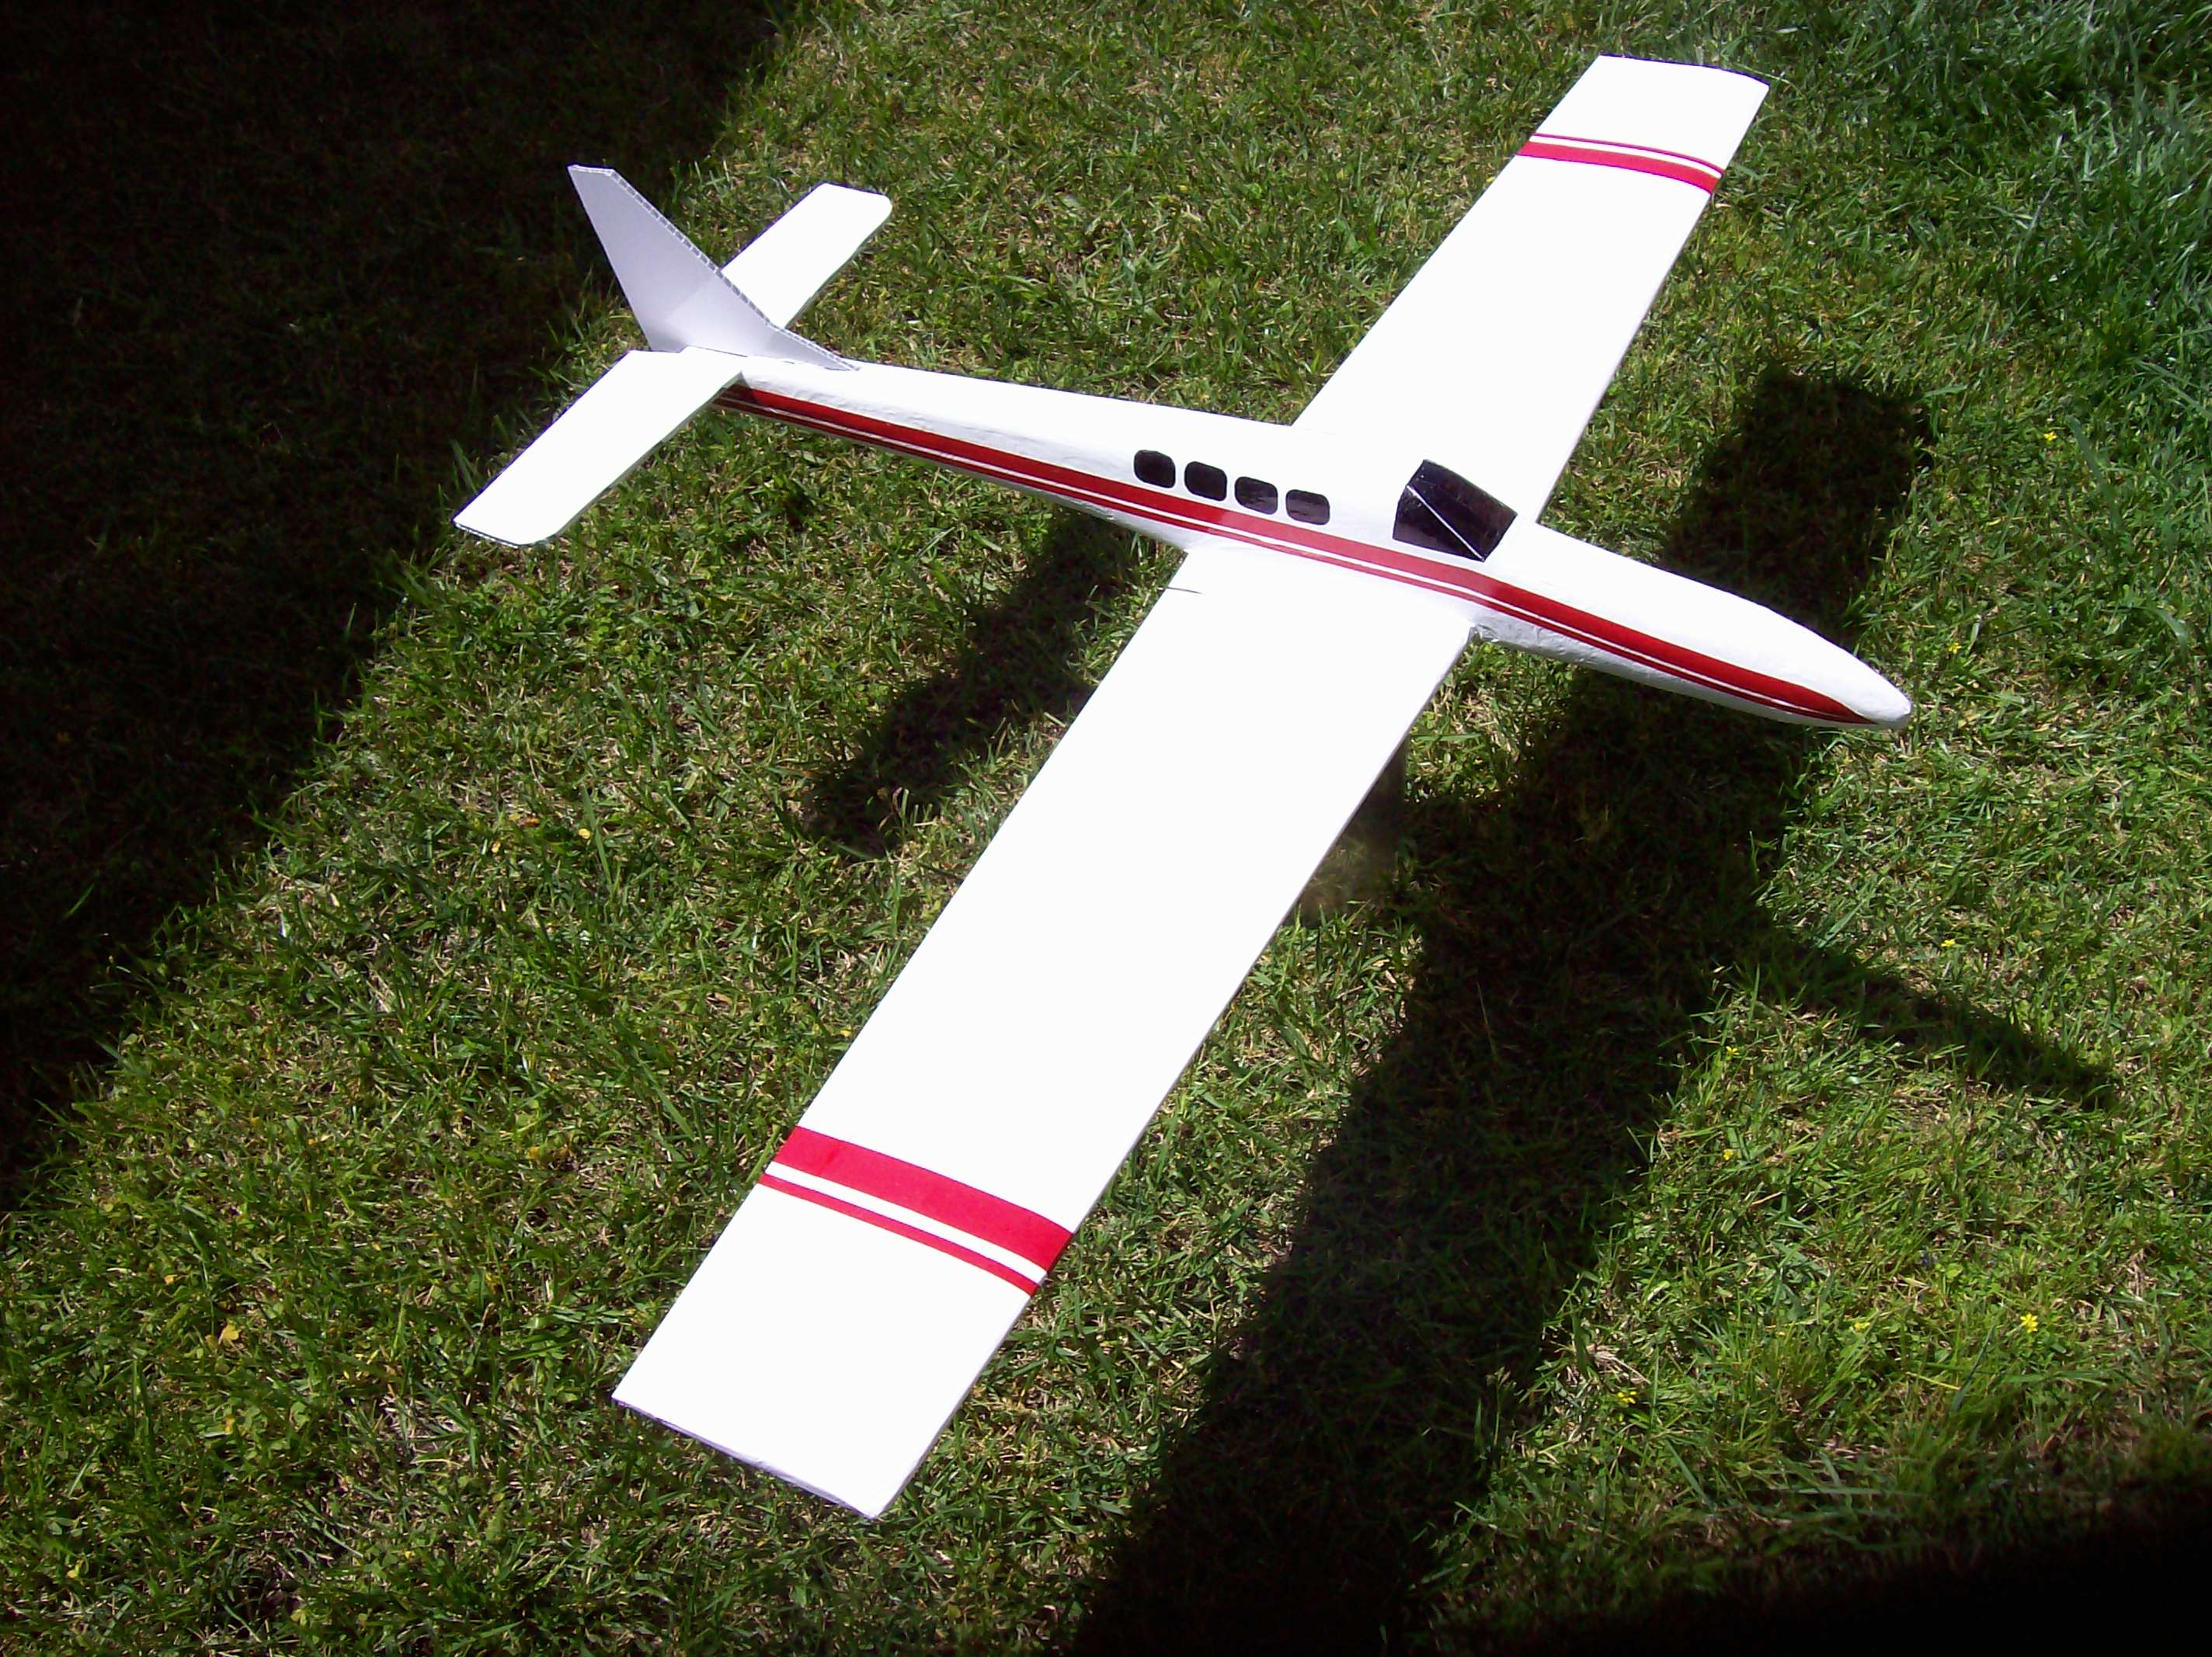
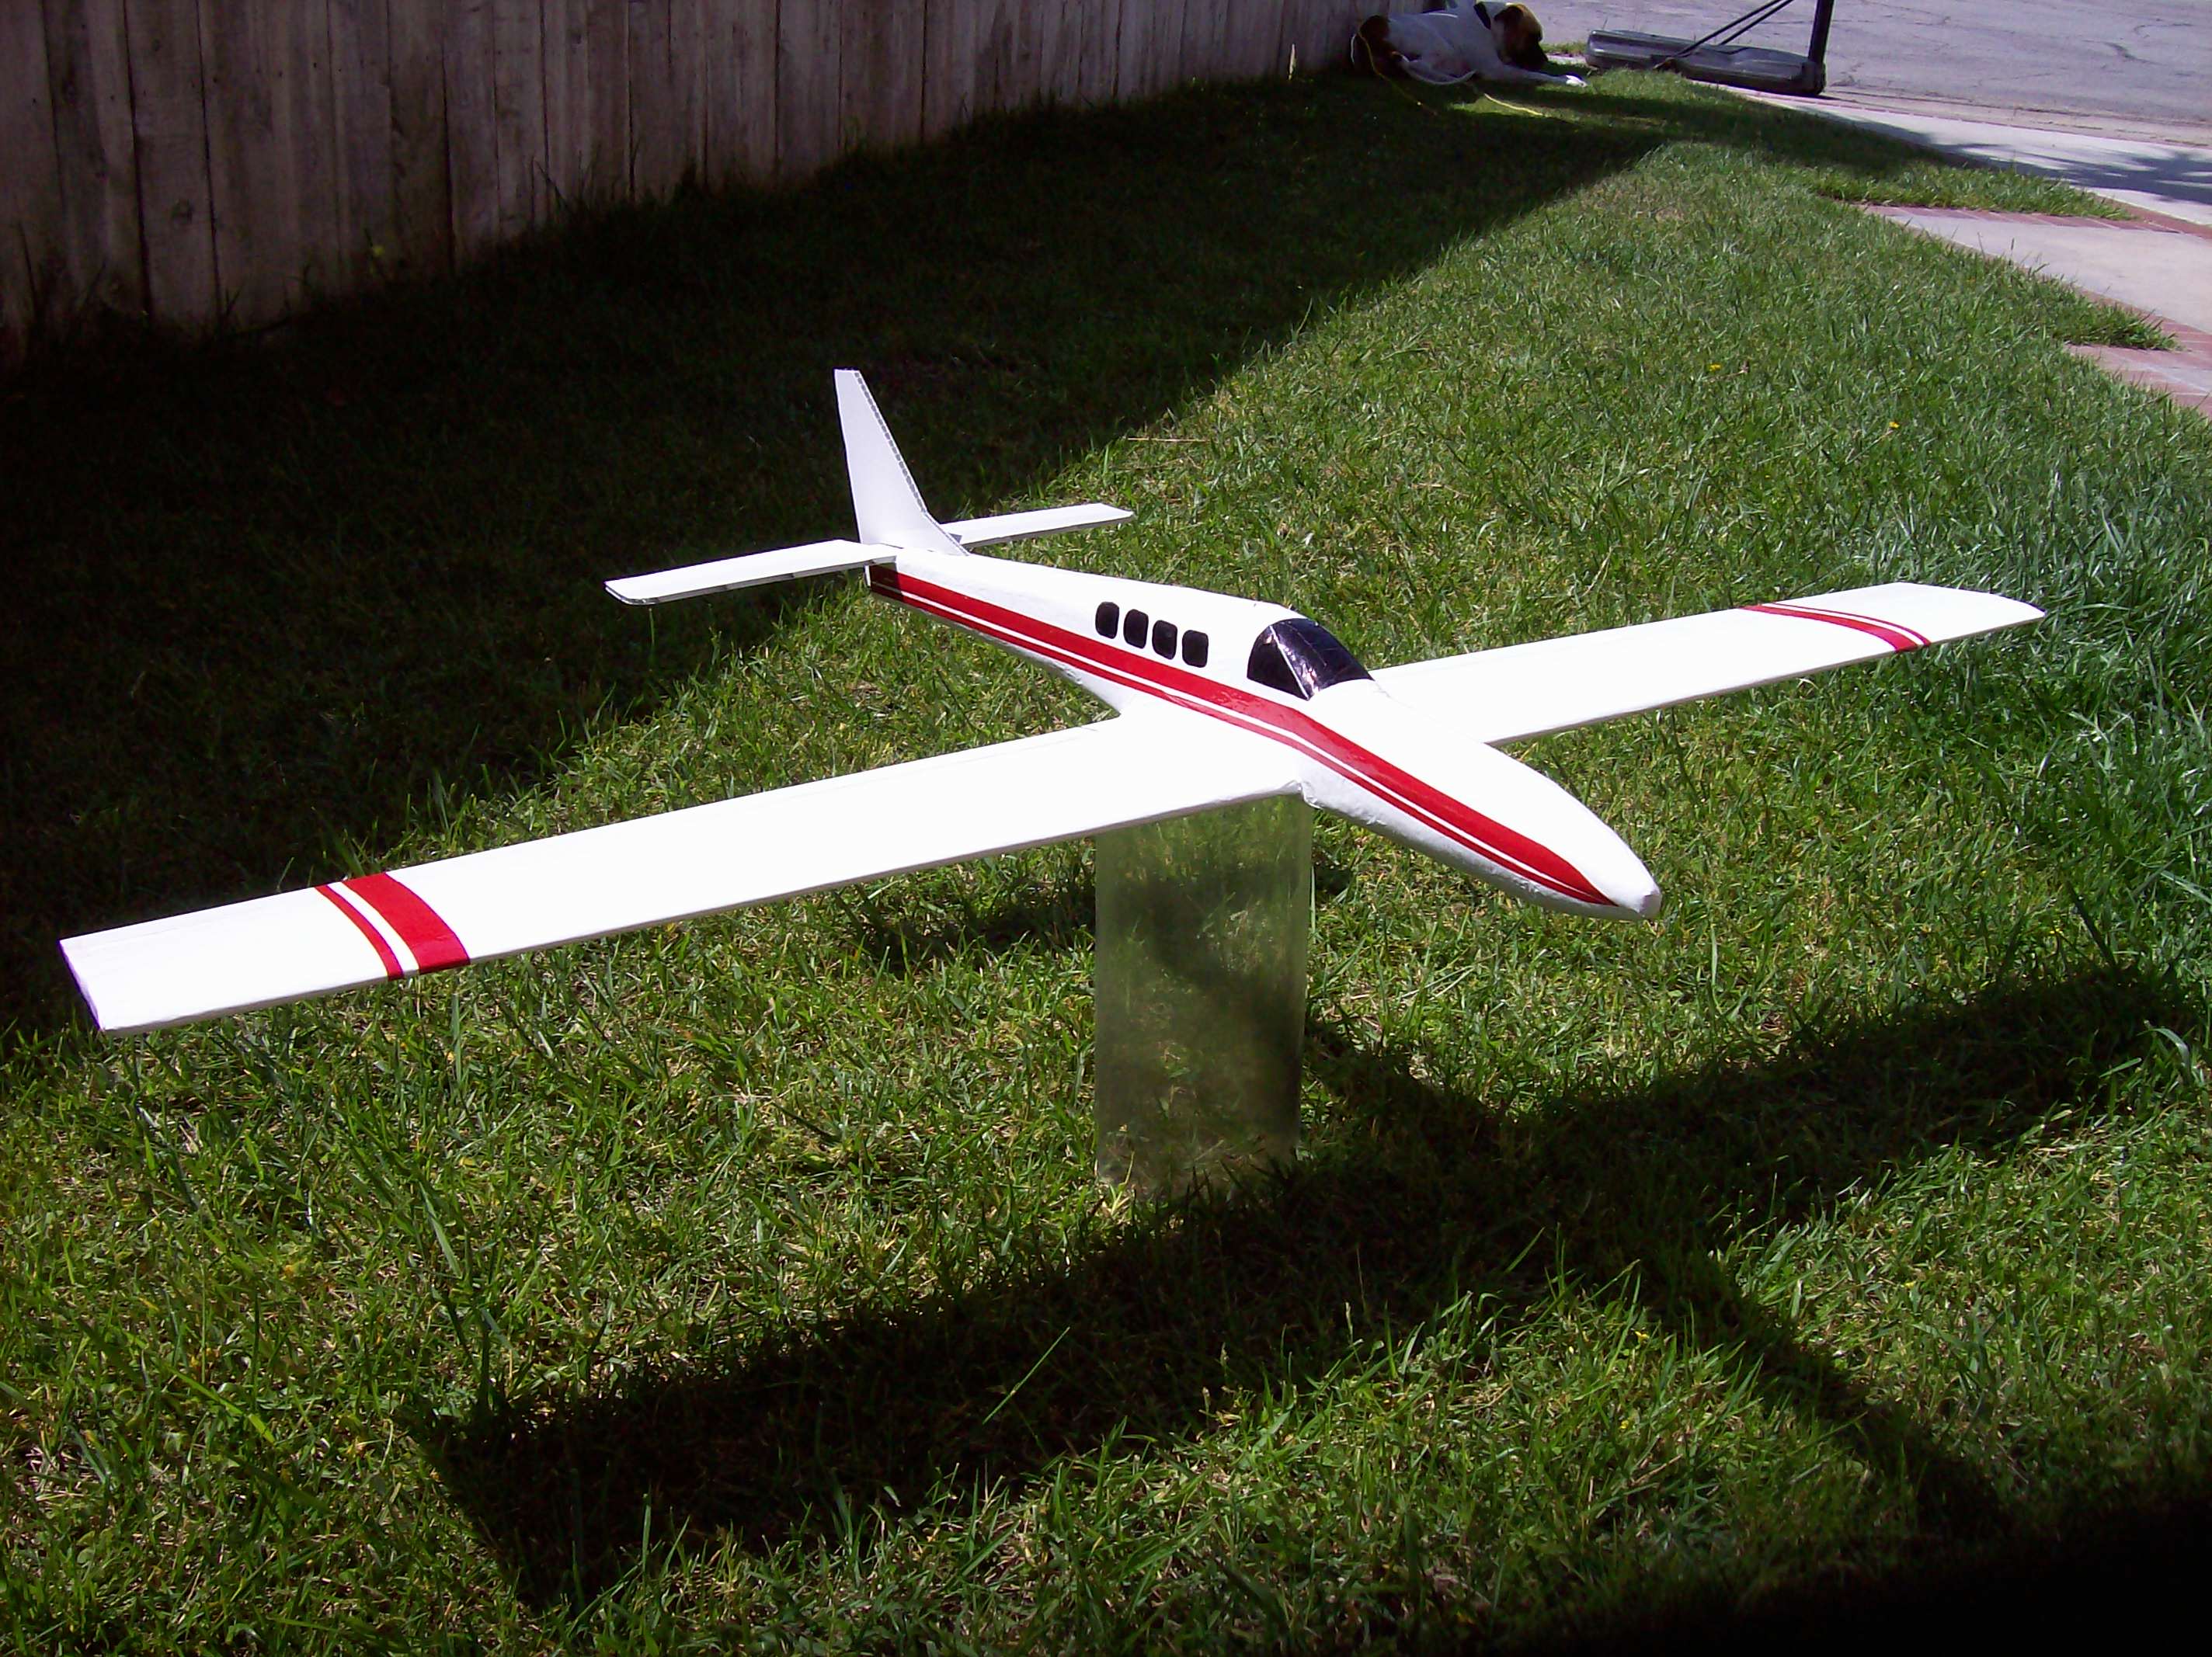
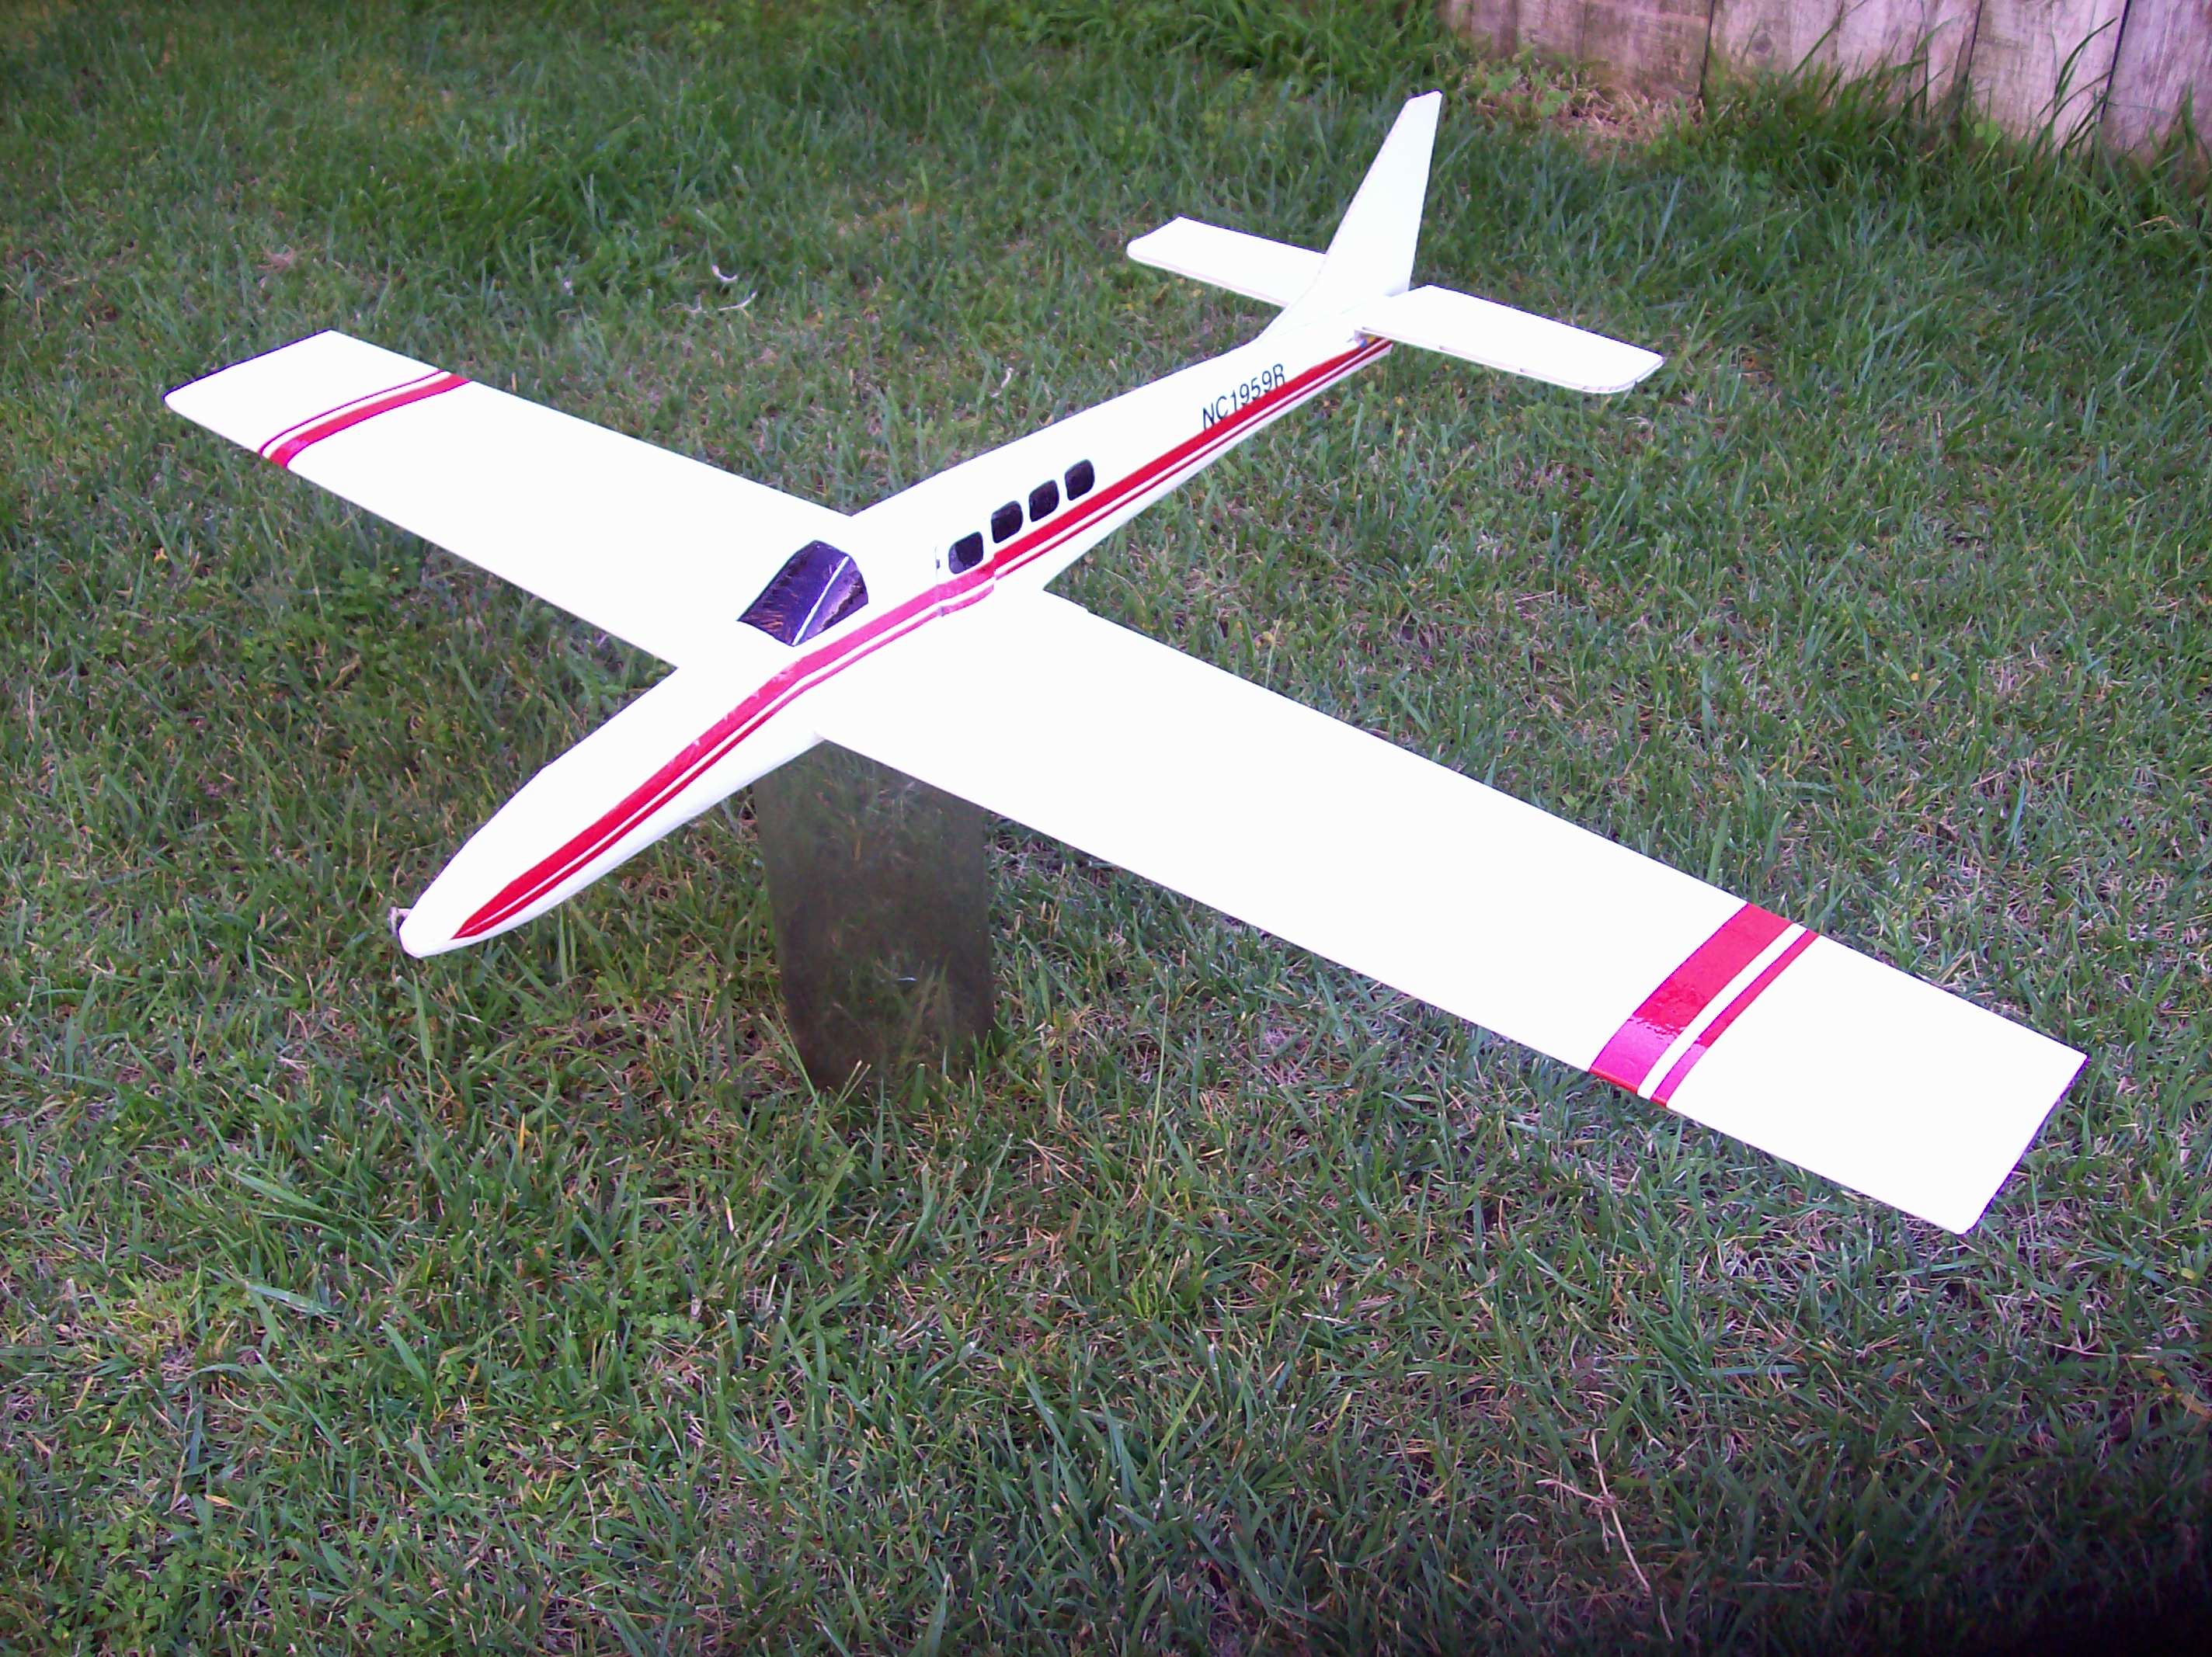
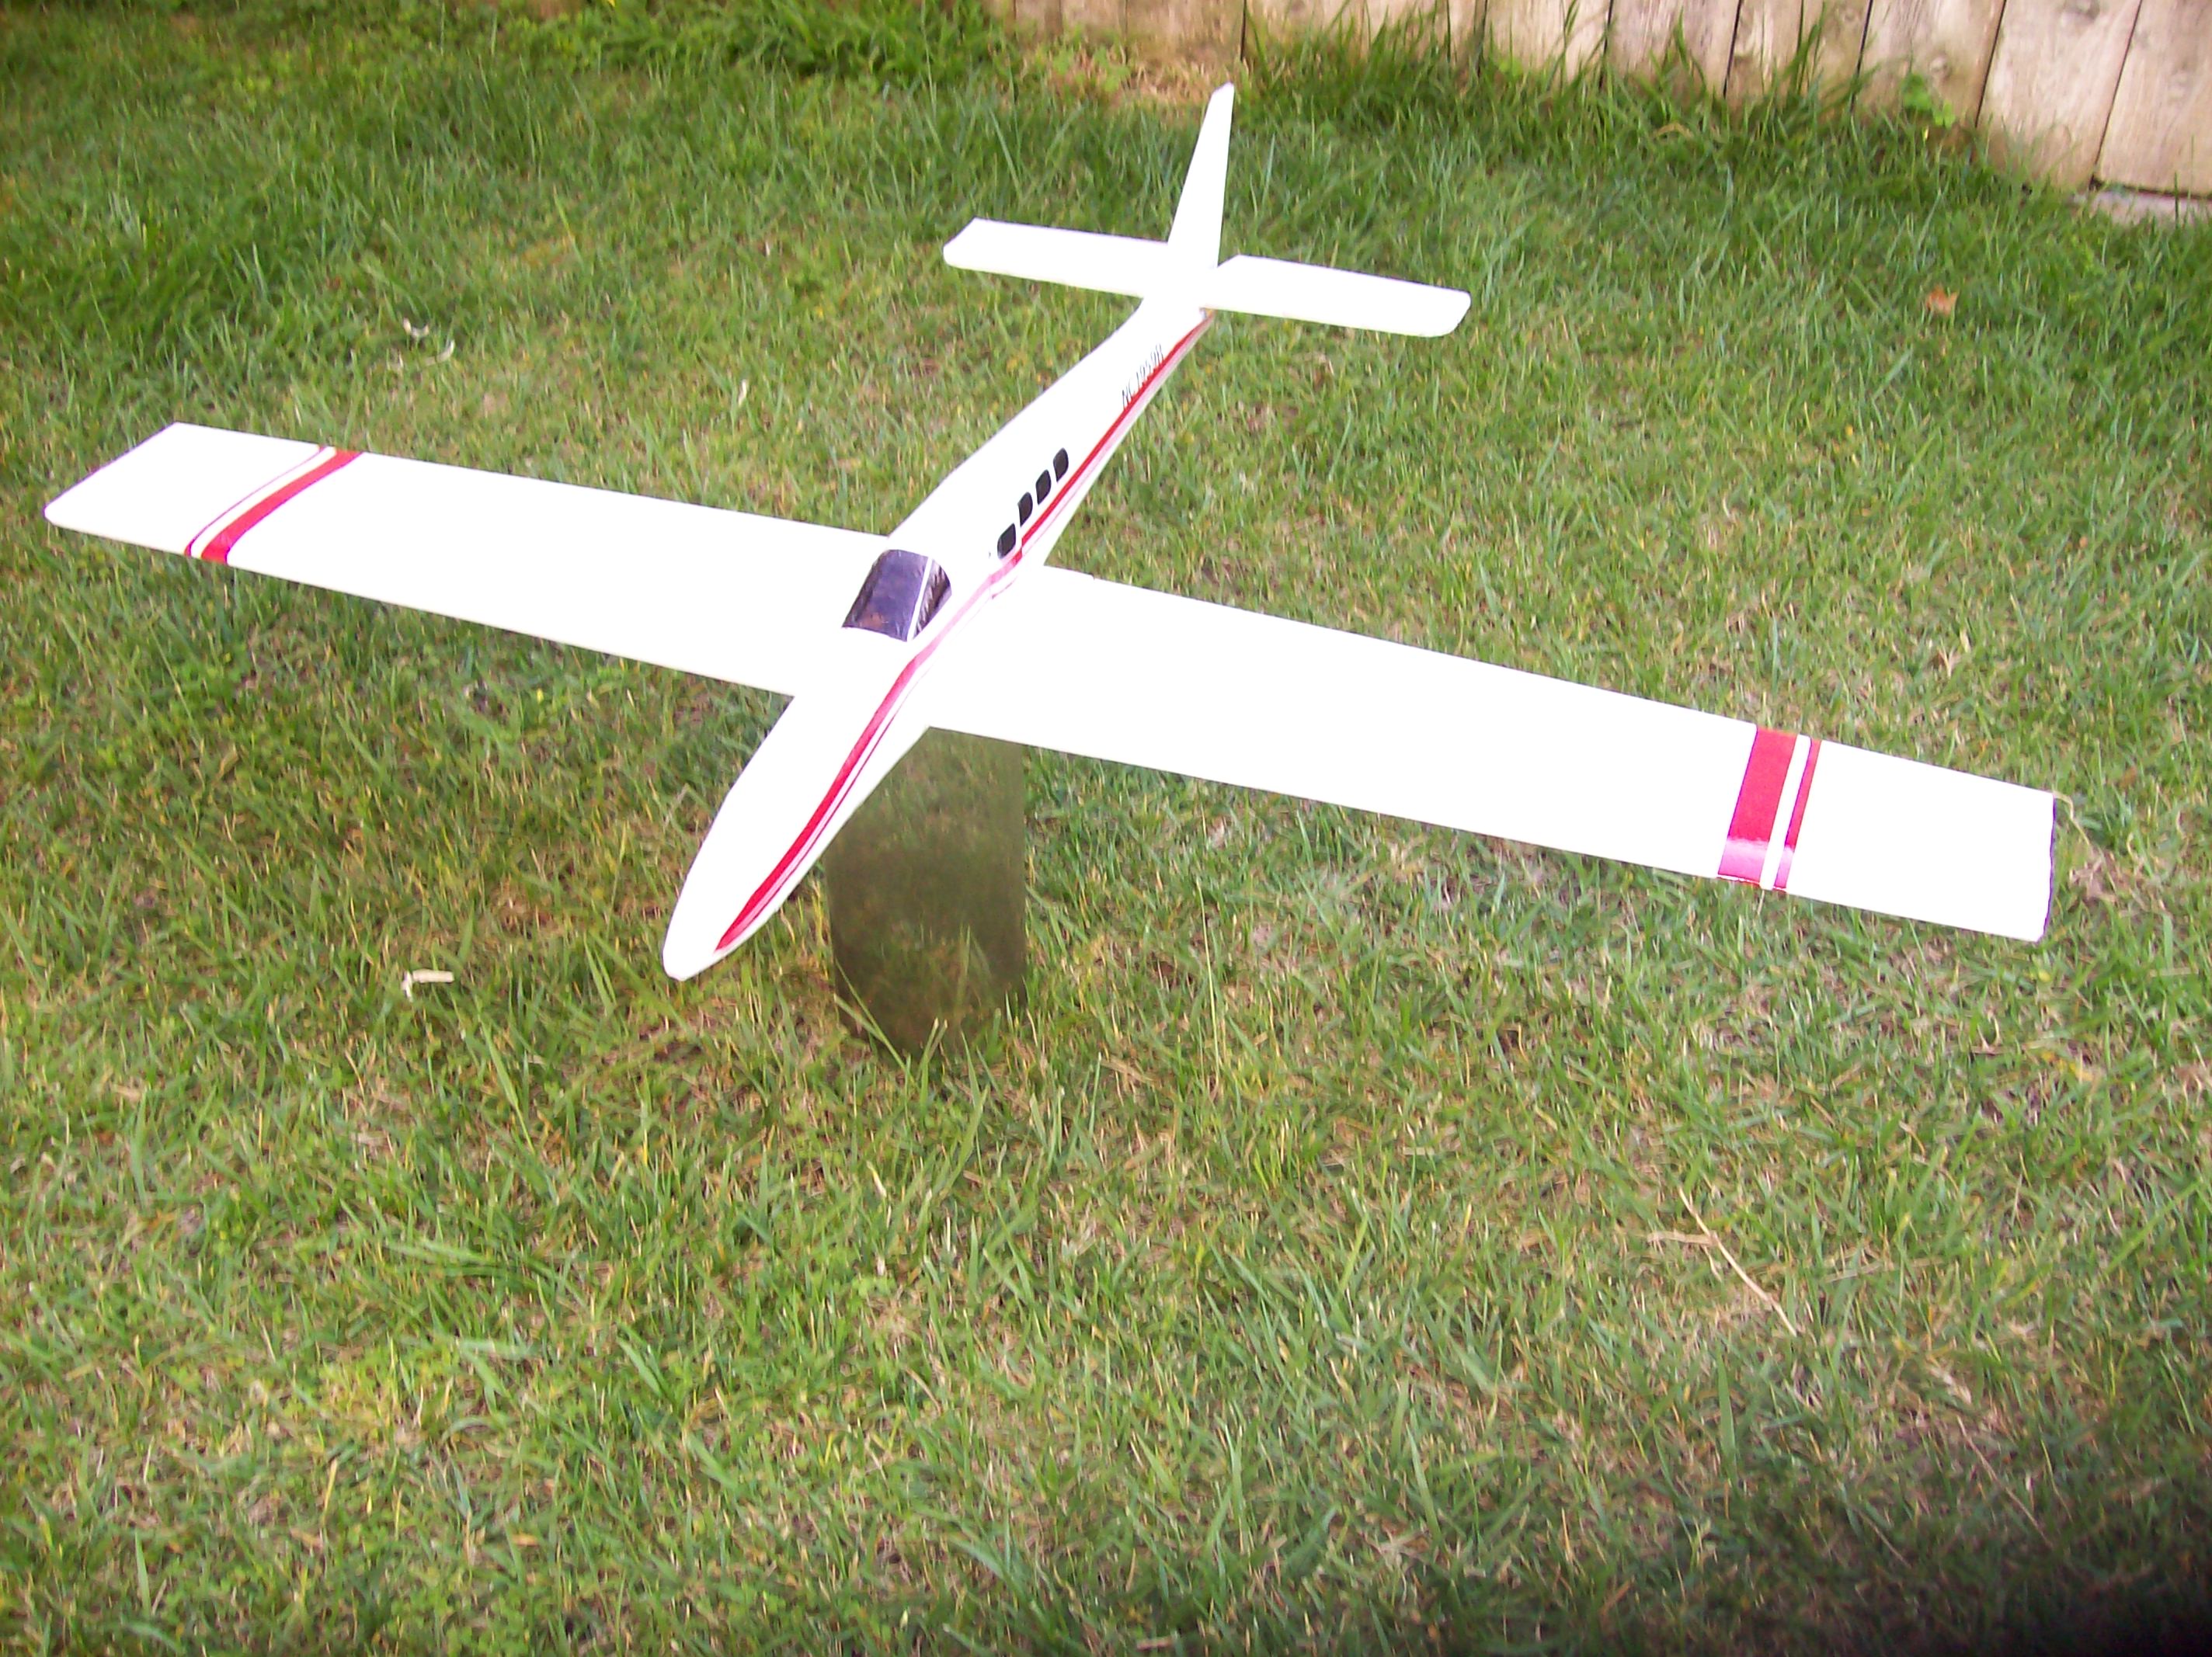
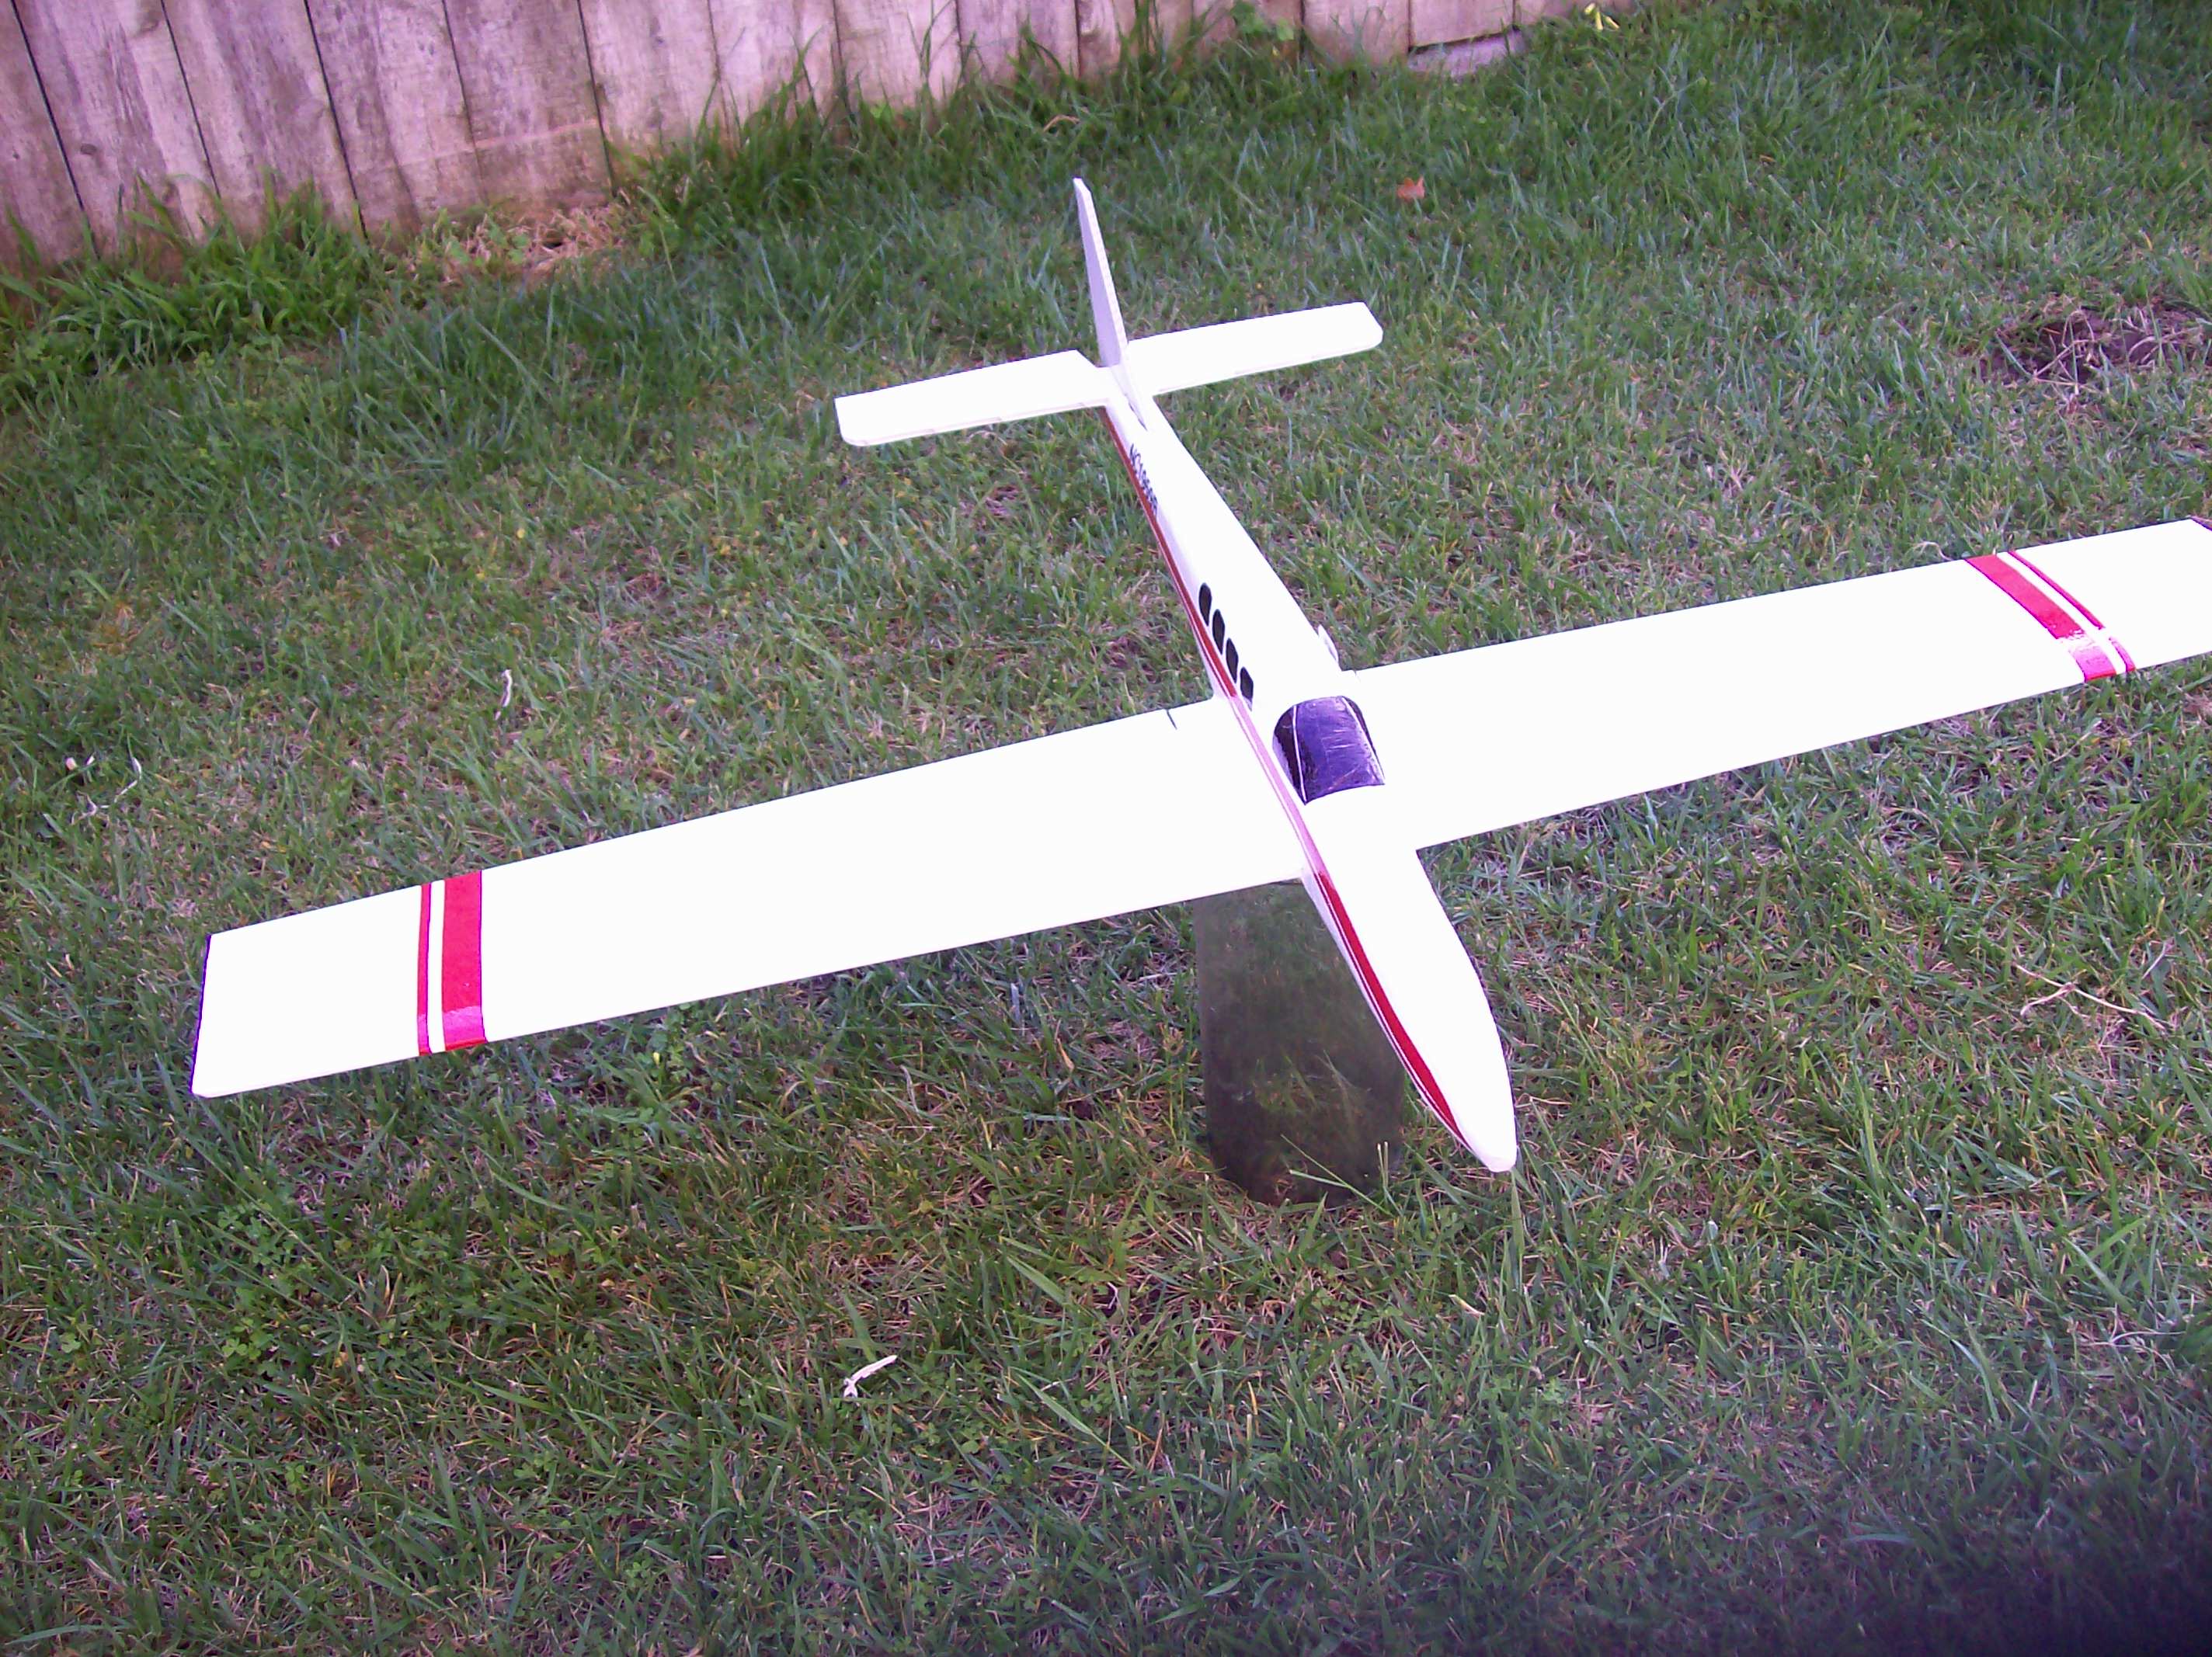
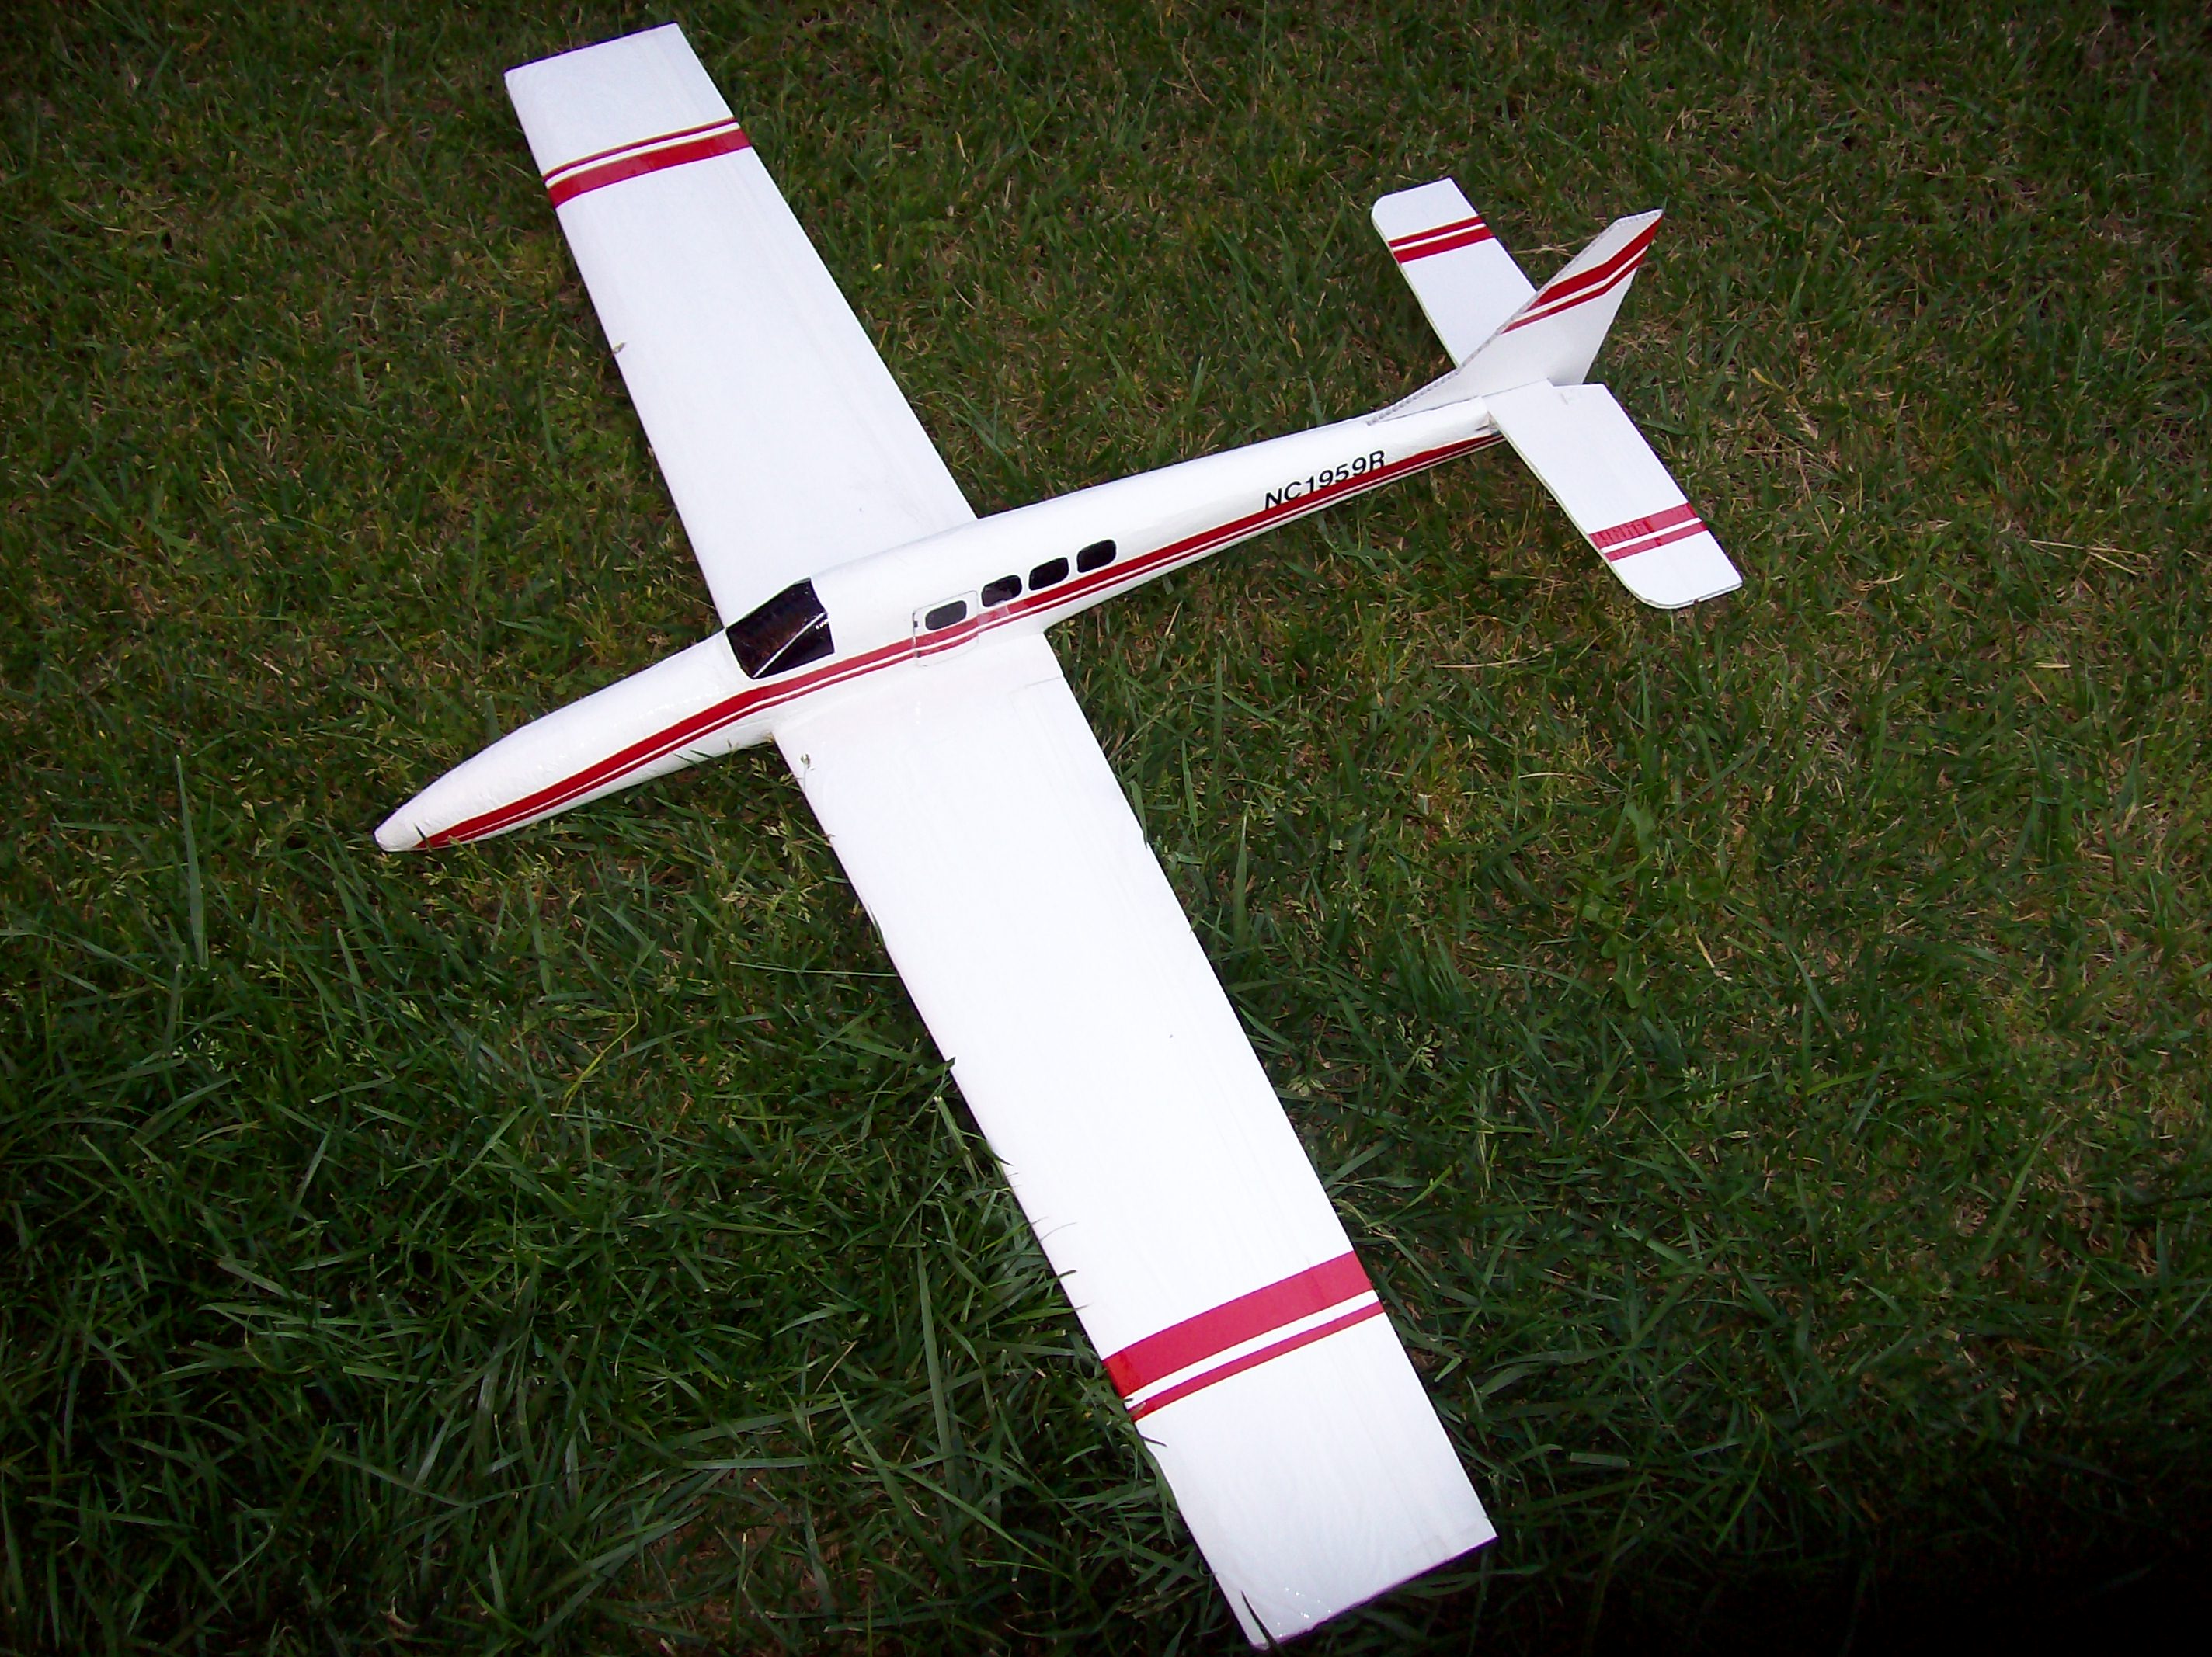
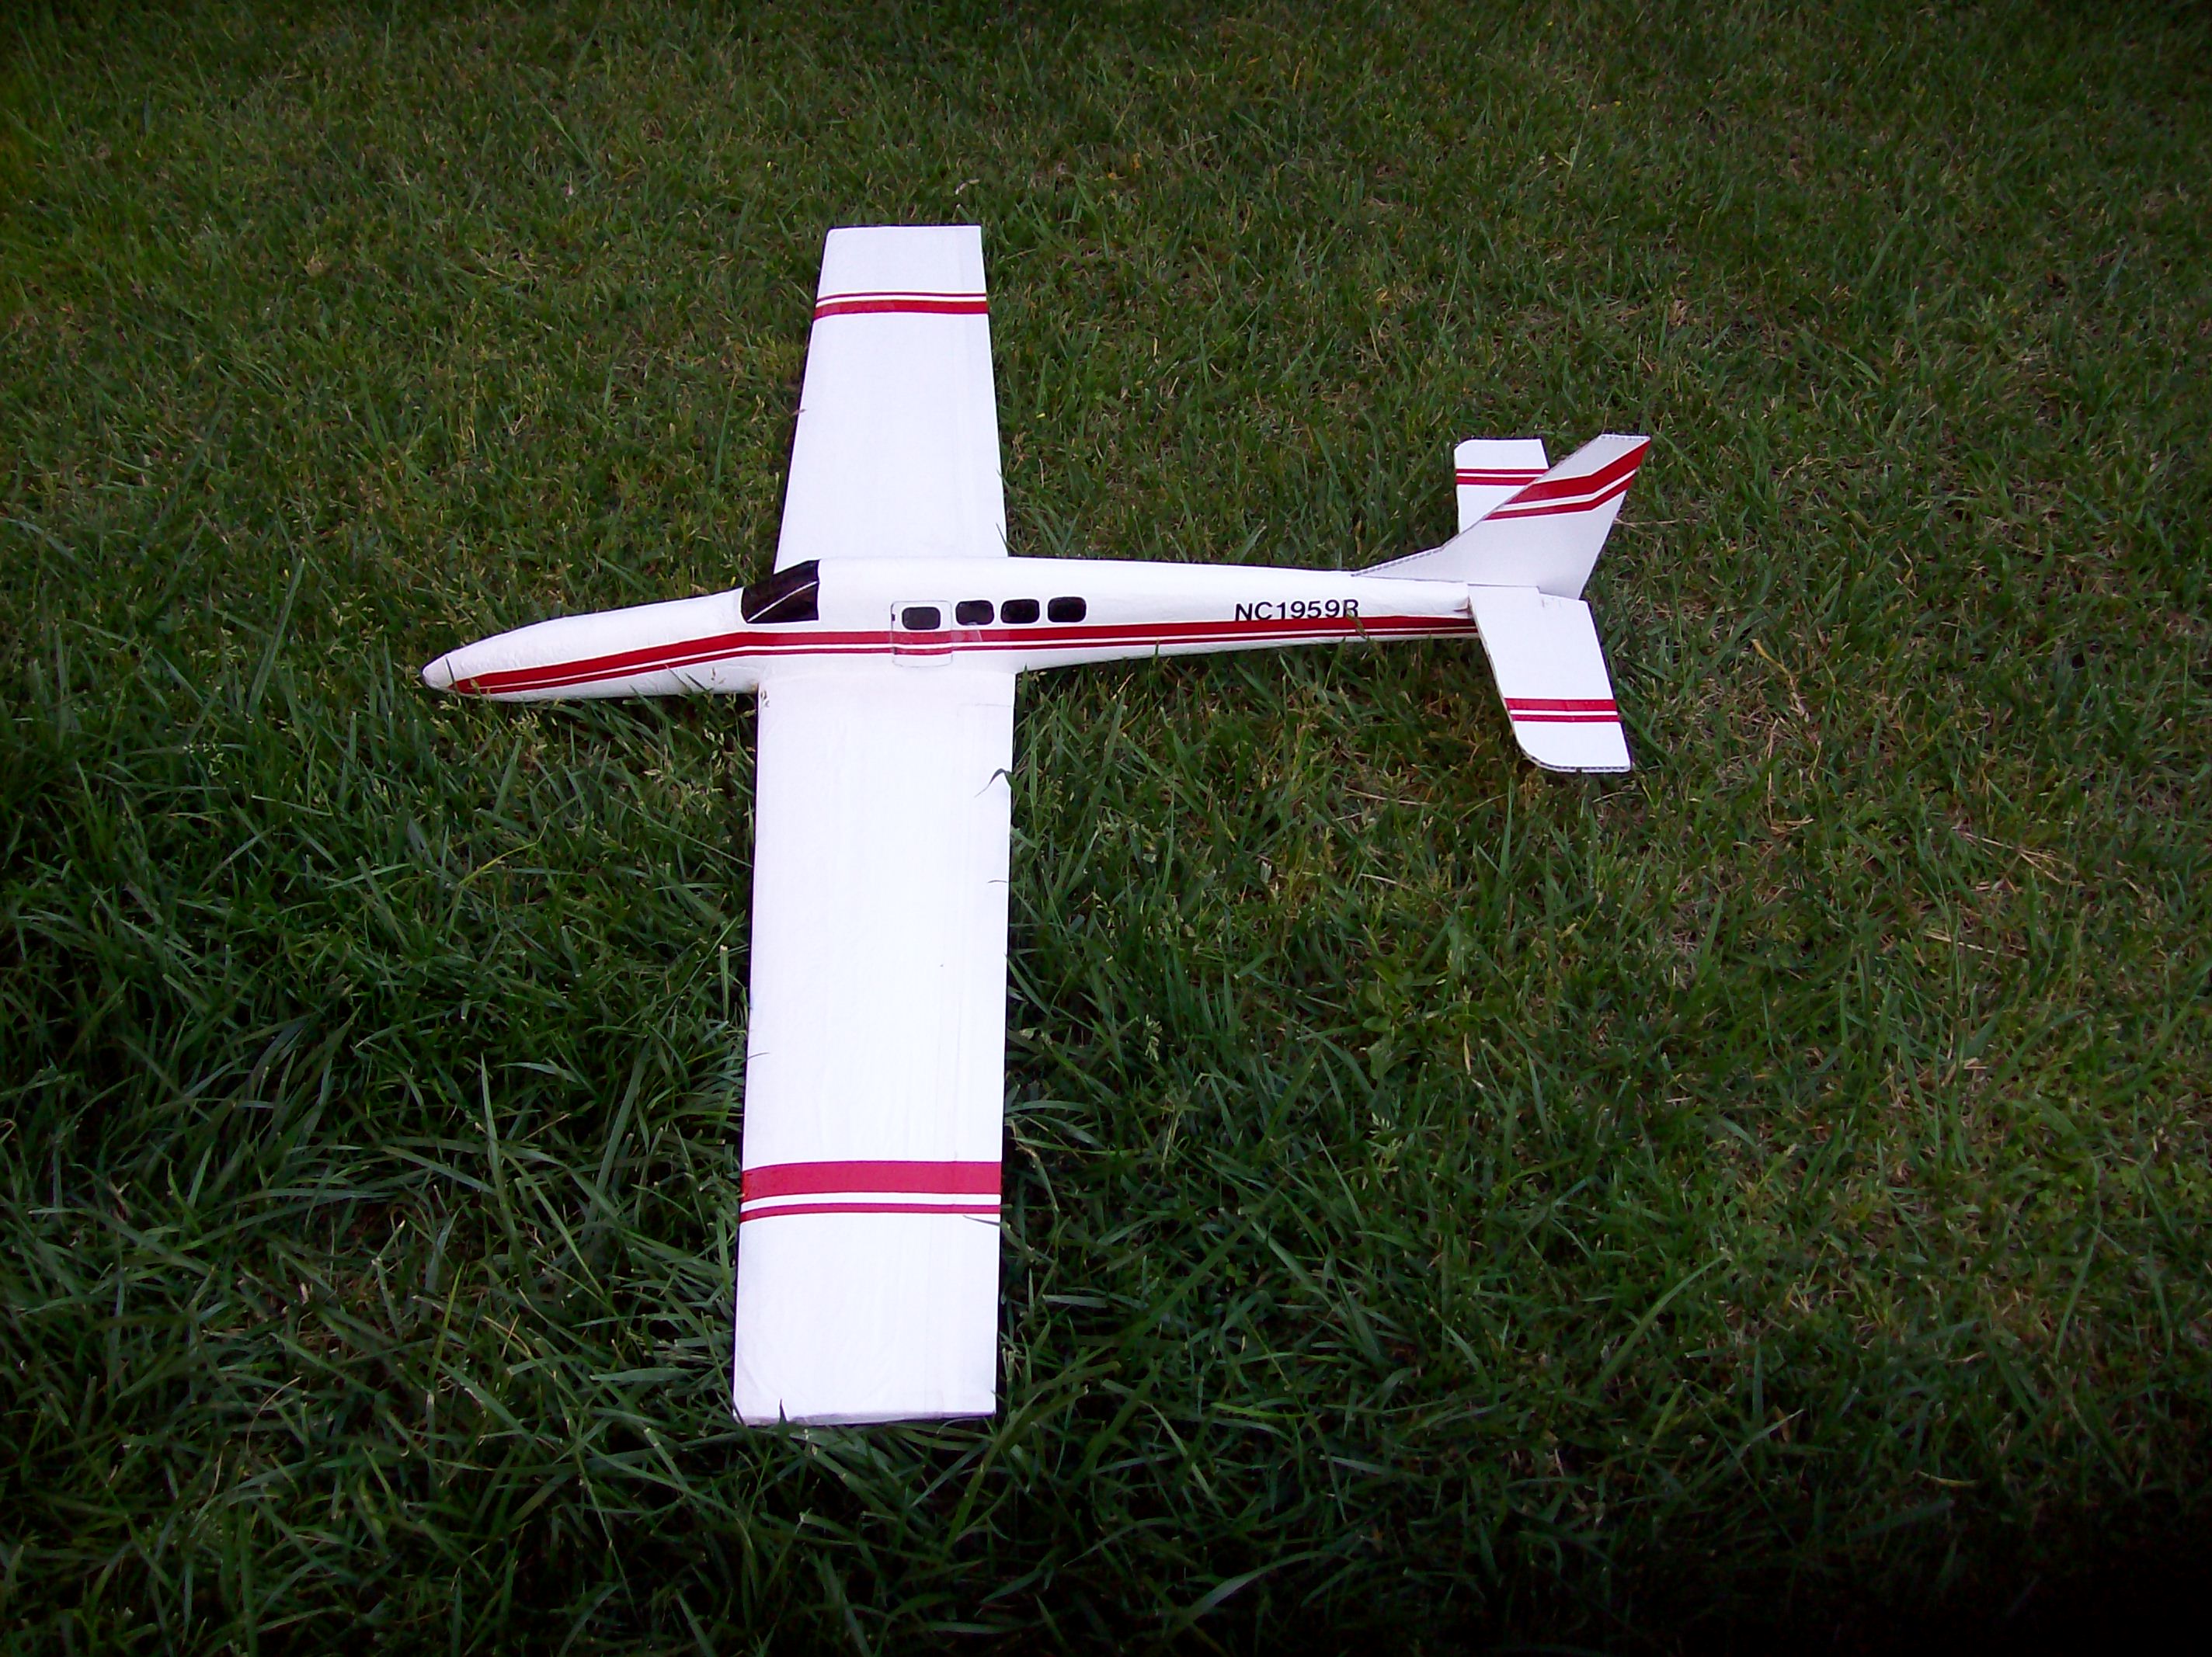
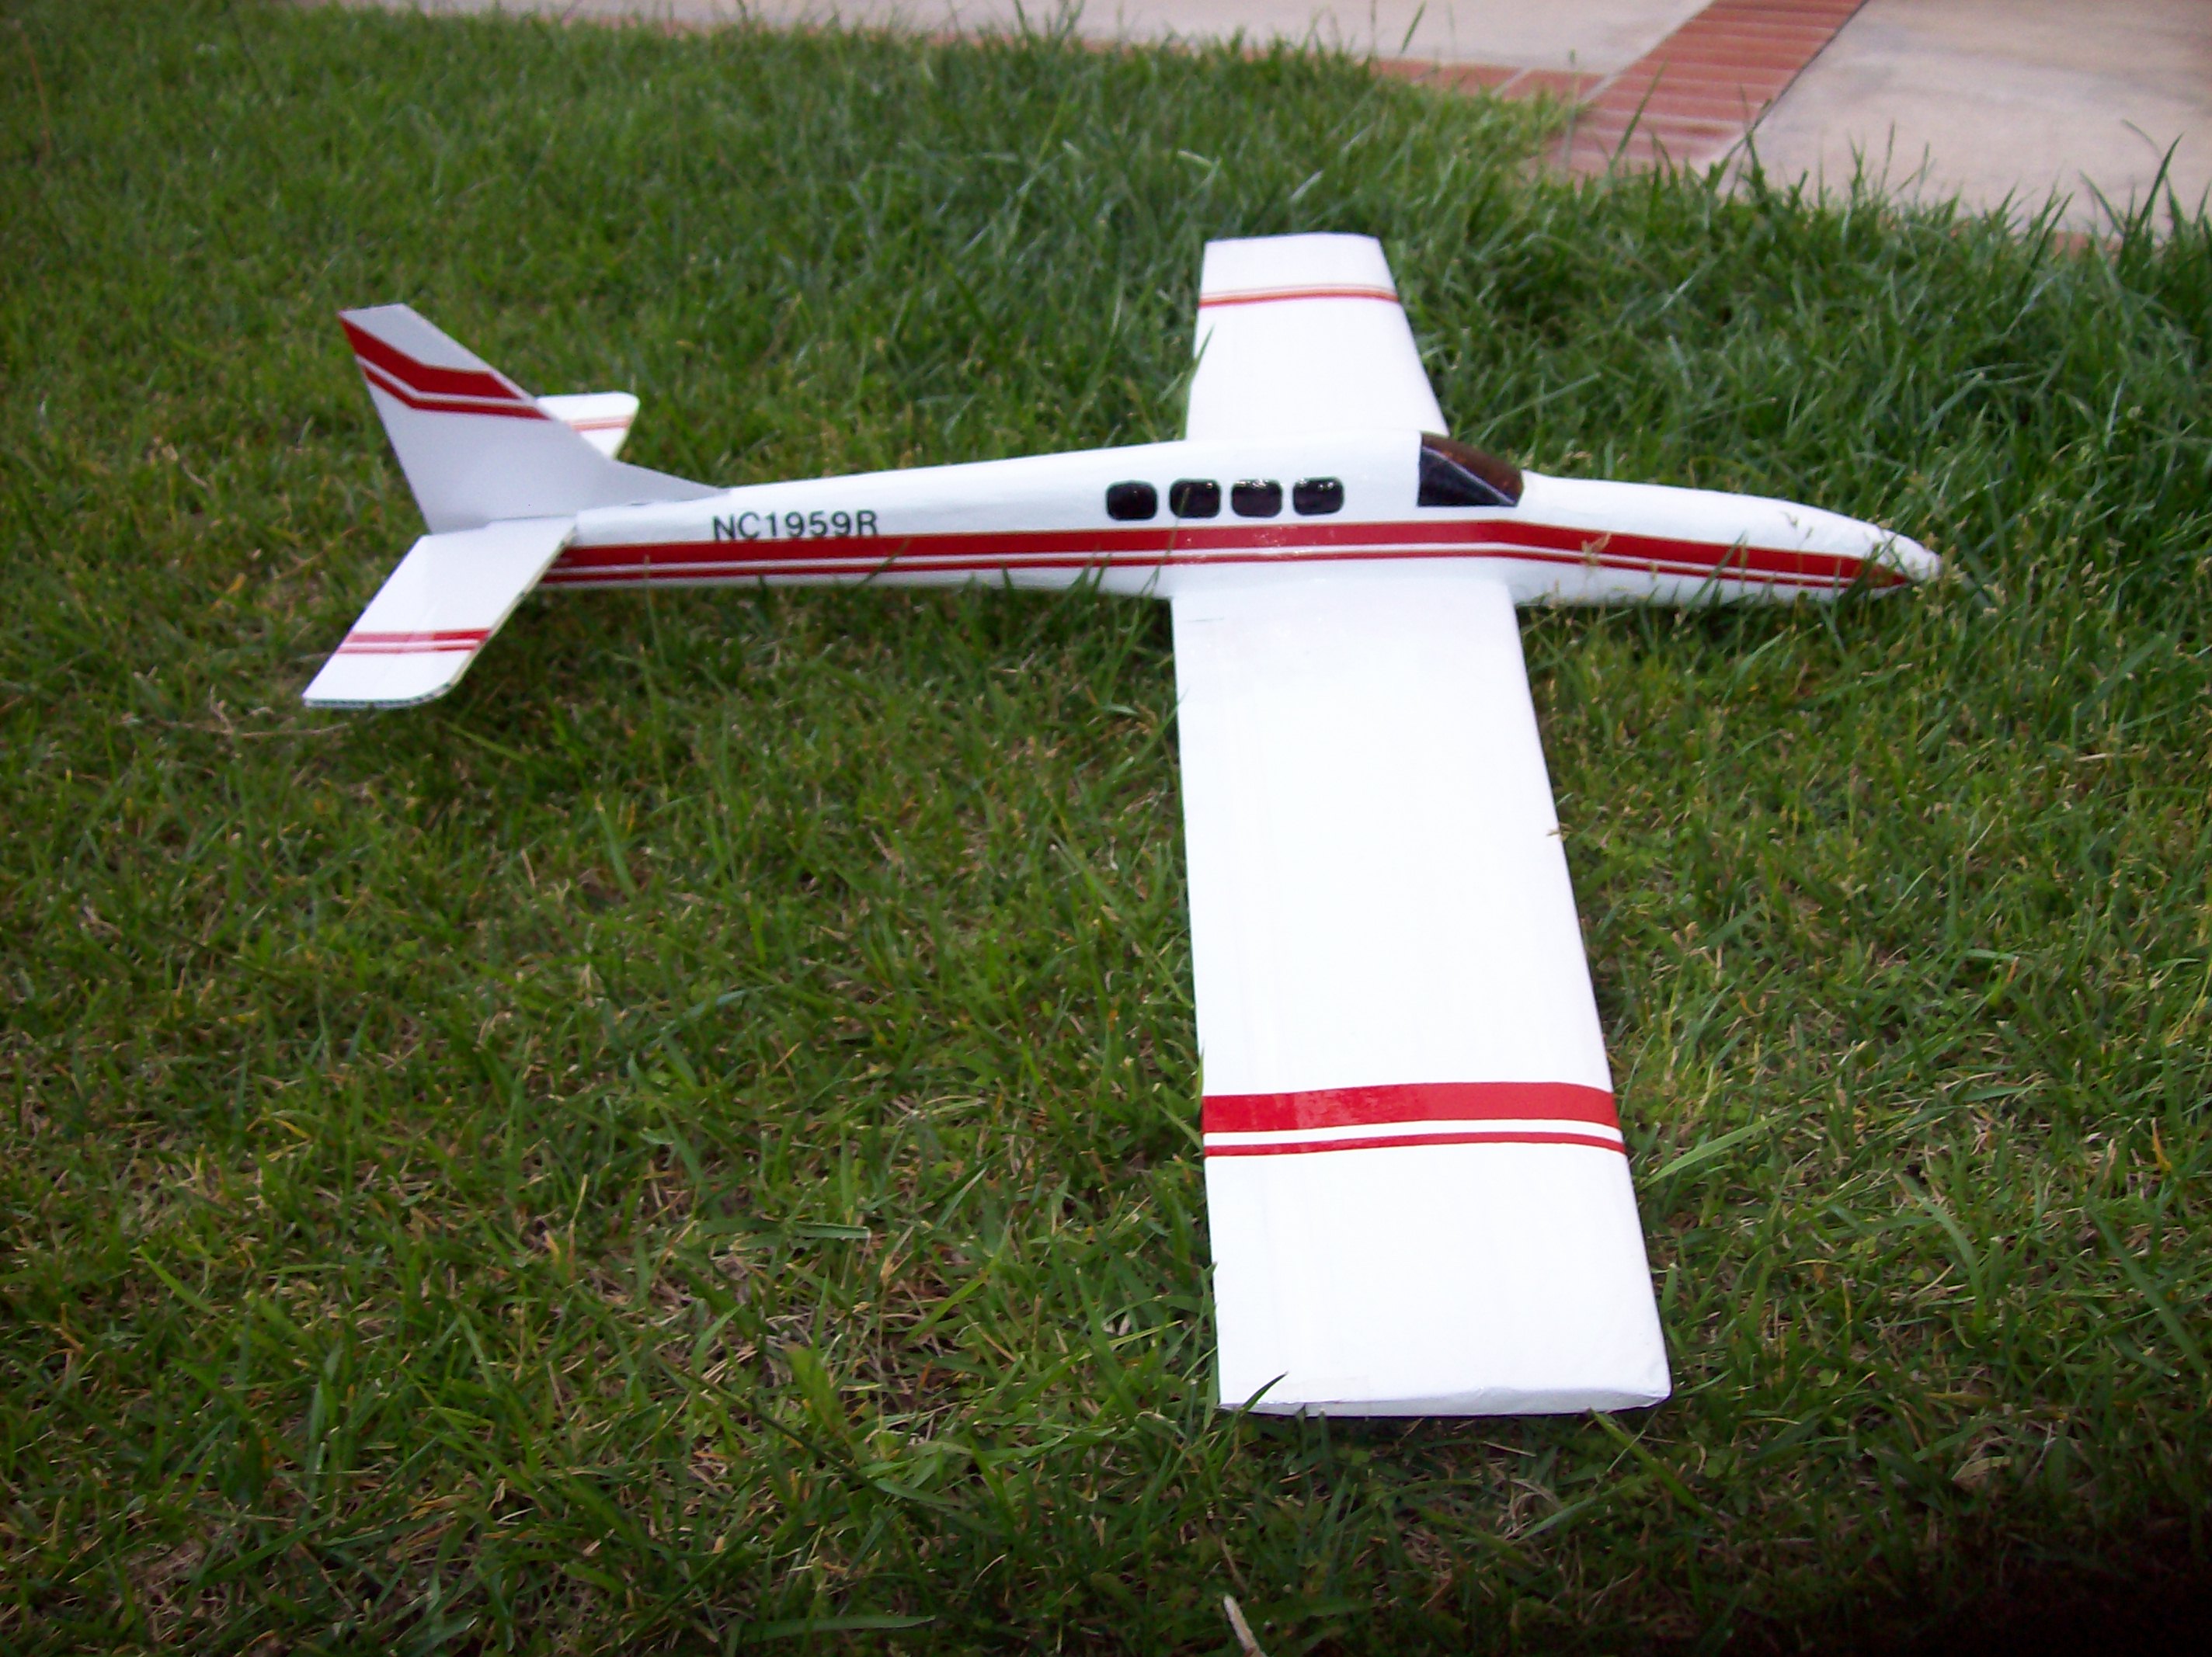
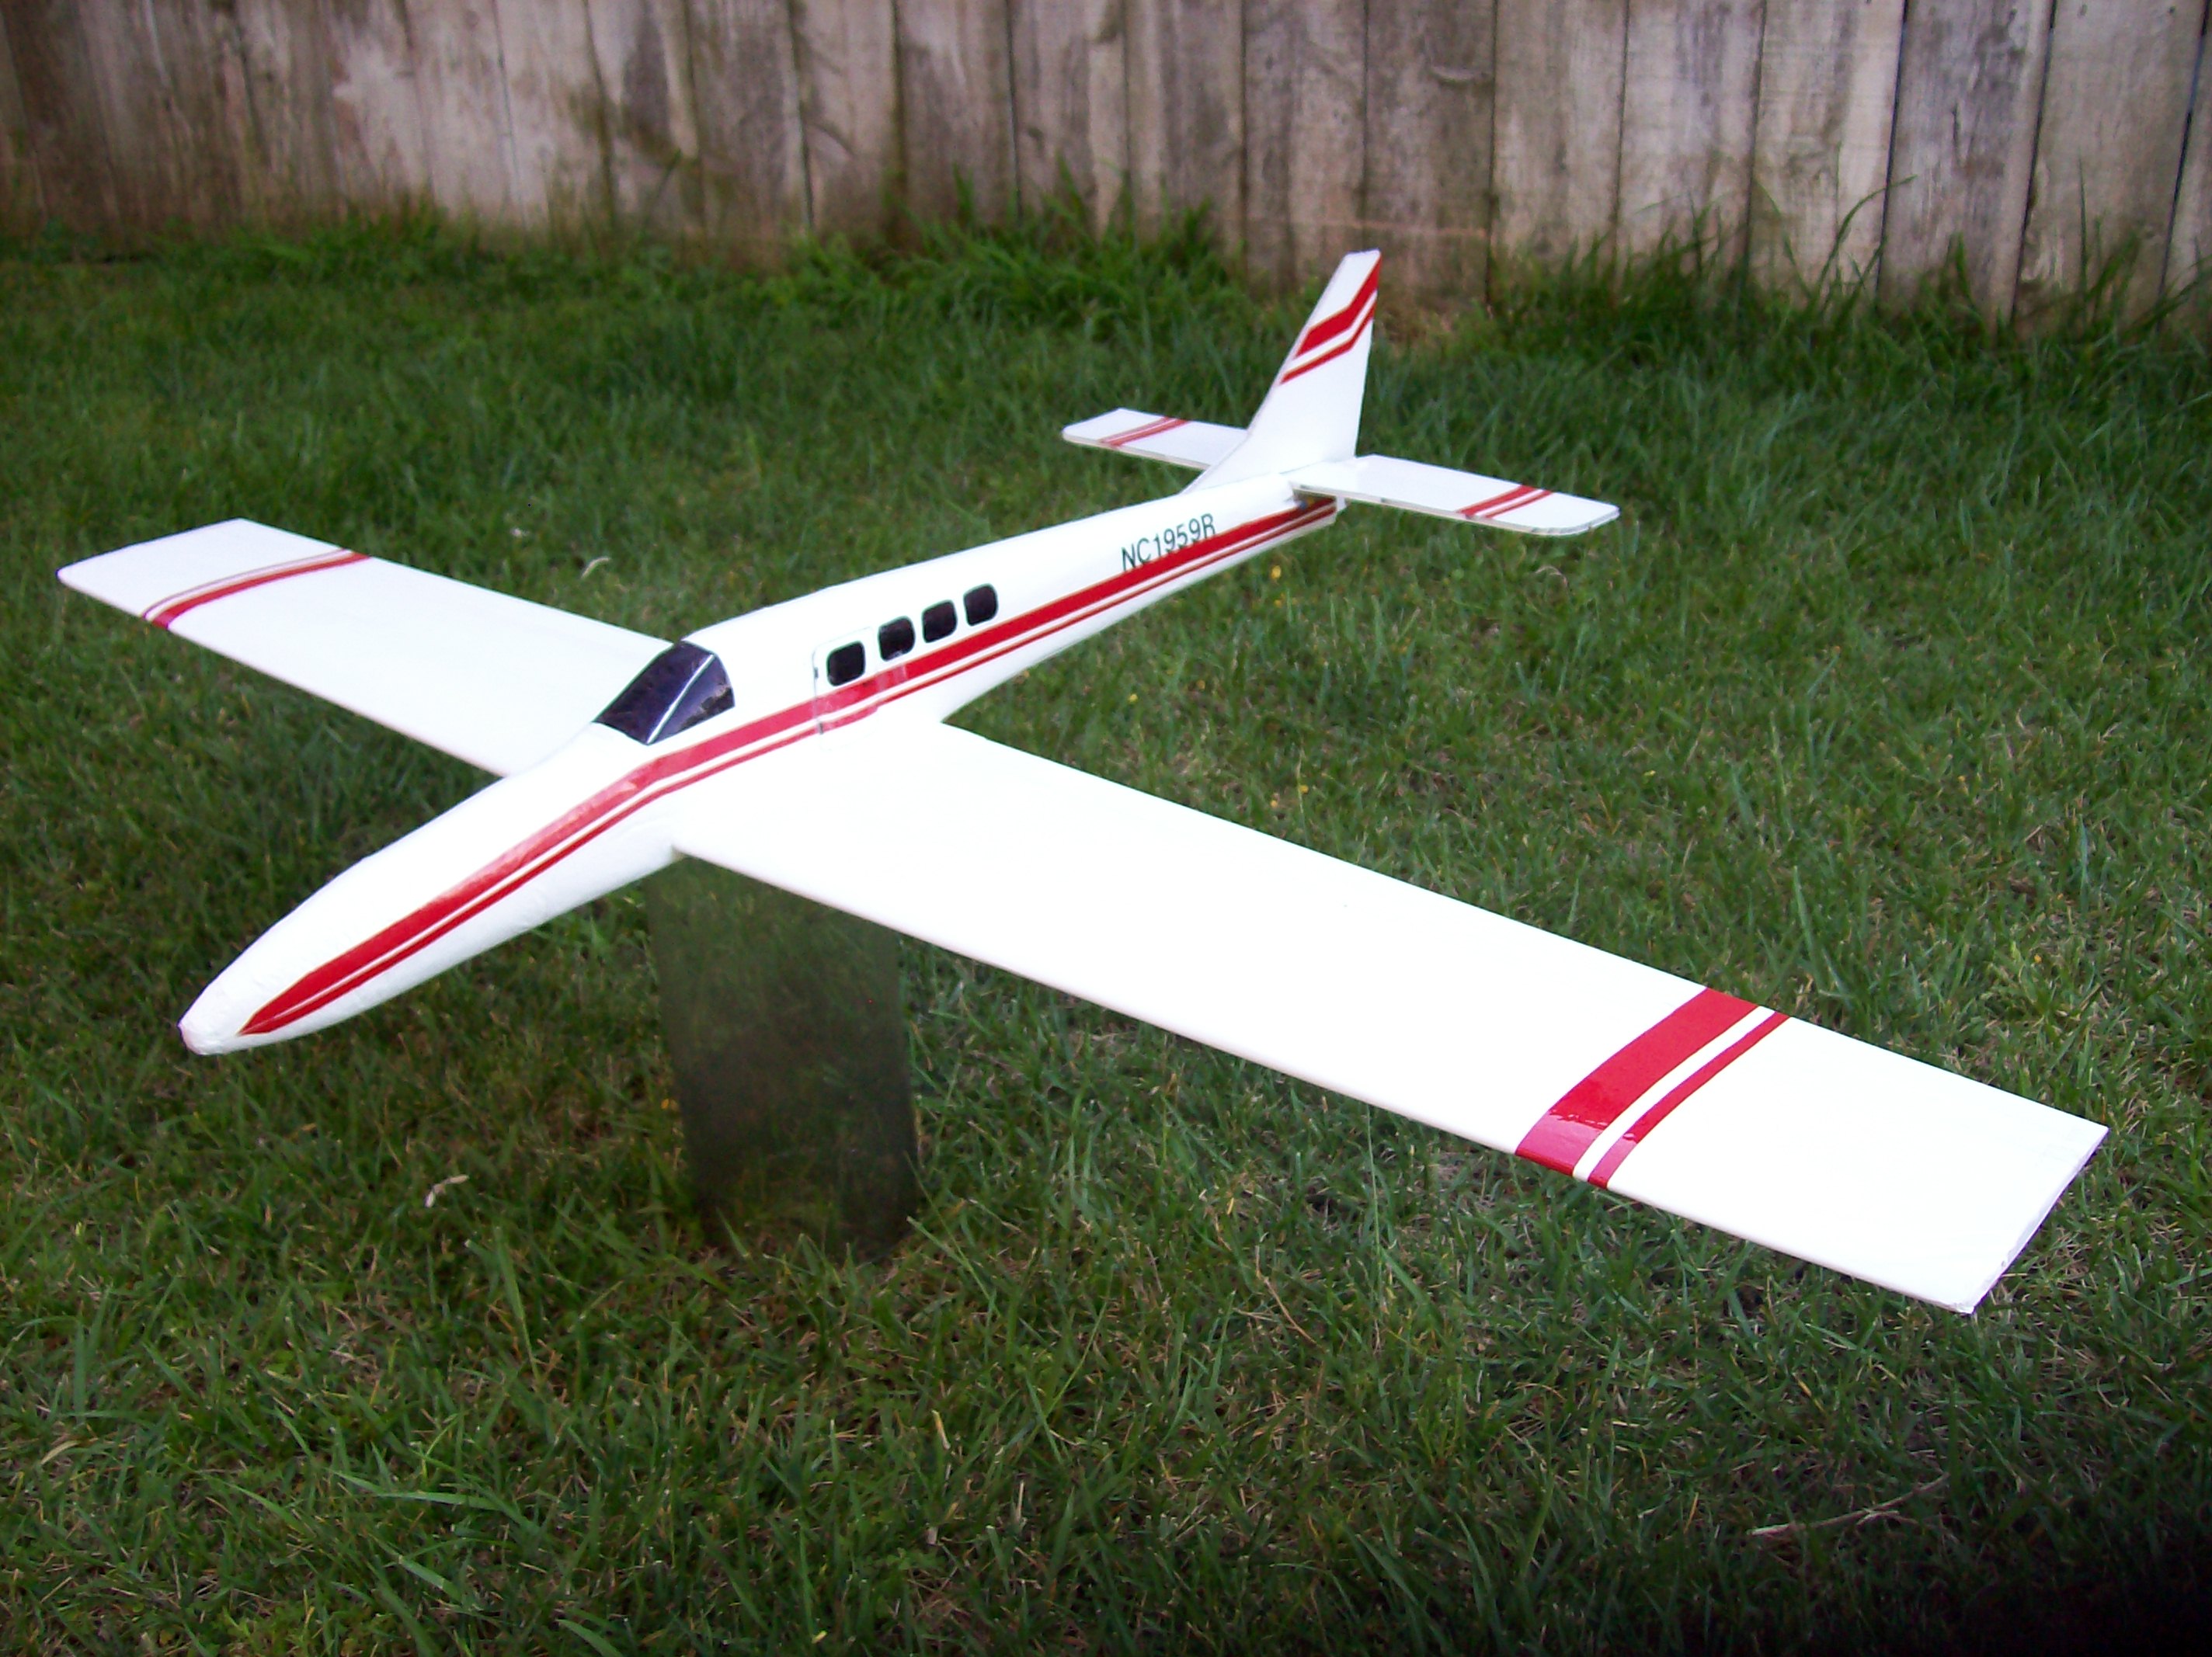
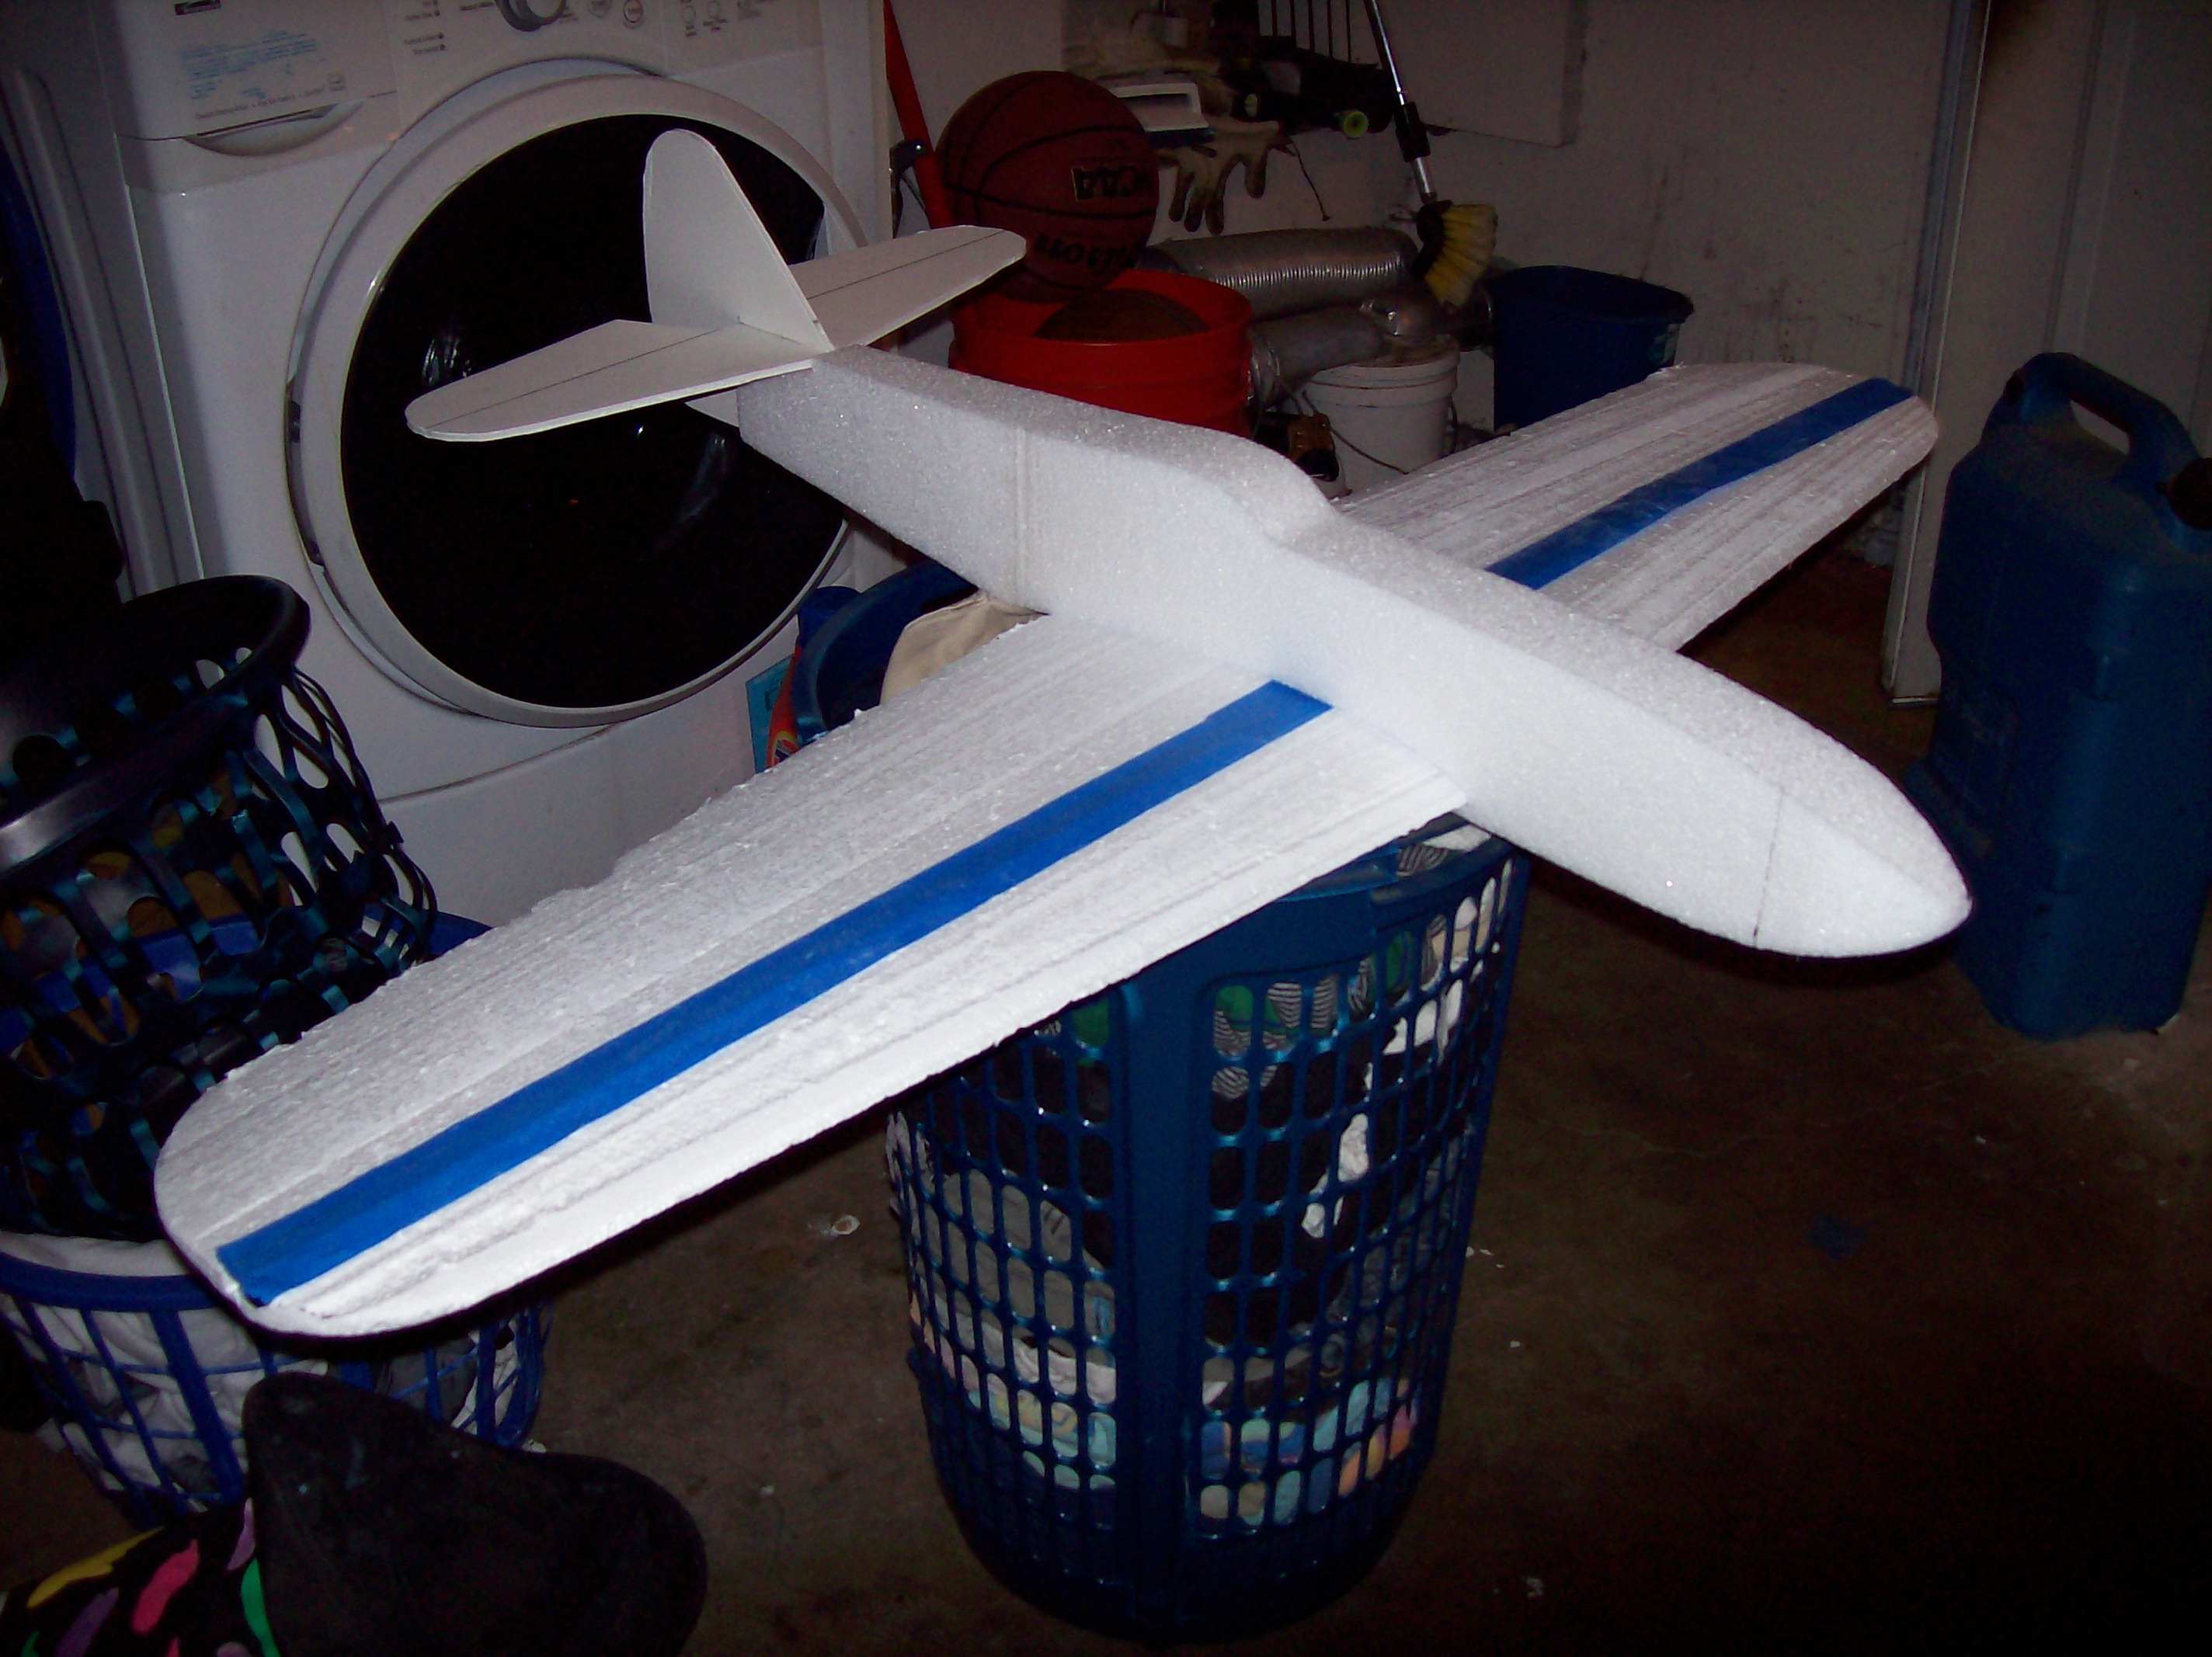
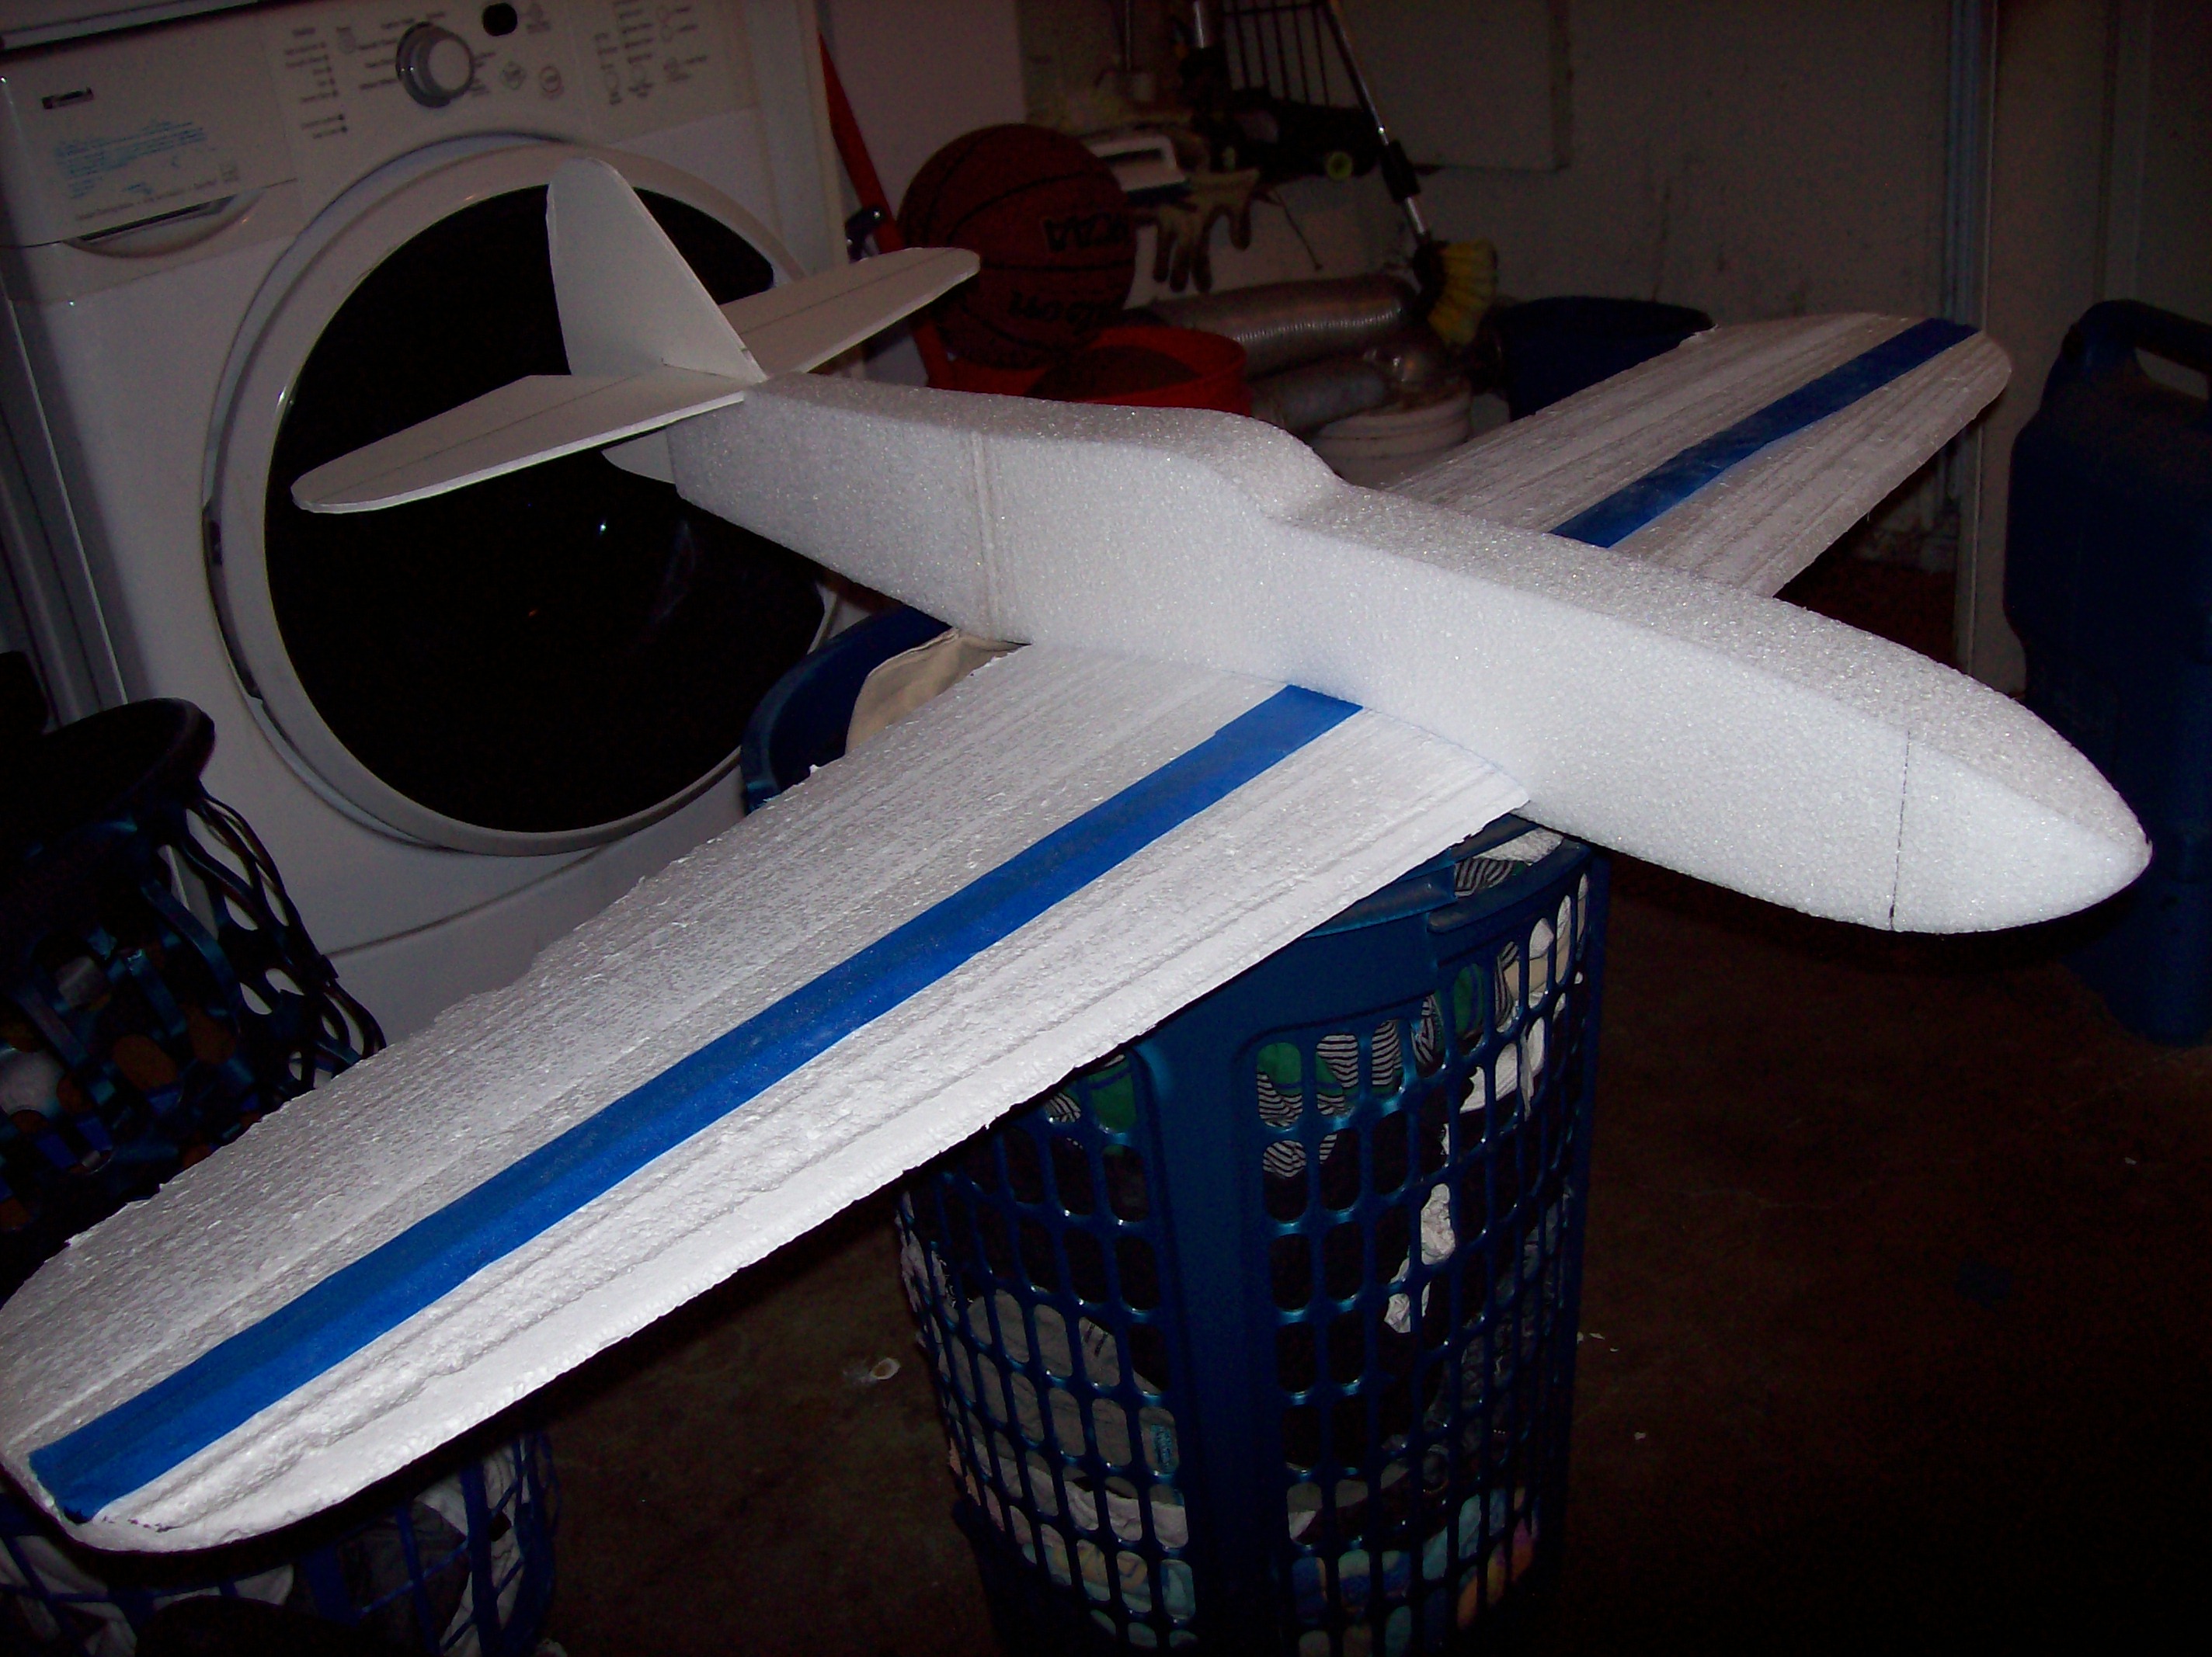
I want to start with a test plane so I could learn how to (make templates, hotwire cutting, etc....) and I named it BeachNut and here are some pictures of the design and build.
To contact me you can email me at rick@ricksepulveda.com
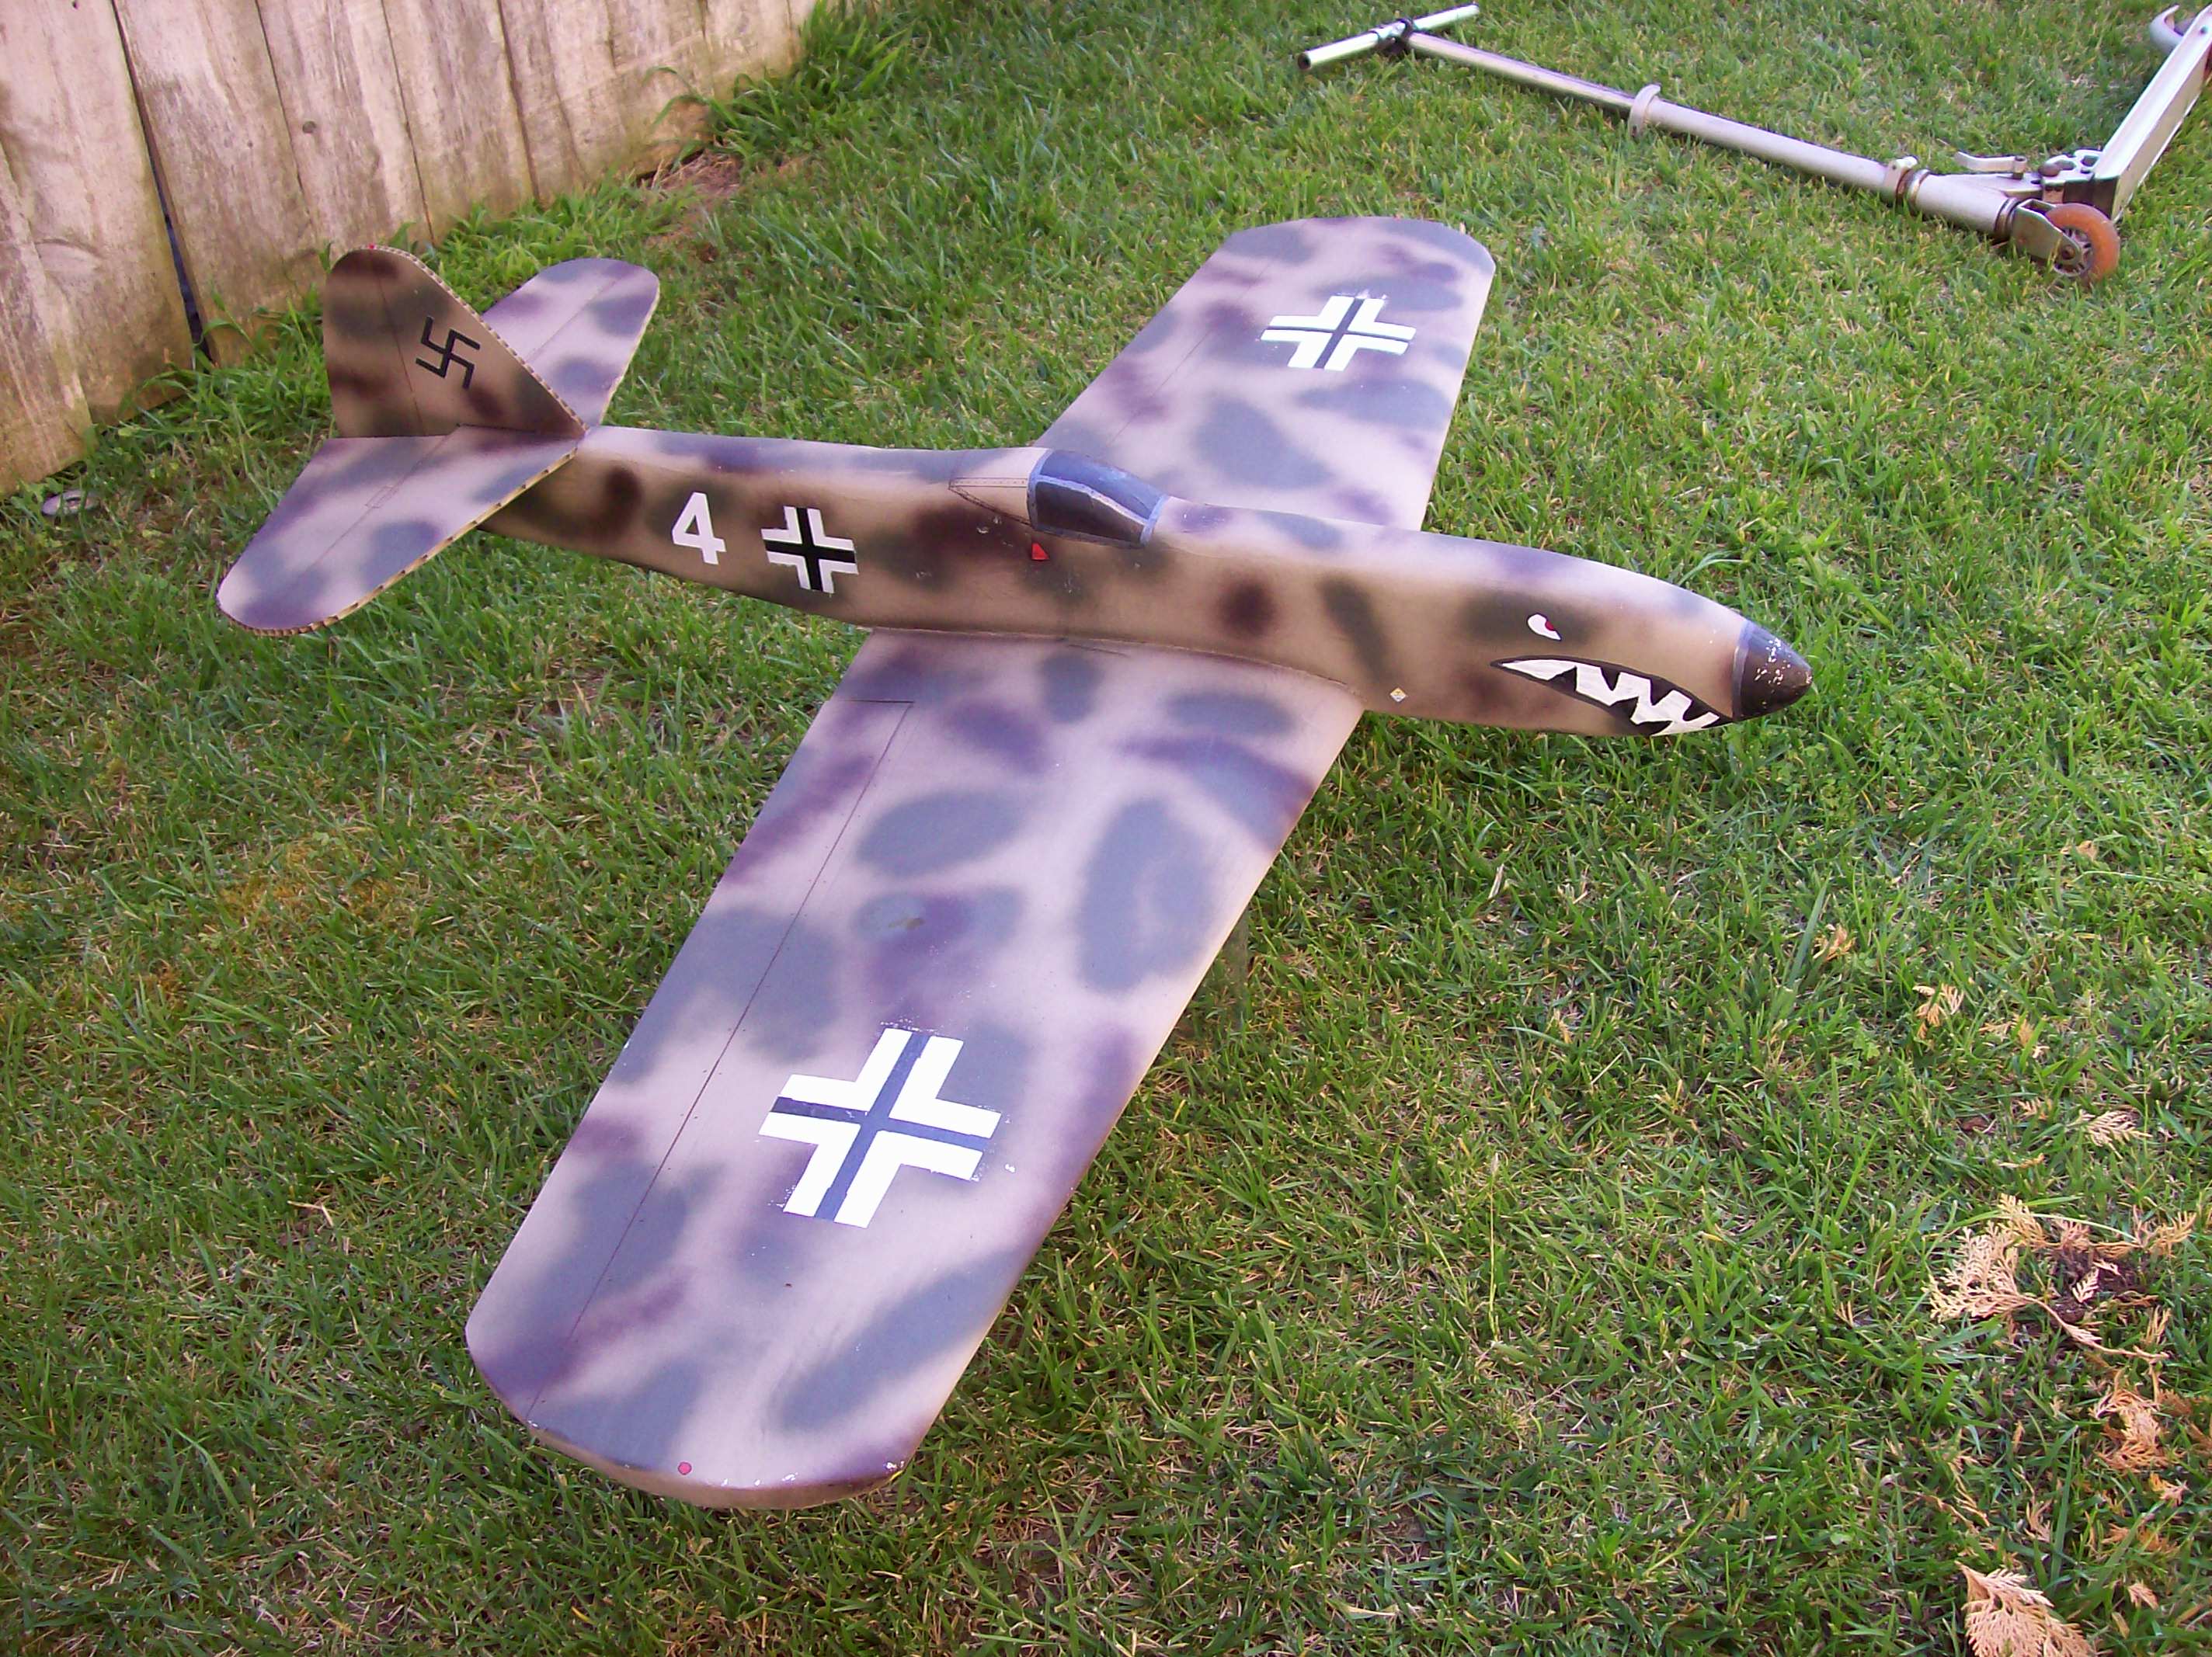


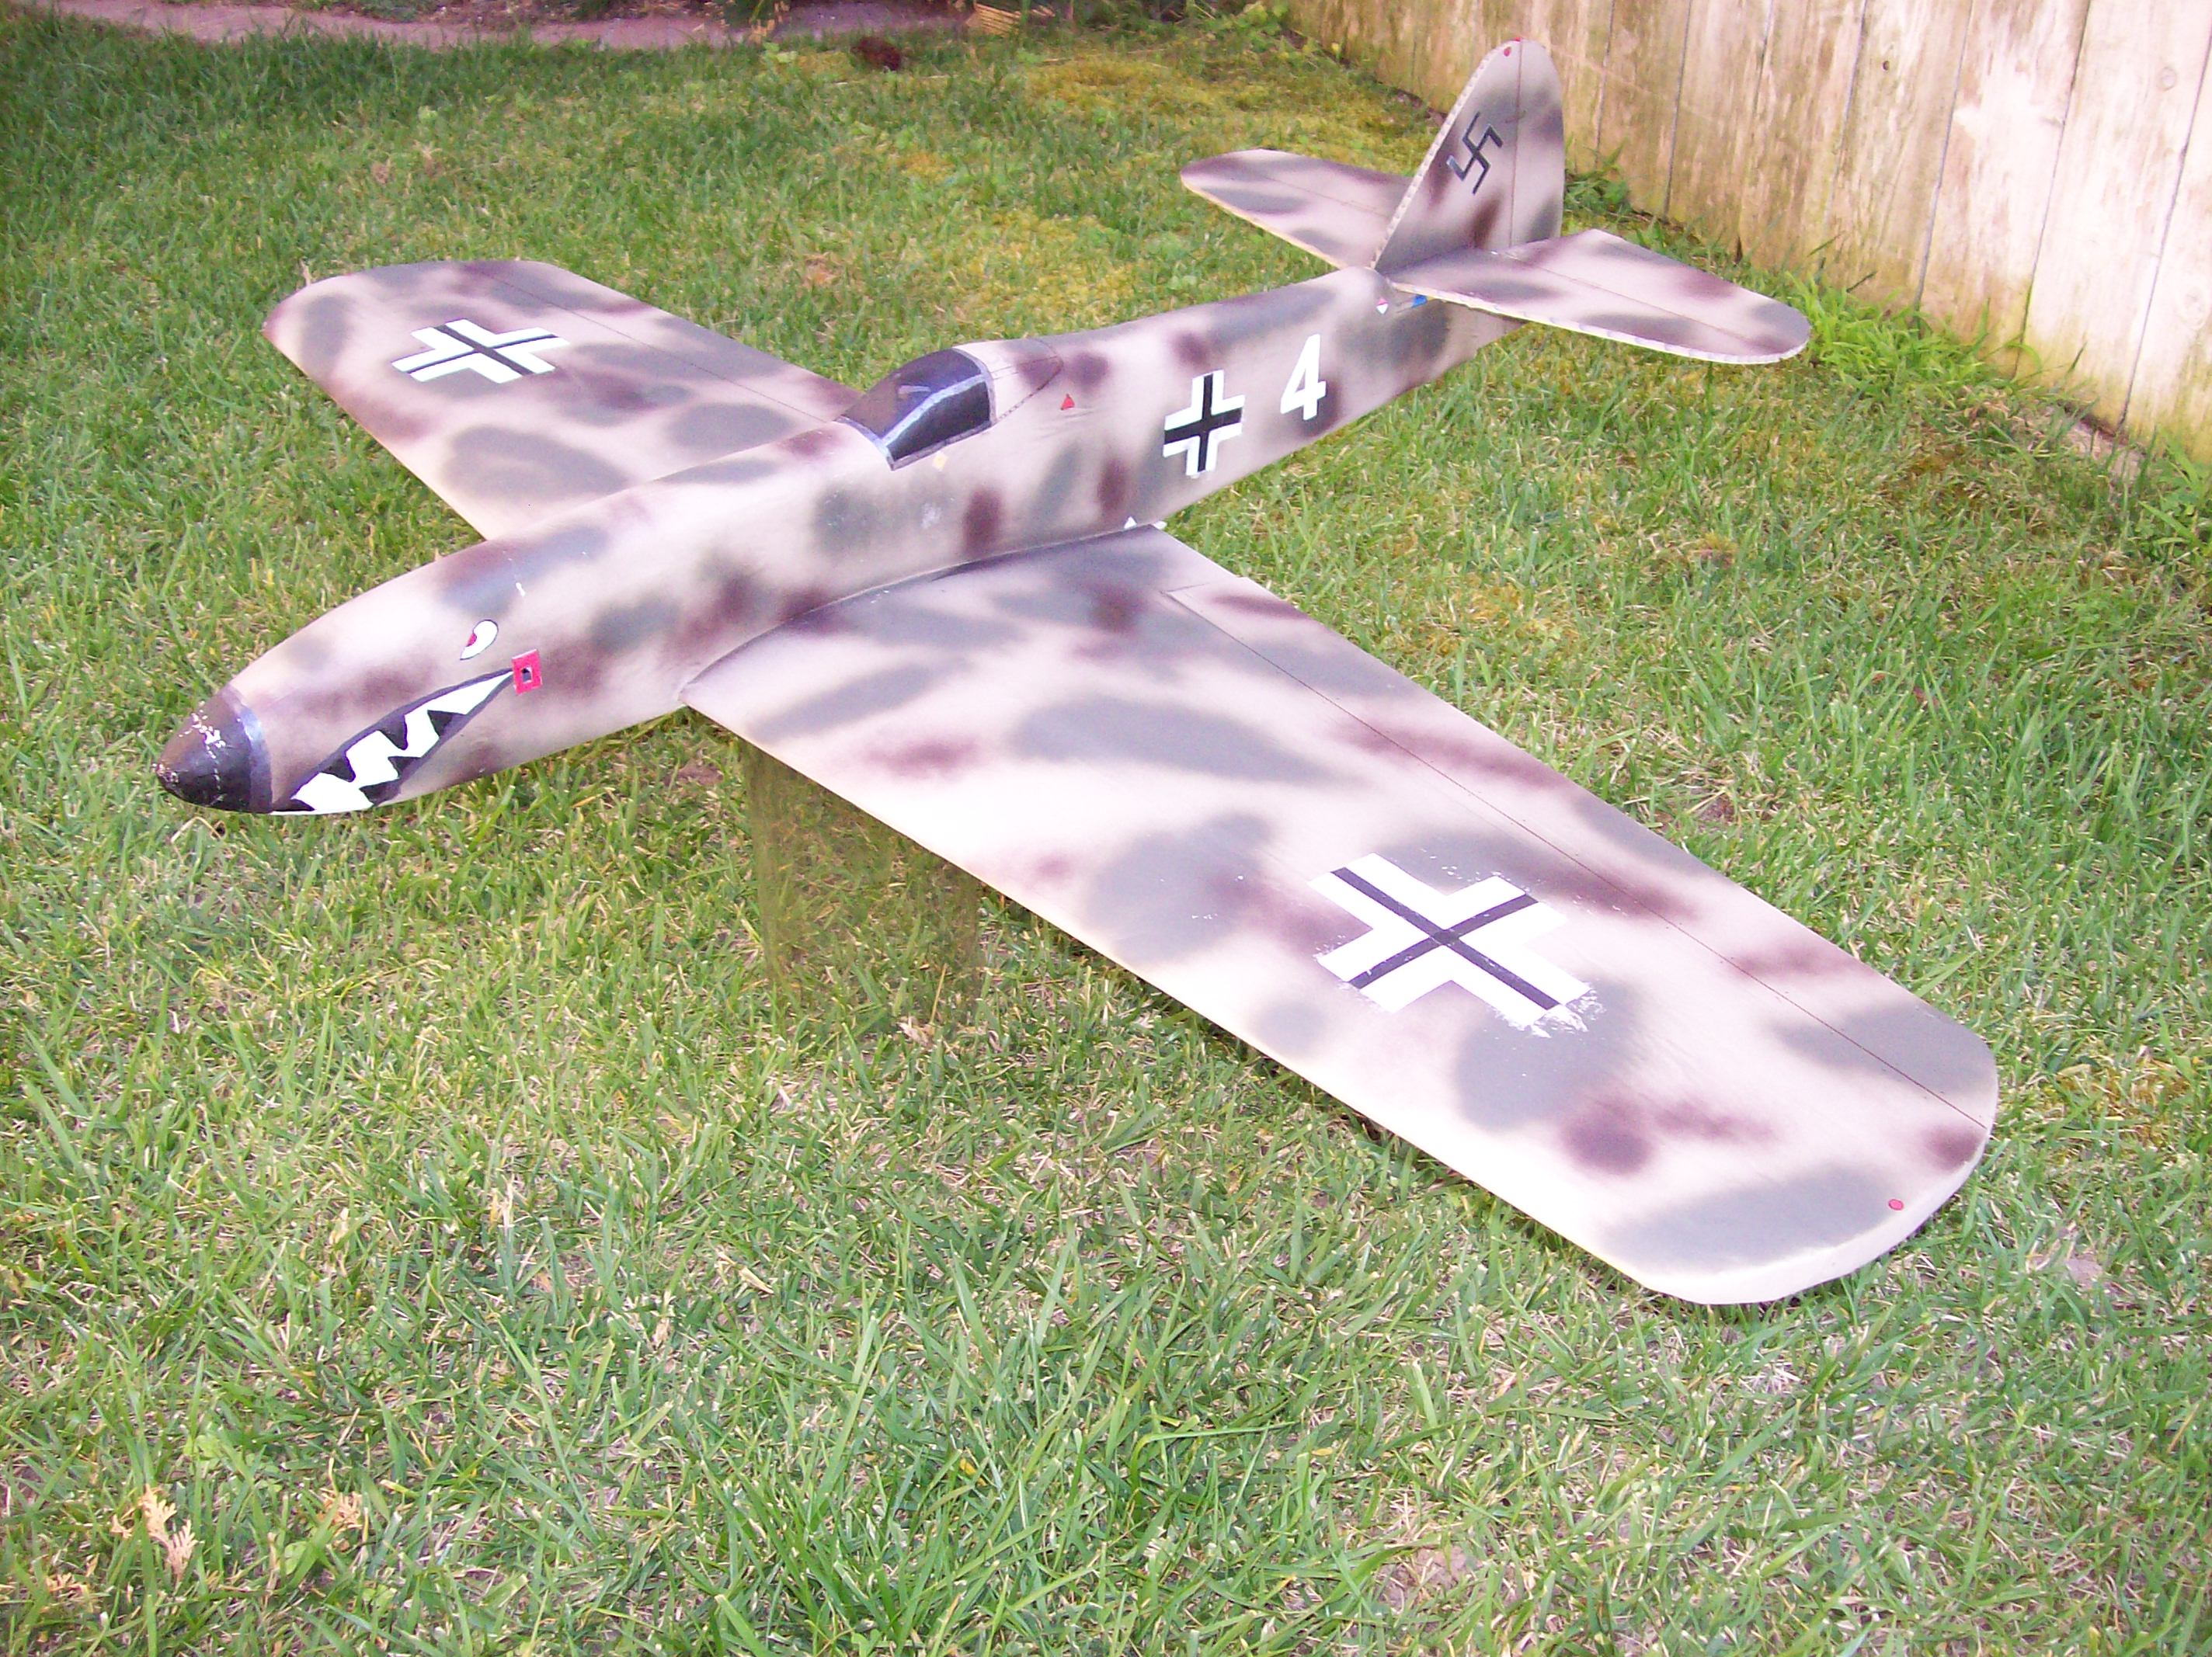
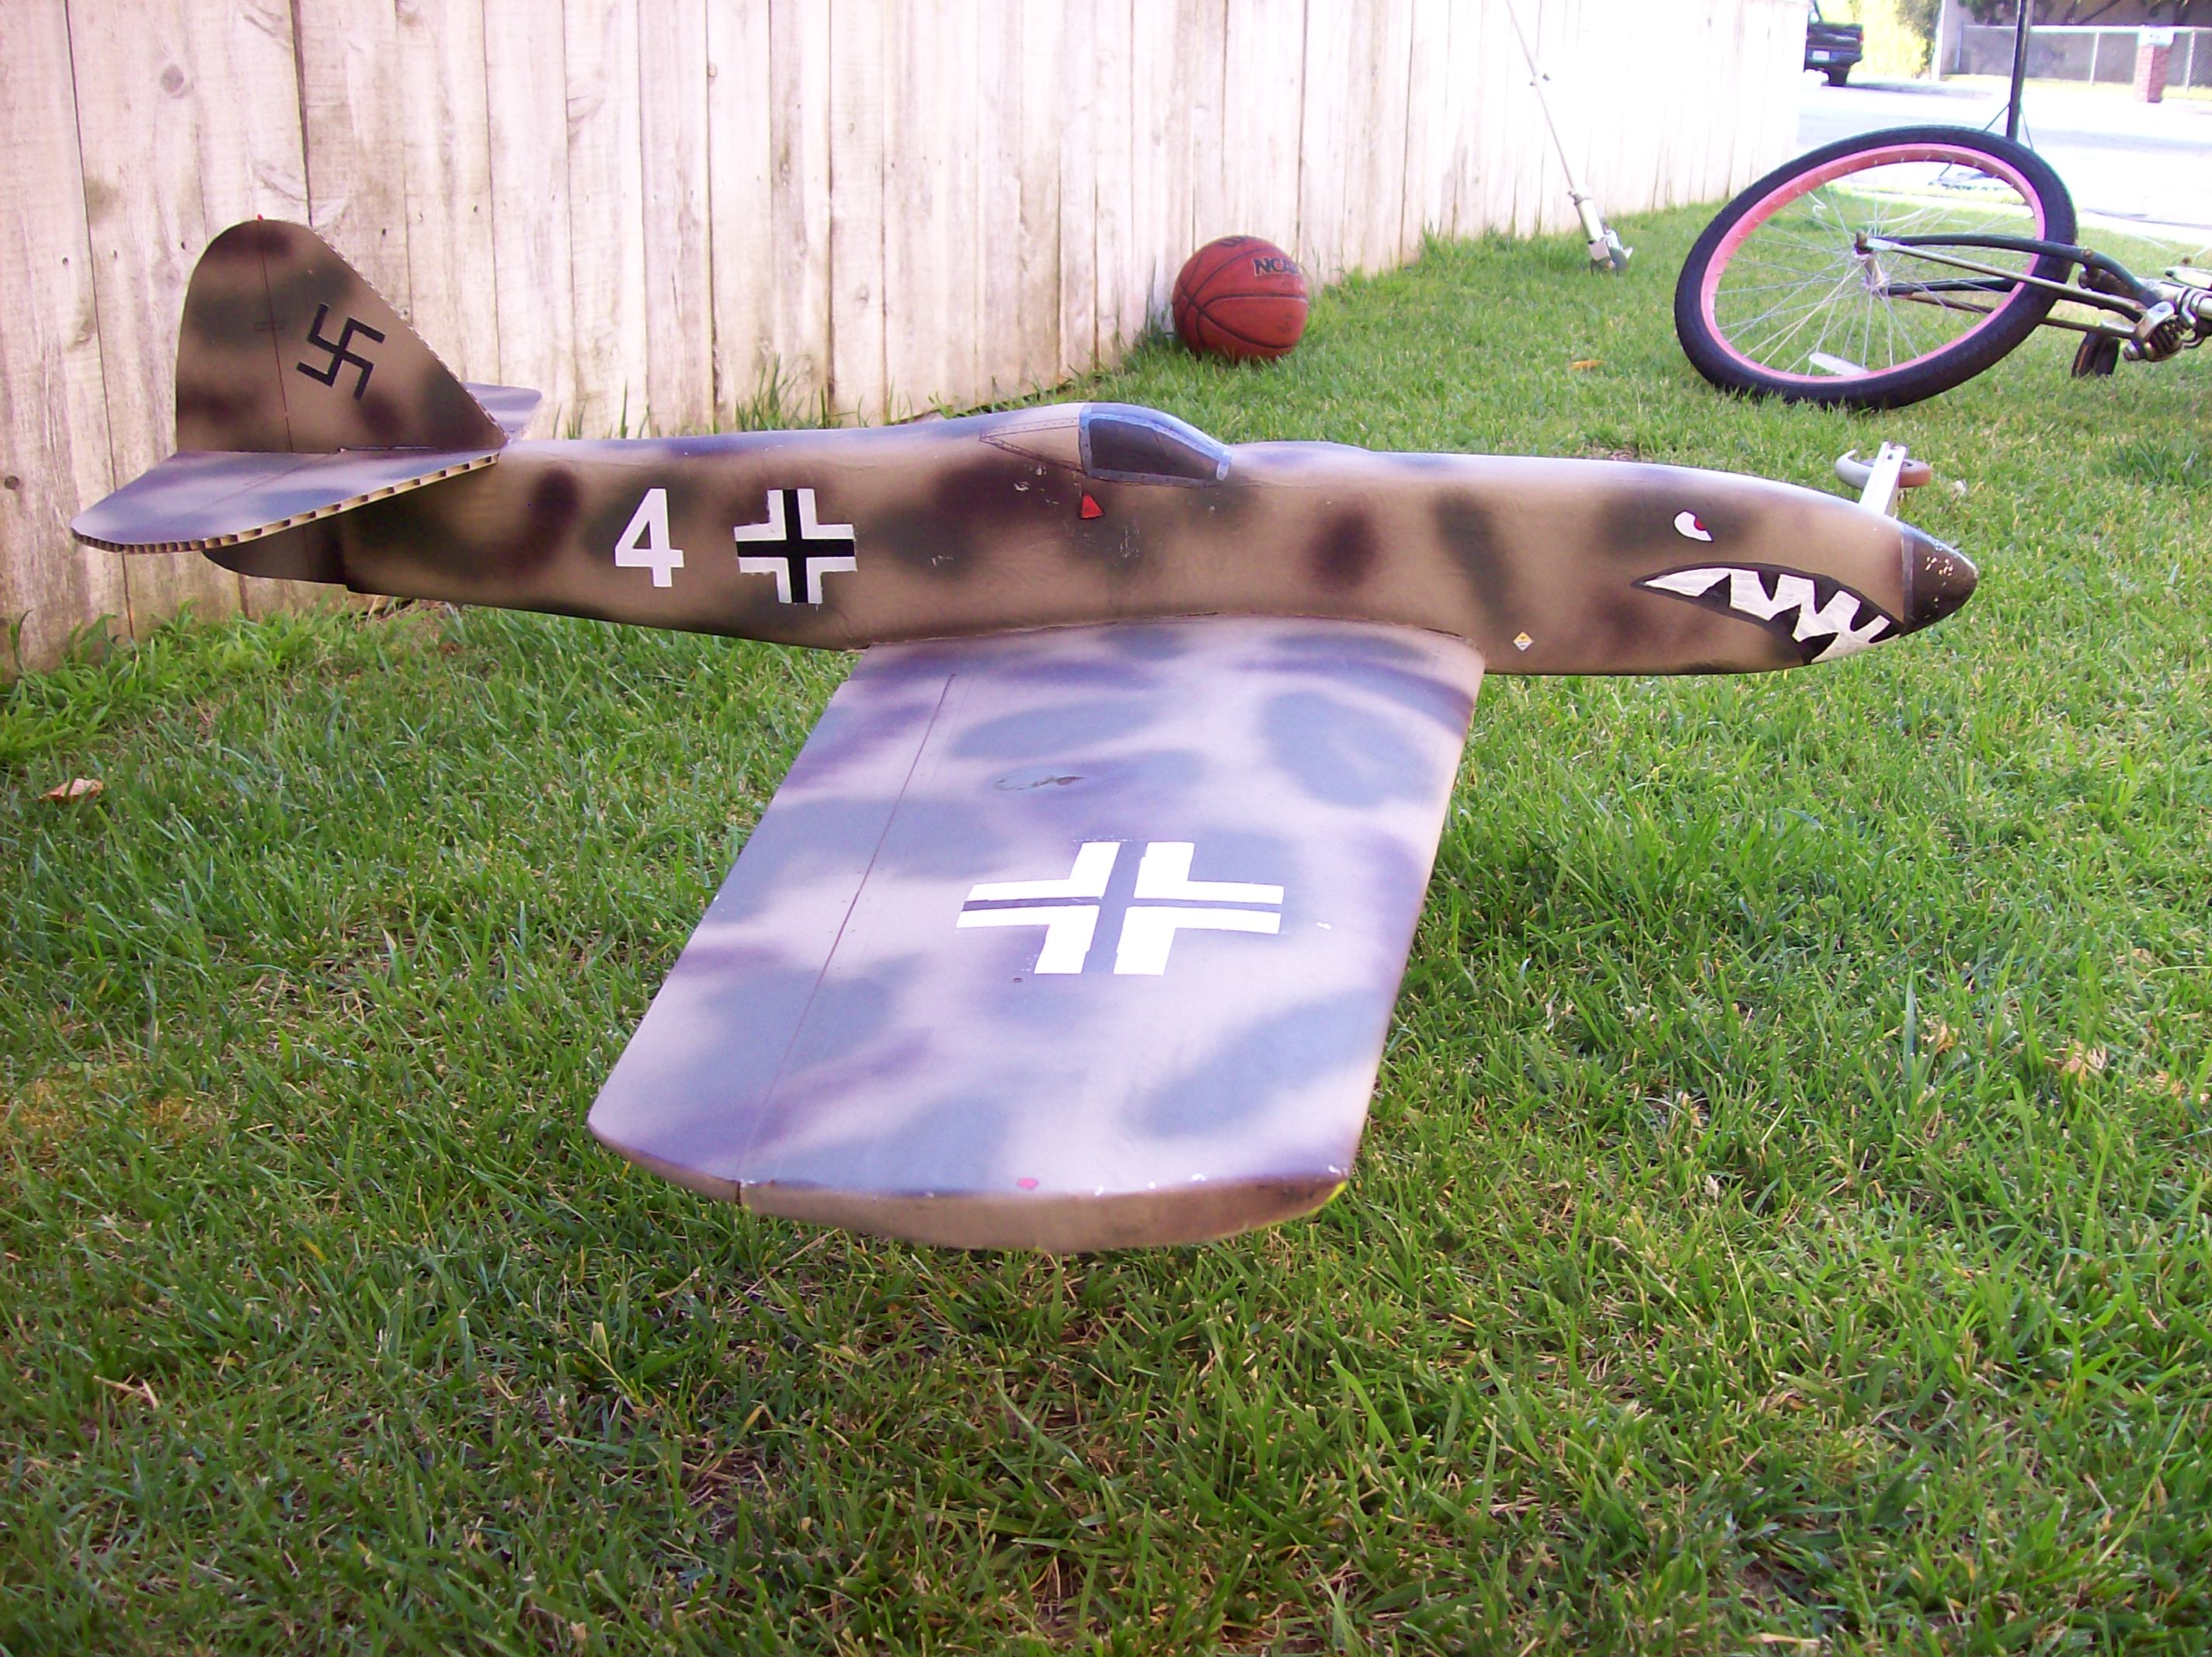
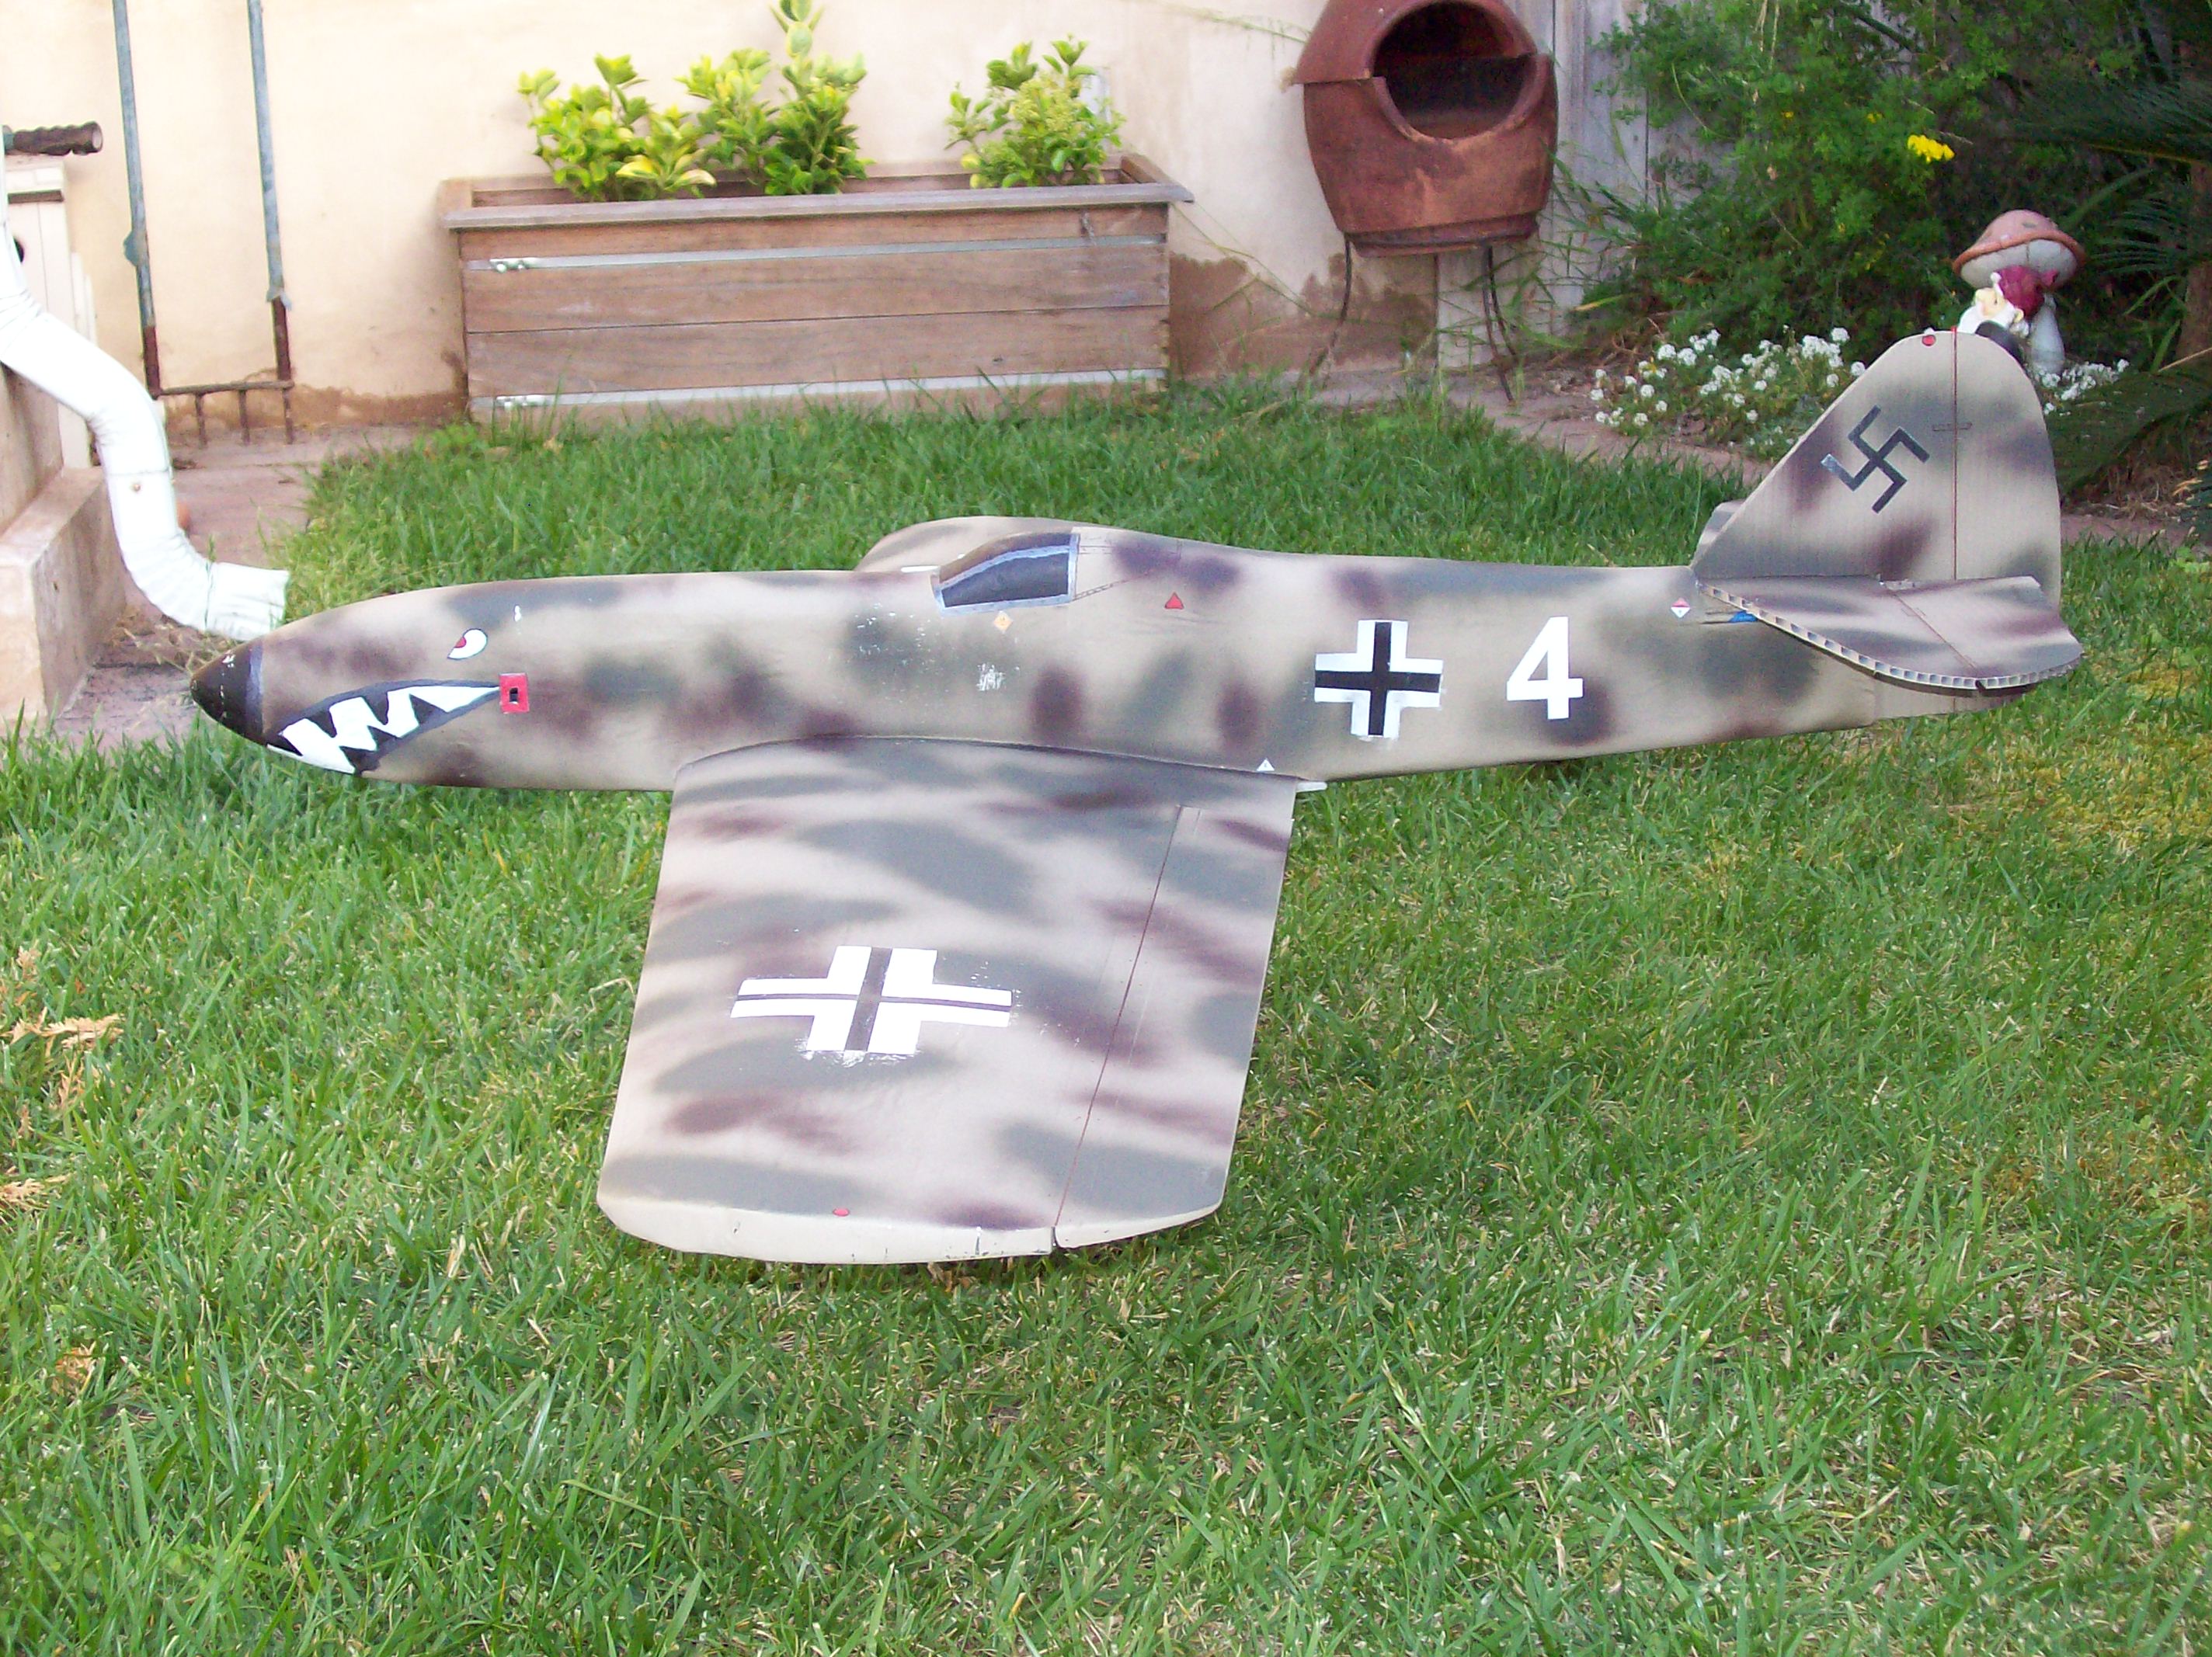
Now that I'm done with the test build (BeachNut), I'm ready to build my copy of my ME-109 WarBird.
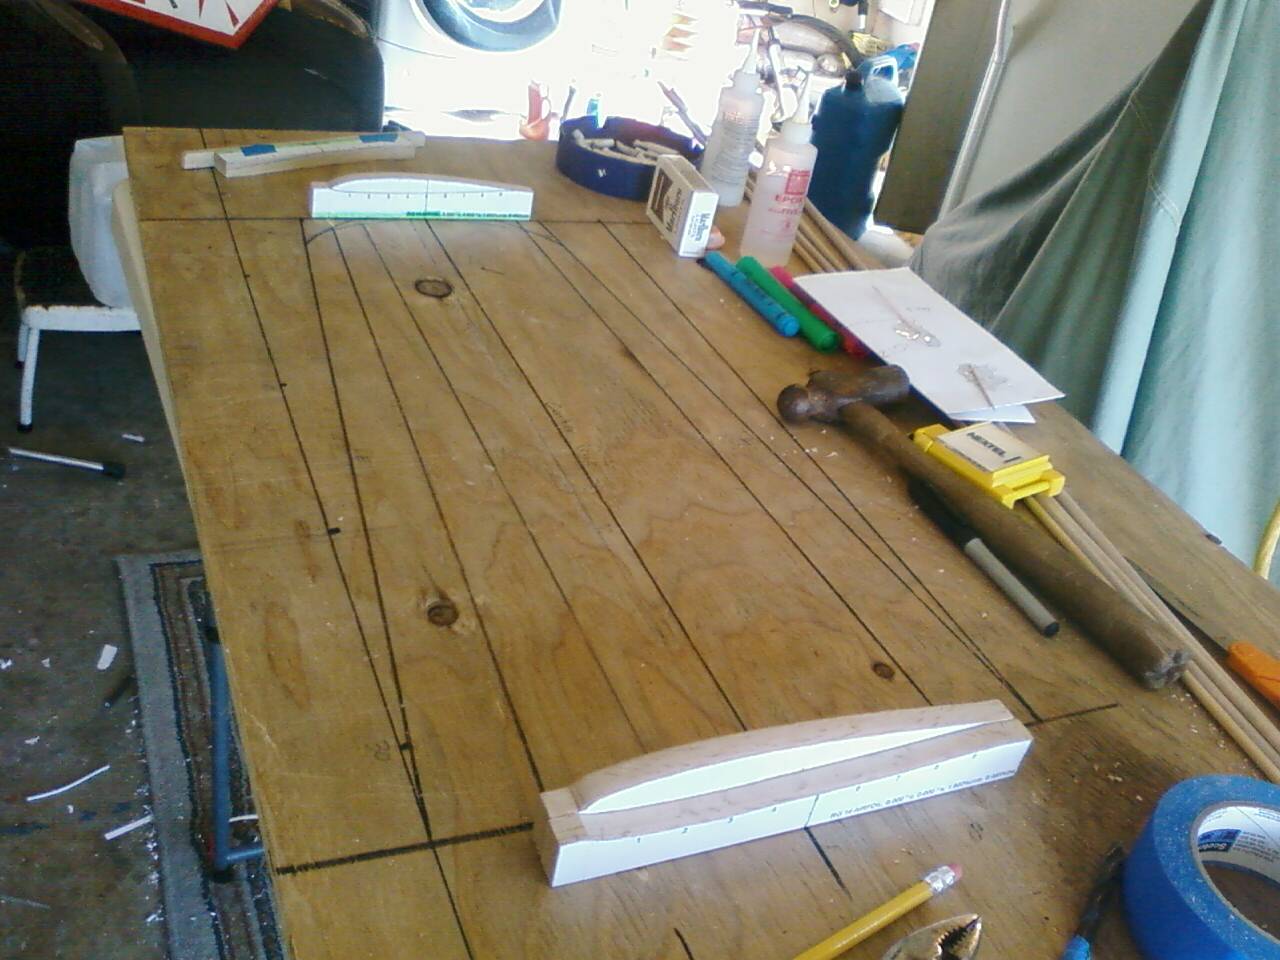
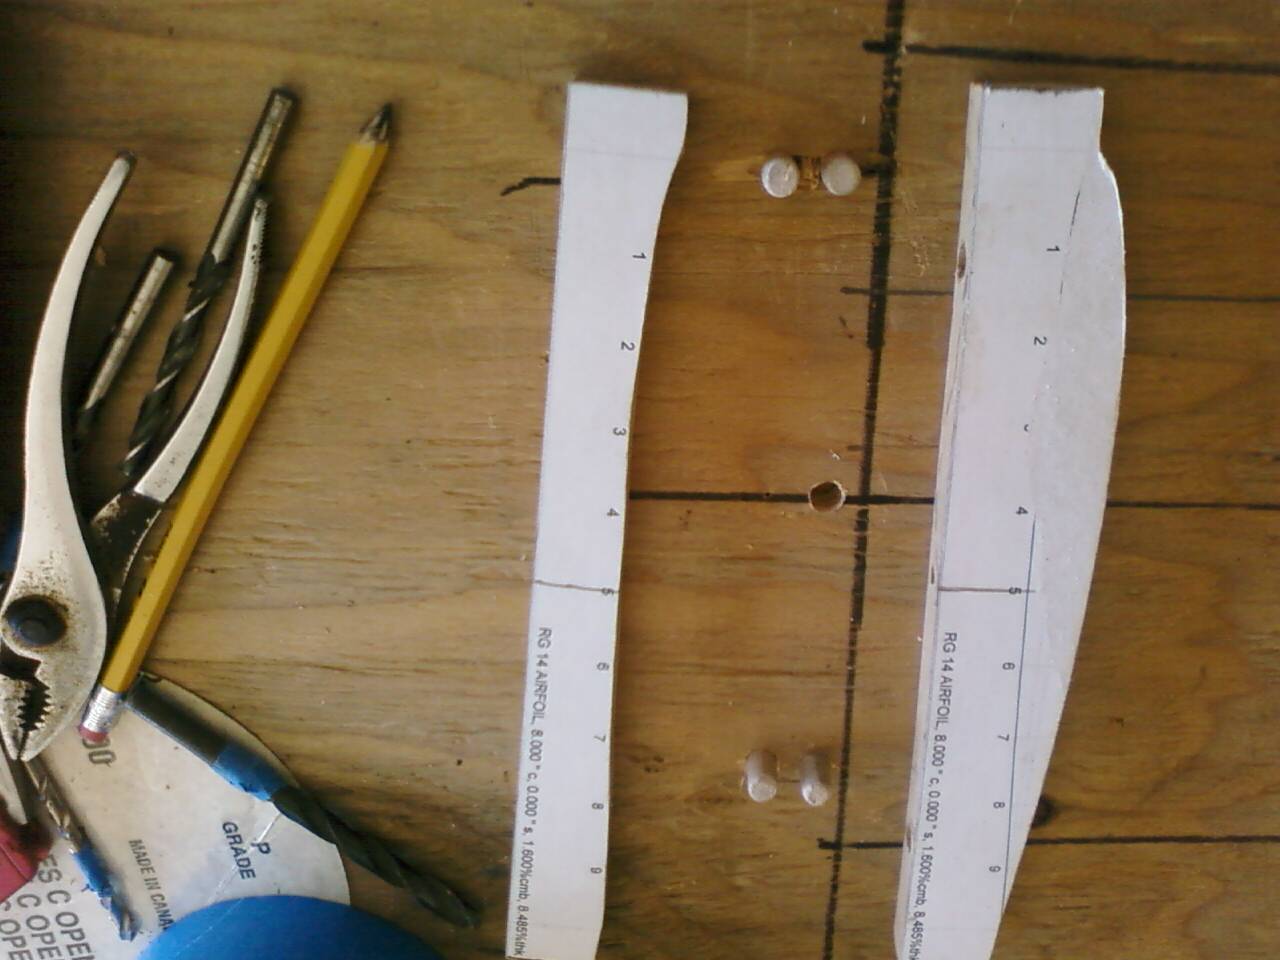
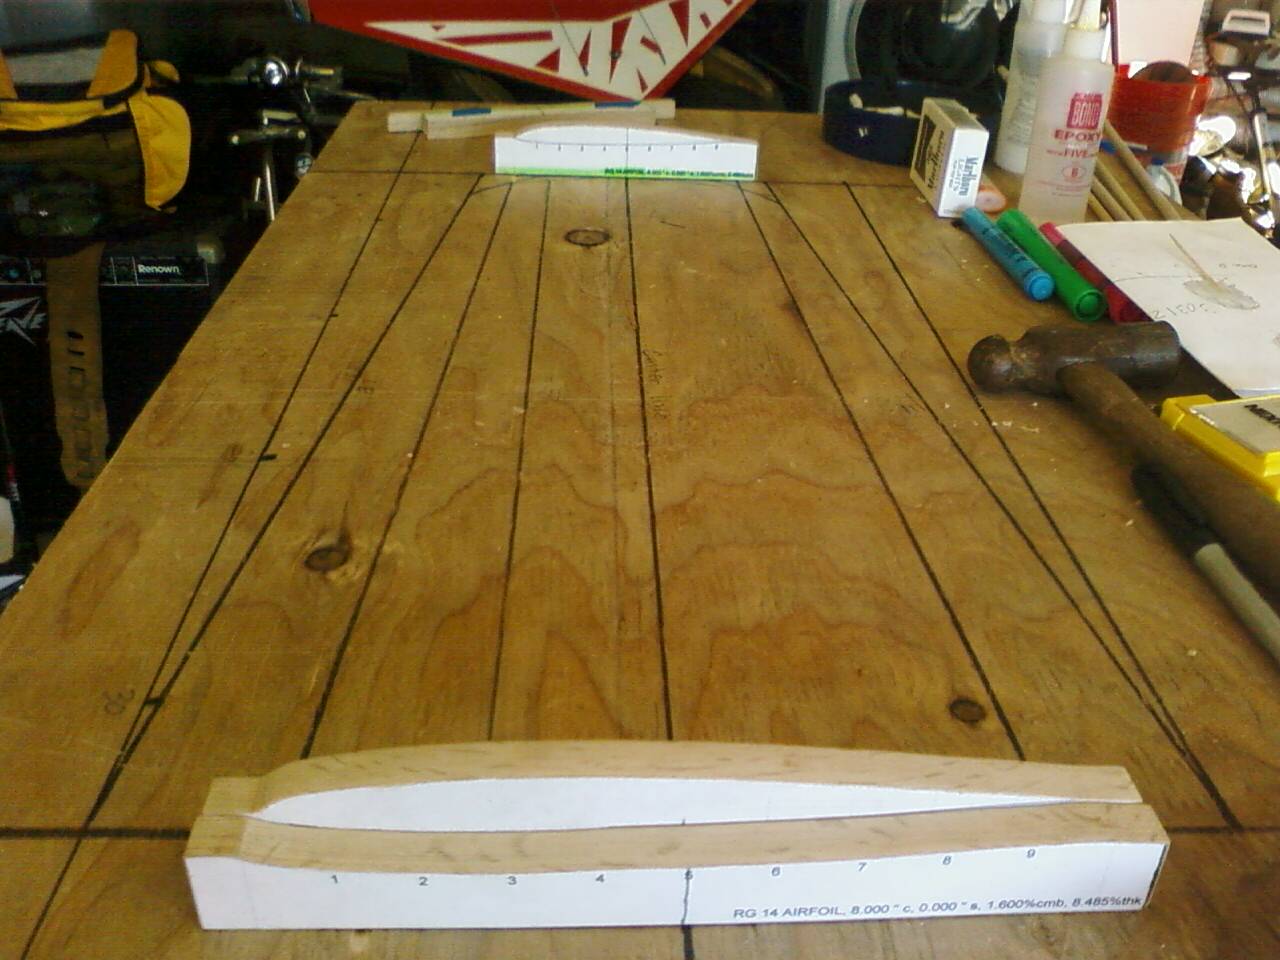
So I took some measurements, traced the fuselage, made the foam cutting templates and that's how you do it. Well at least that's how I'm doing it.
Below are pictures of the build proccess, I'll keep adding pictures as I build.
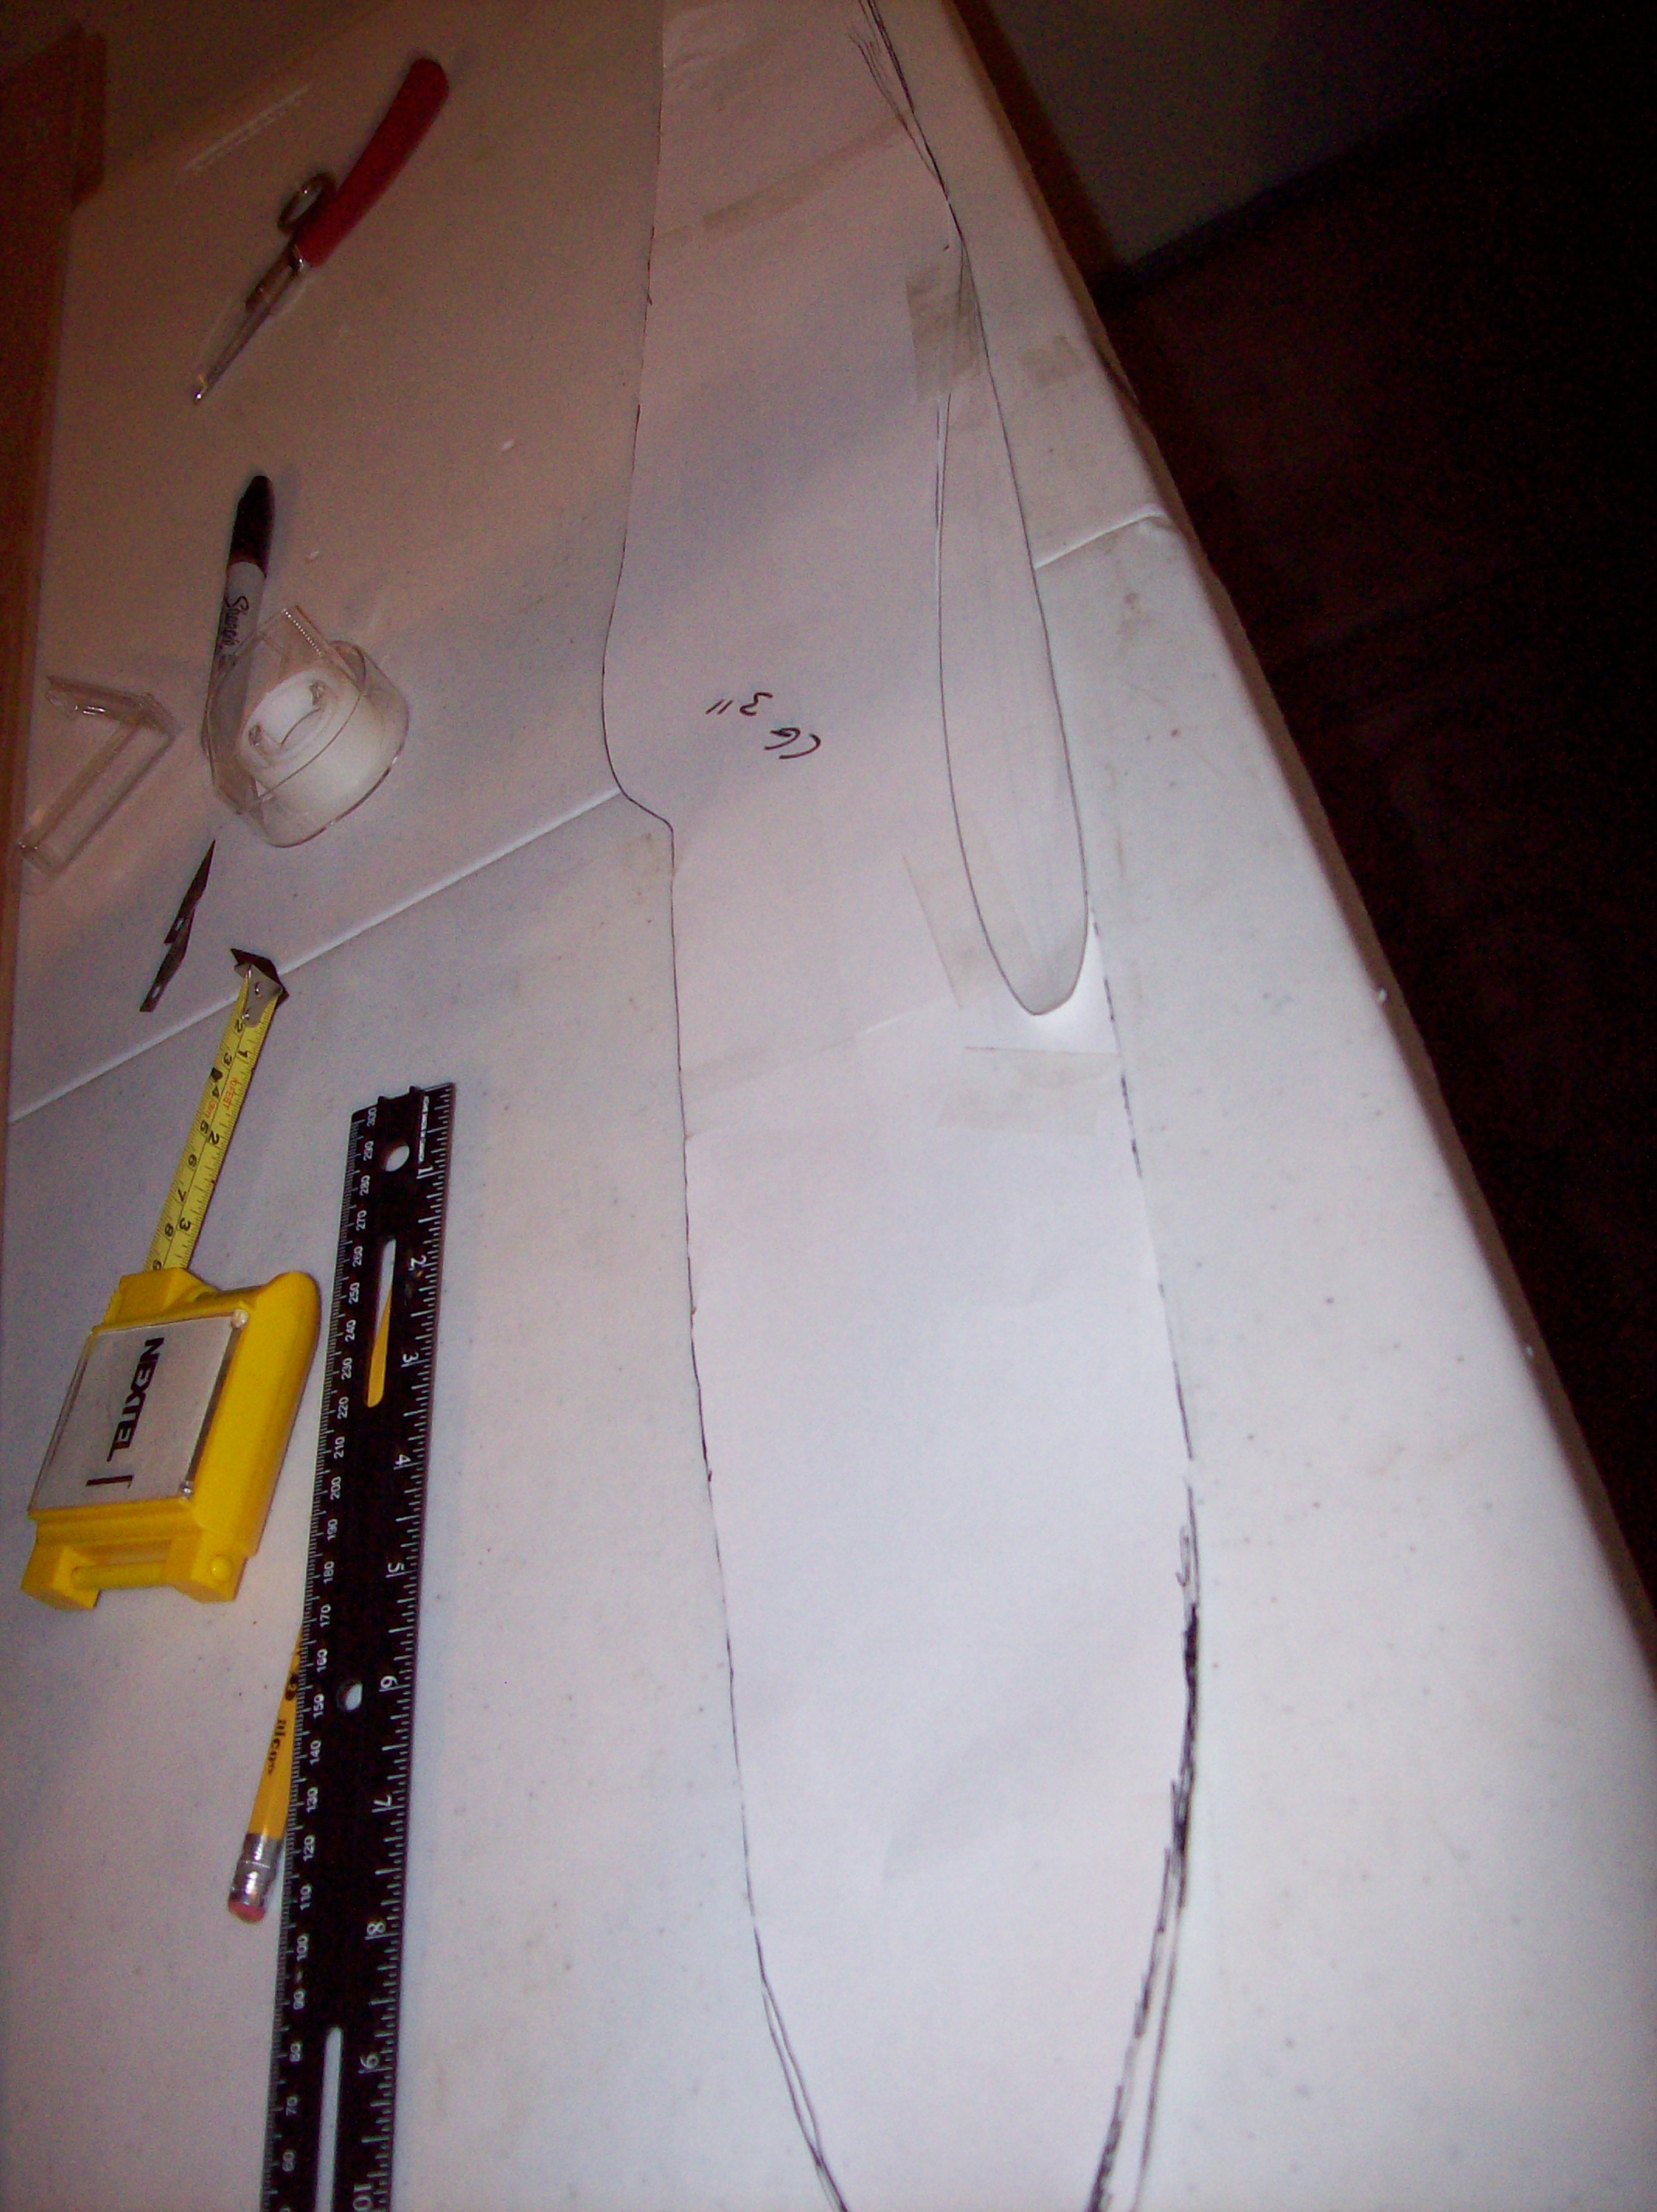
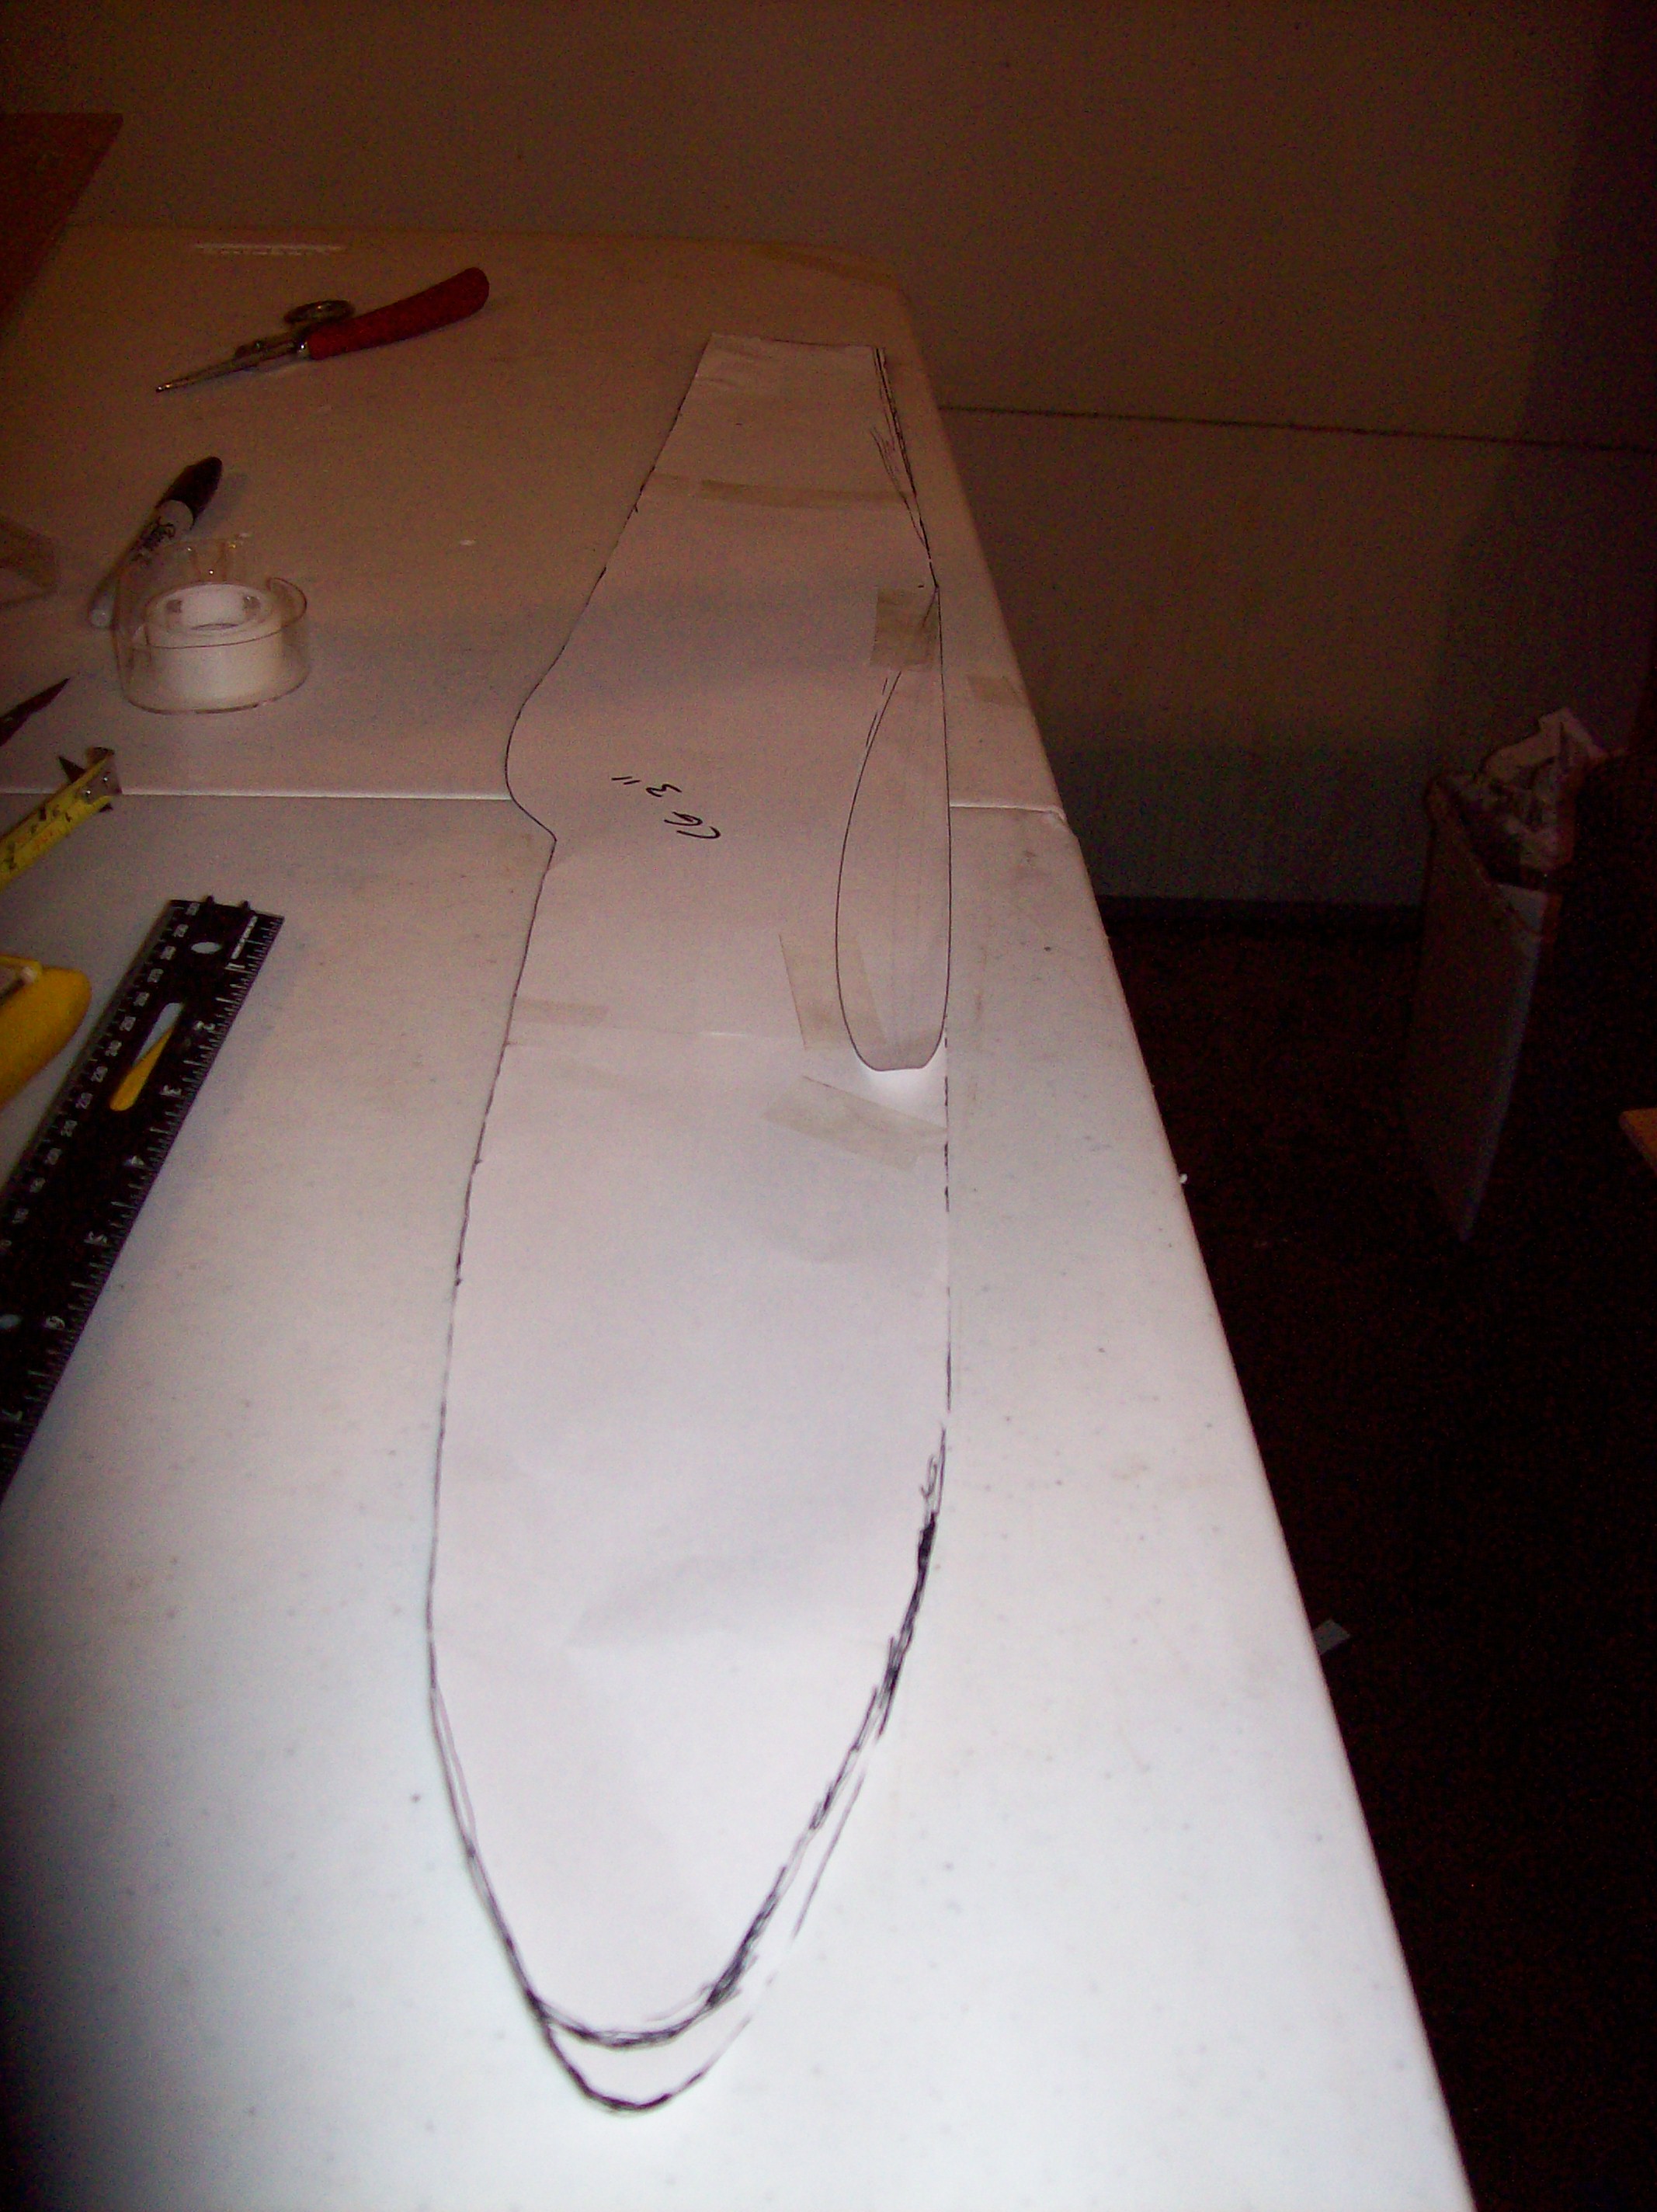

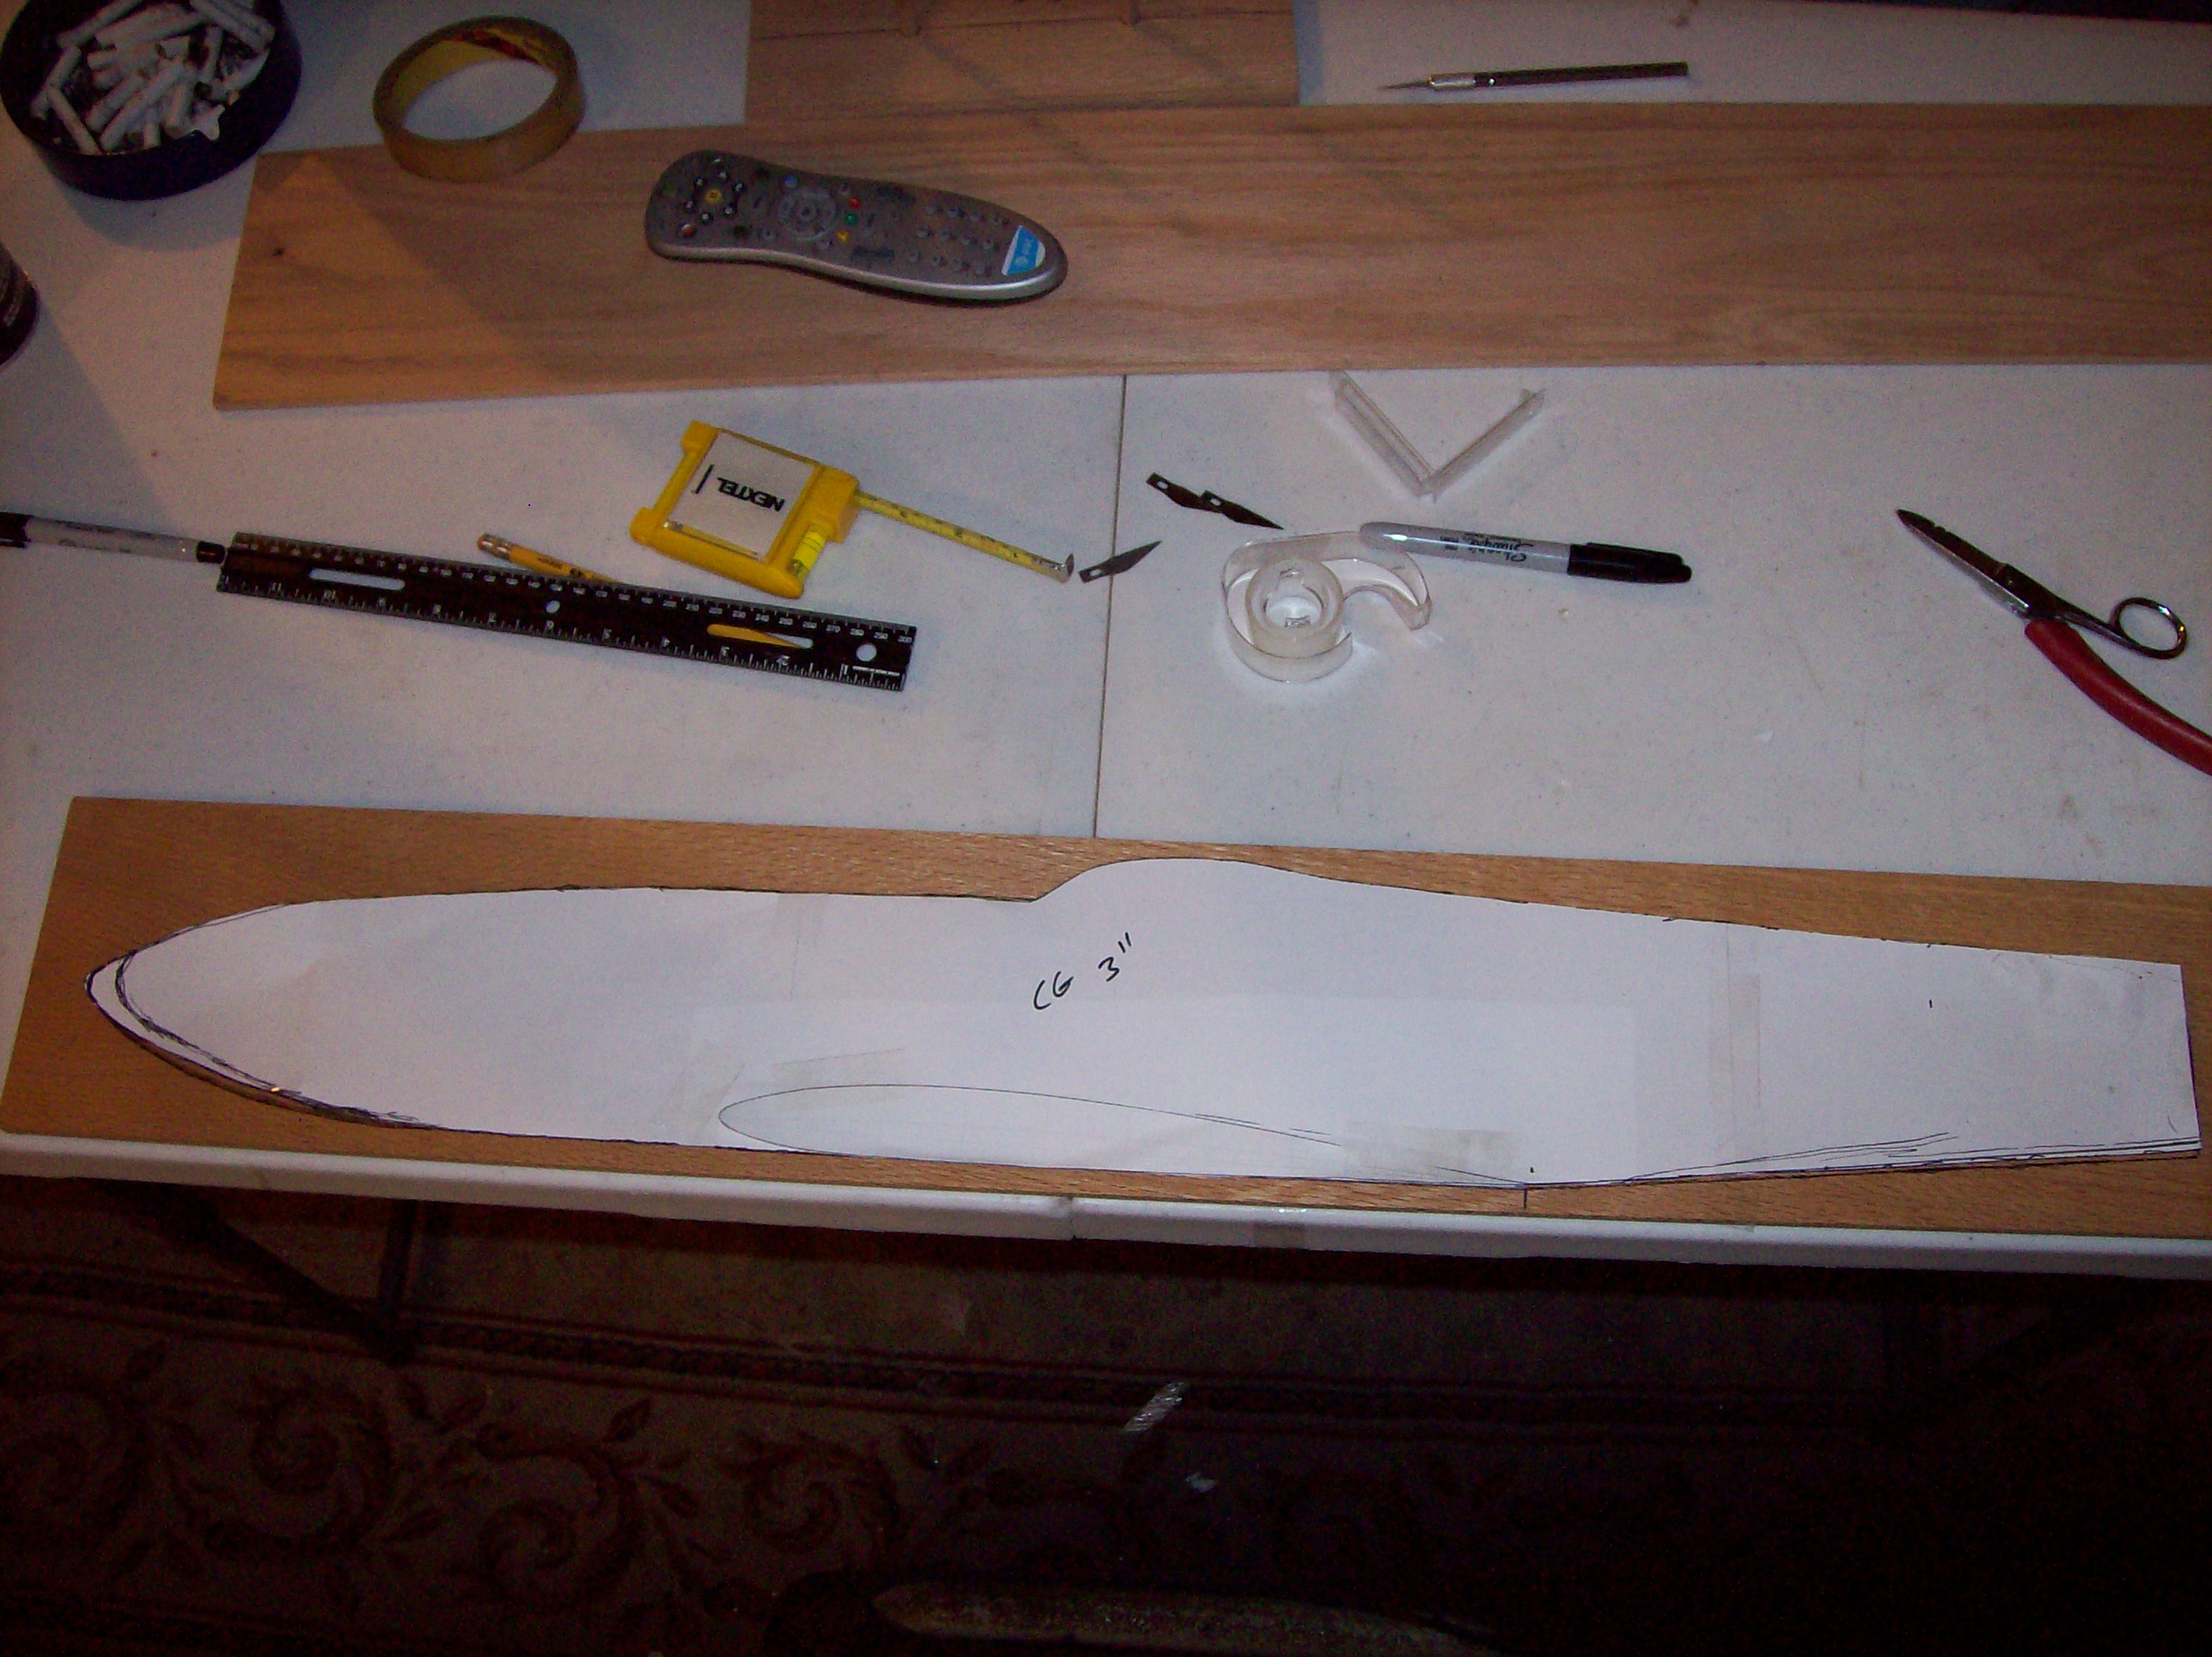
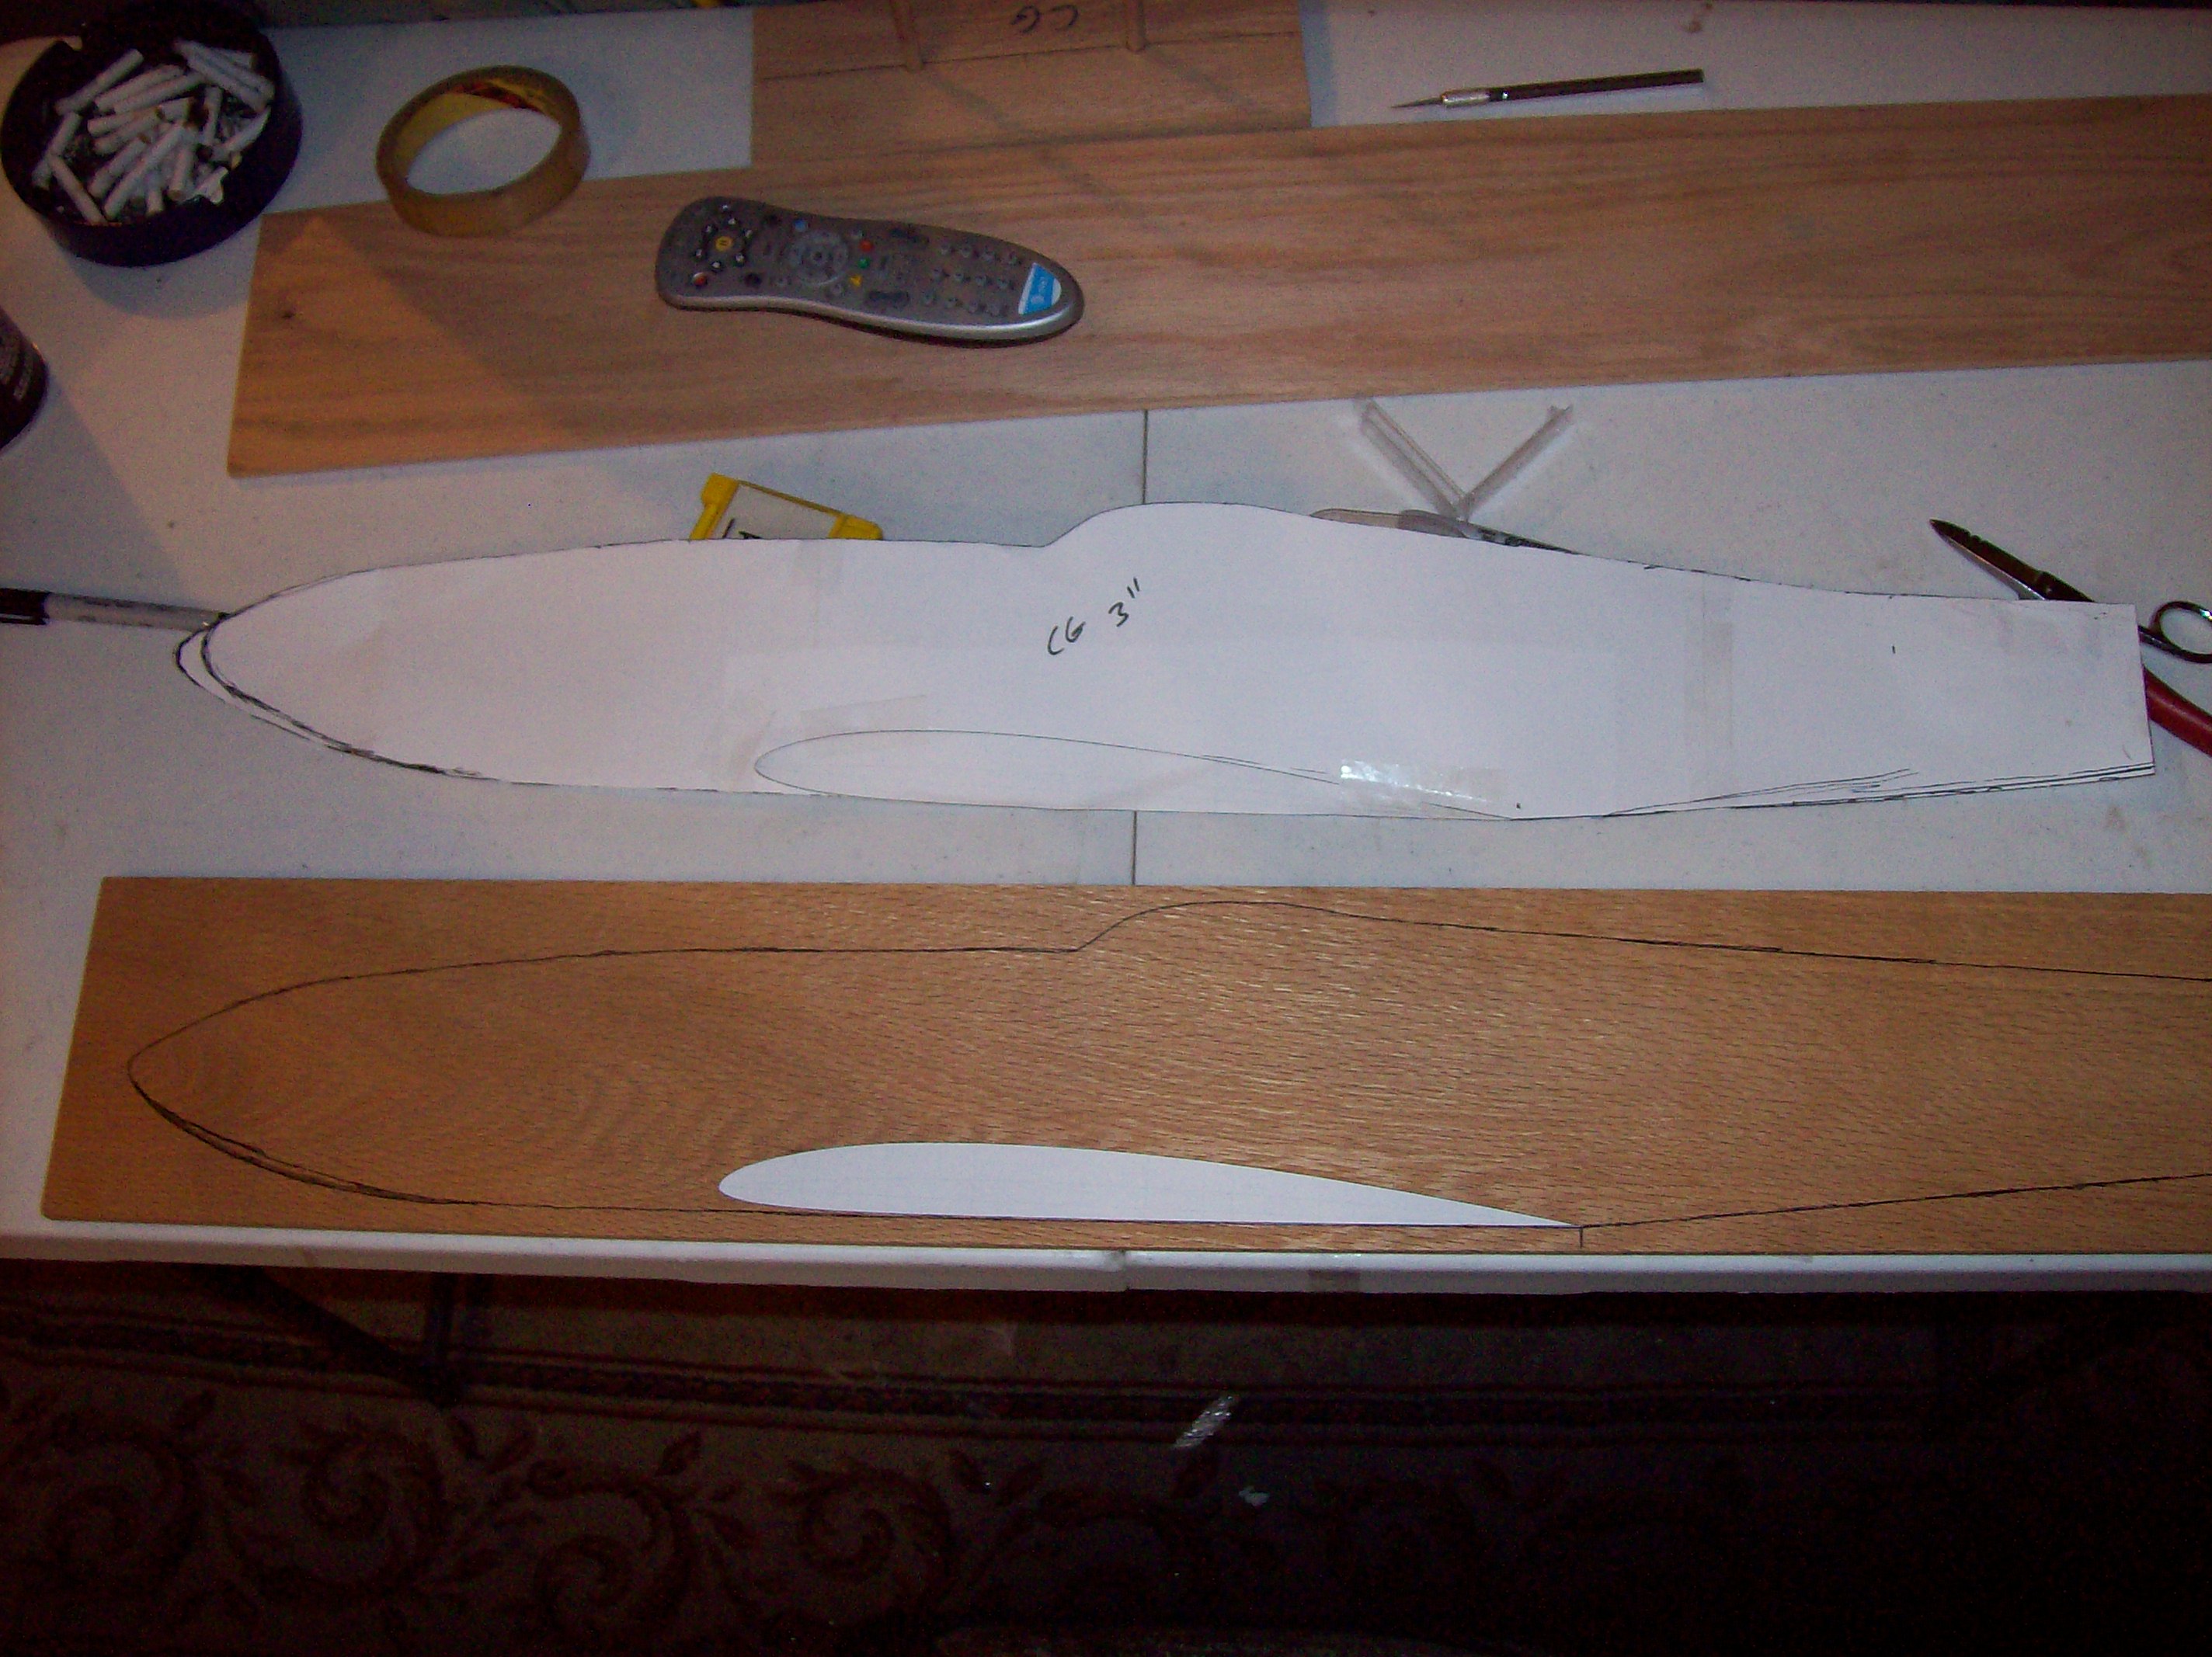

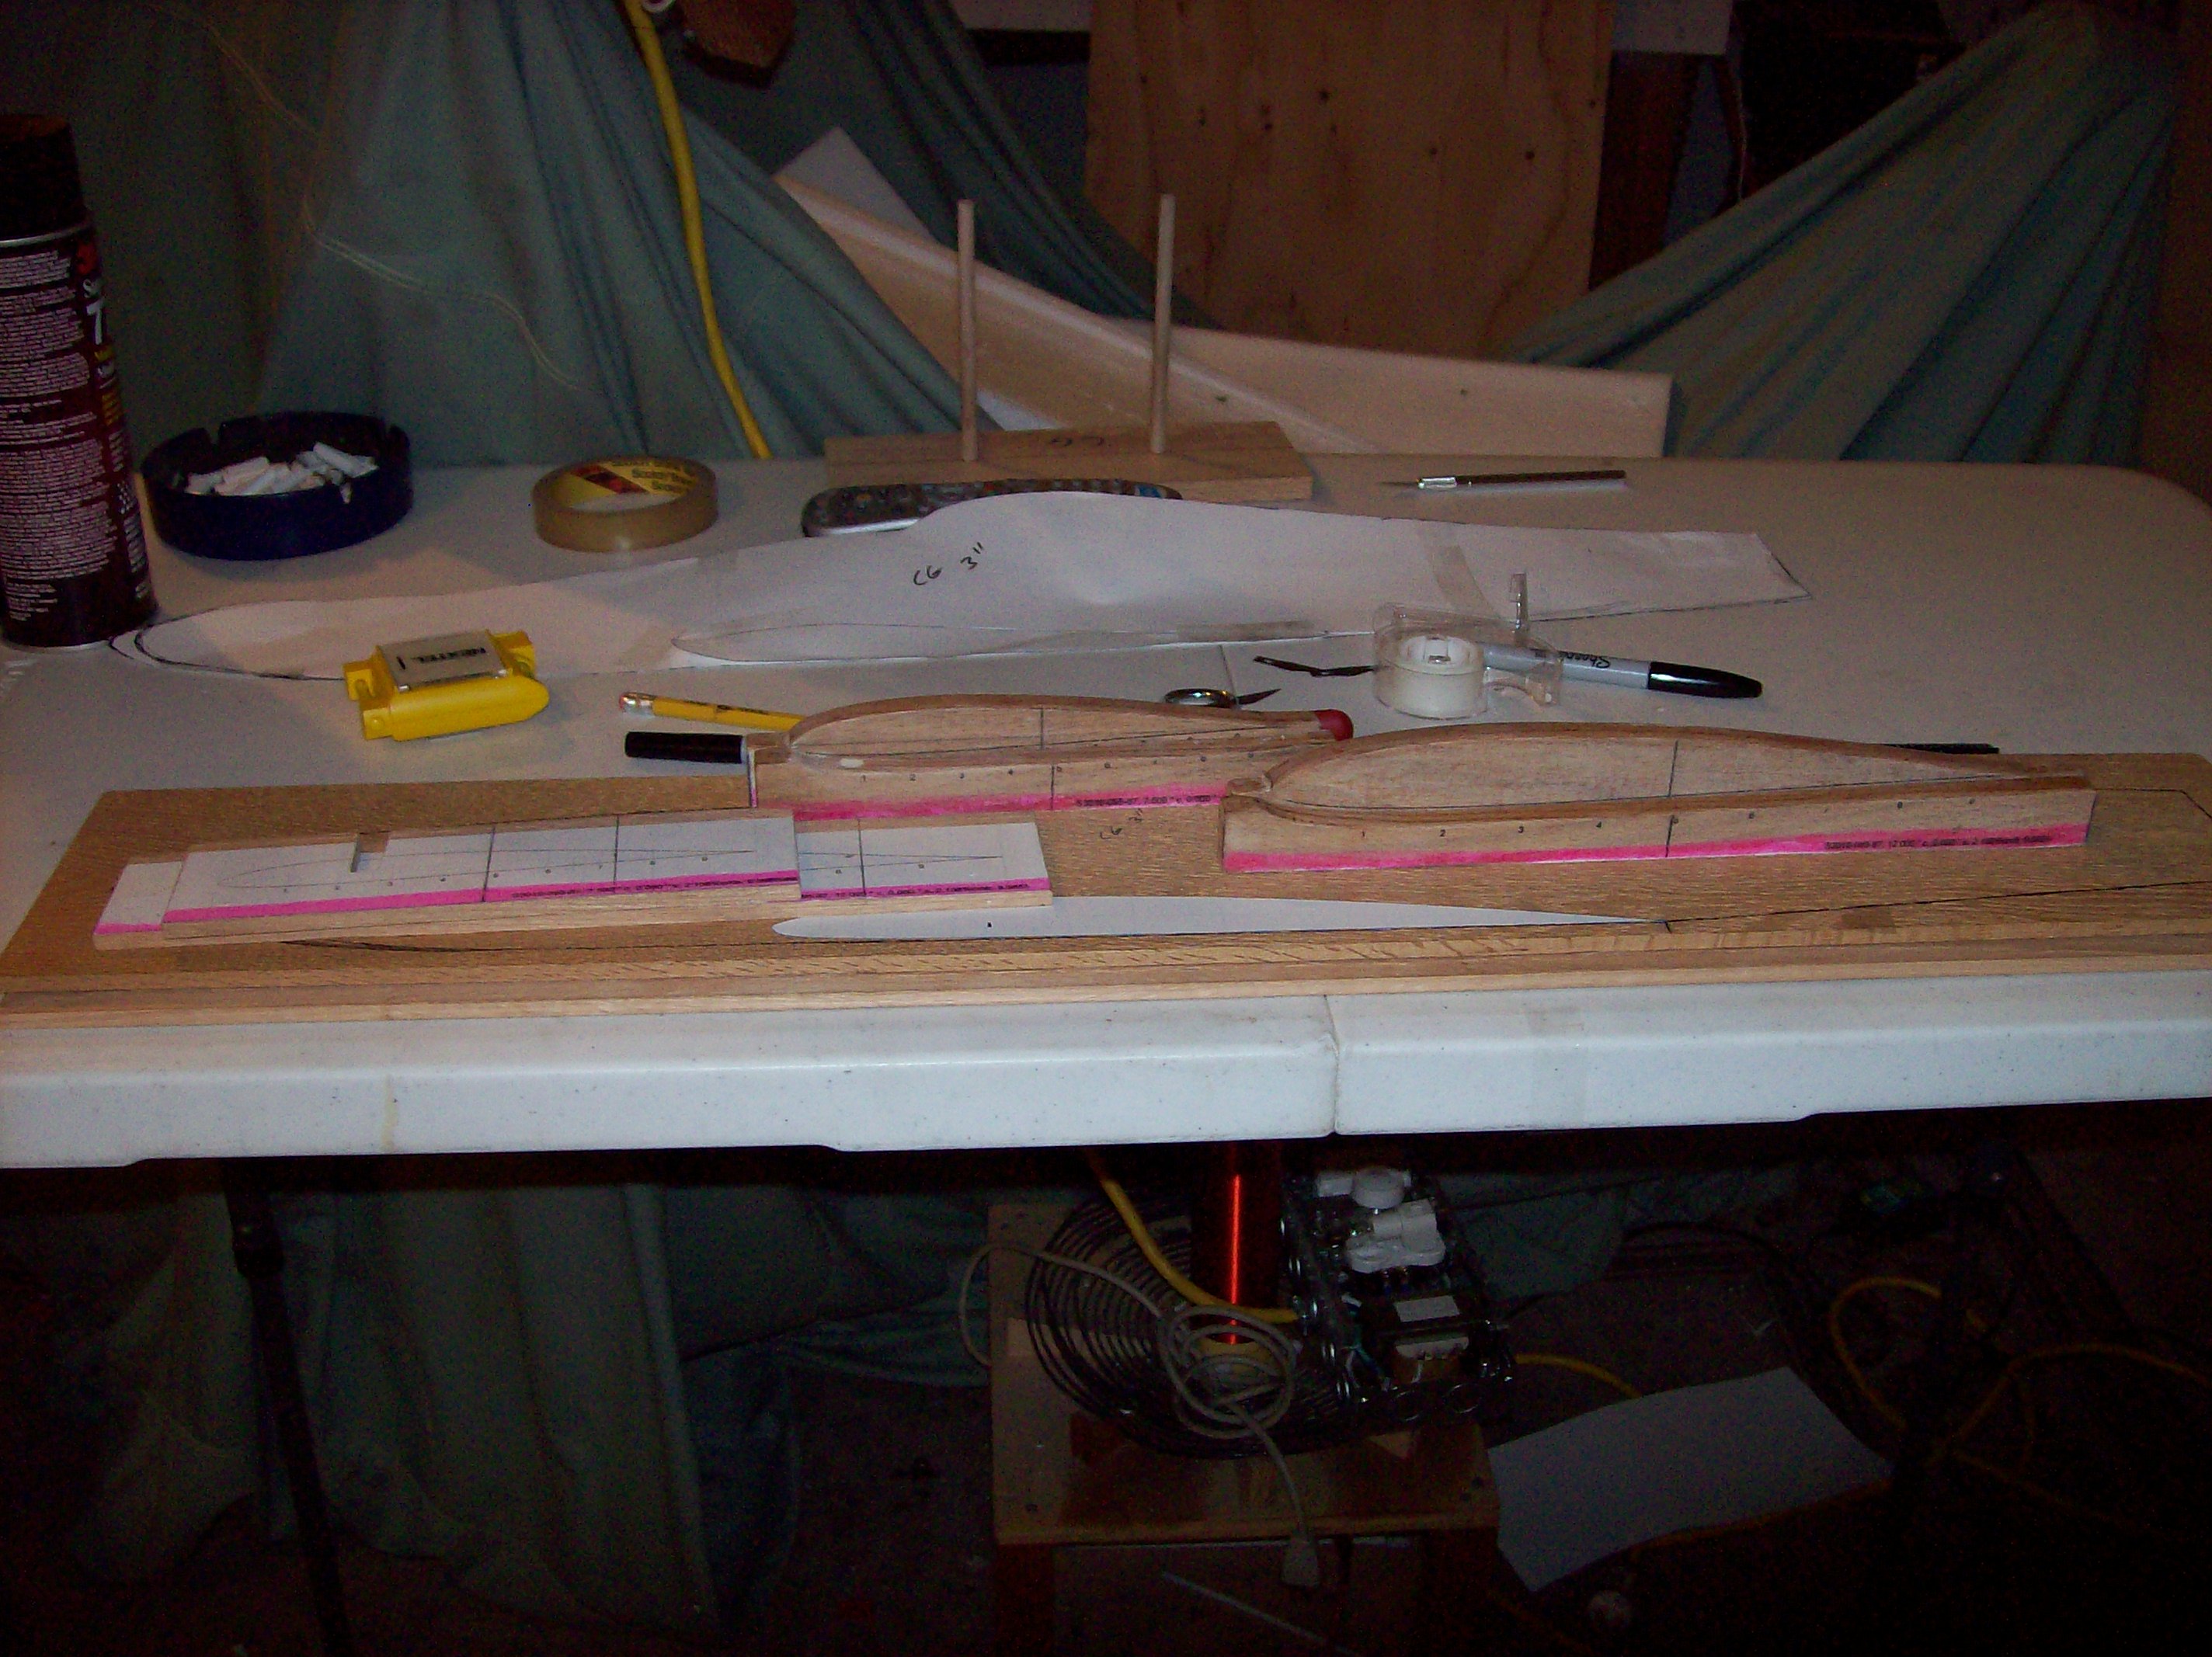
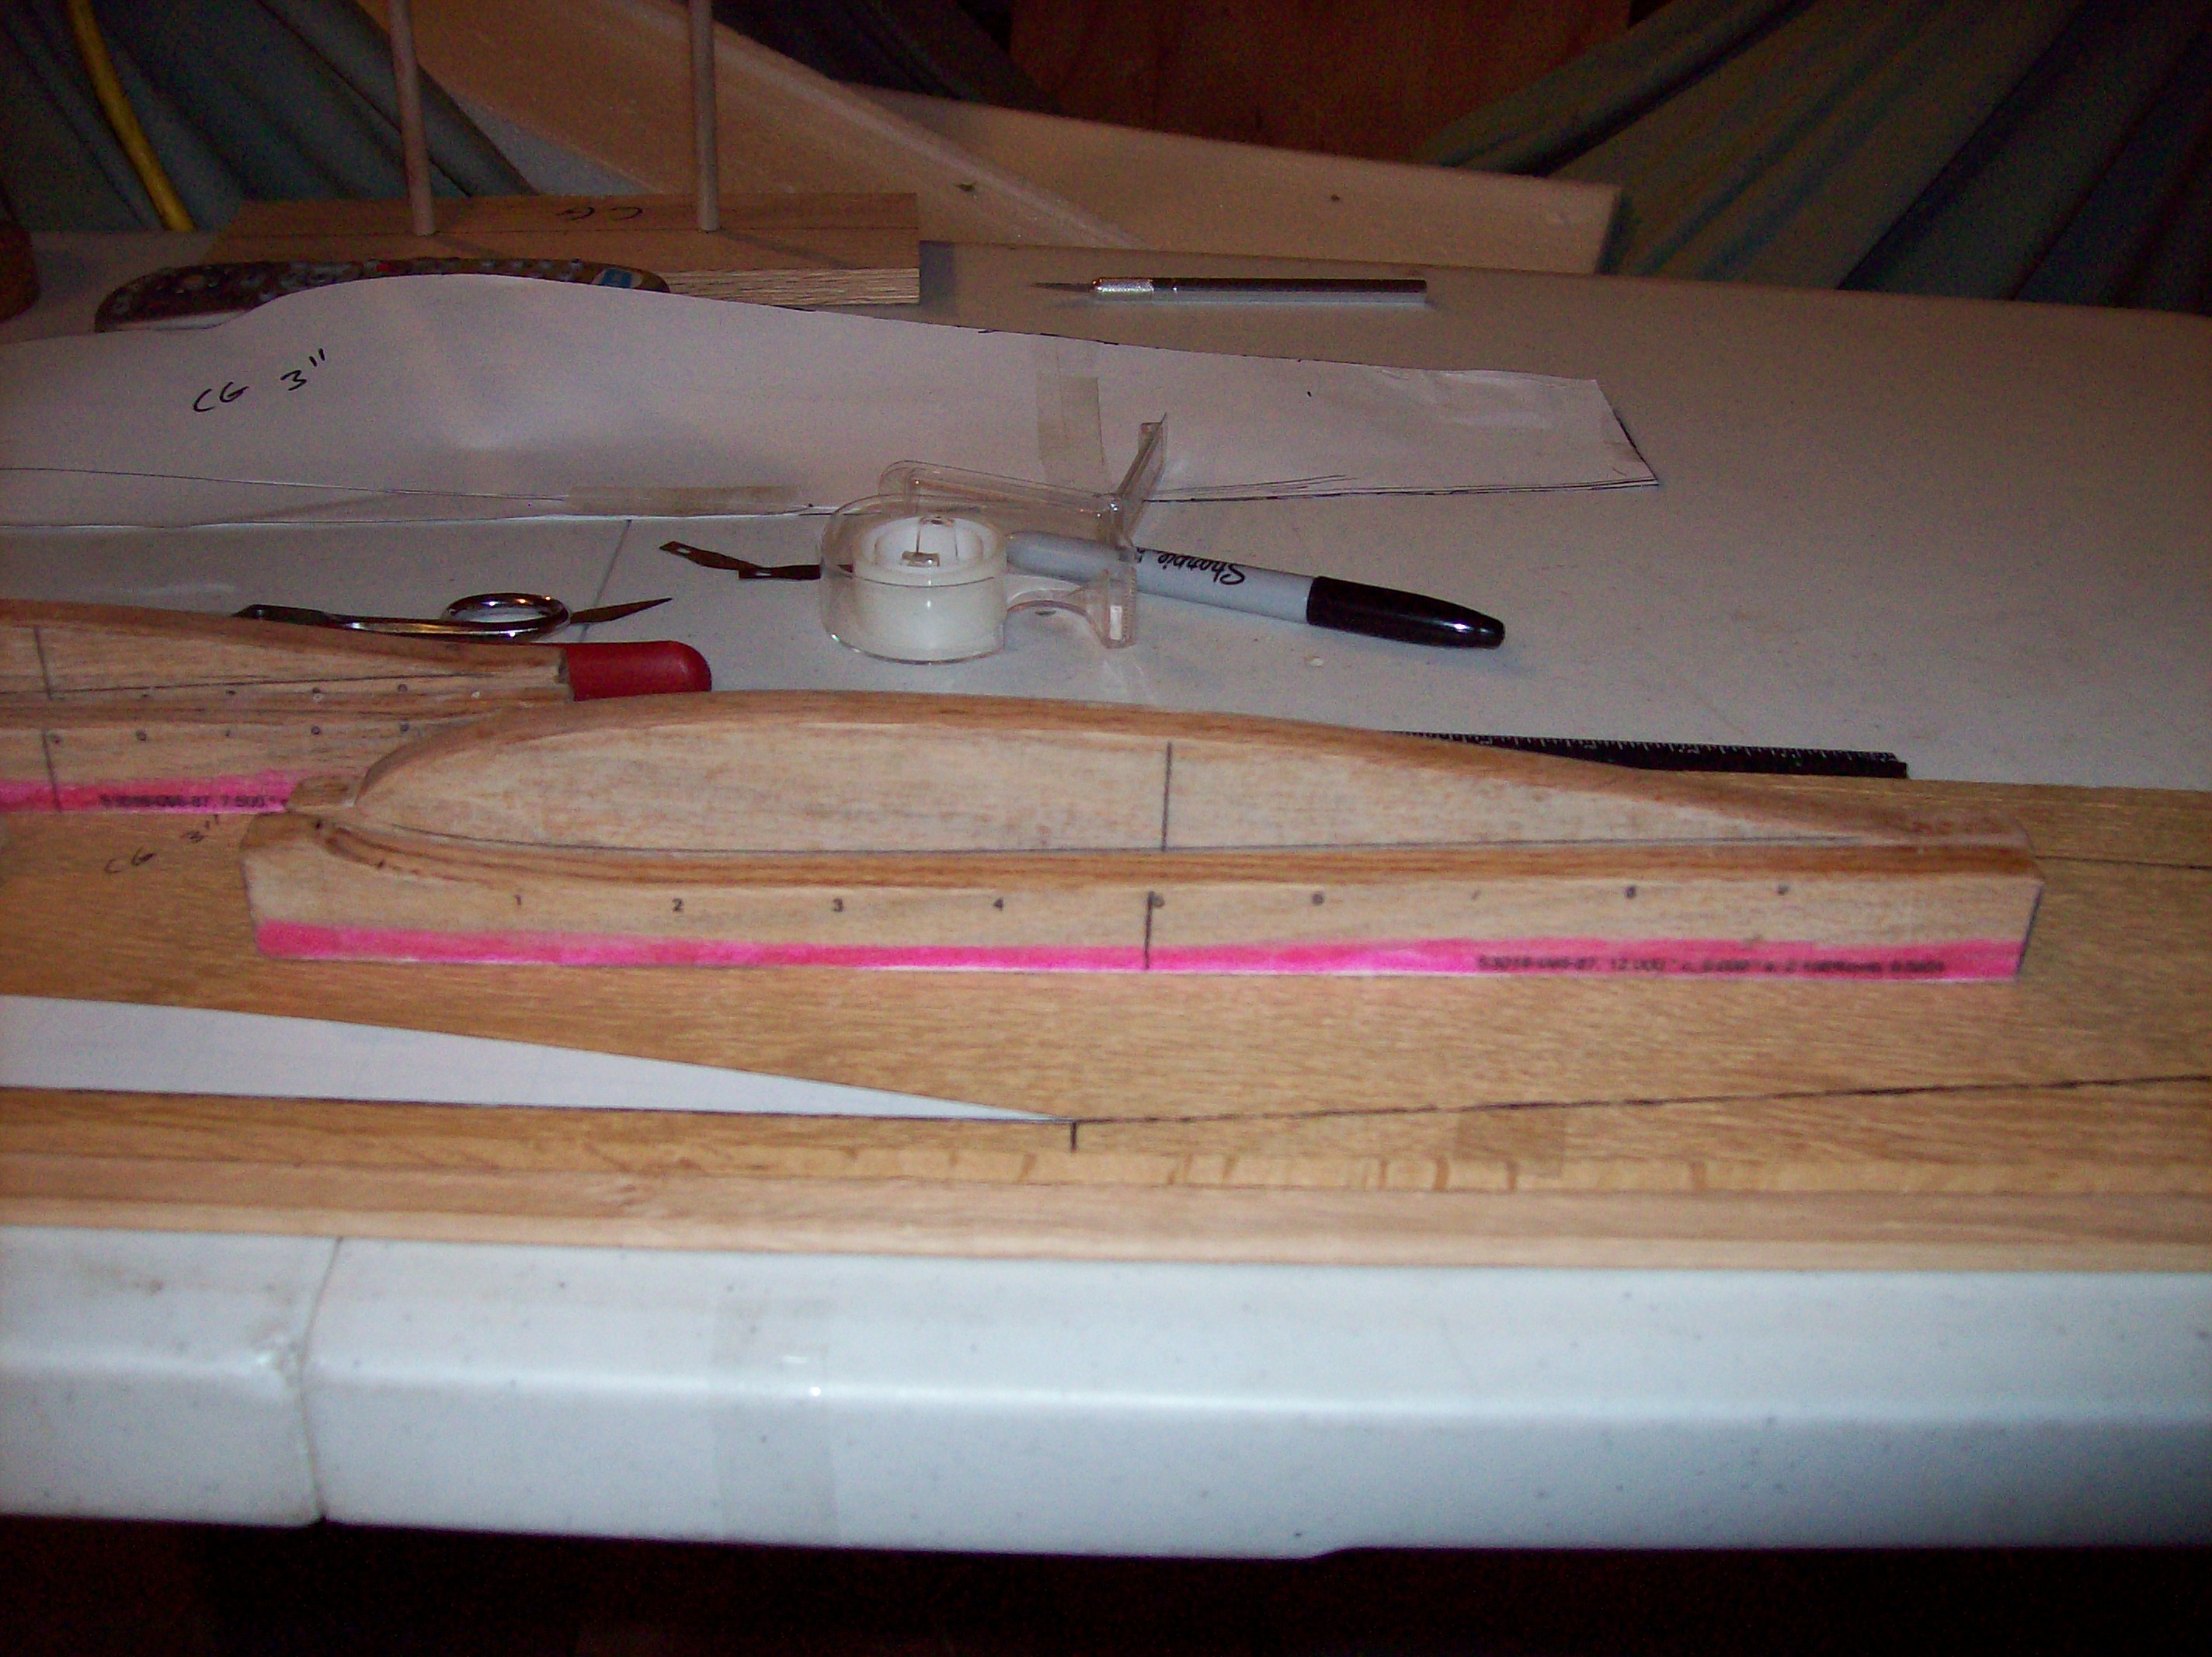
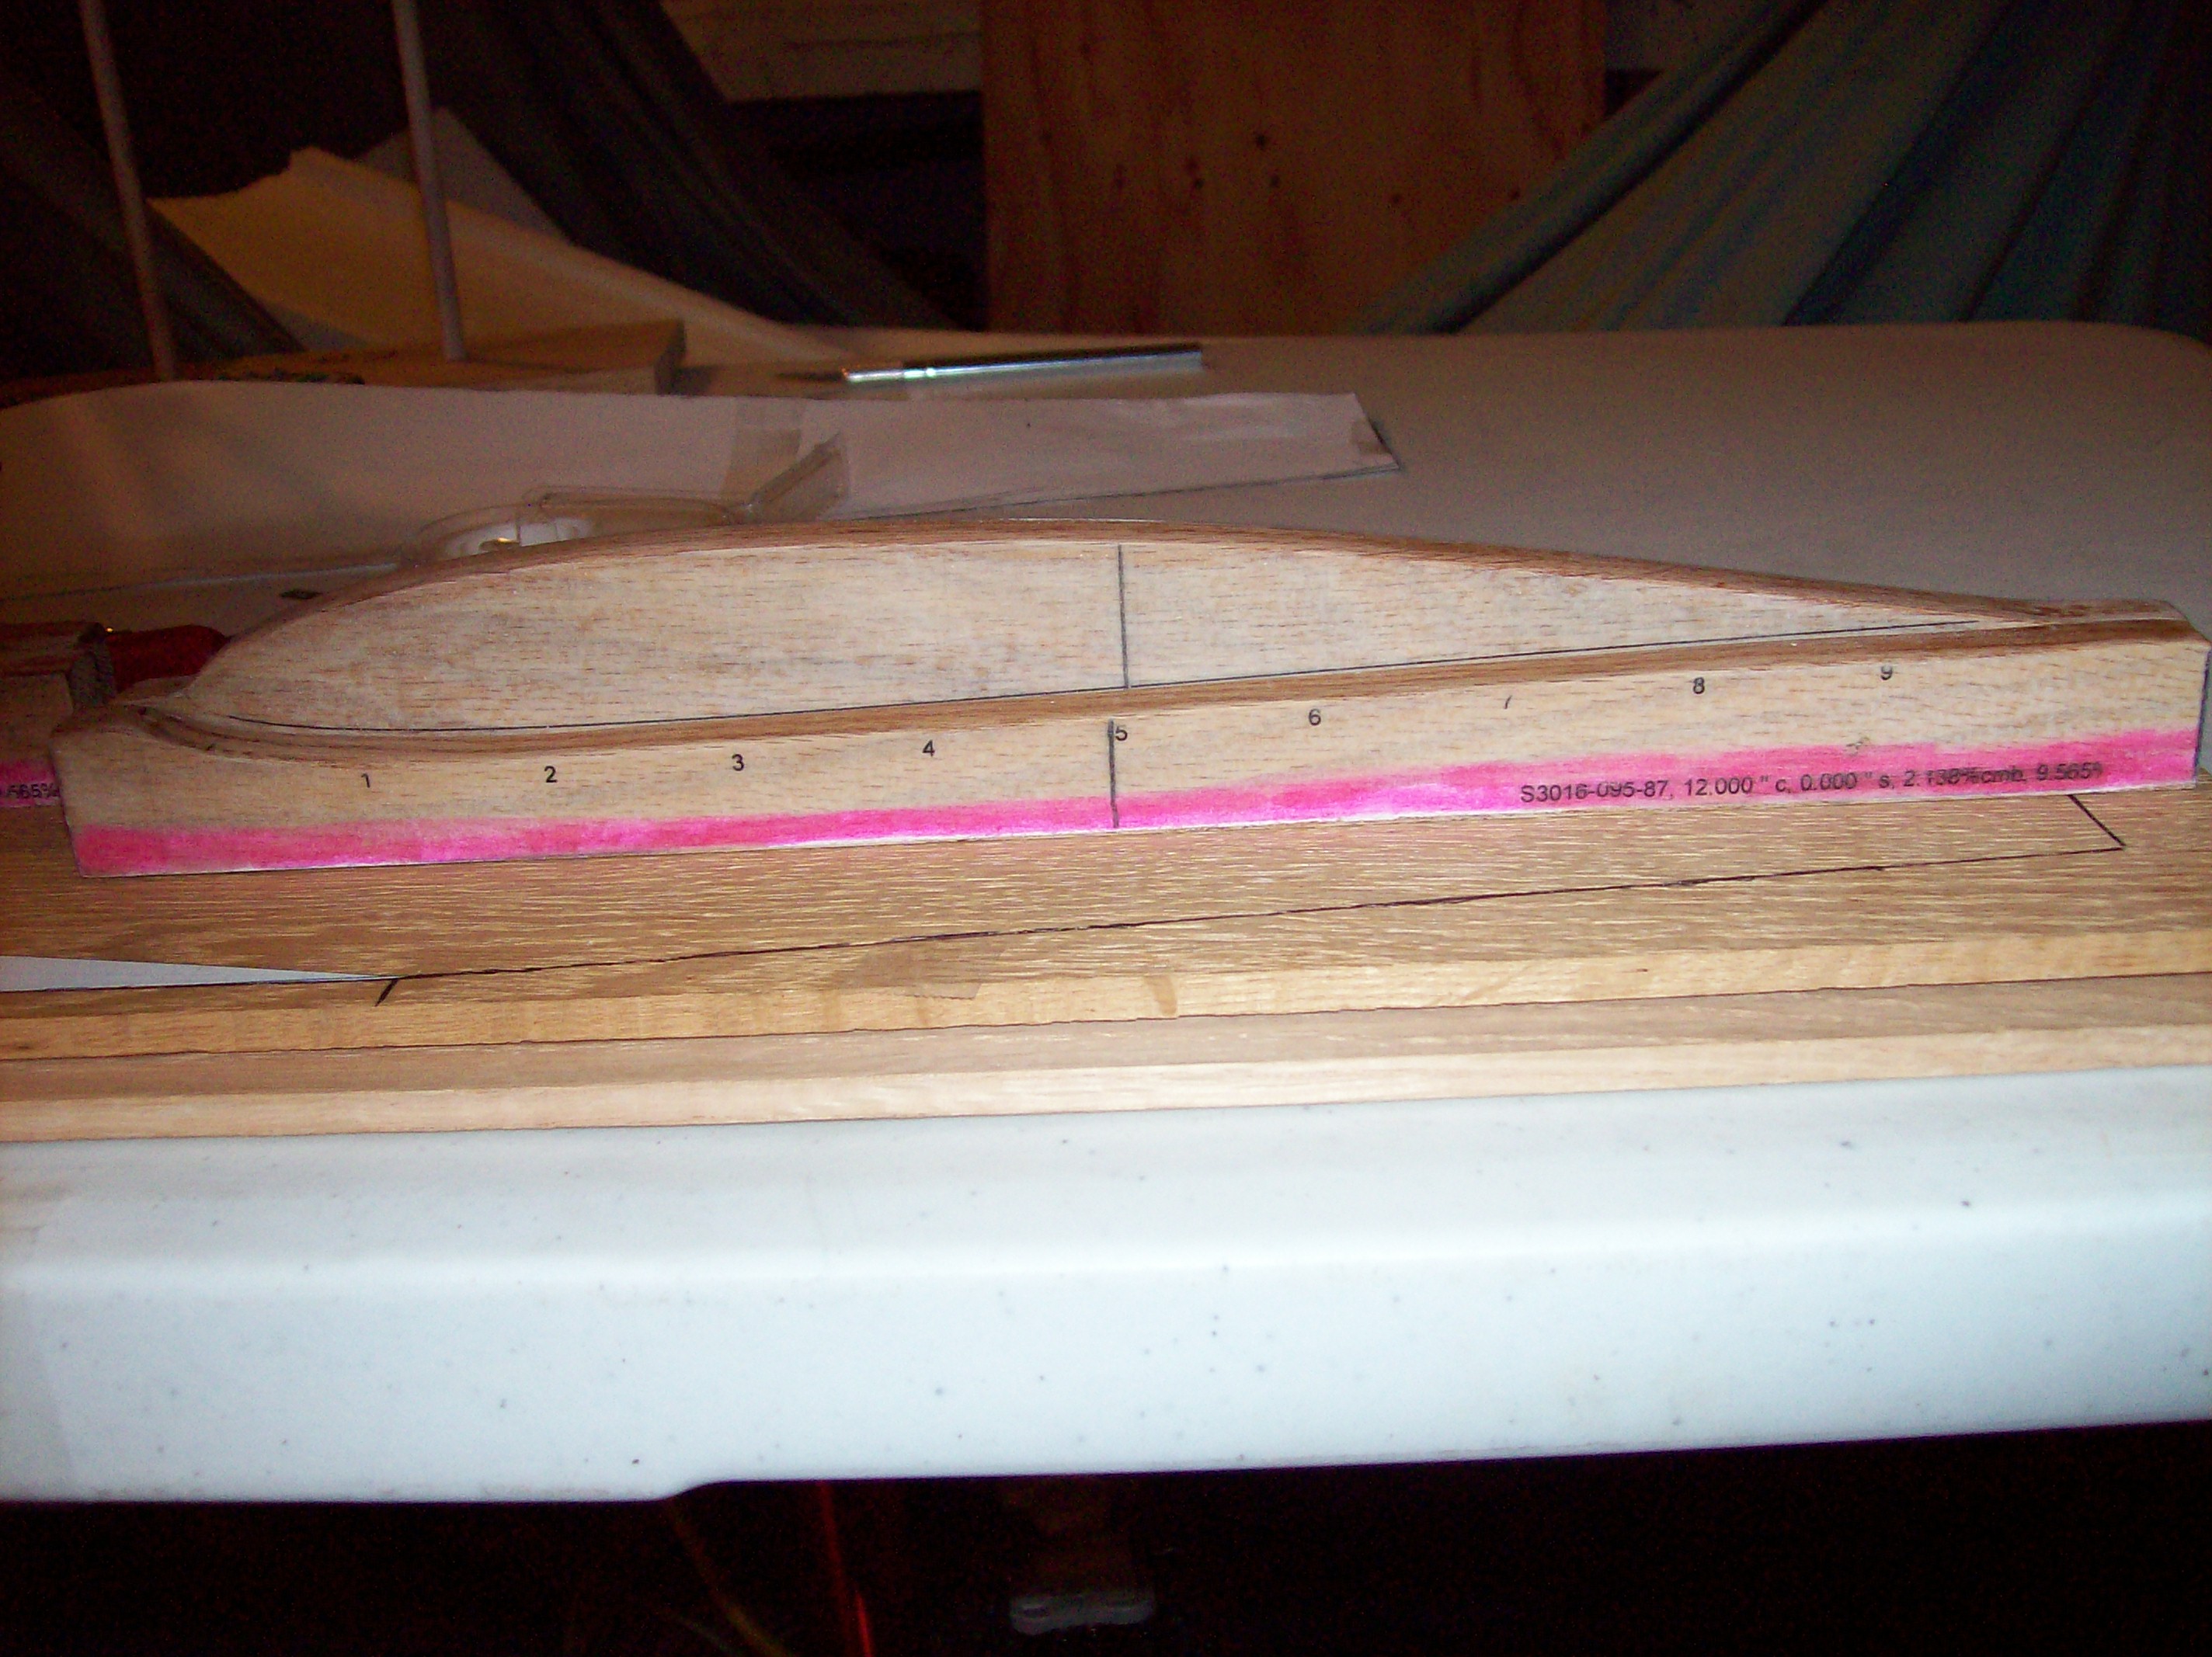
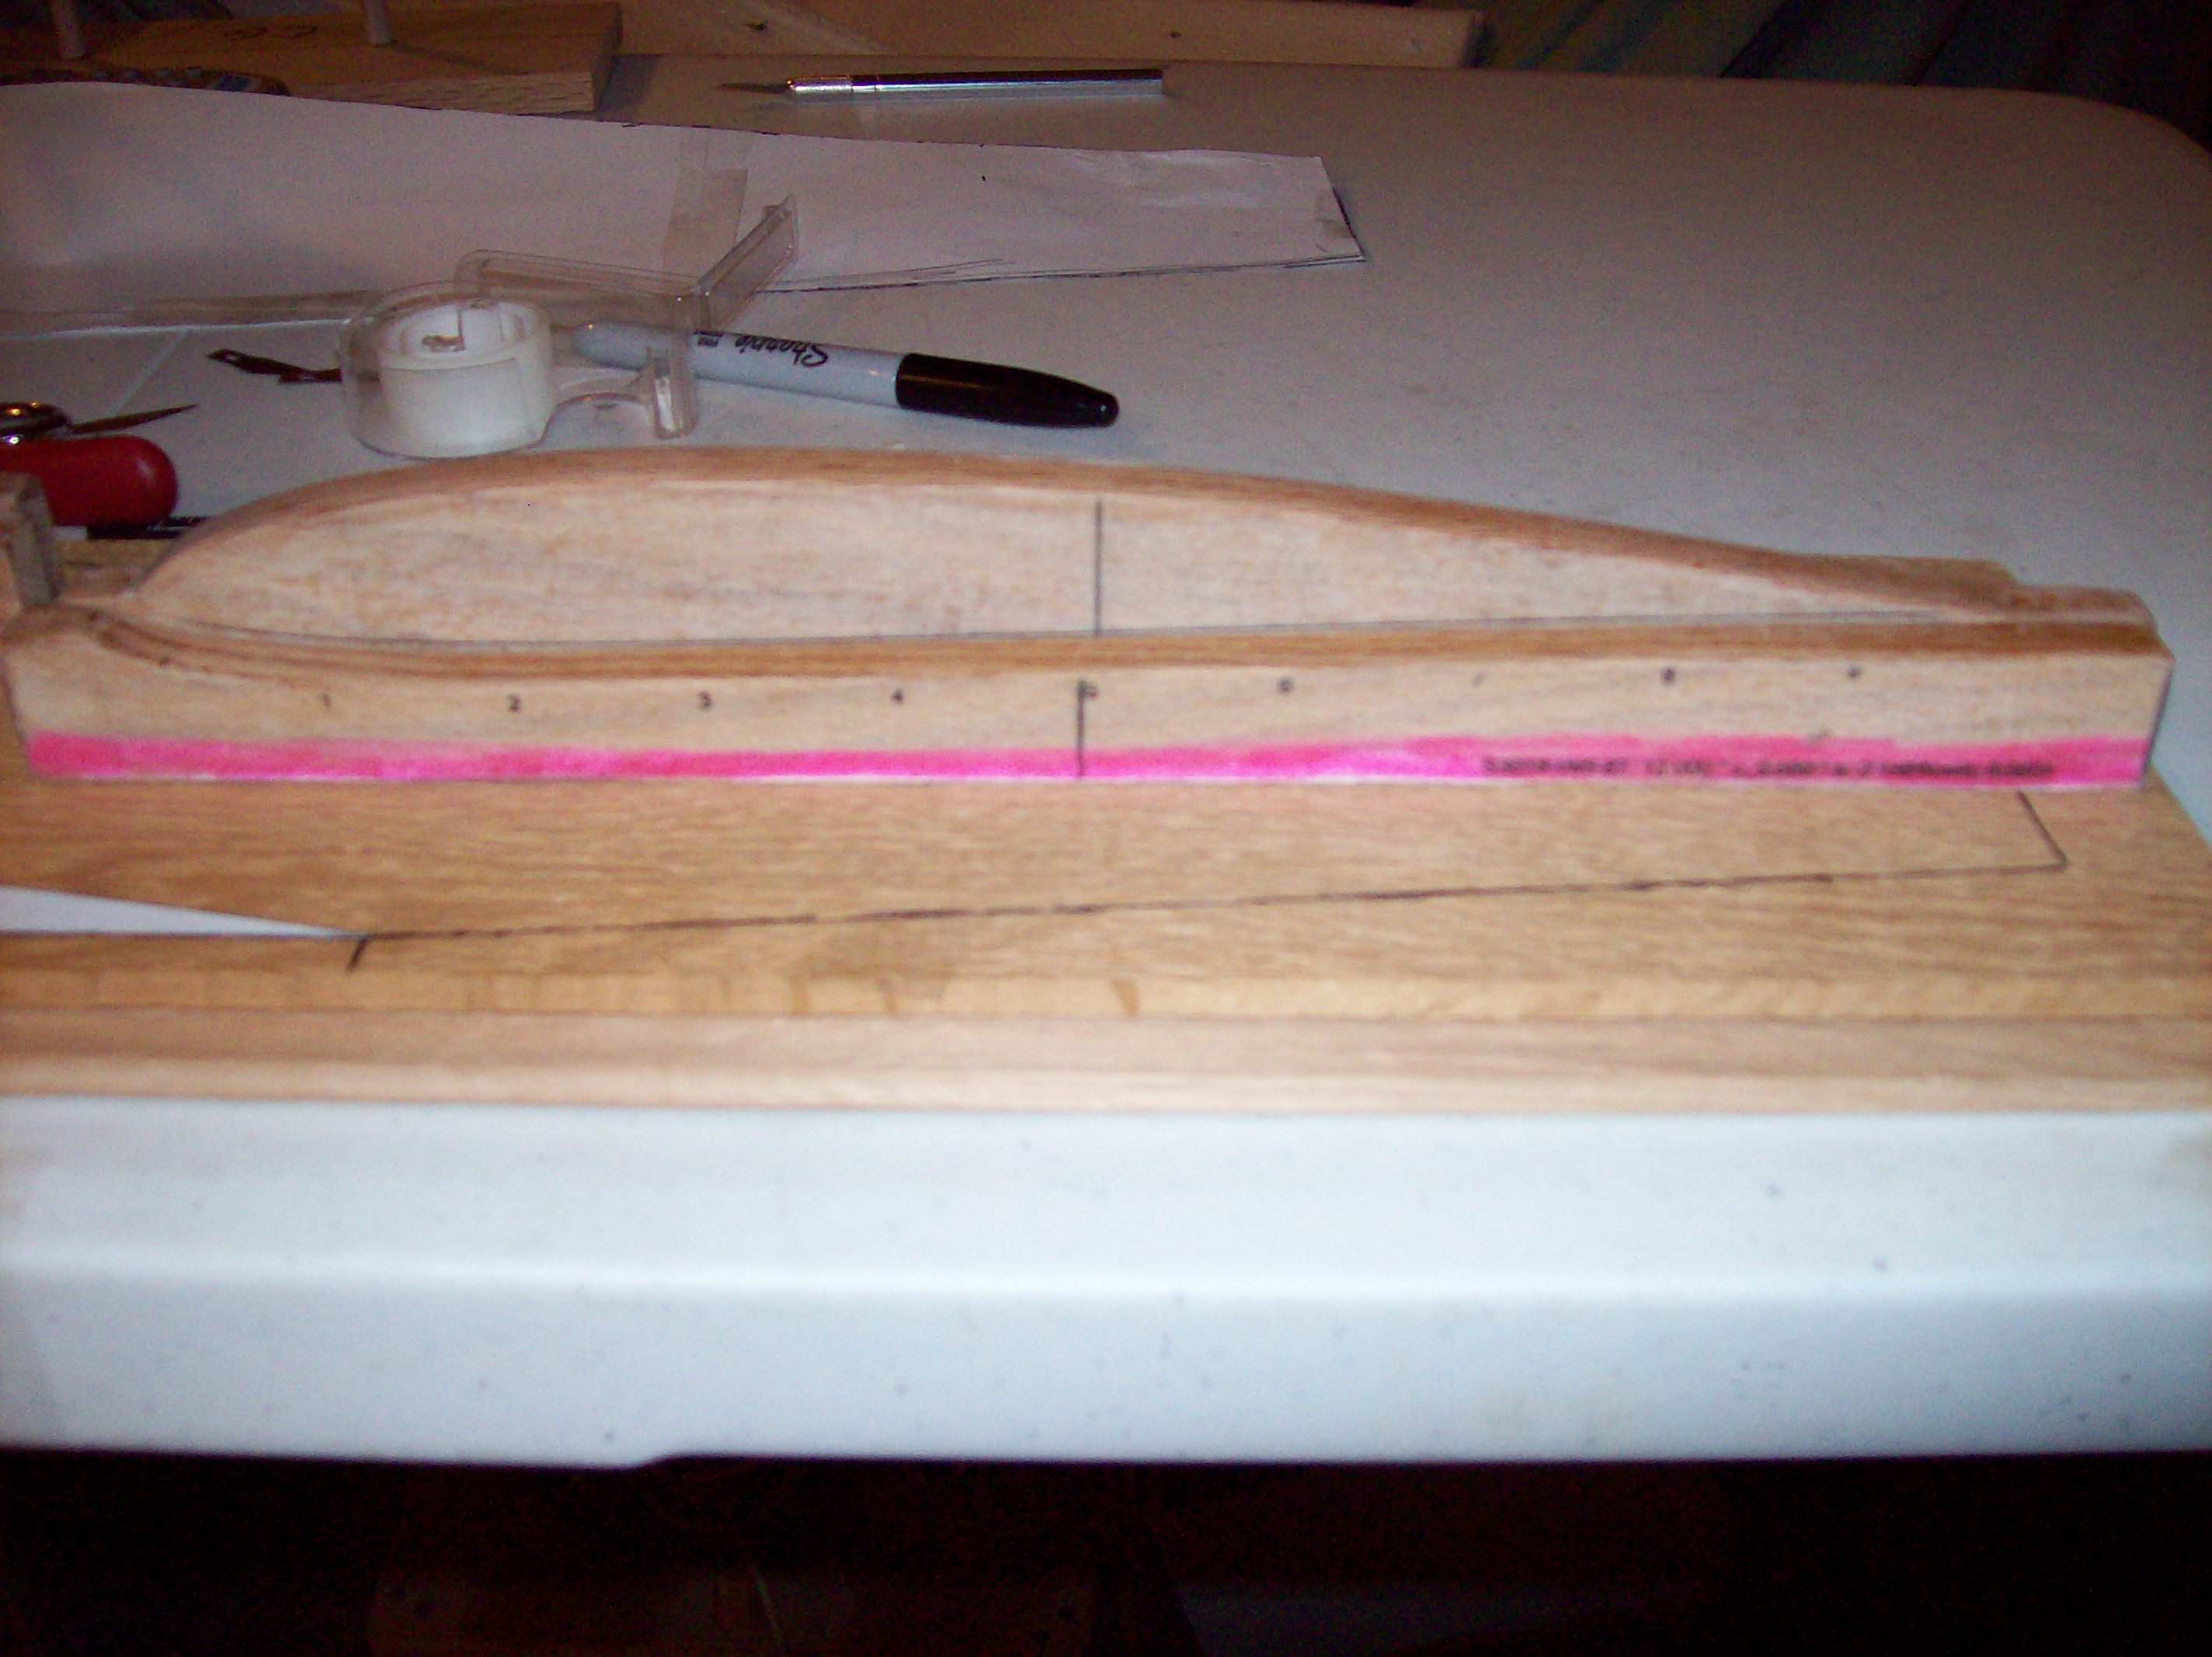
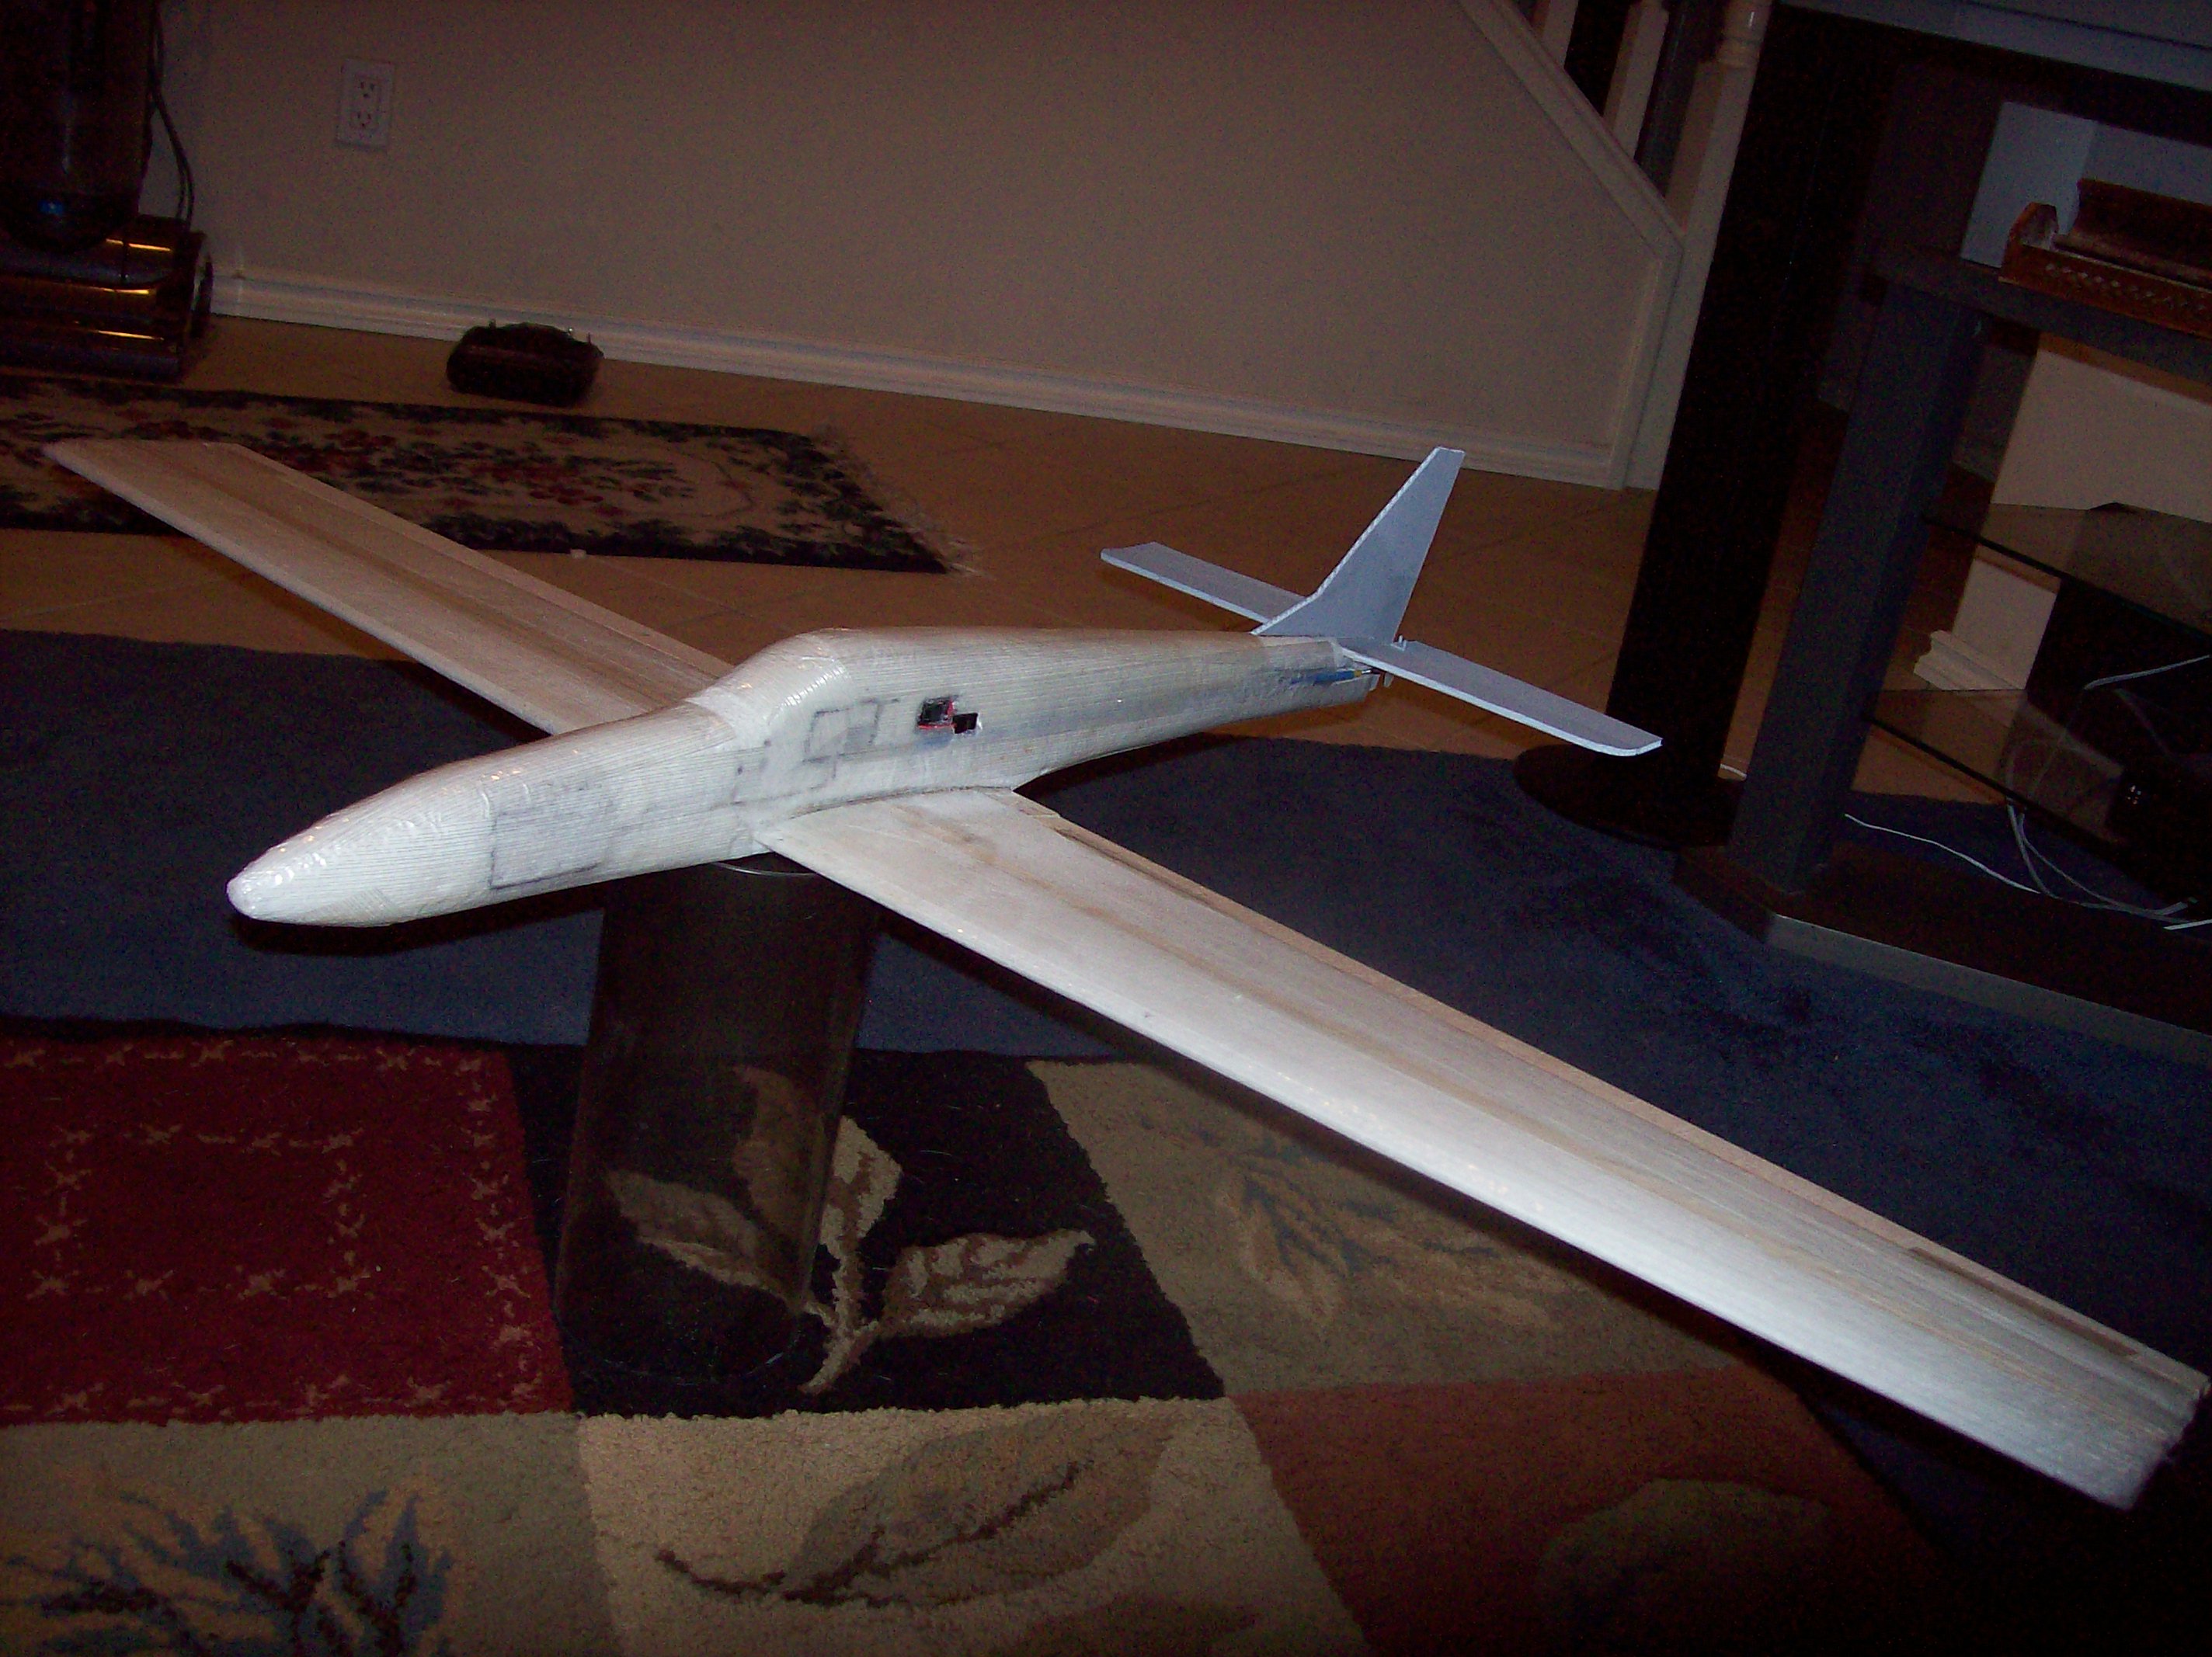
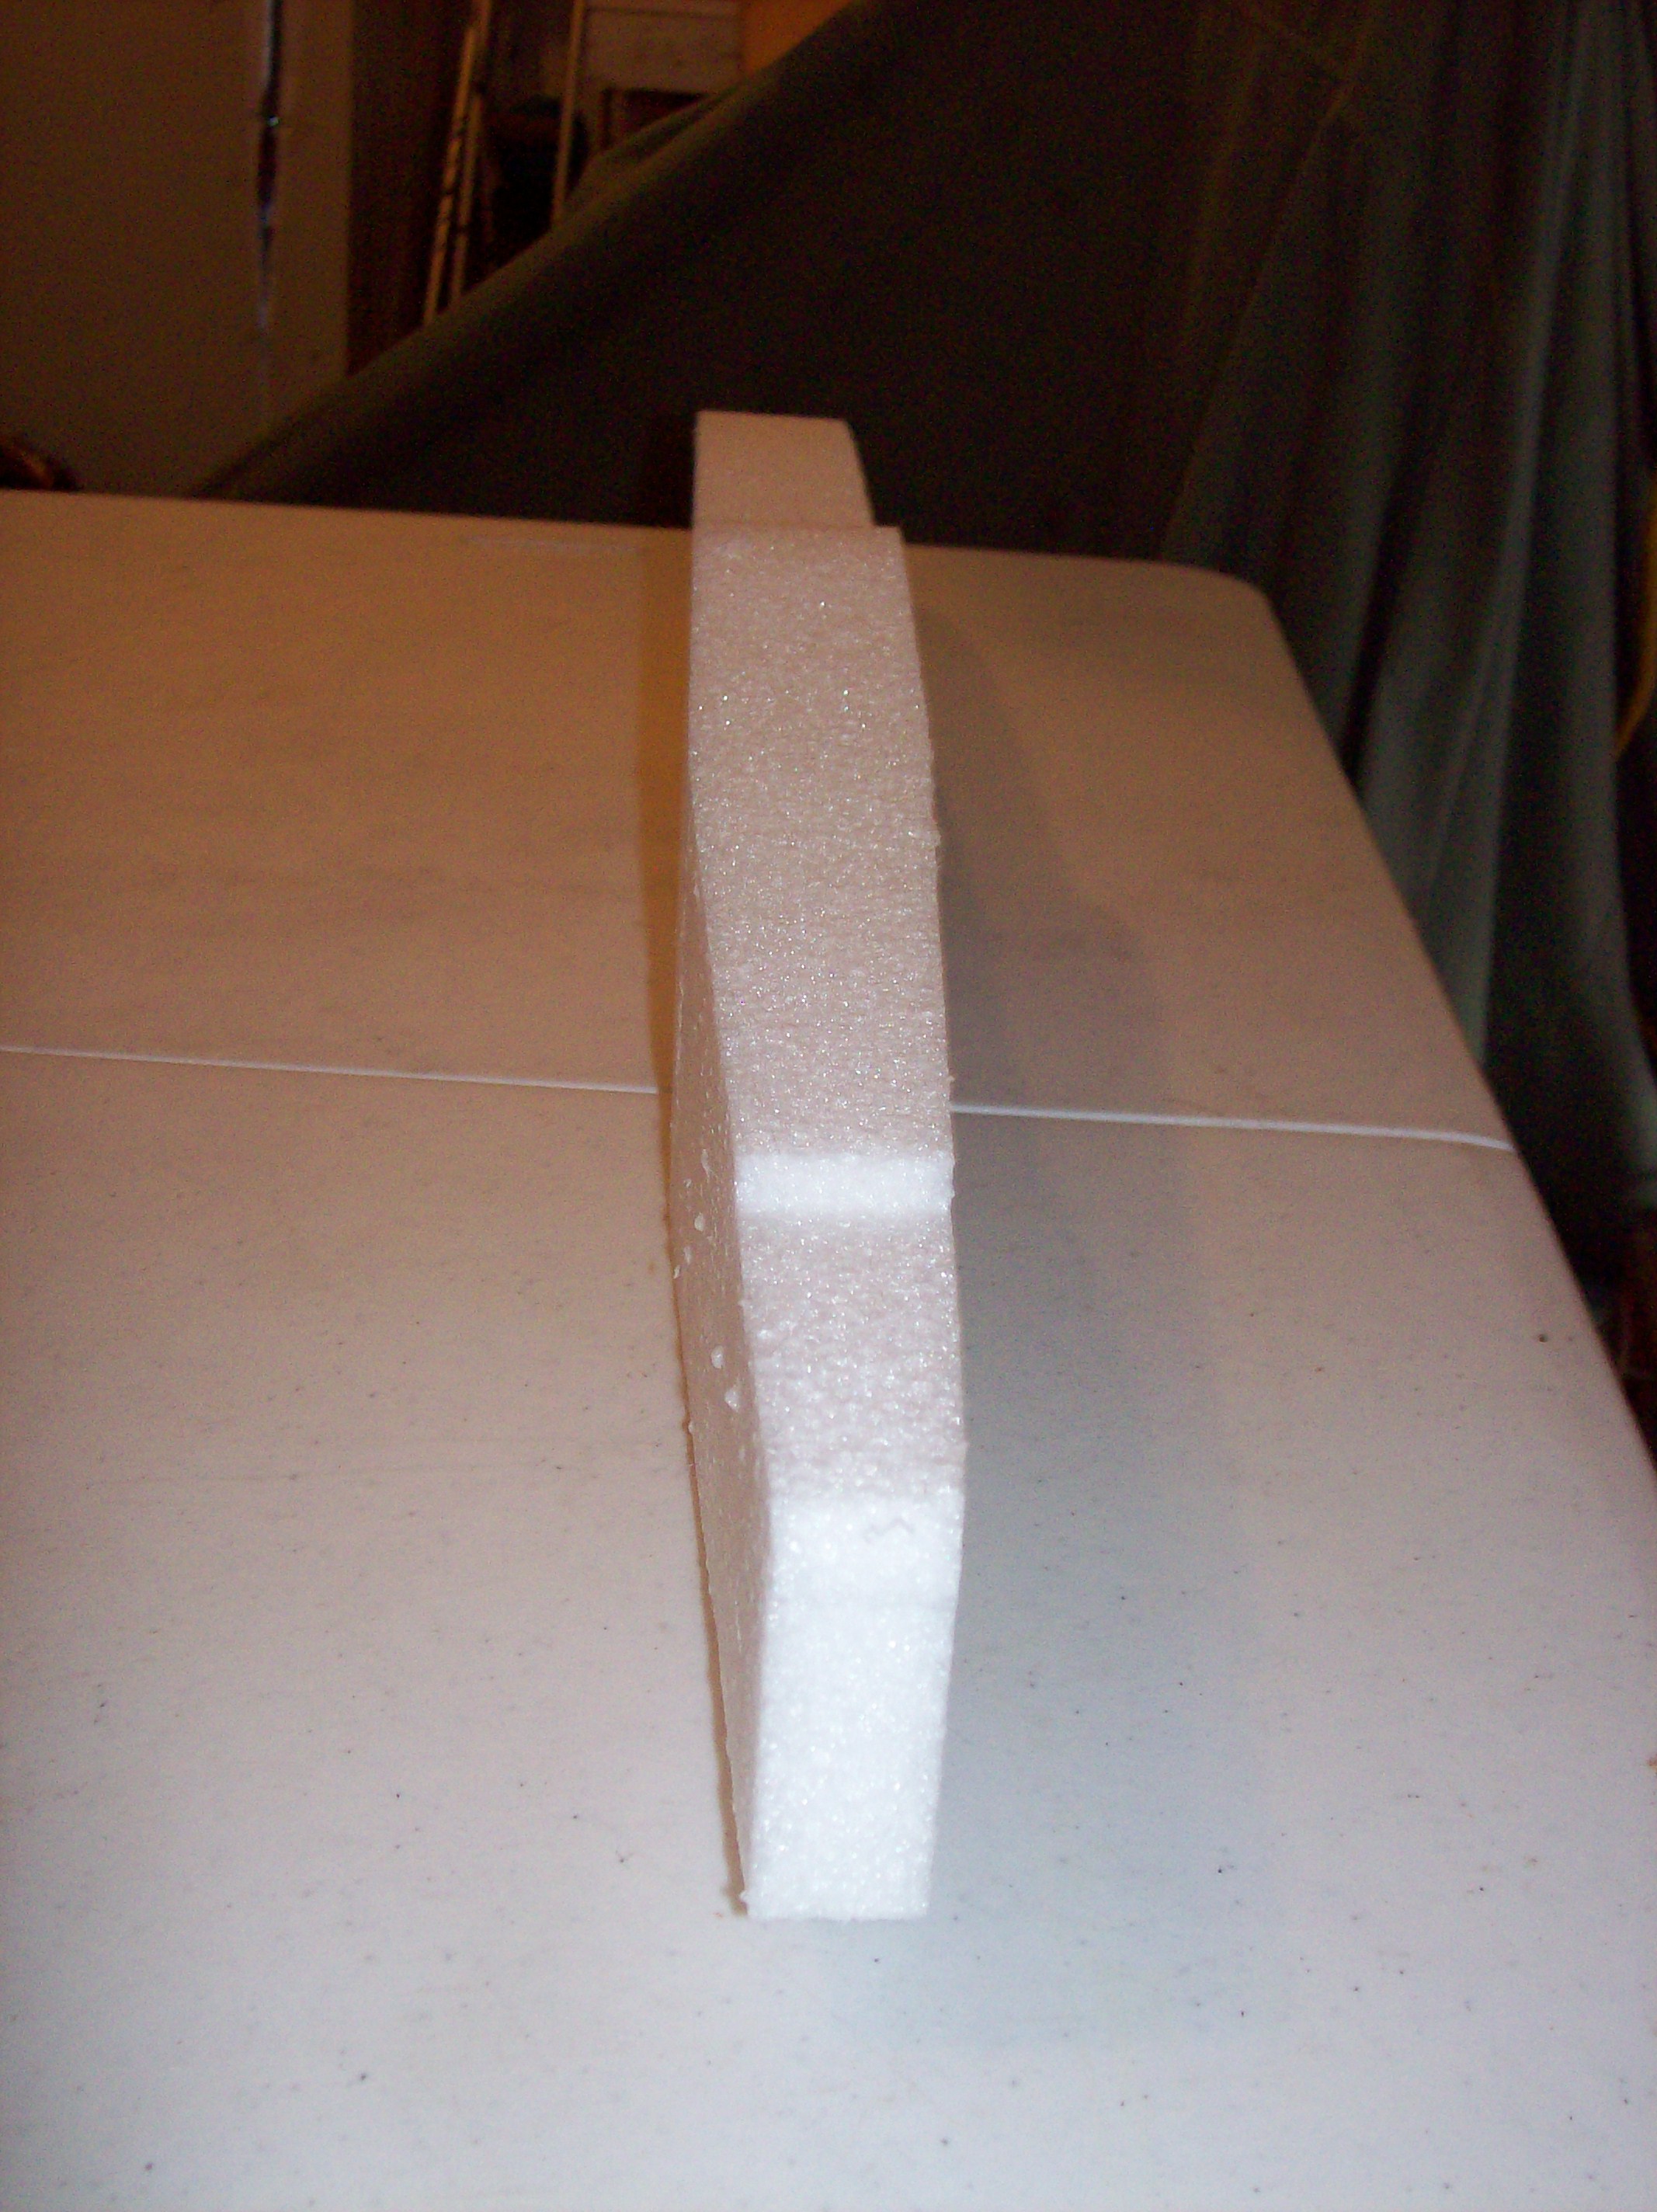
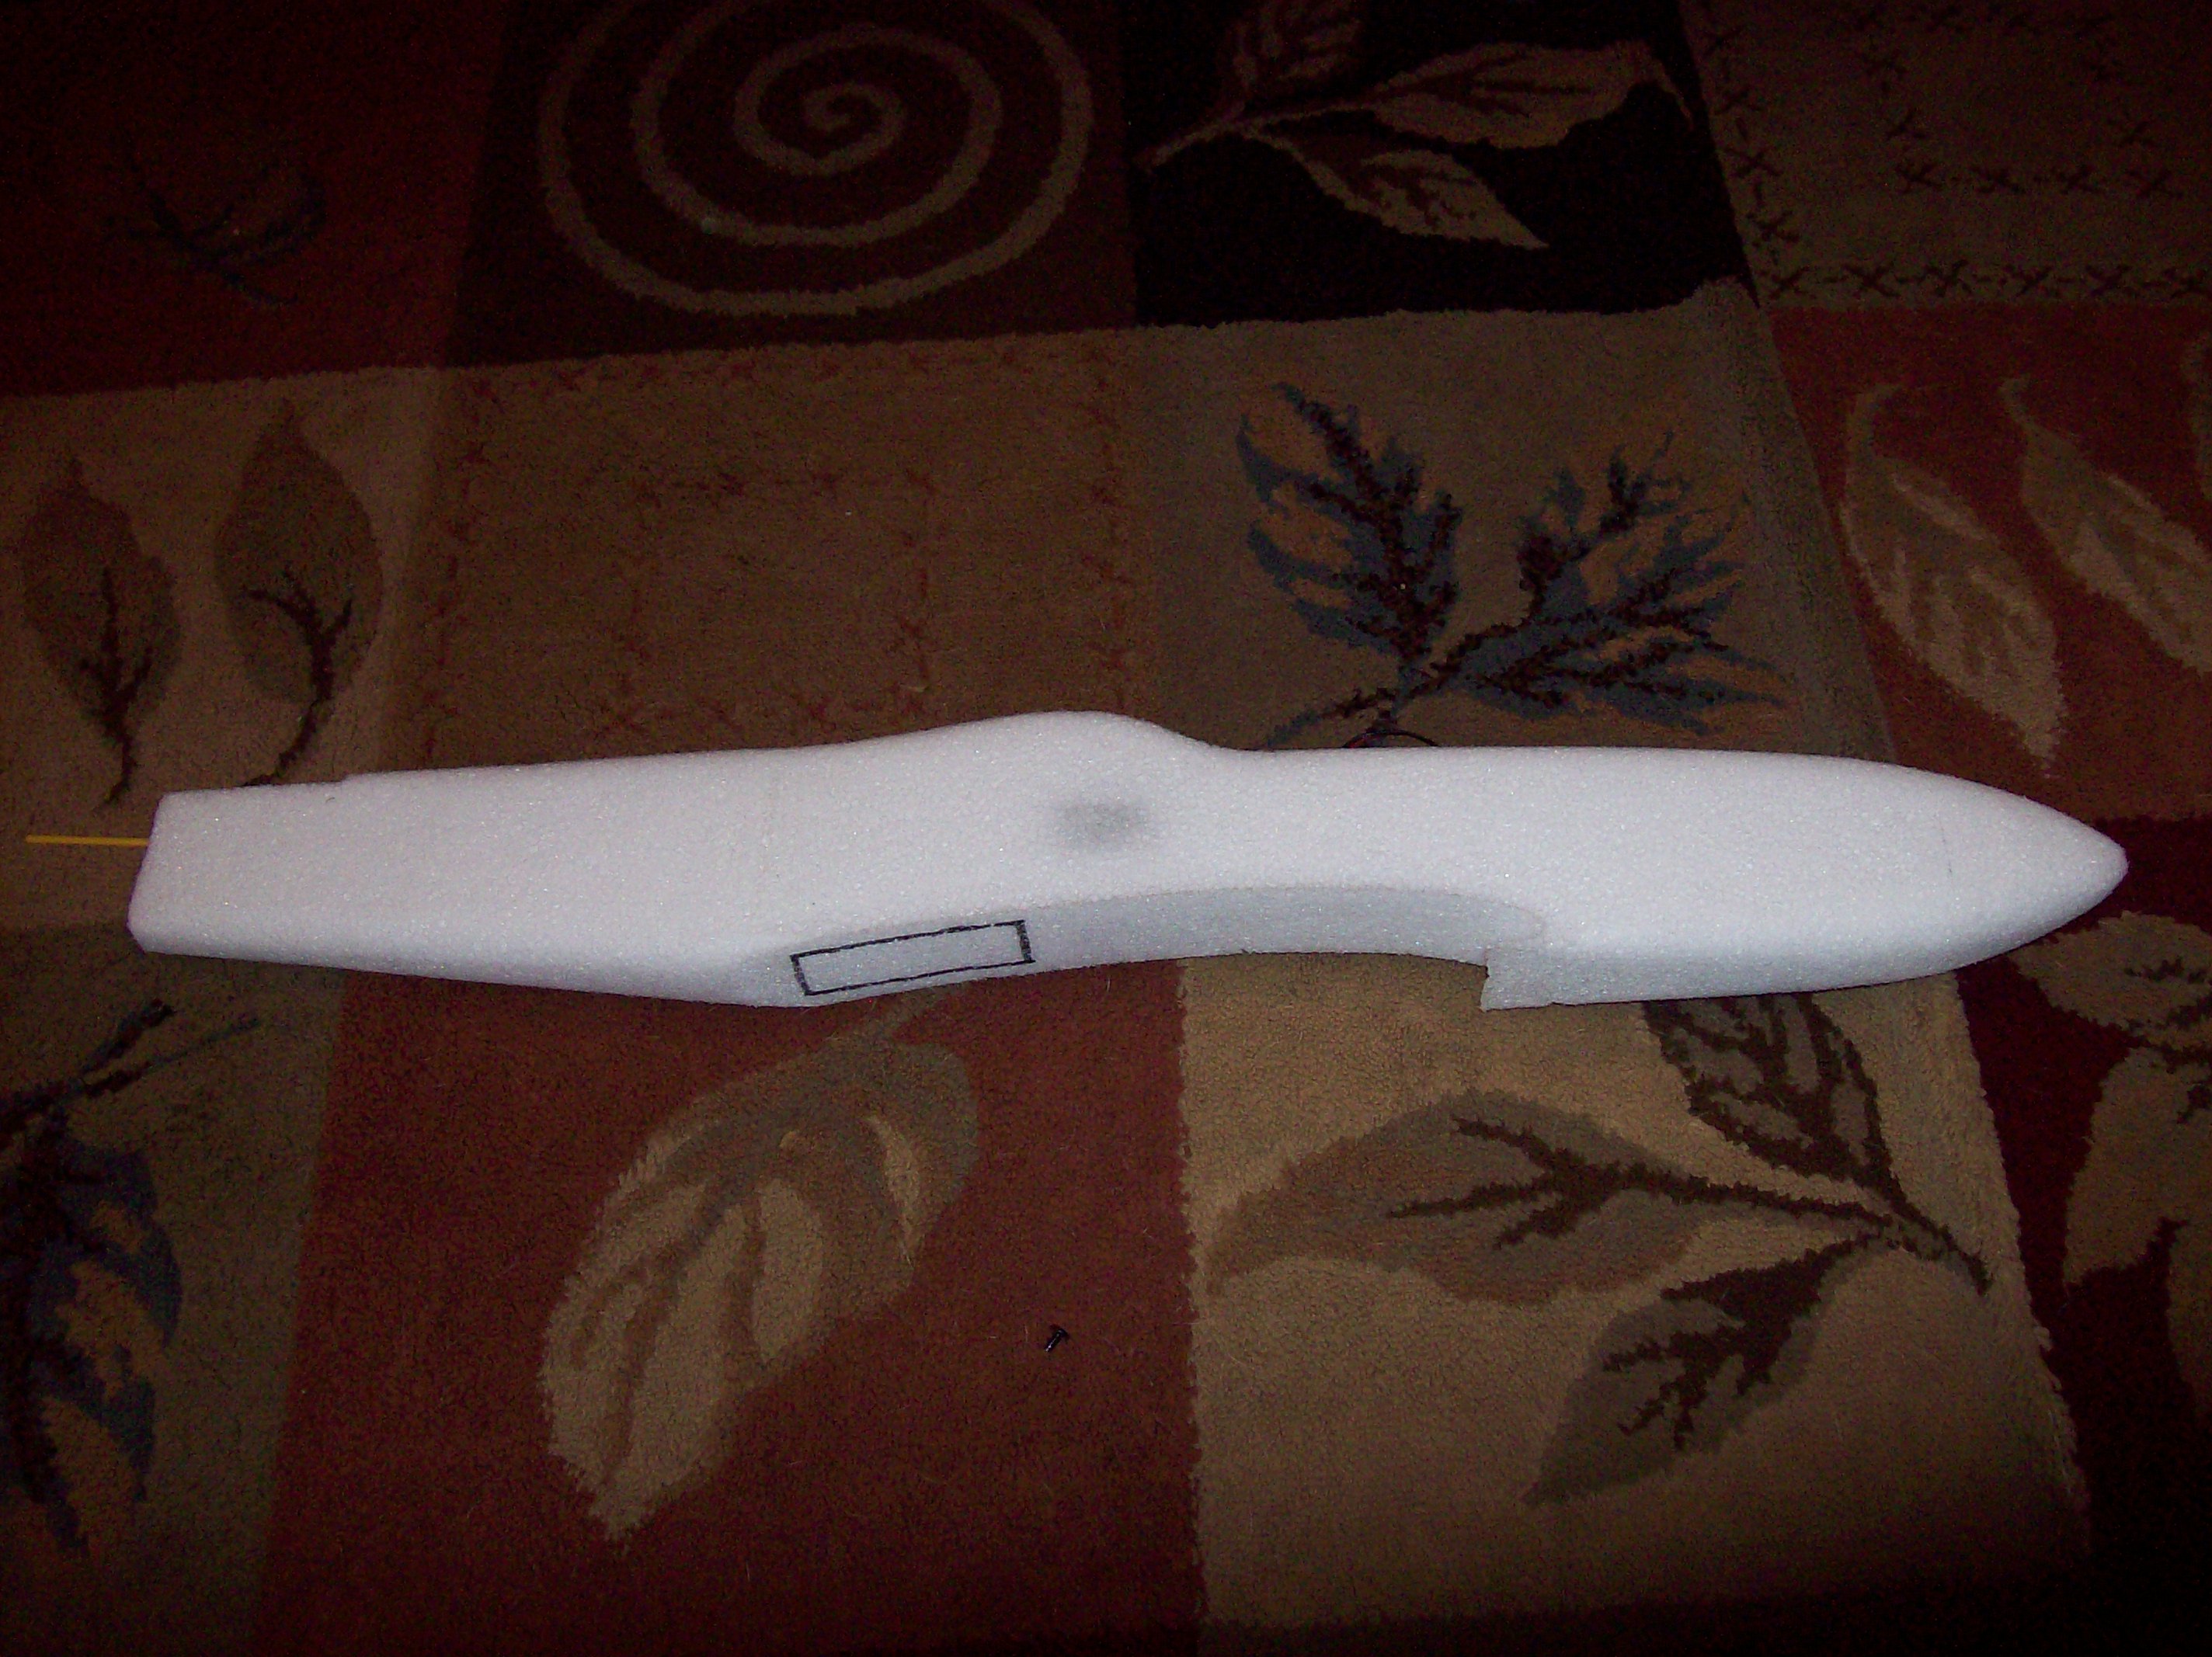
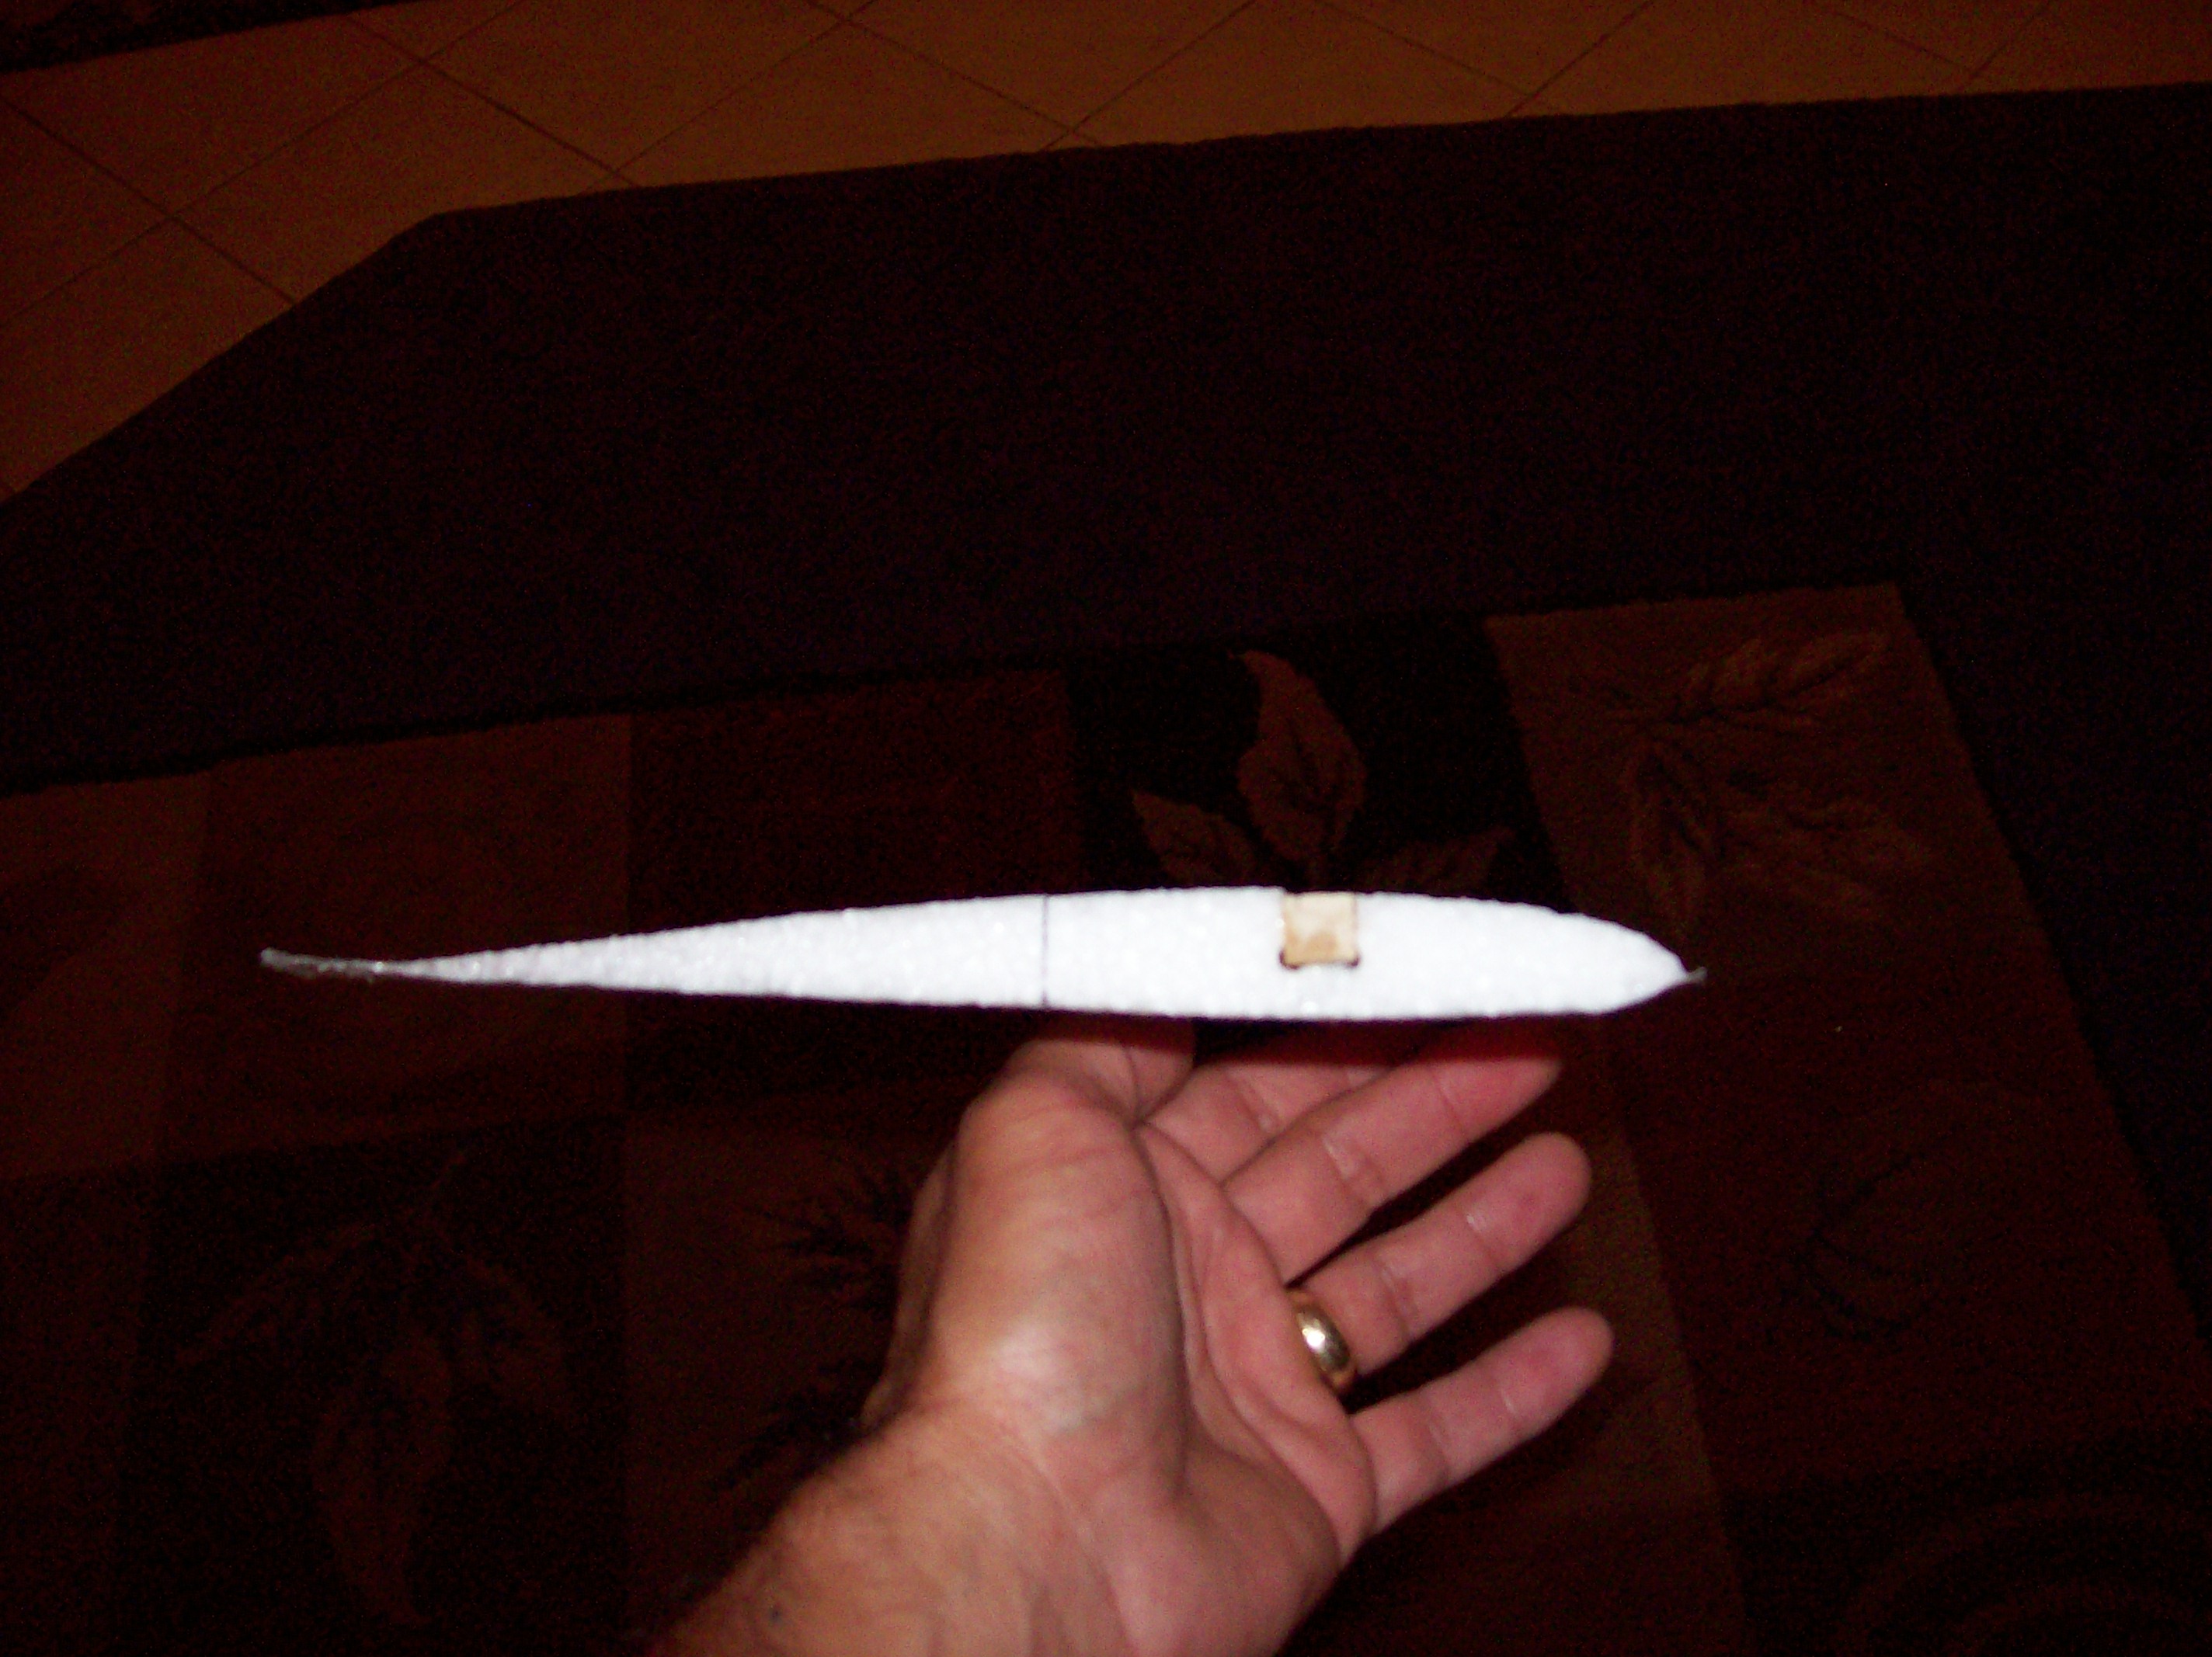
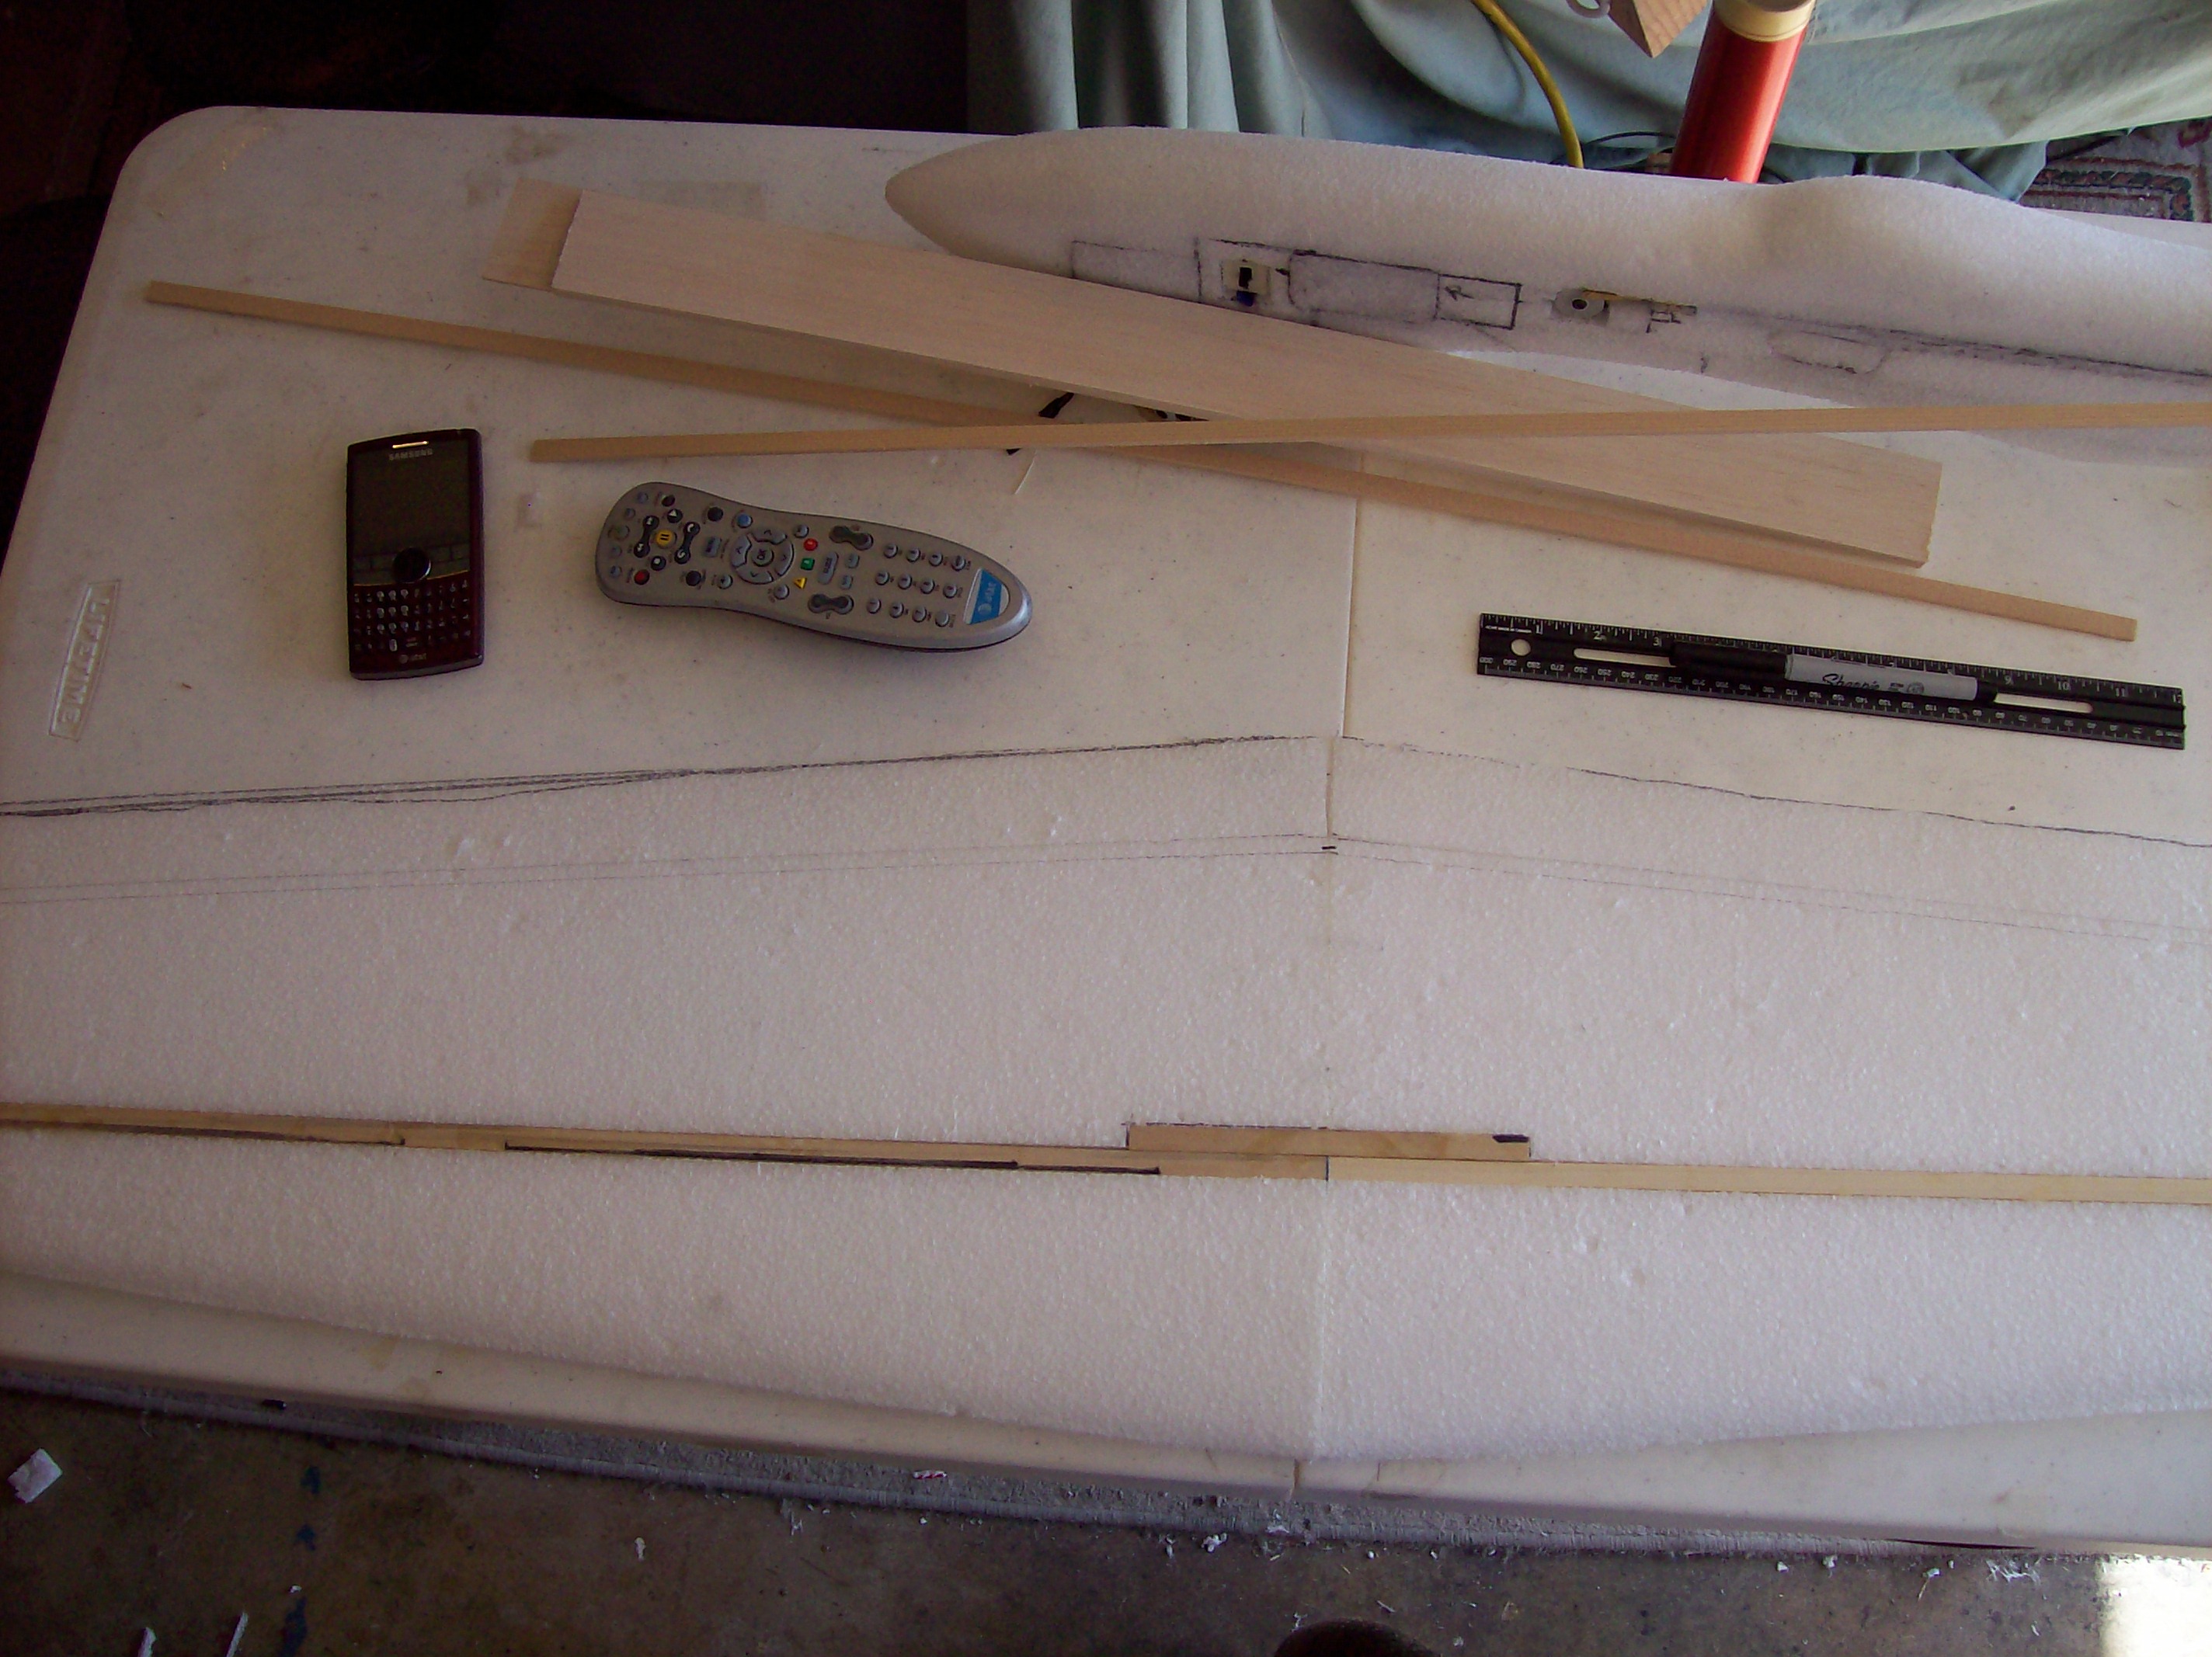
I completed my templates and cut my first Fuselage and created templates for the horizontal and vertical stabilizers.

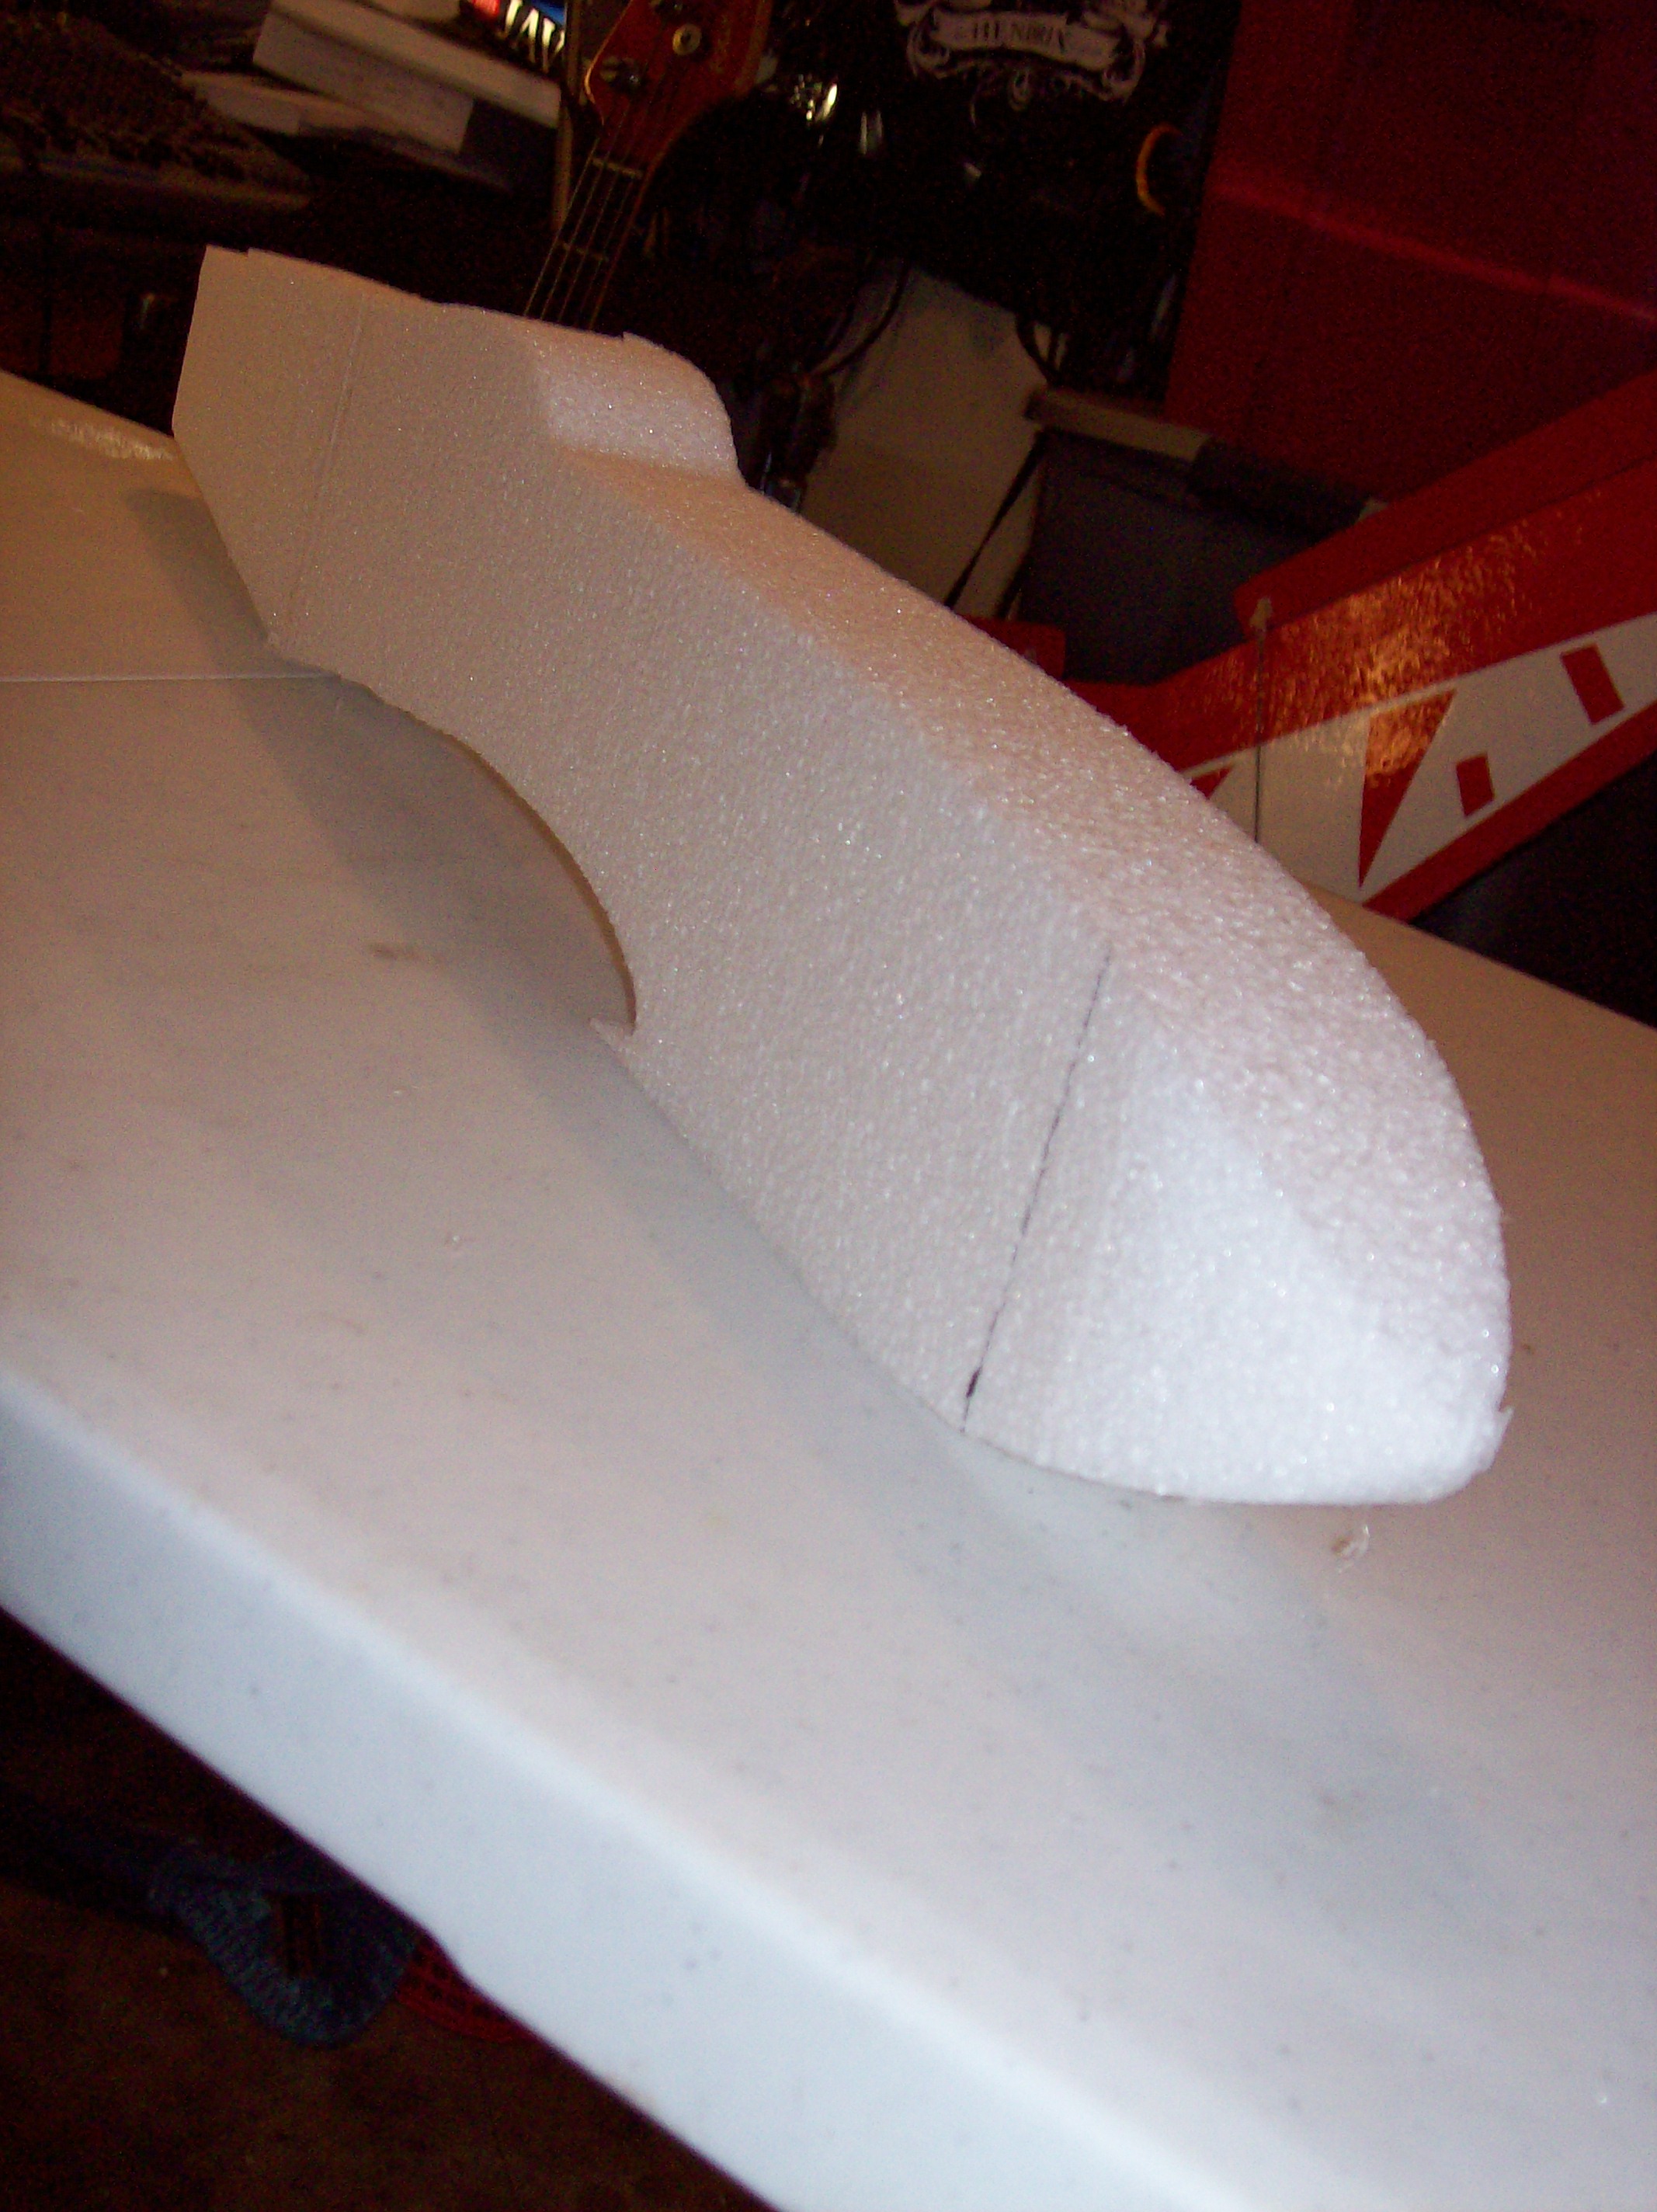
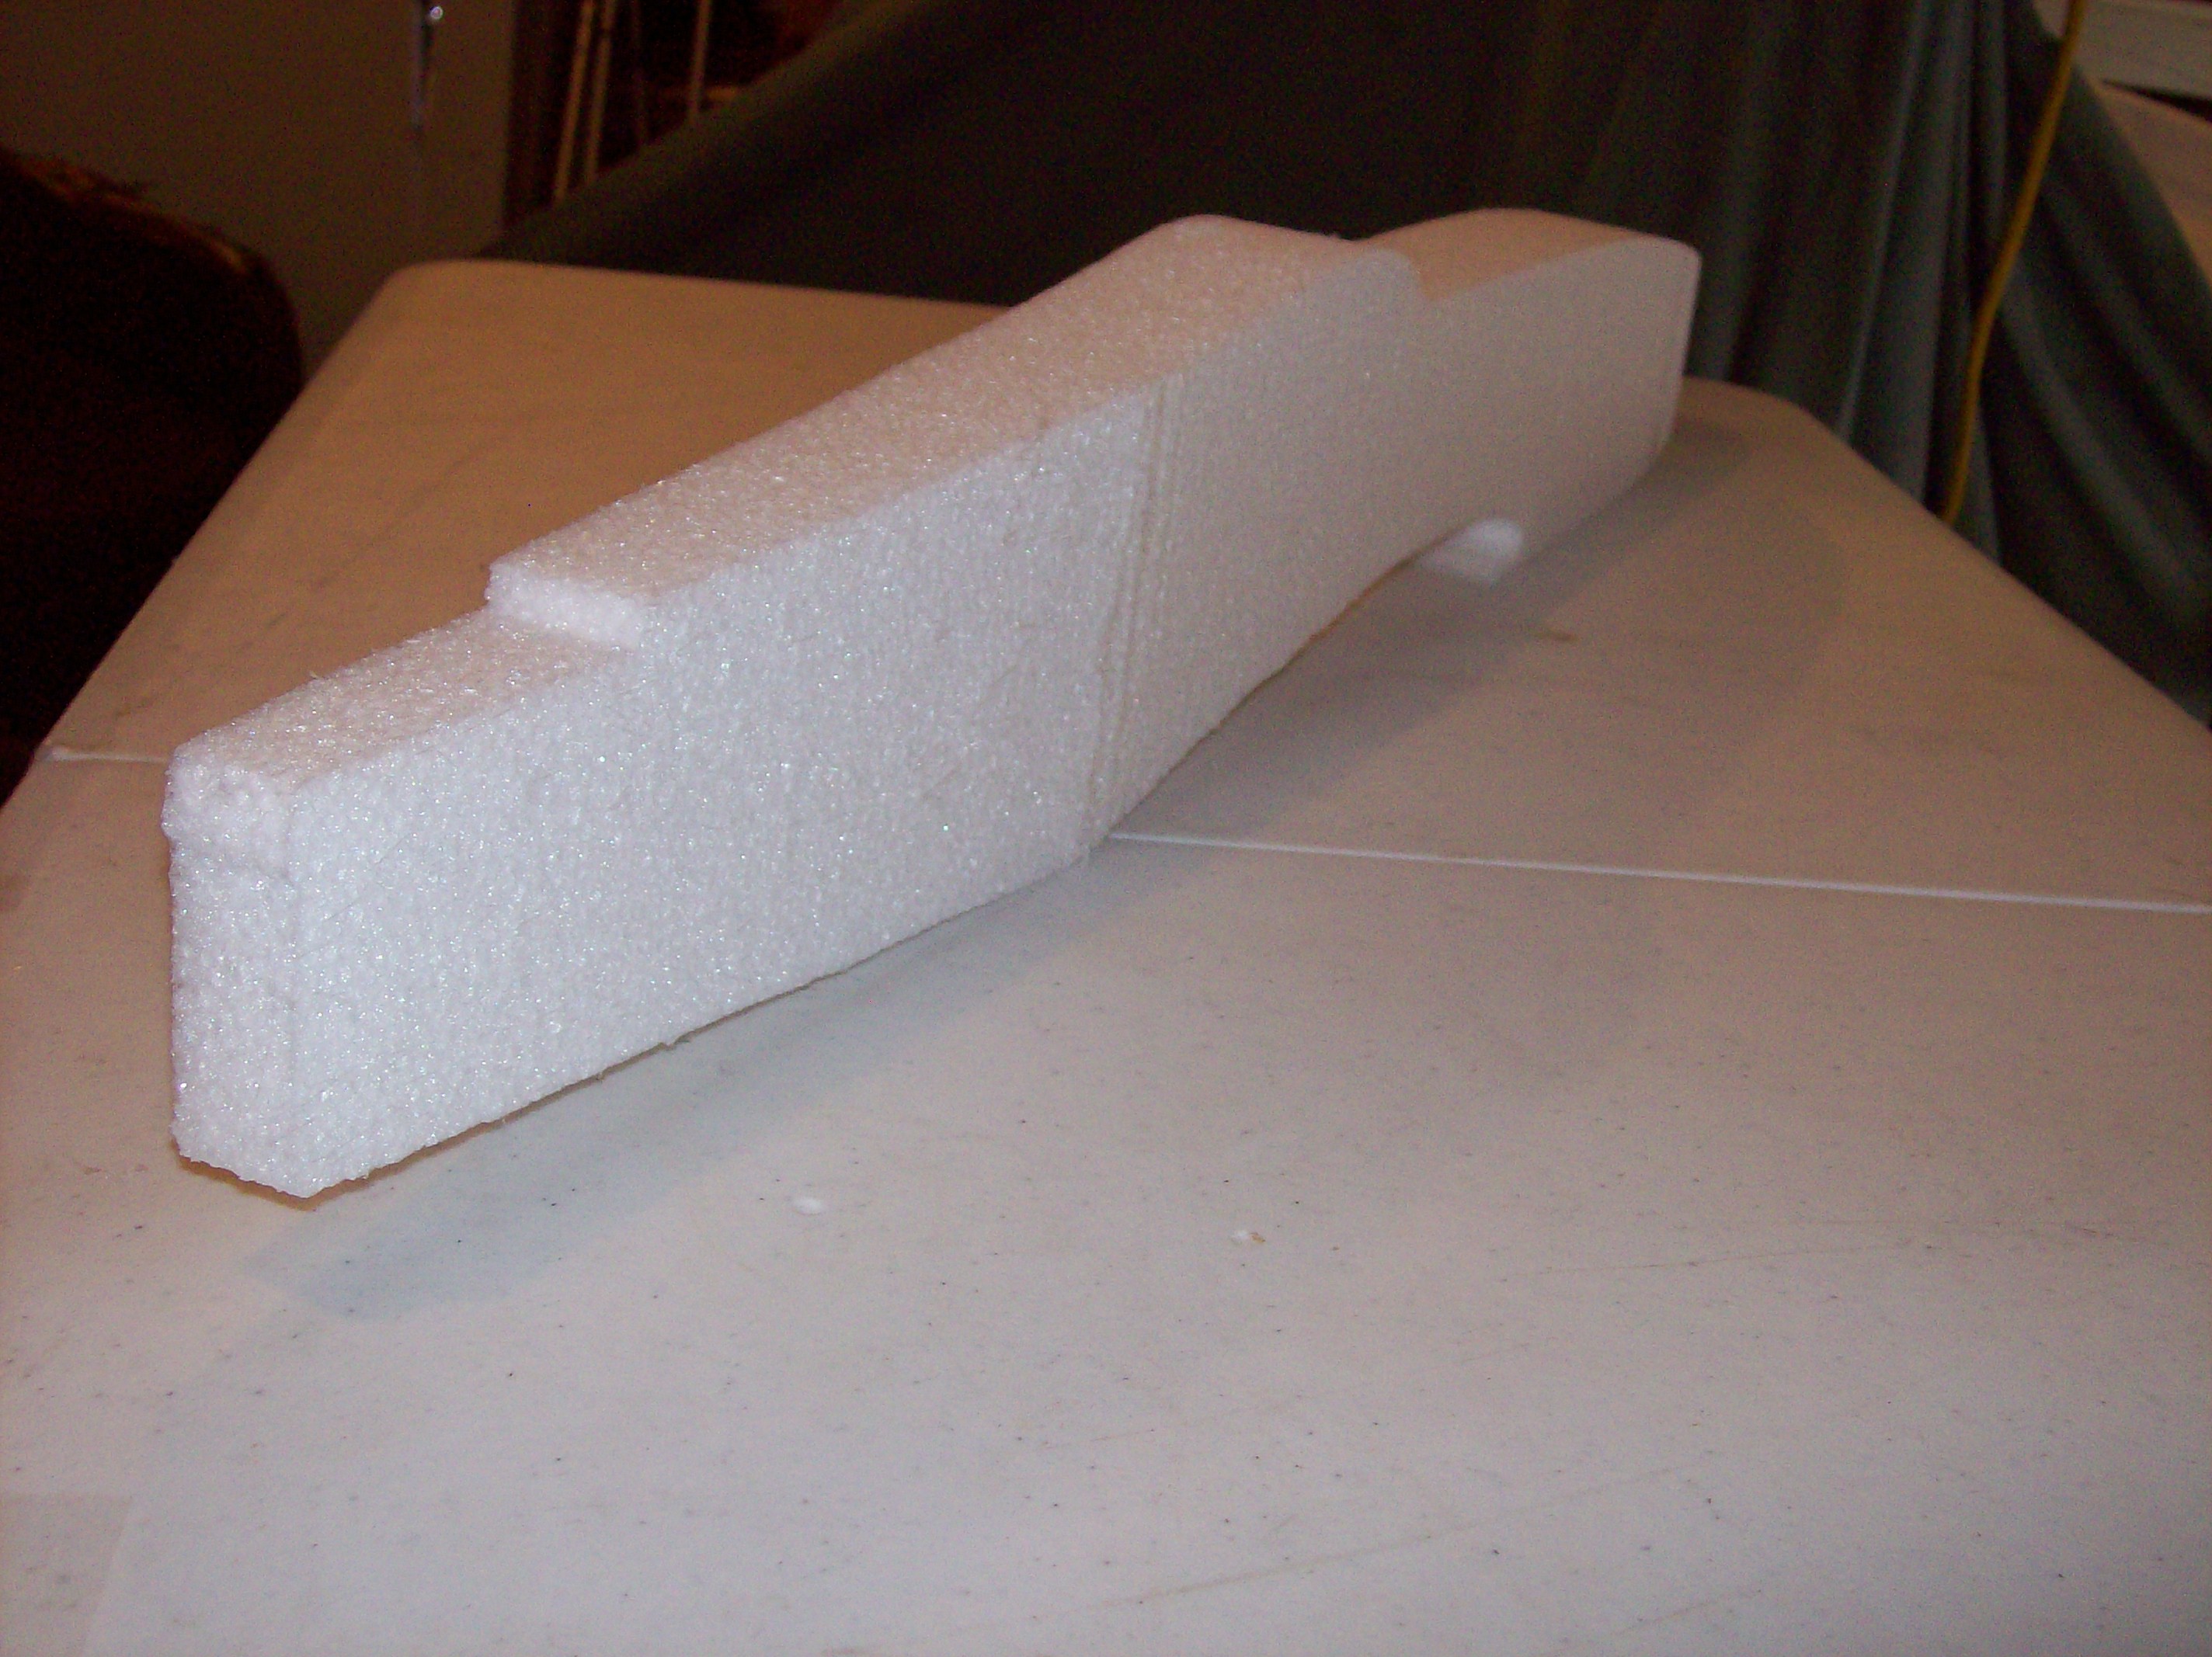
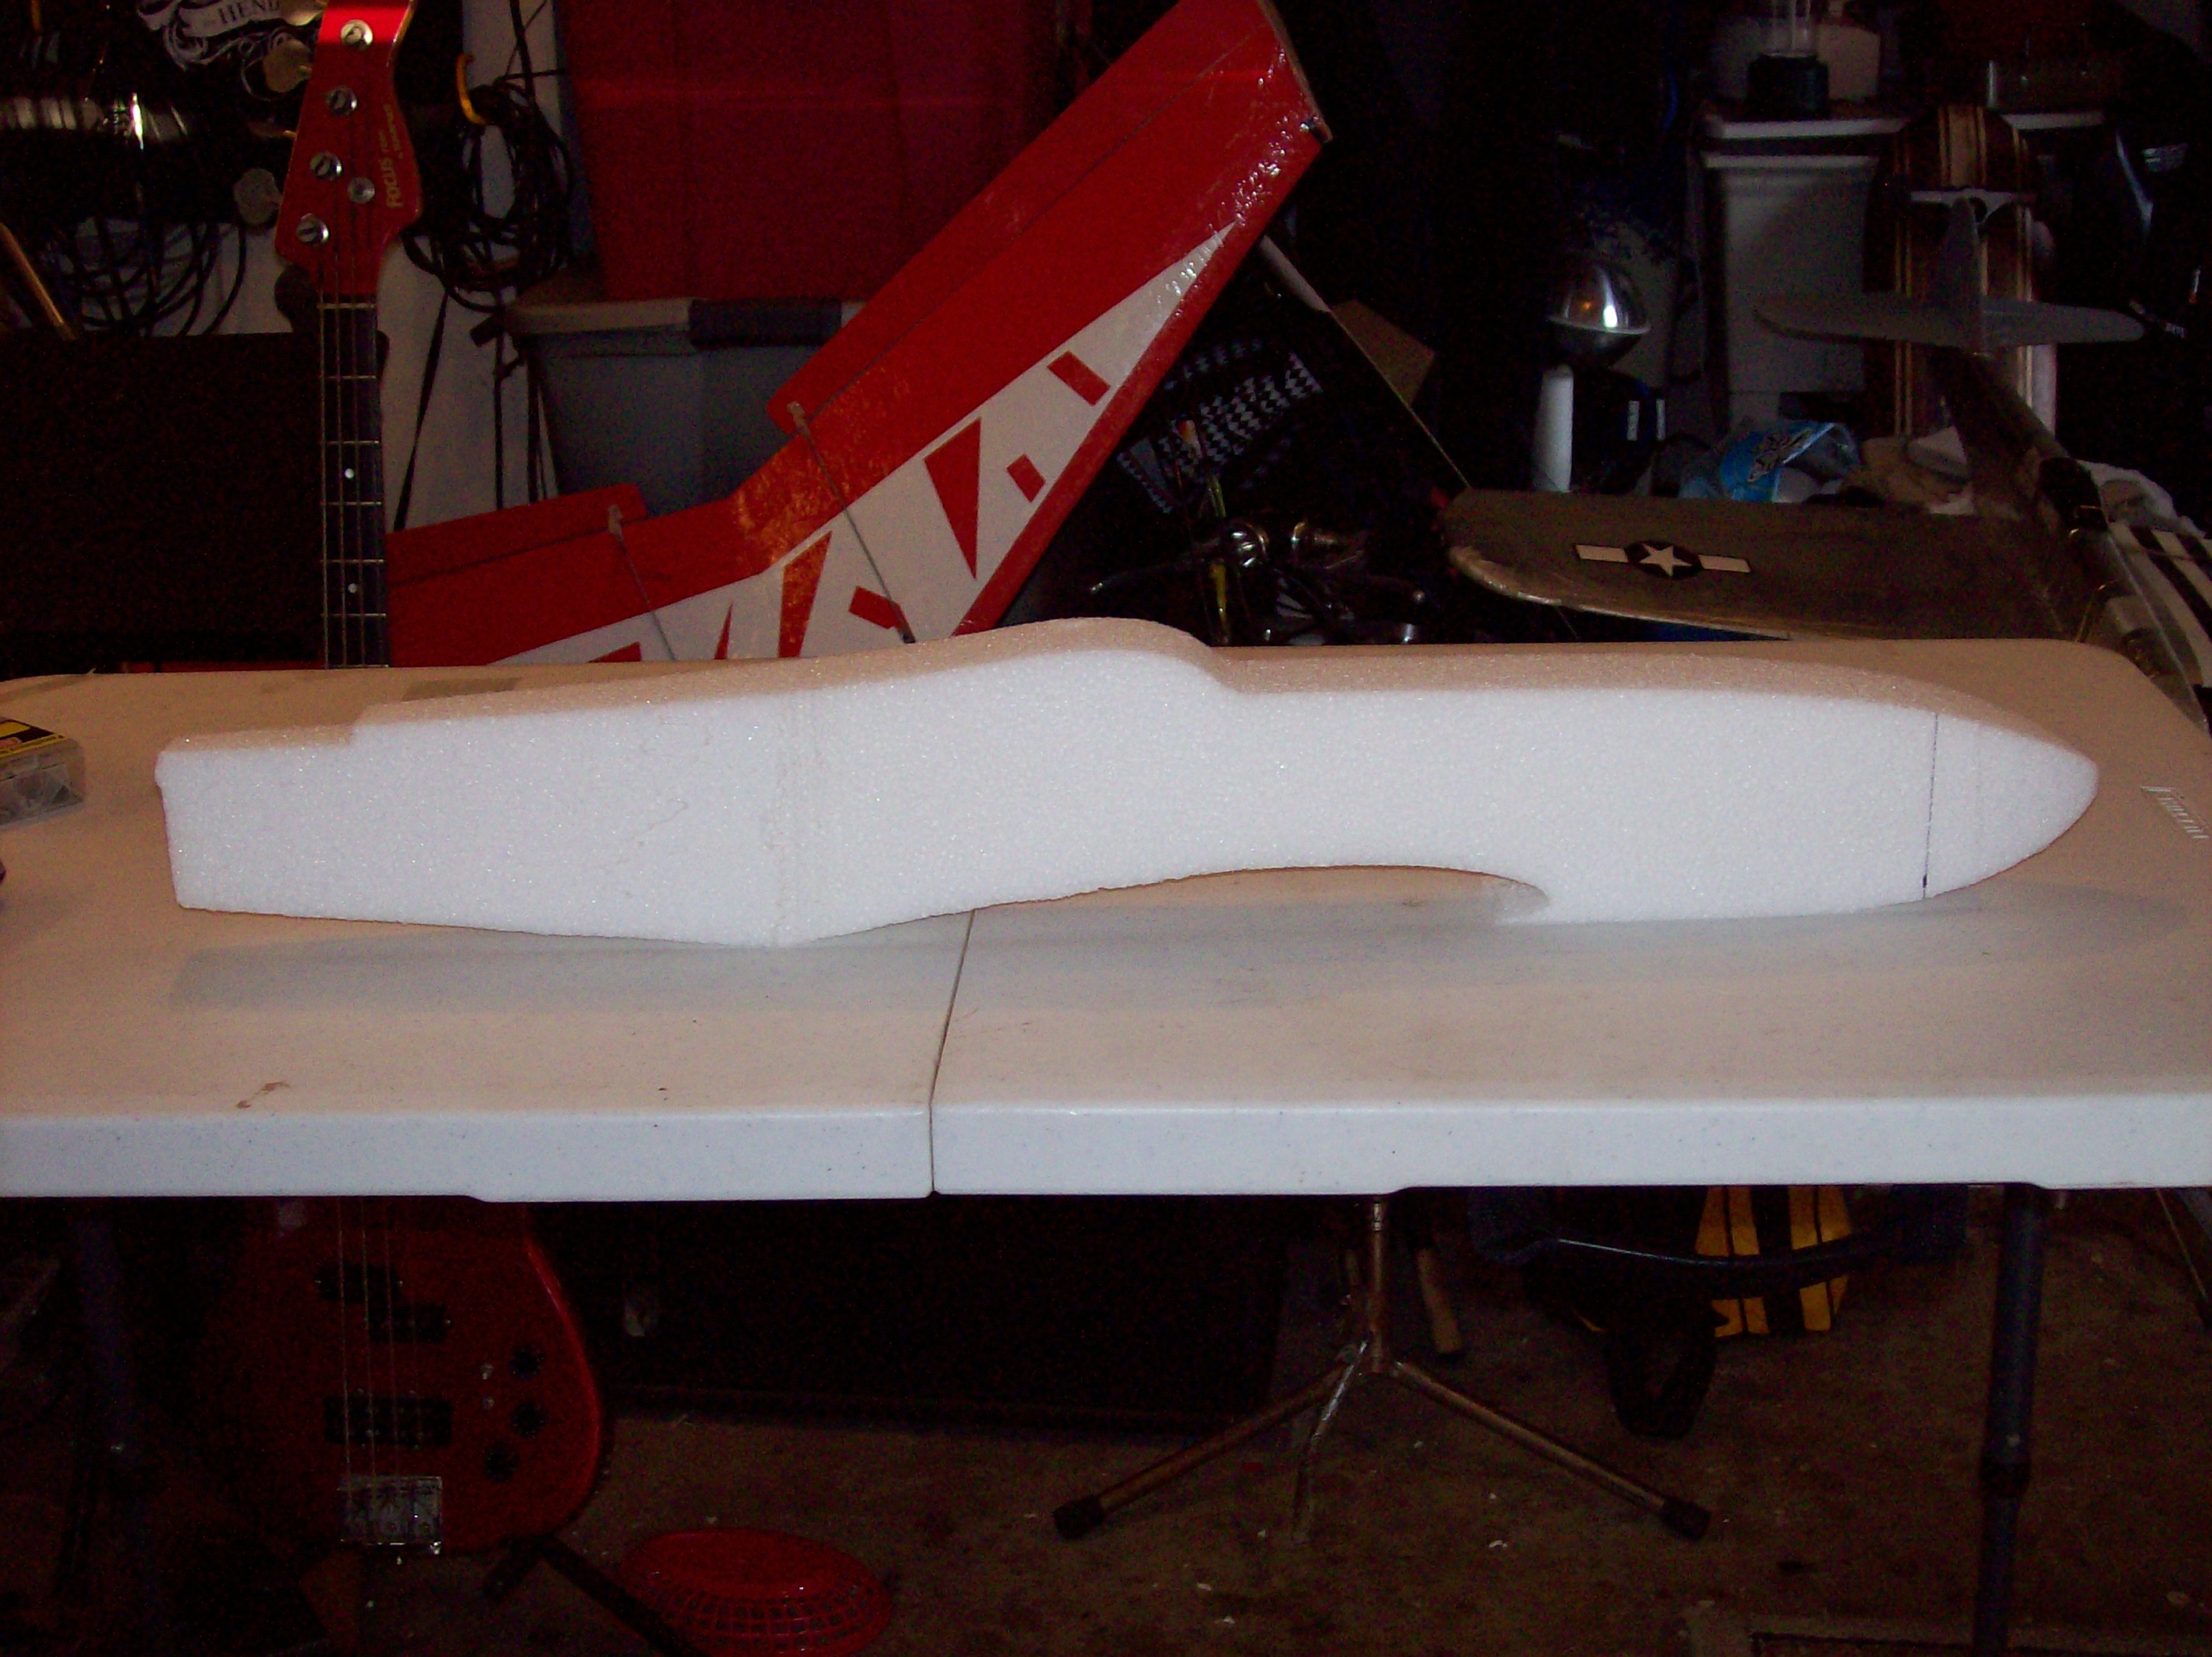
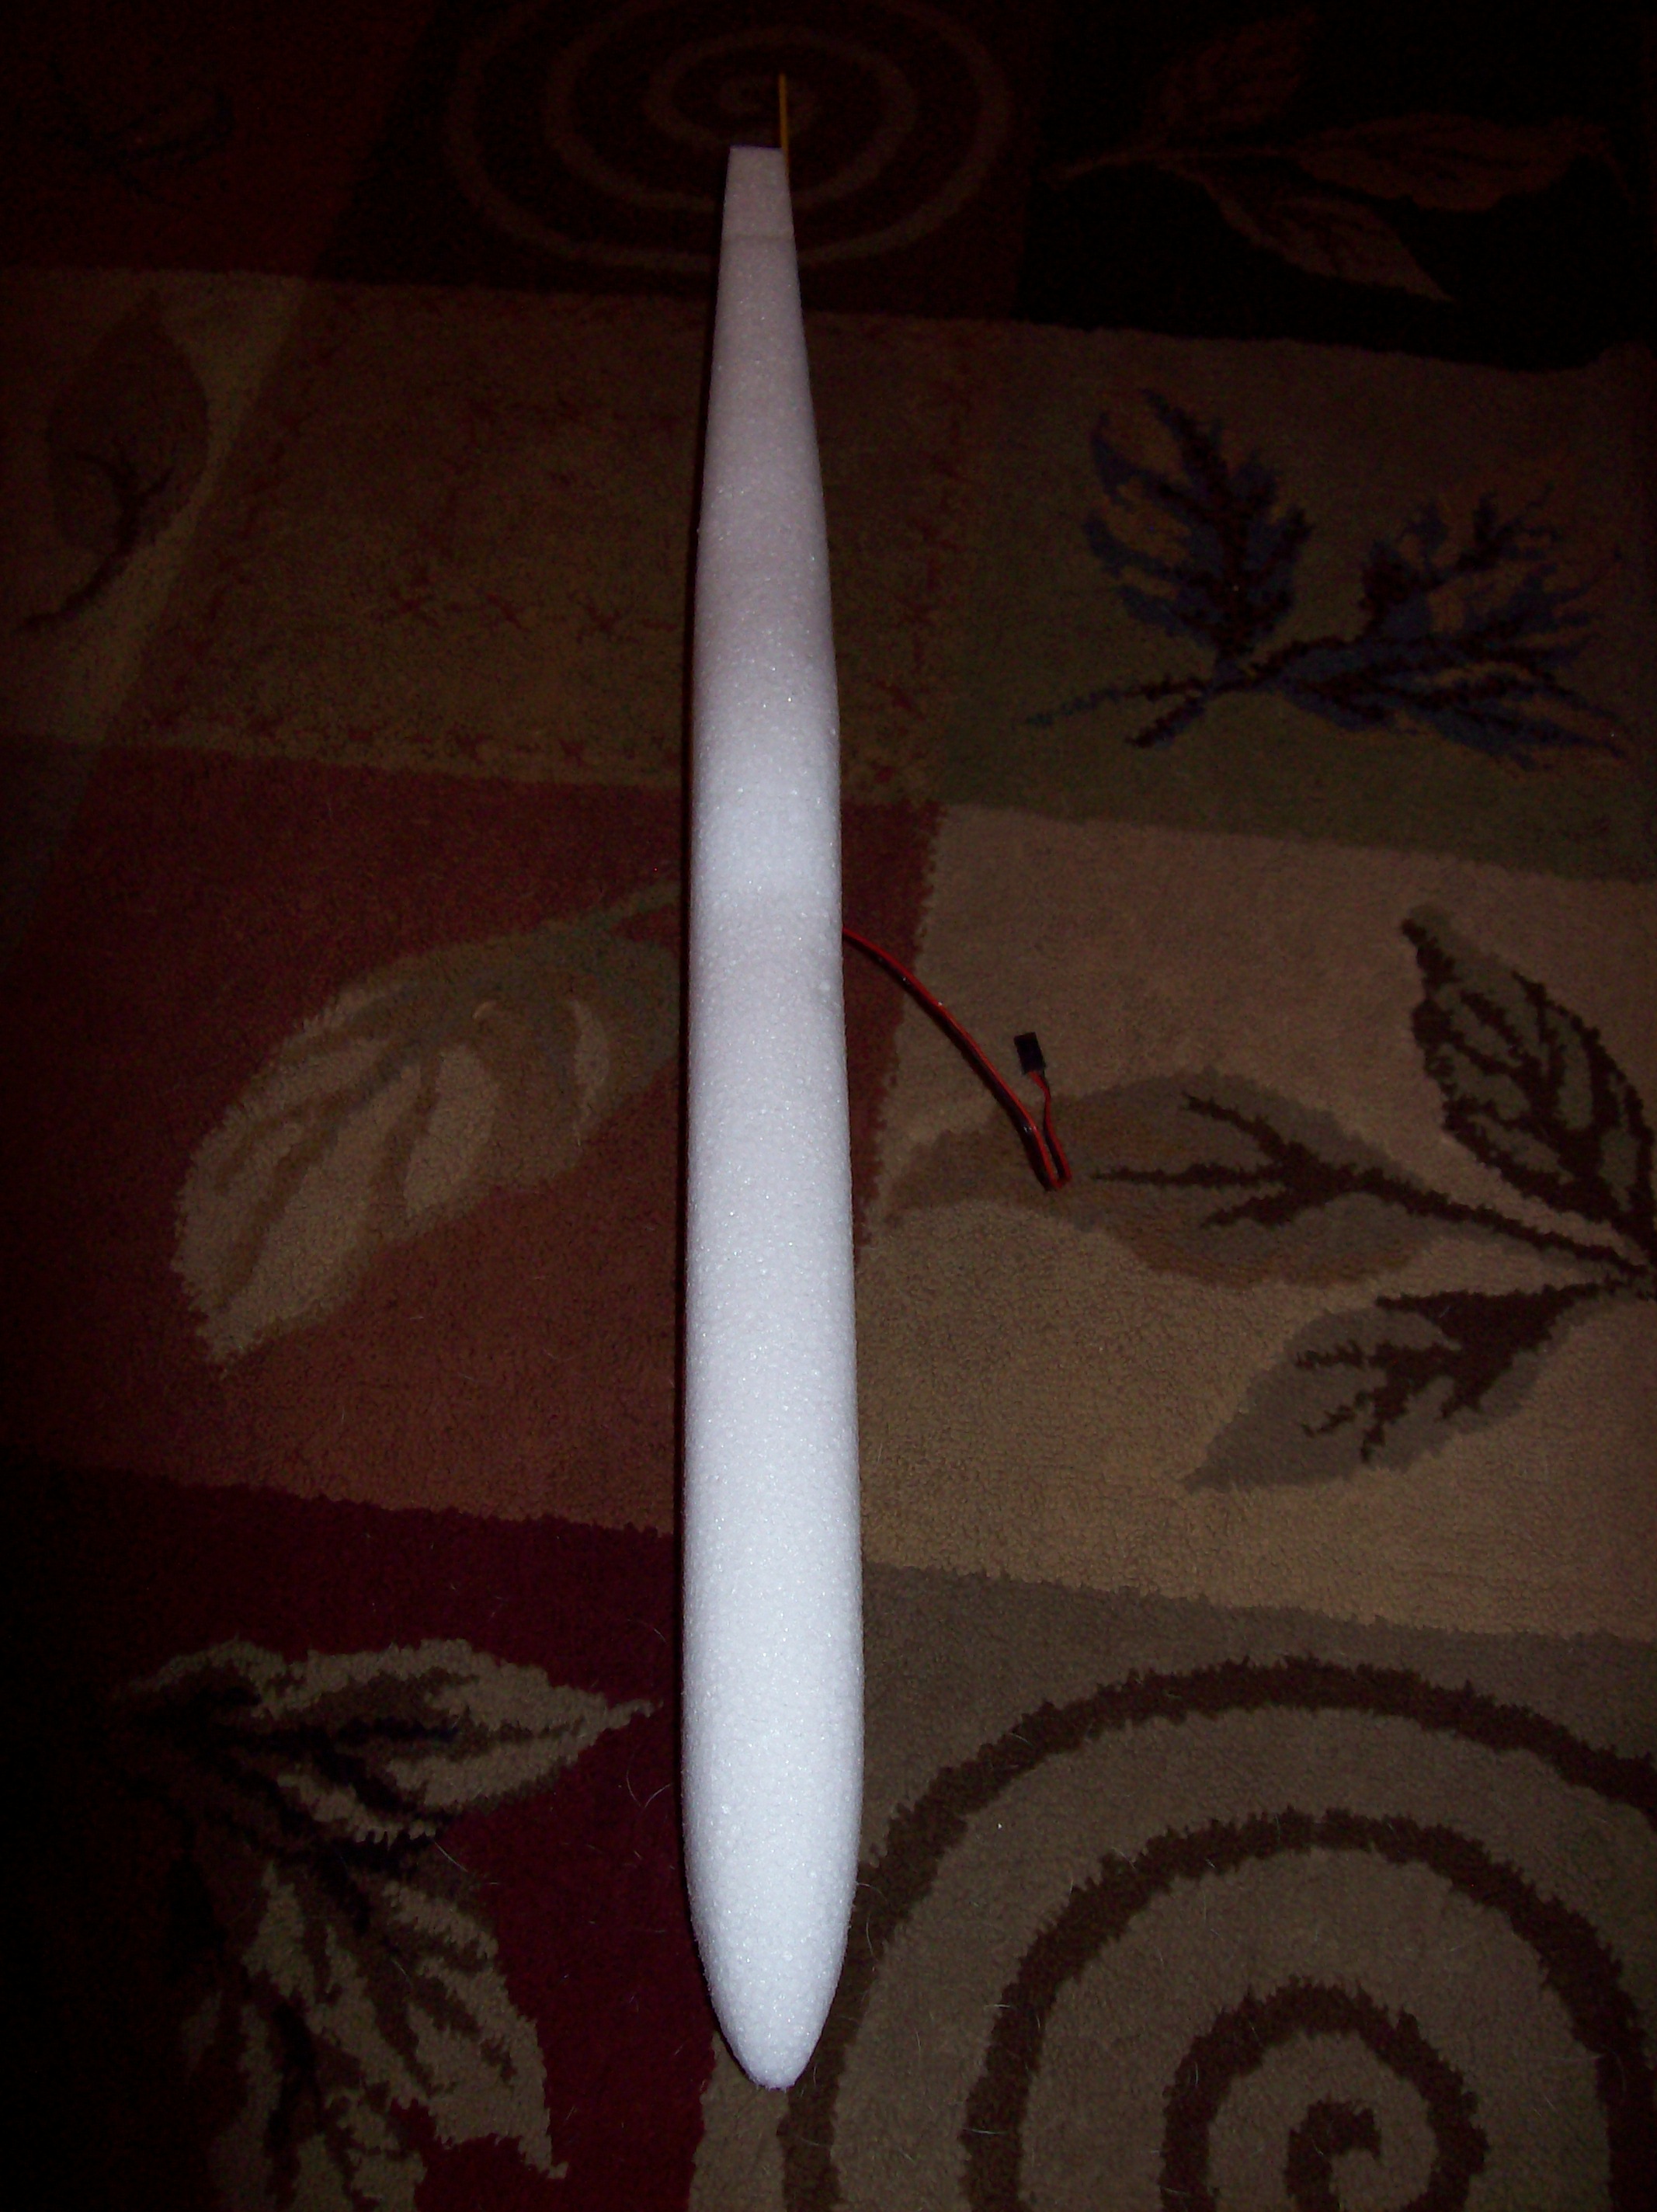
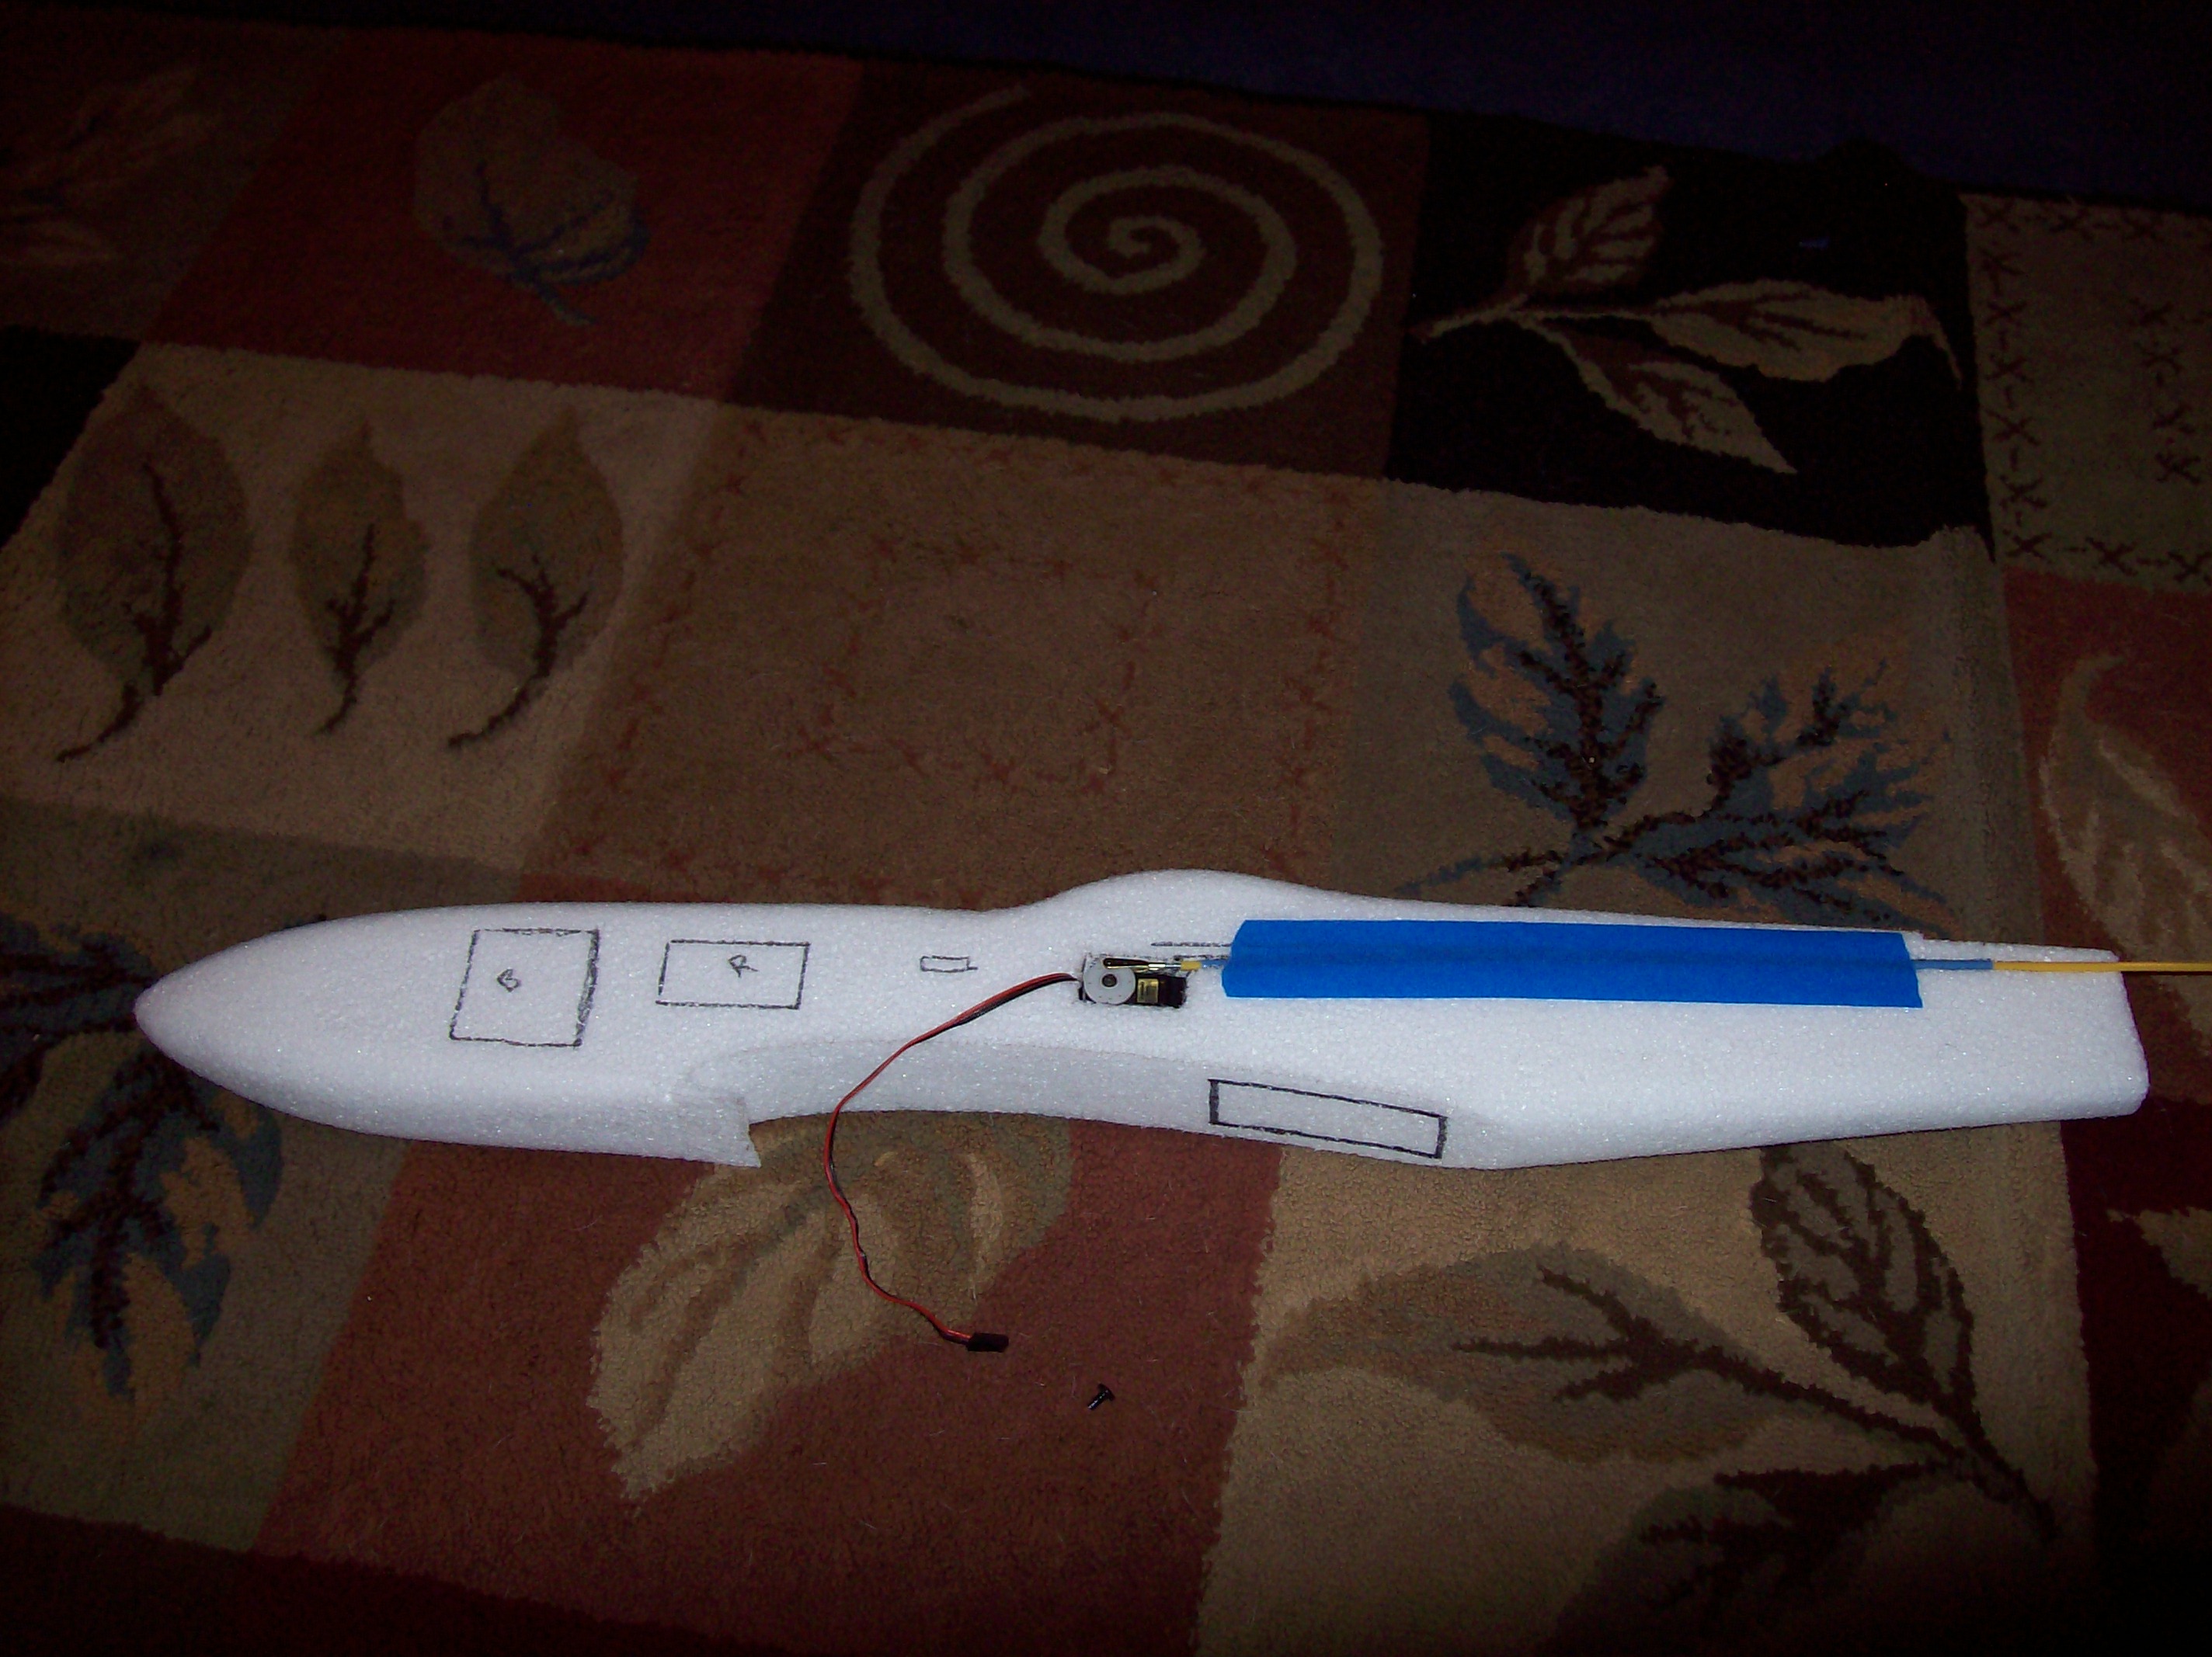
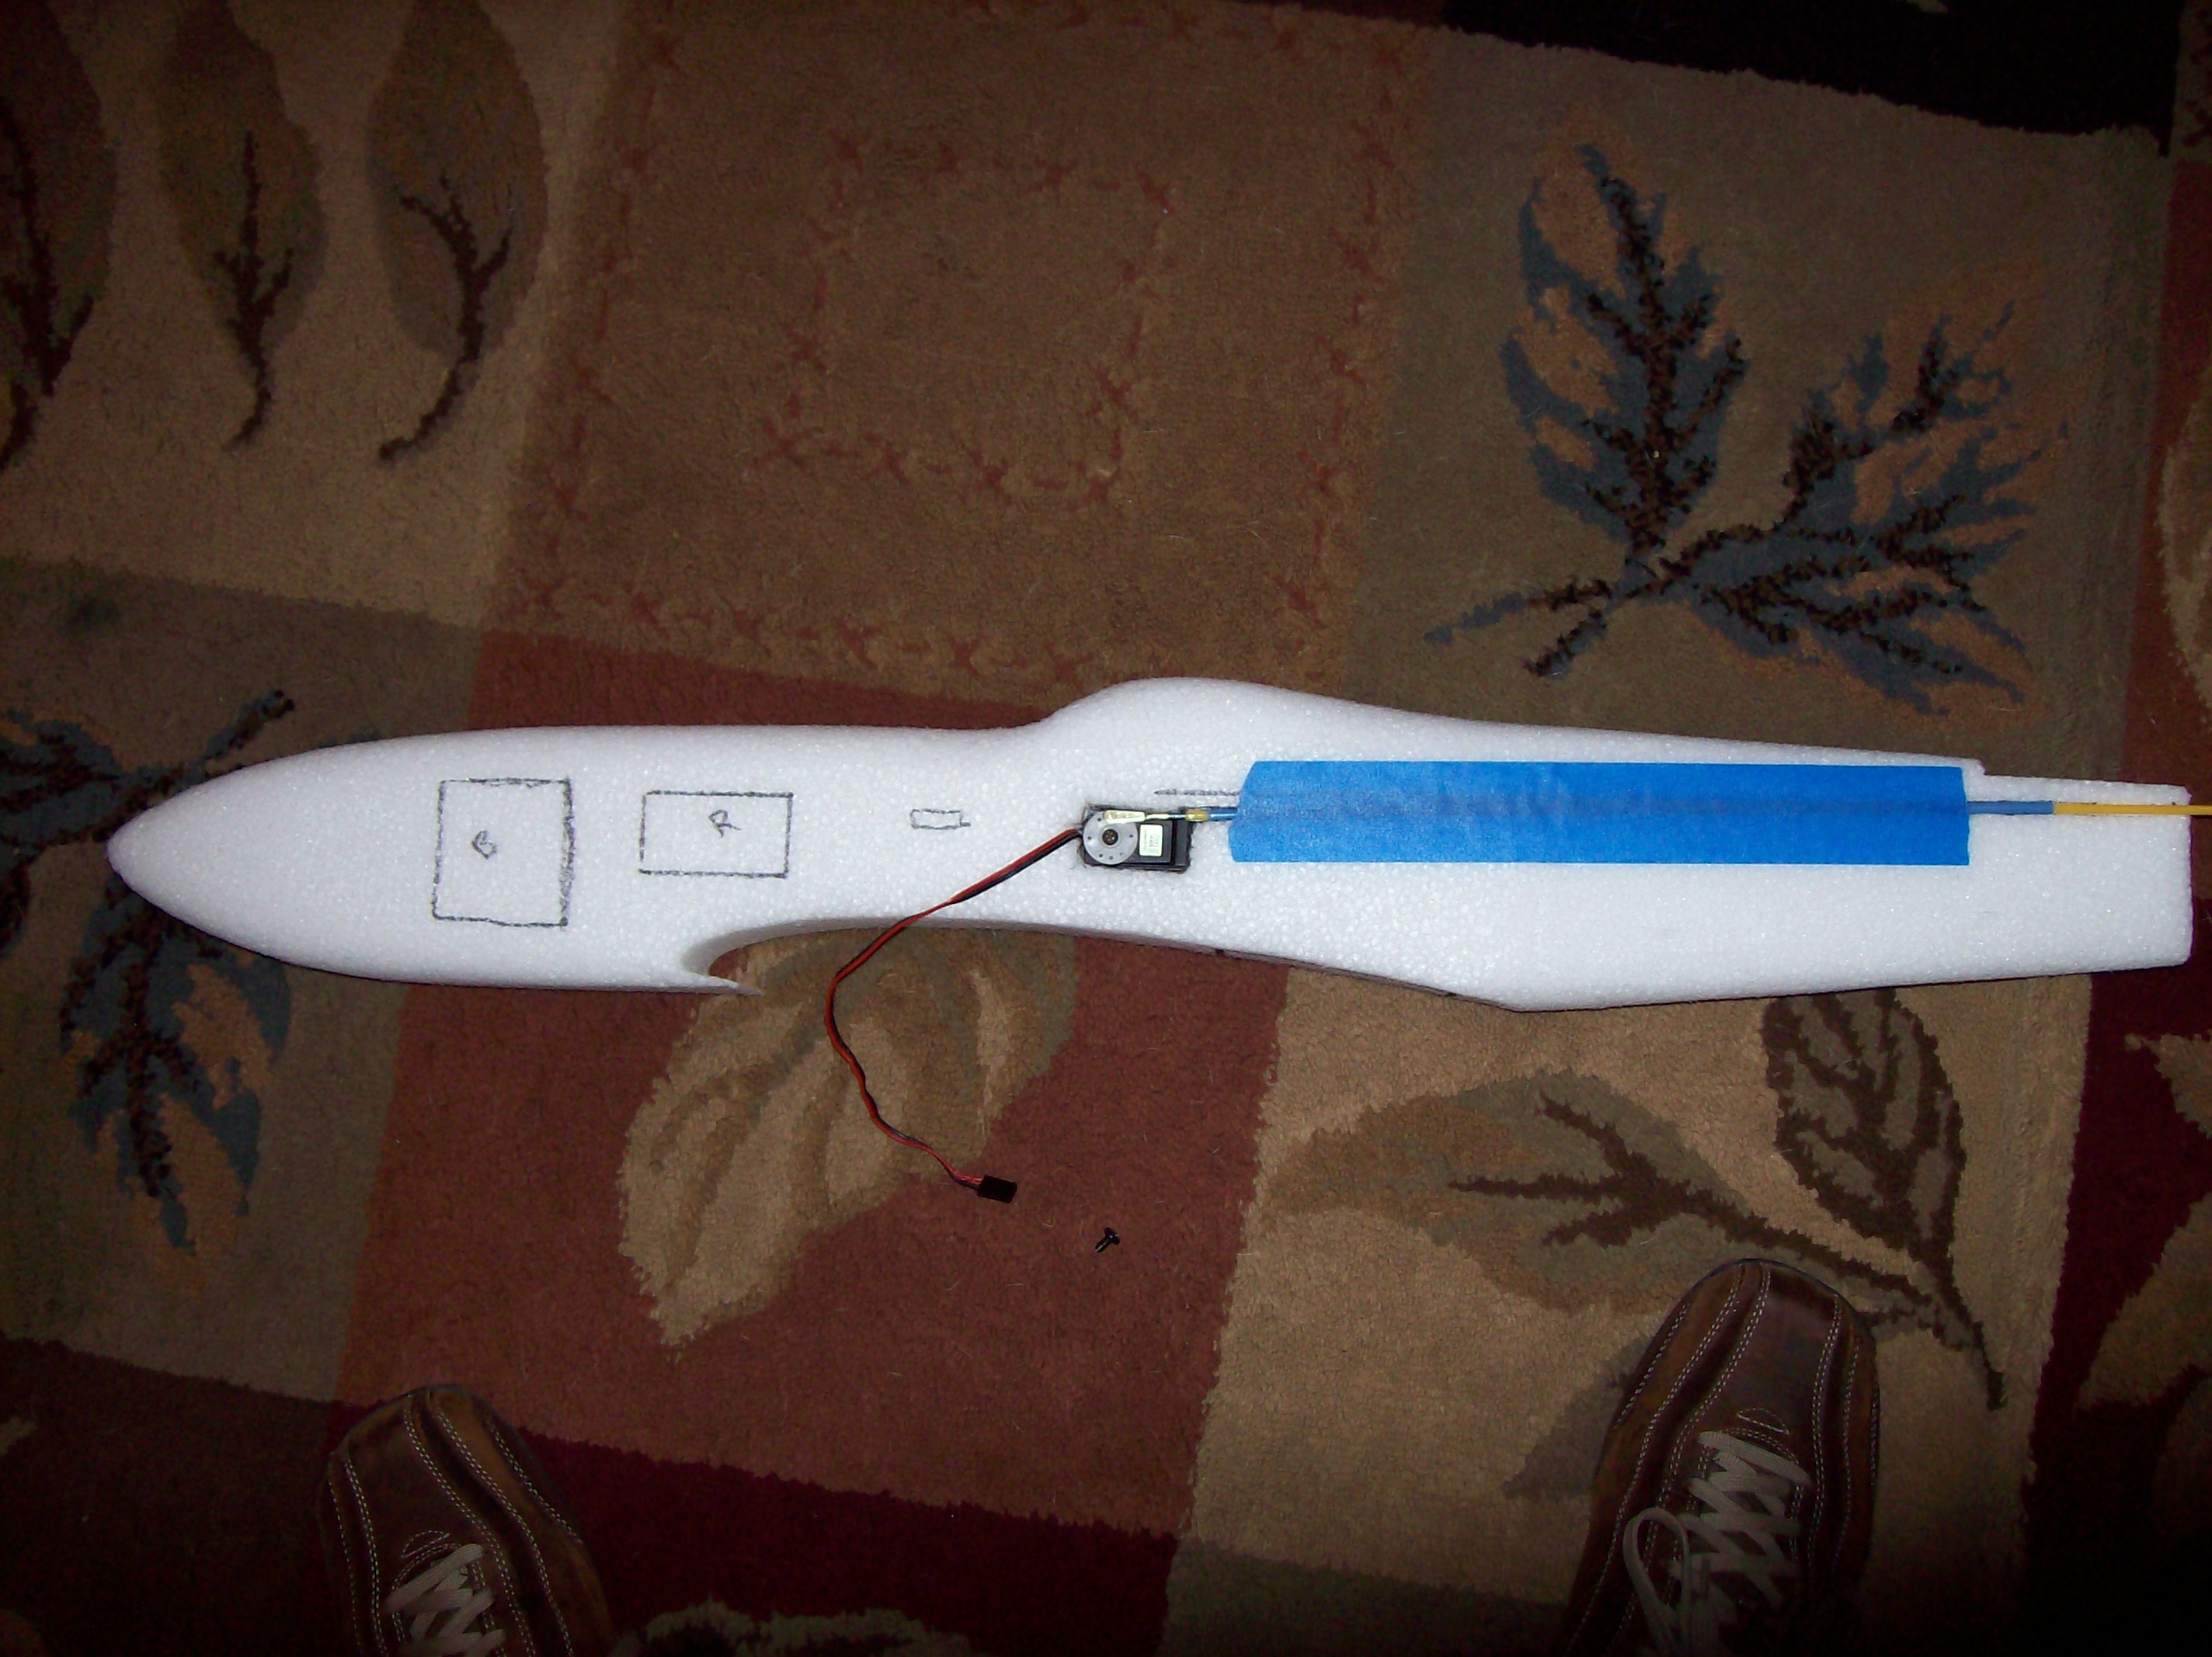
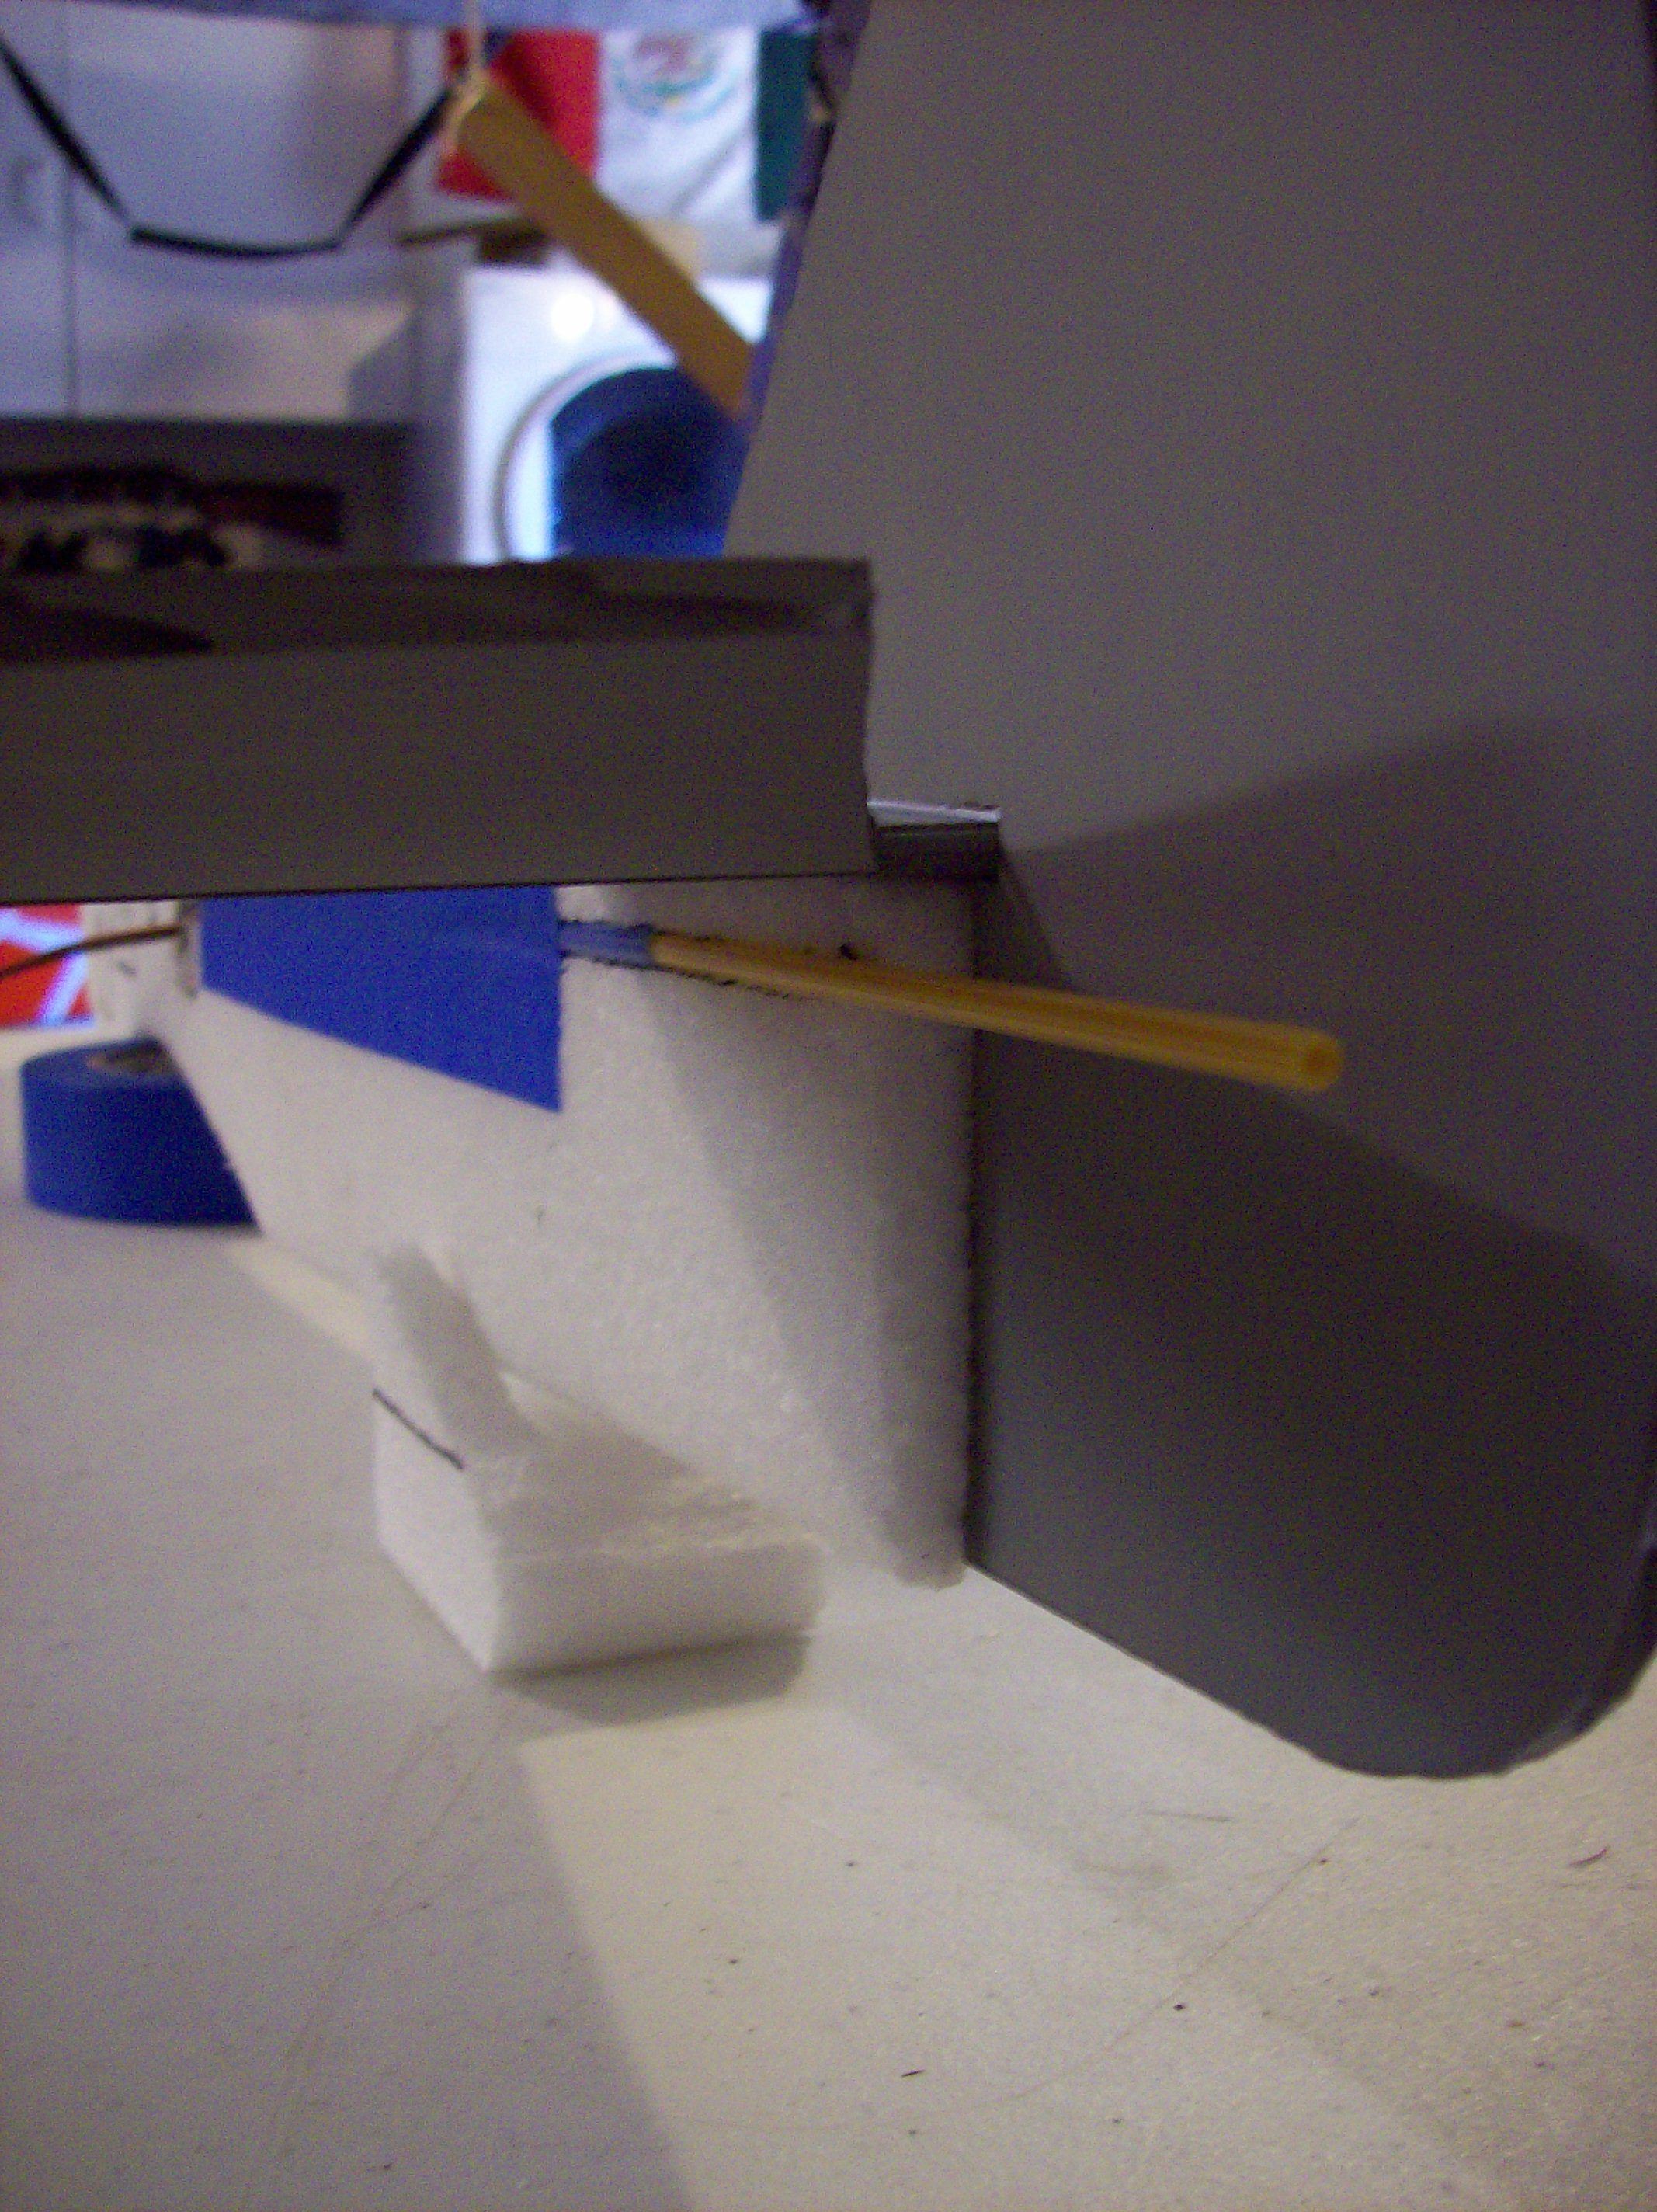
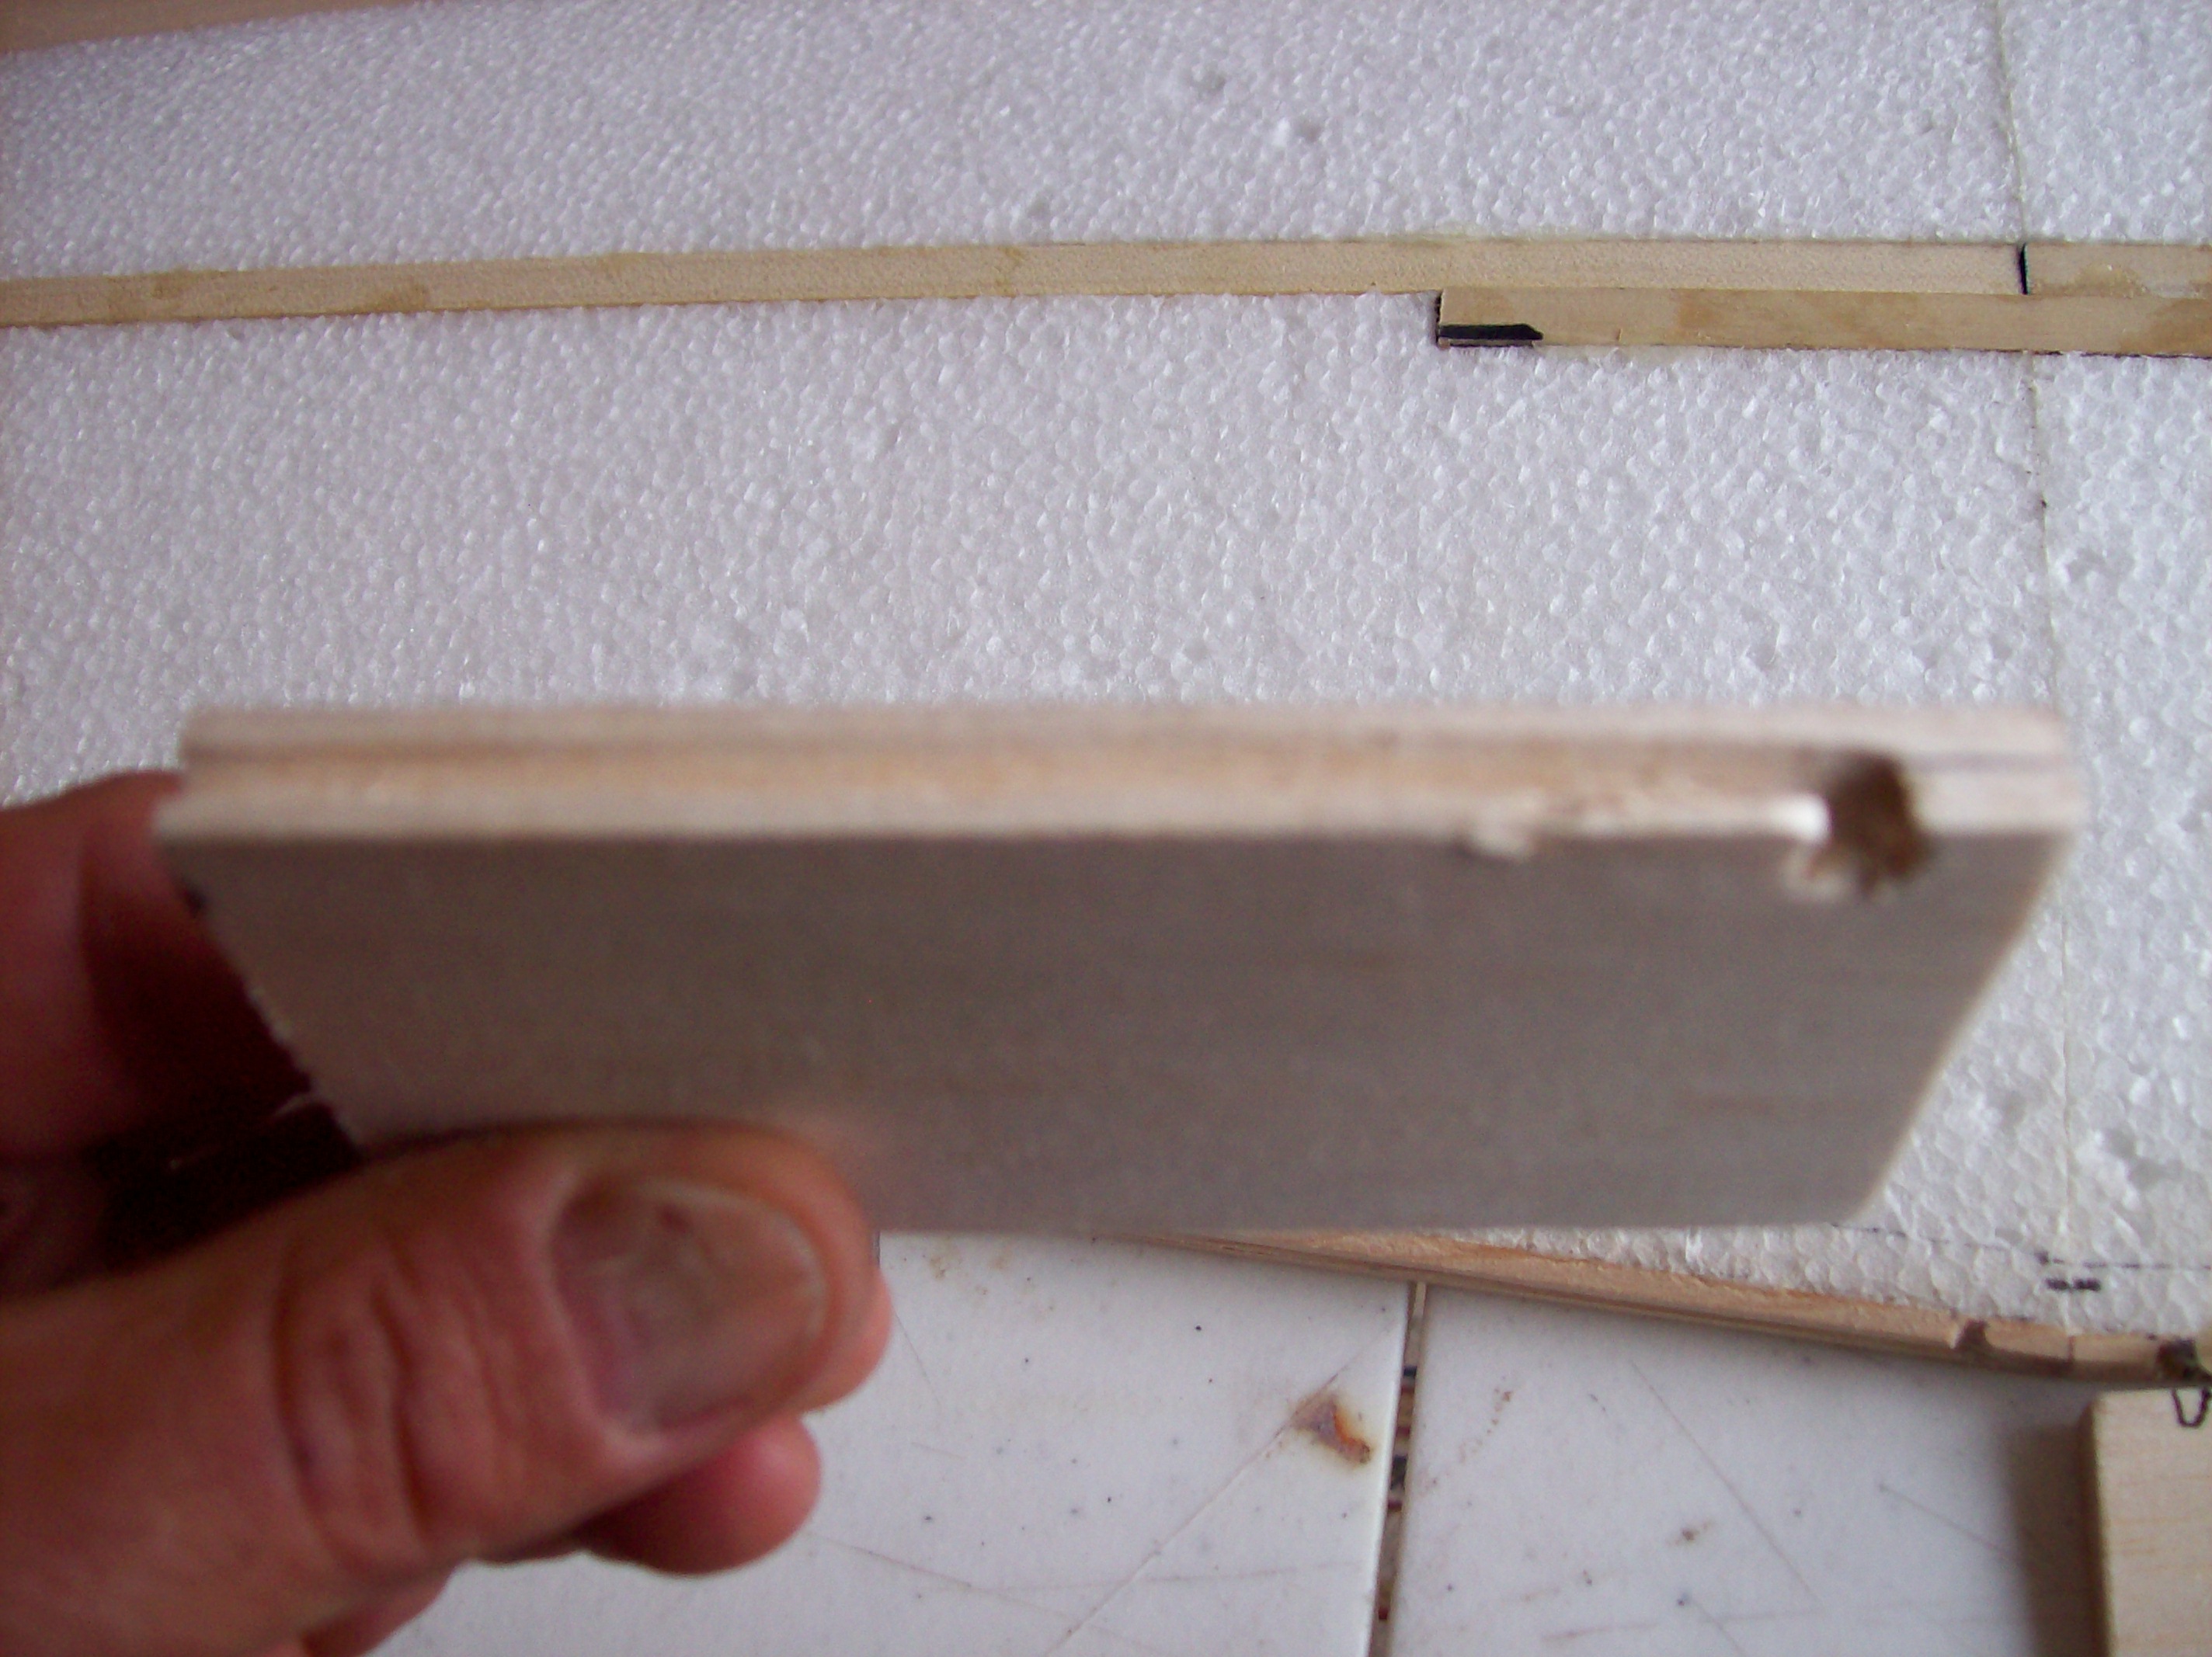
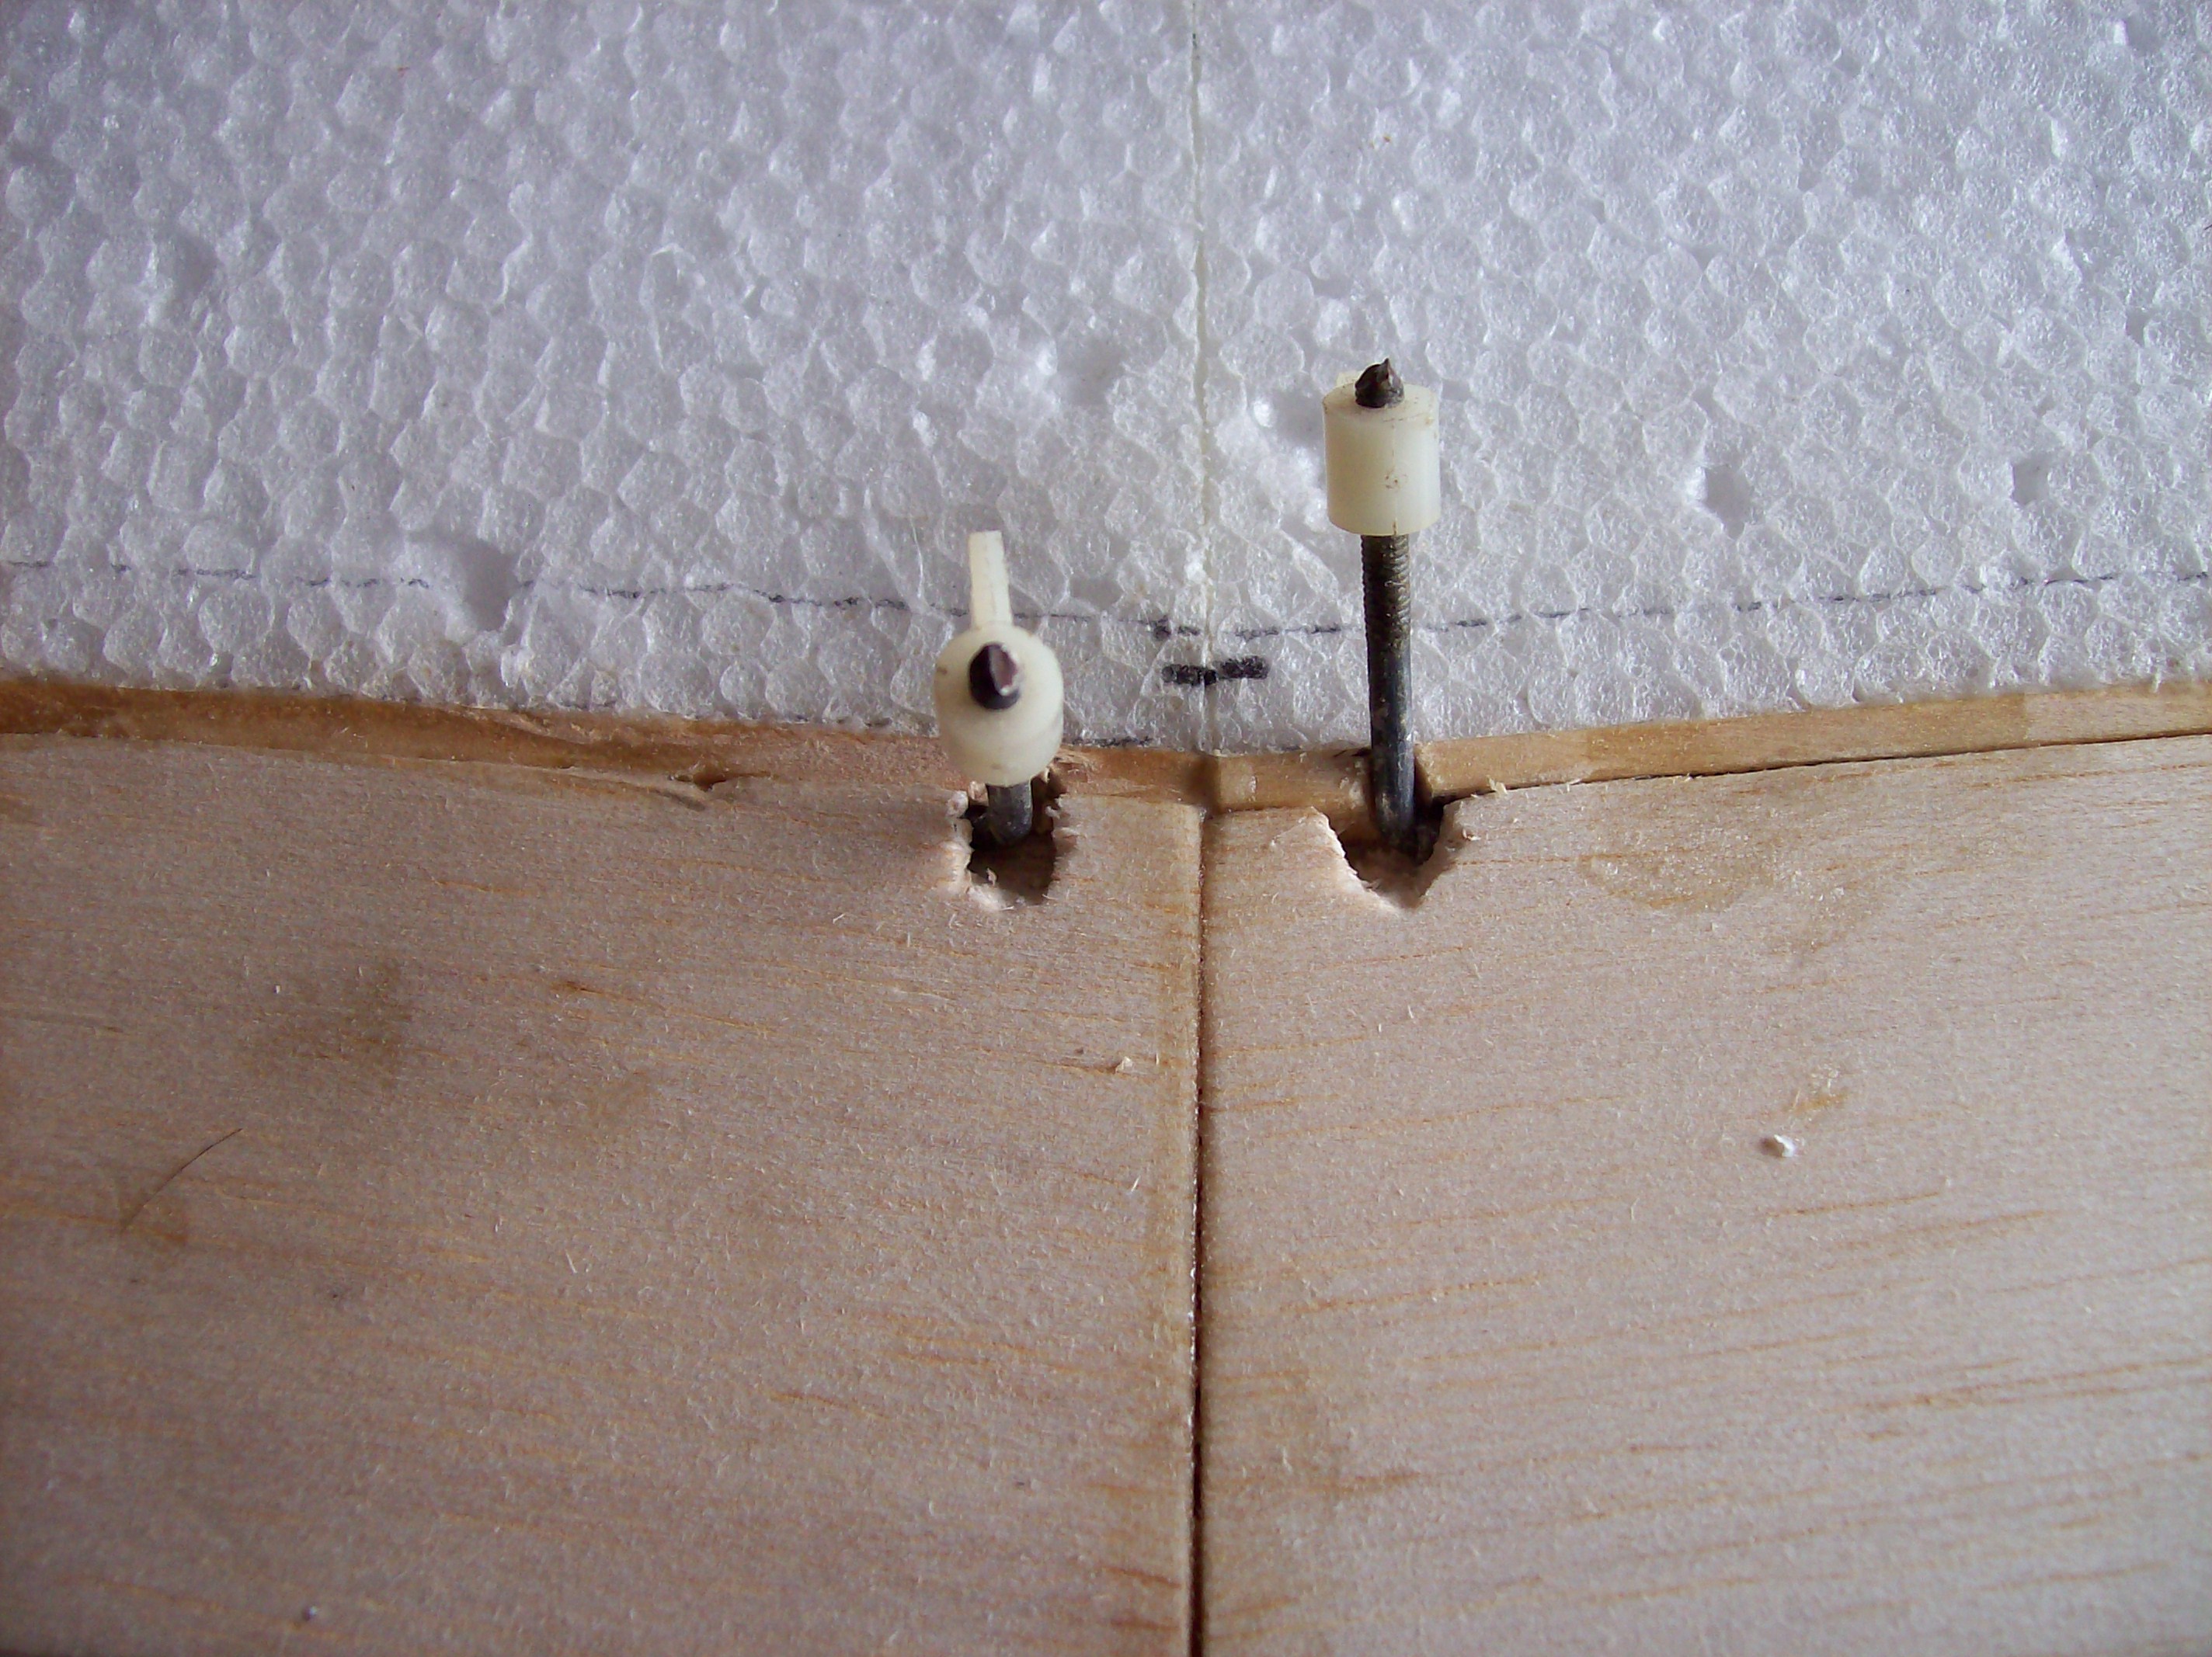
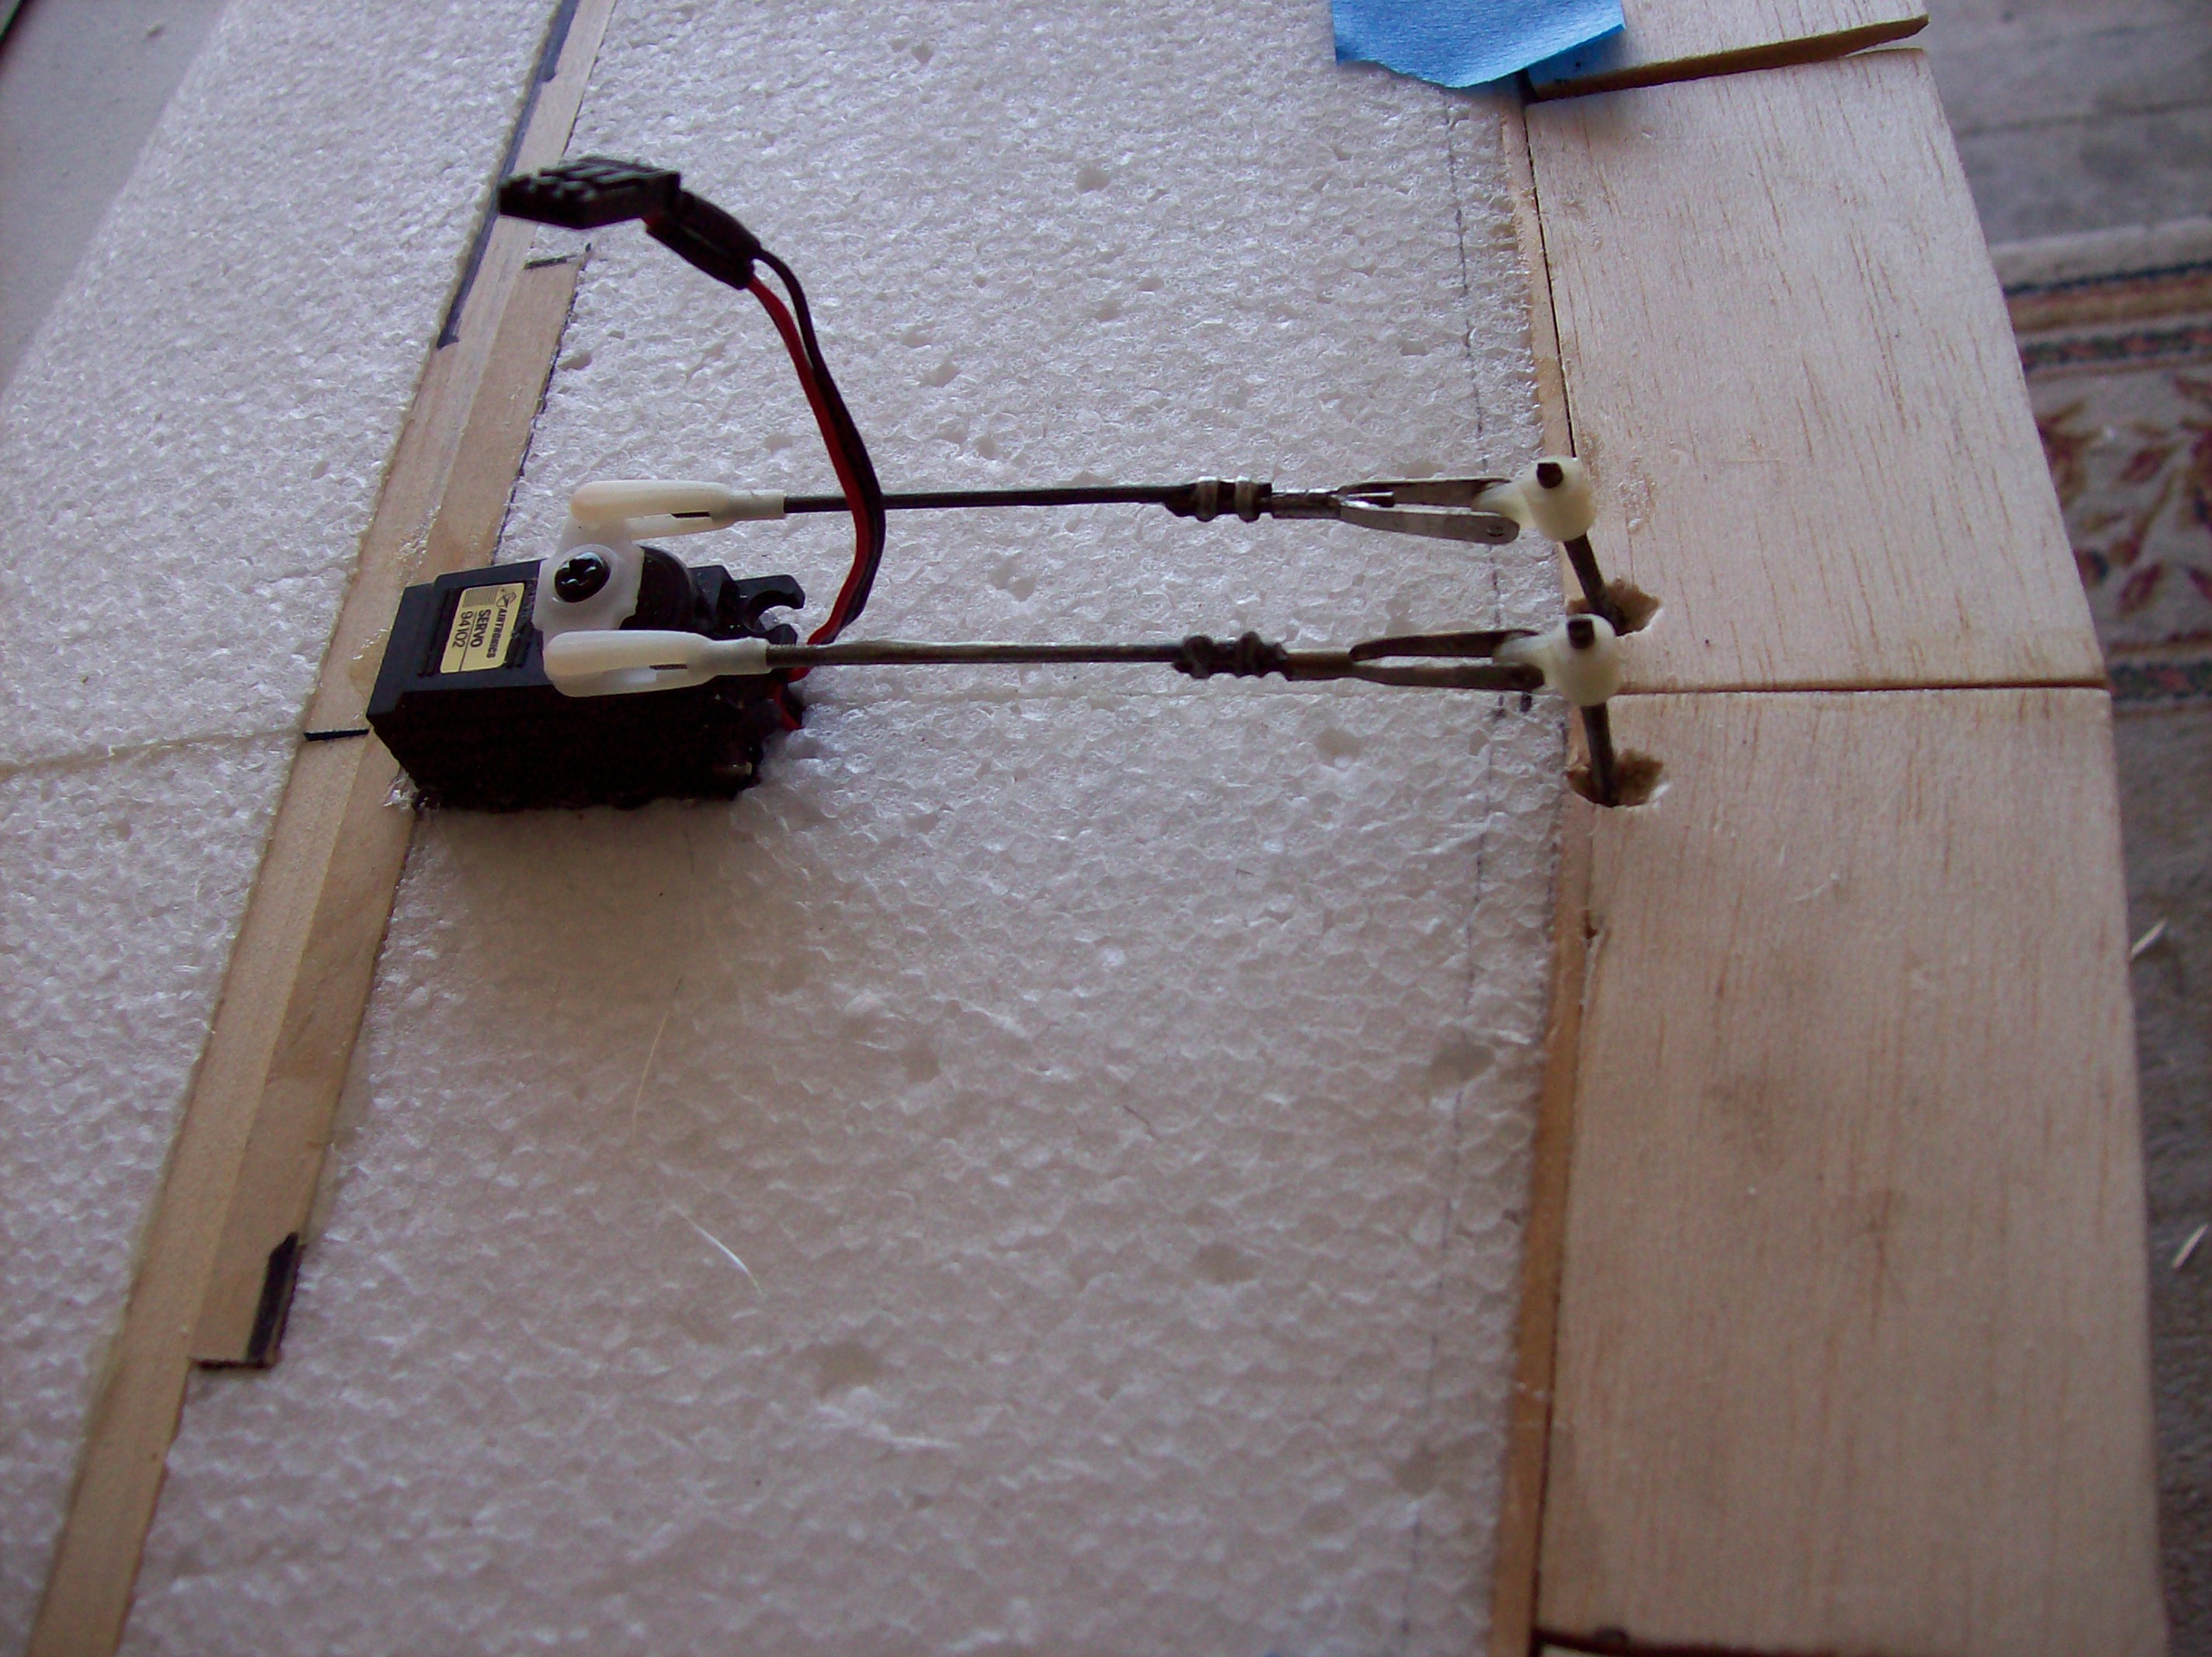
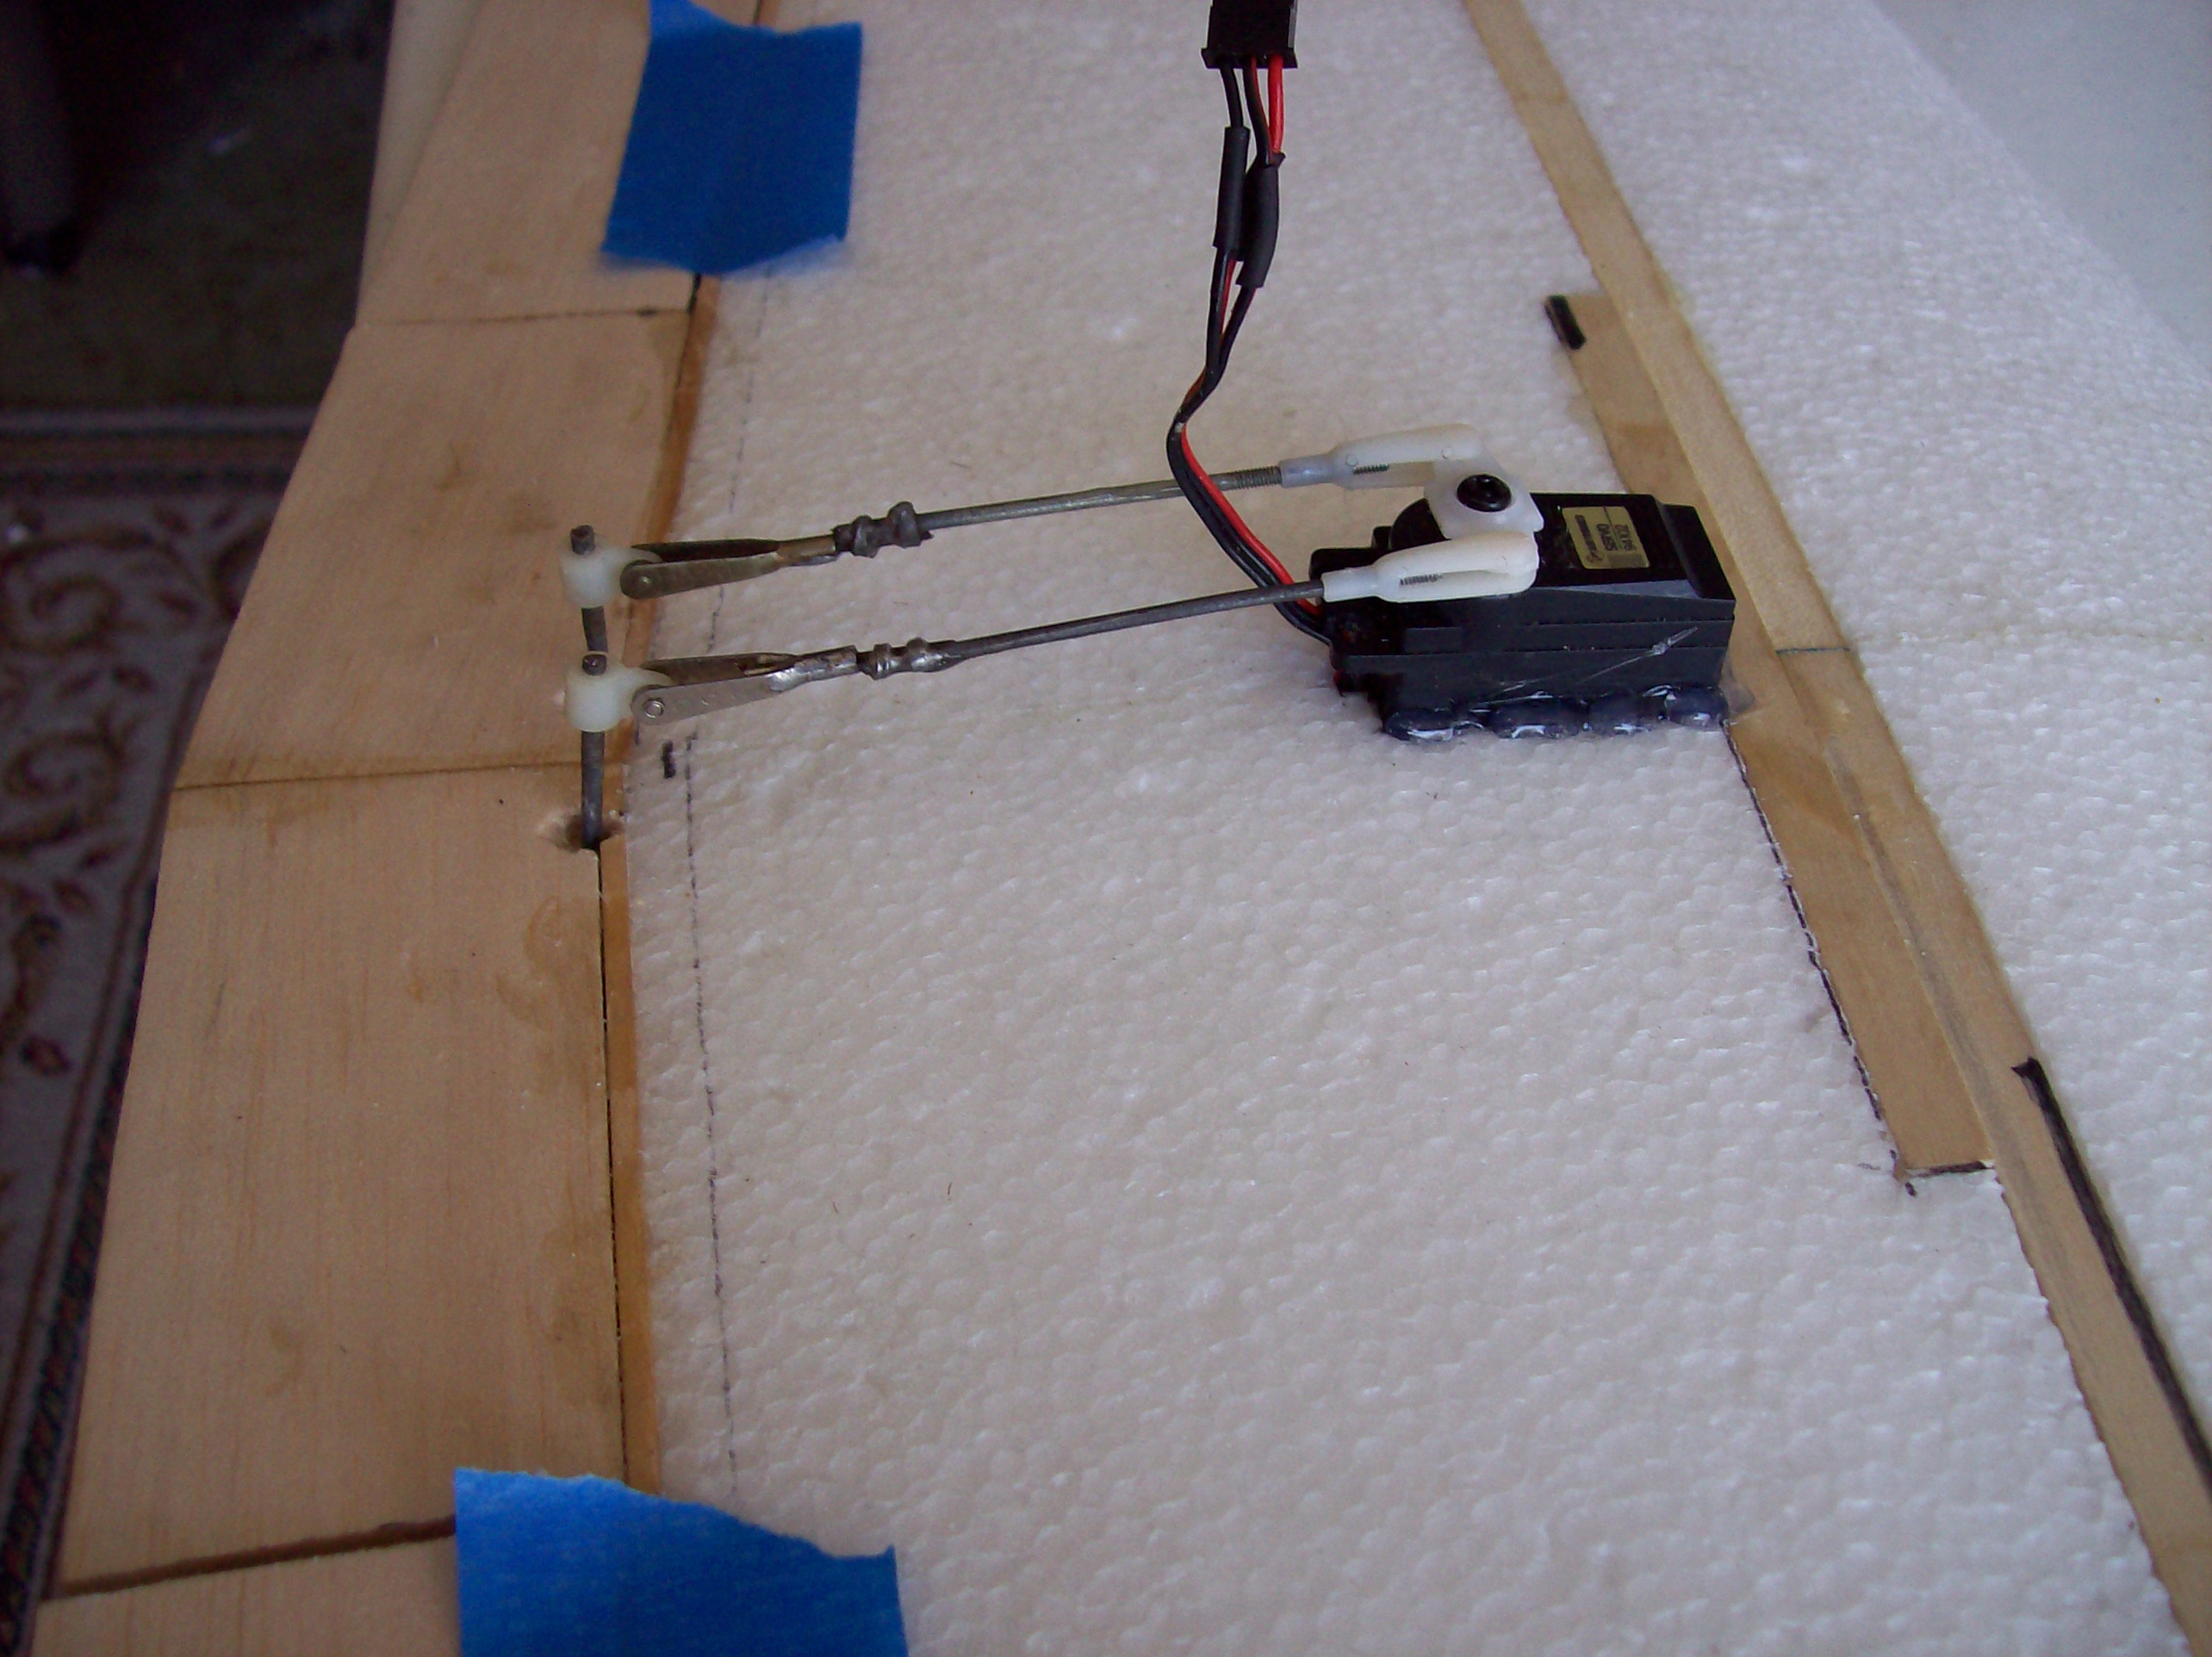
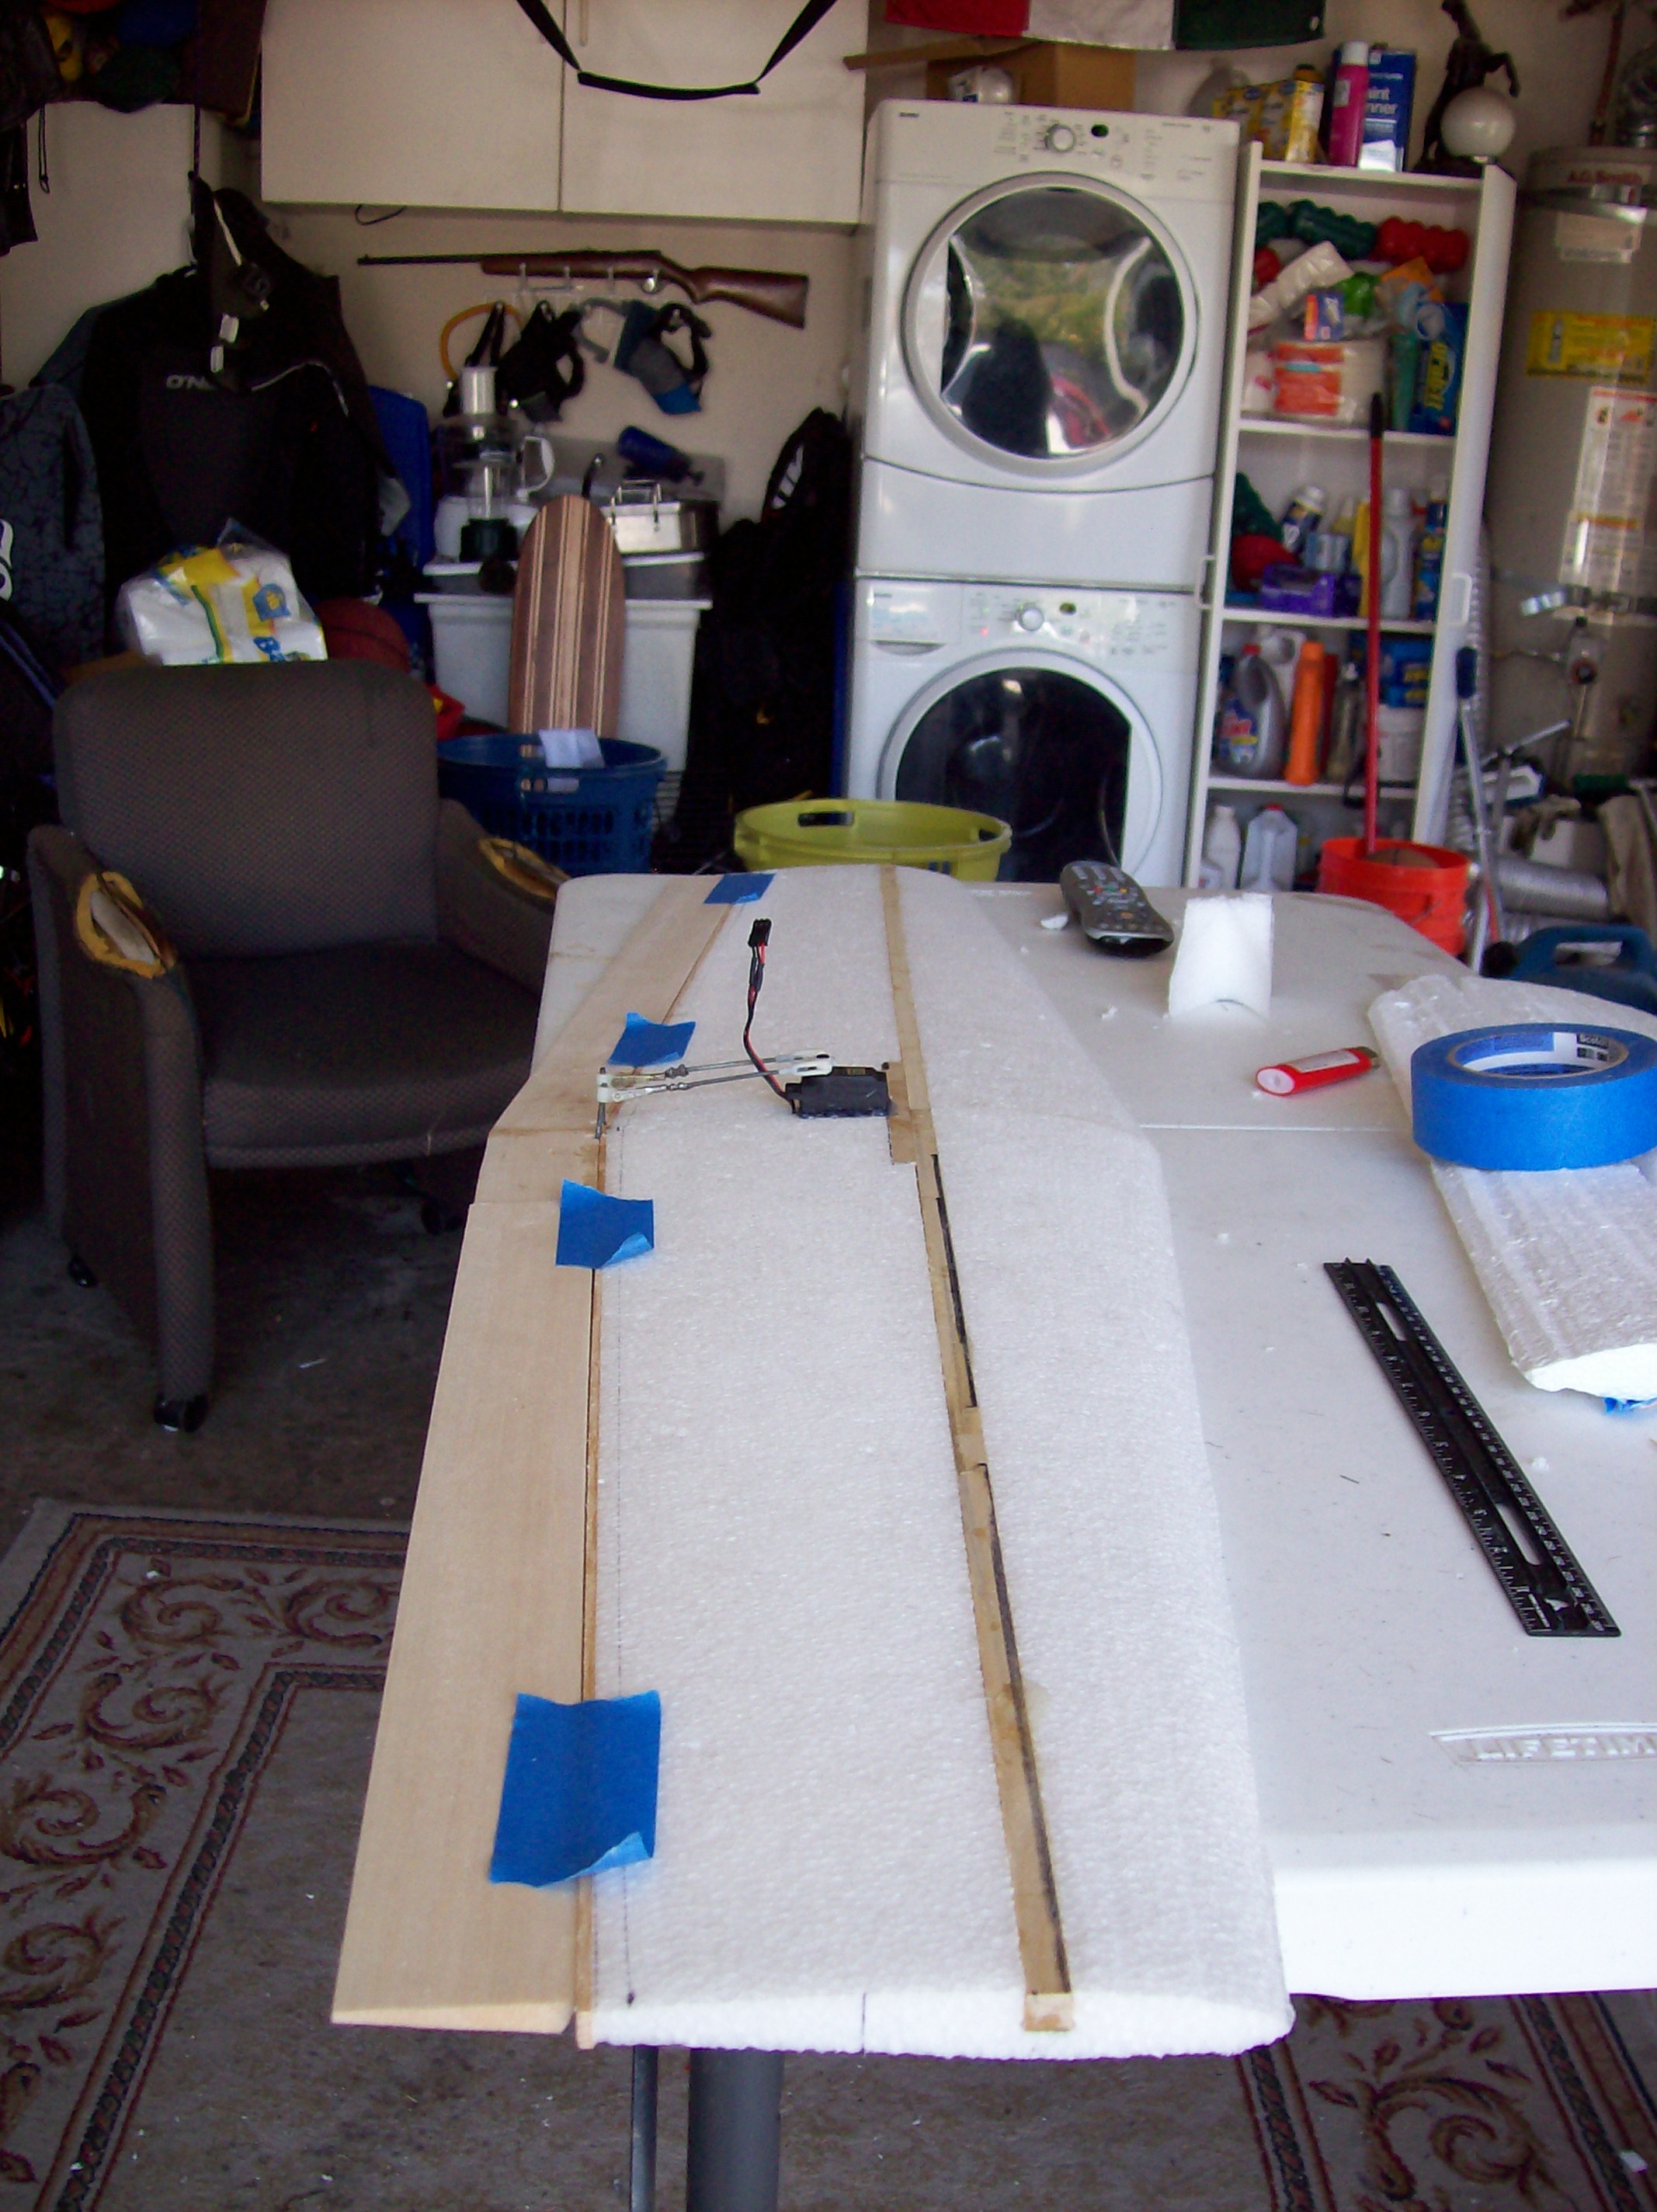
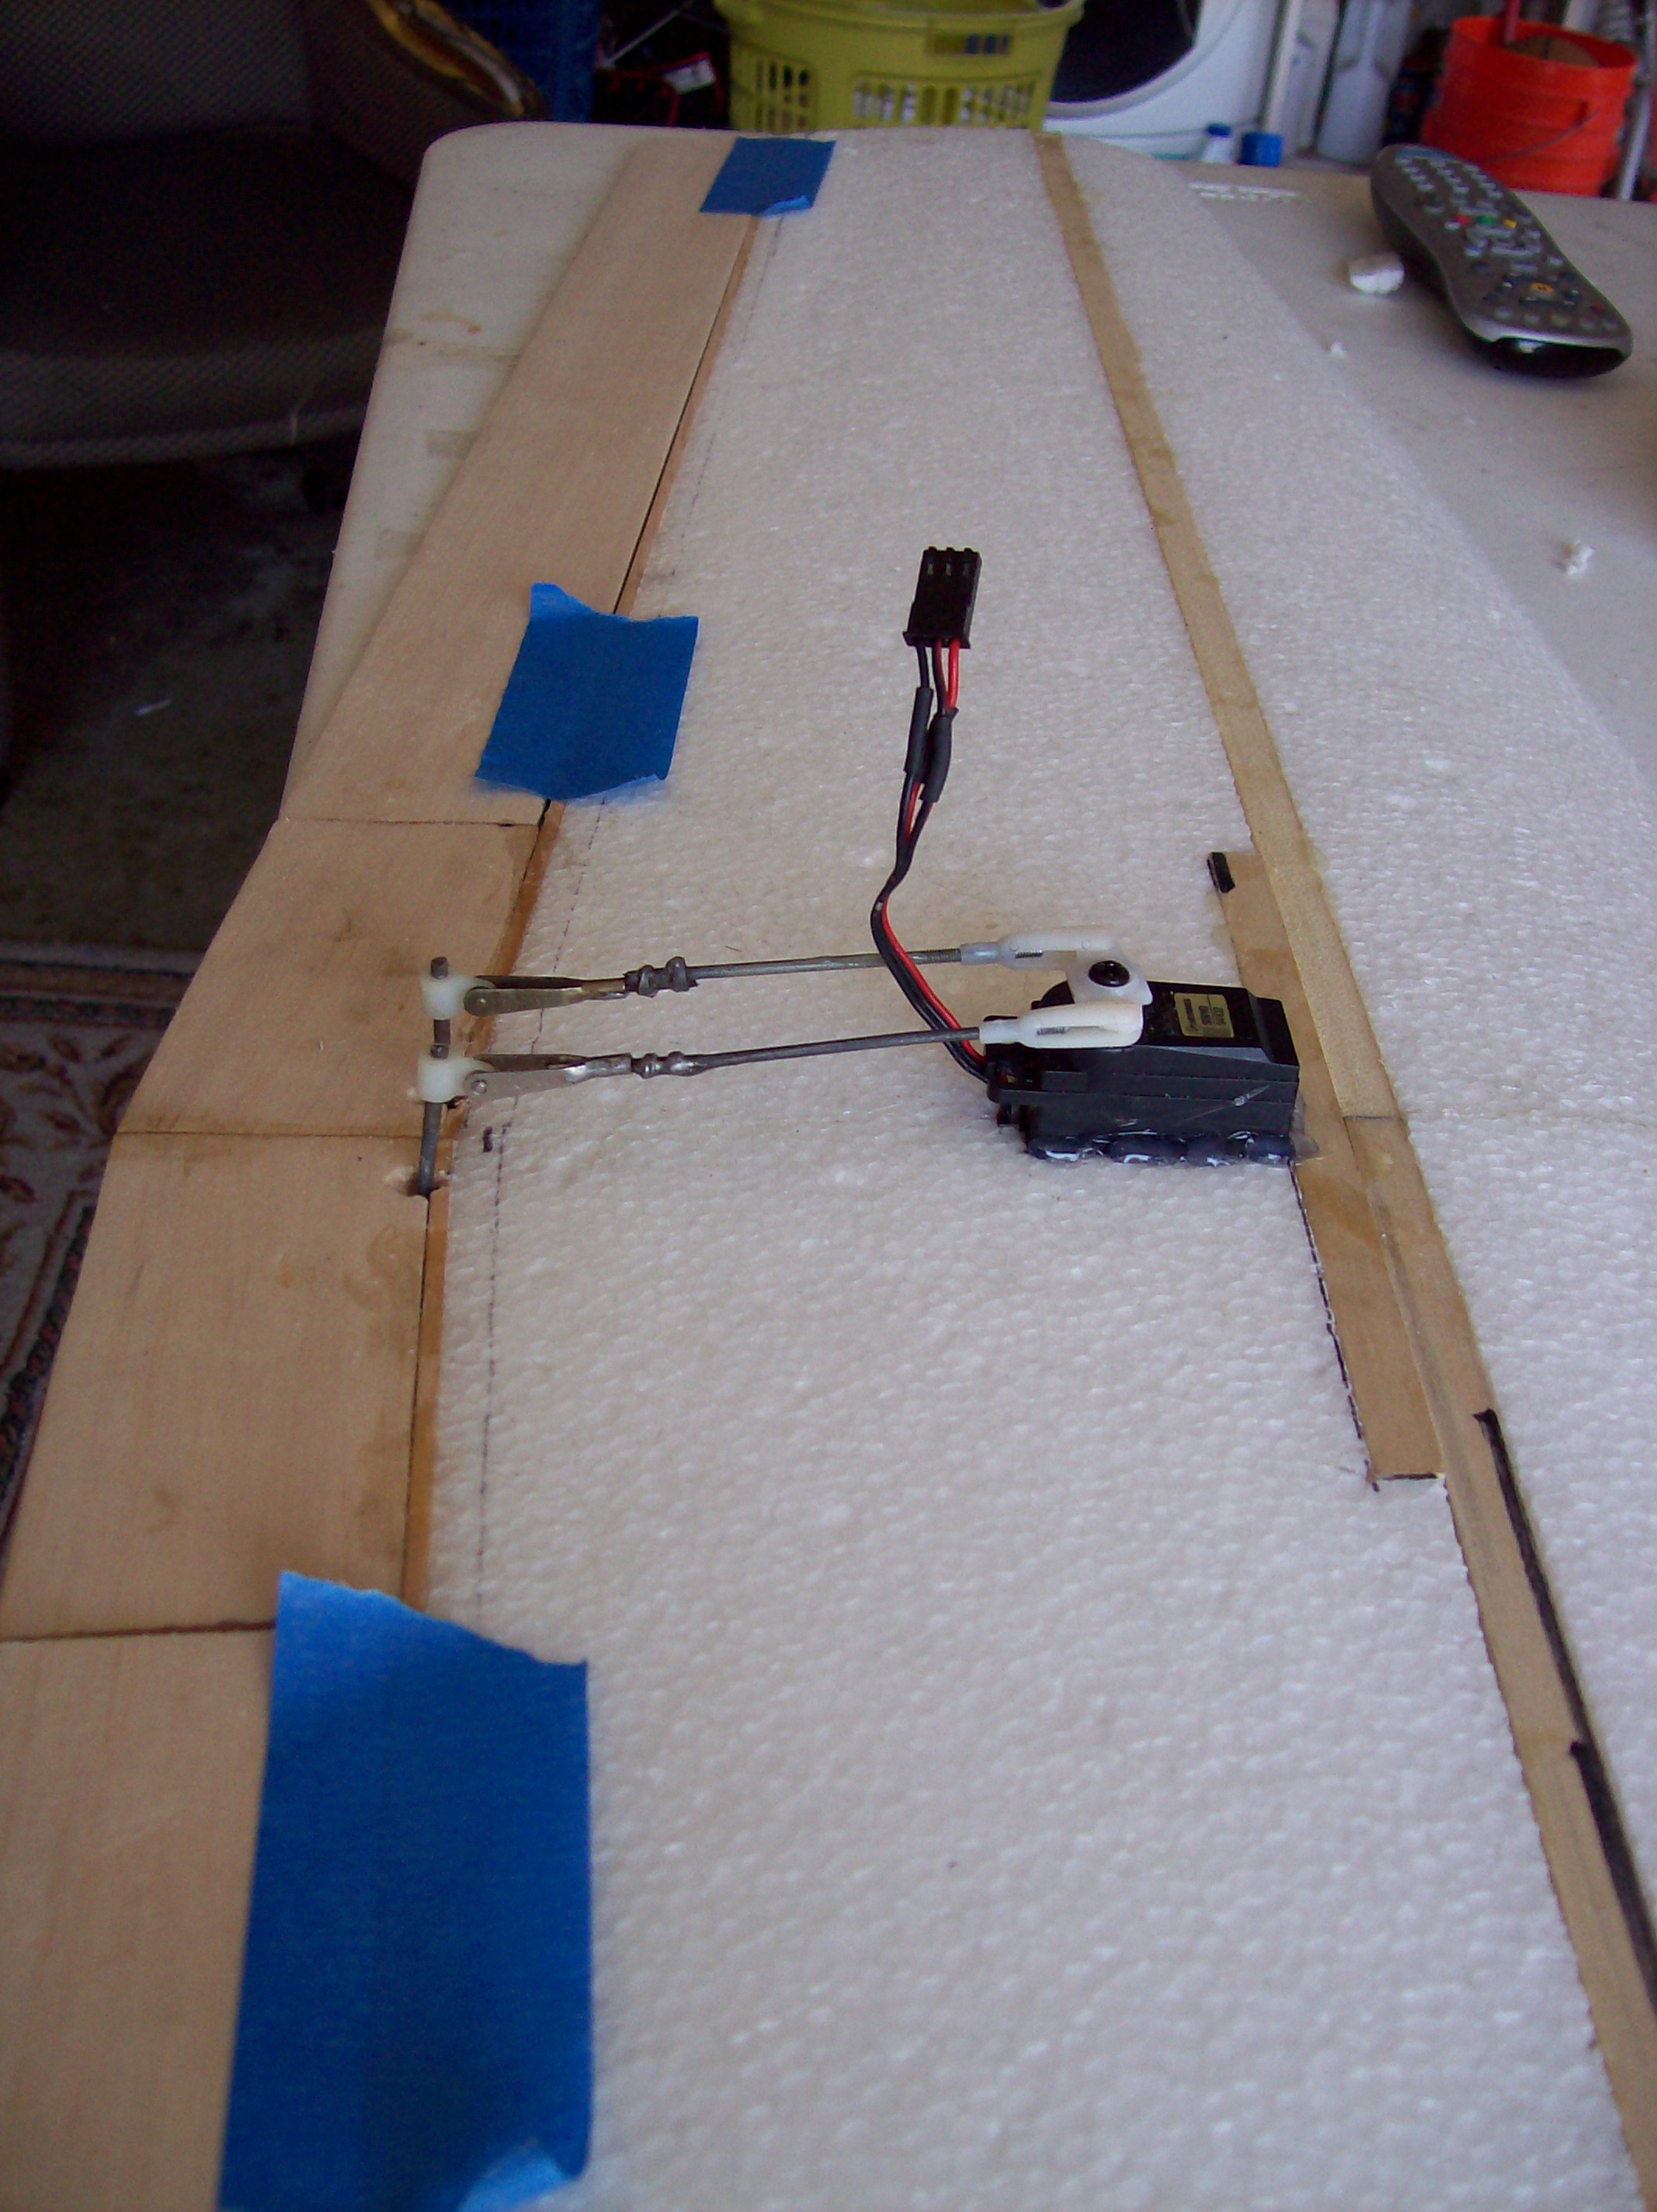
Here I shaped the fuselage started the elevator servo and push rod install.


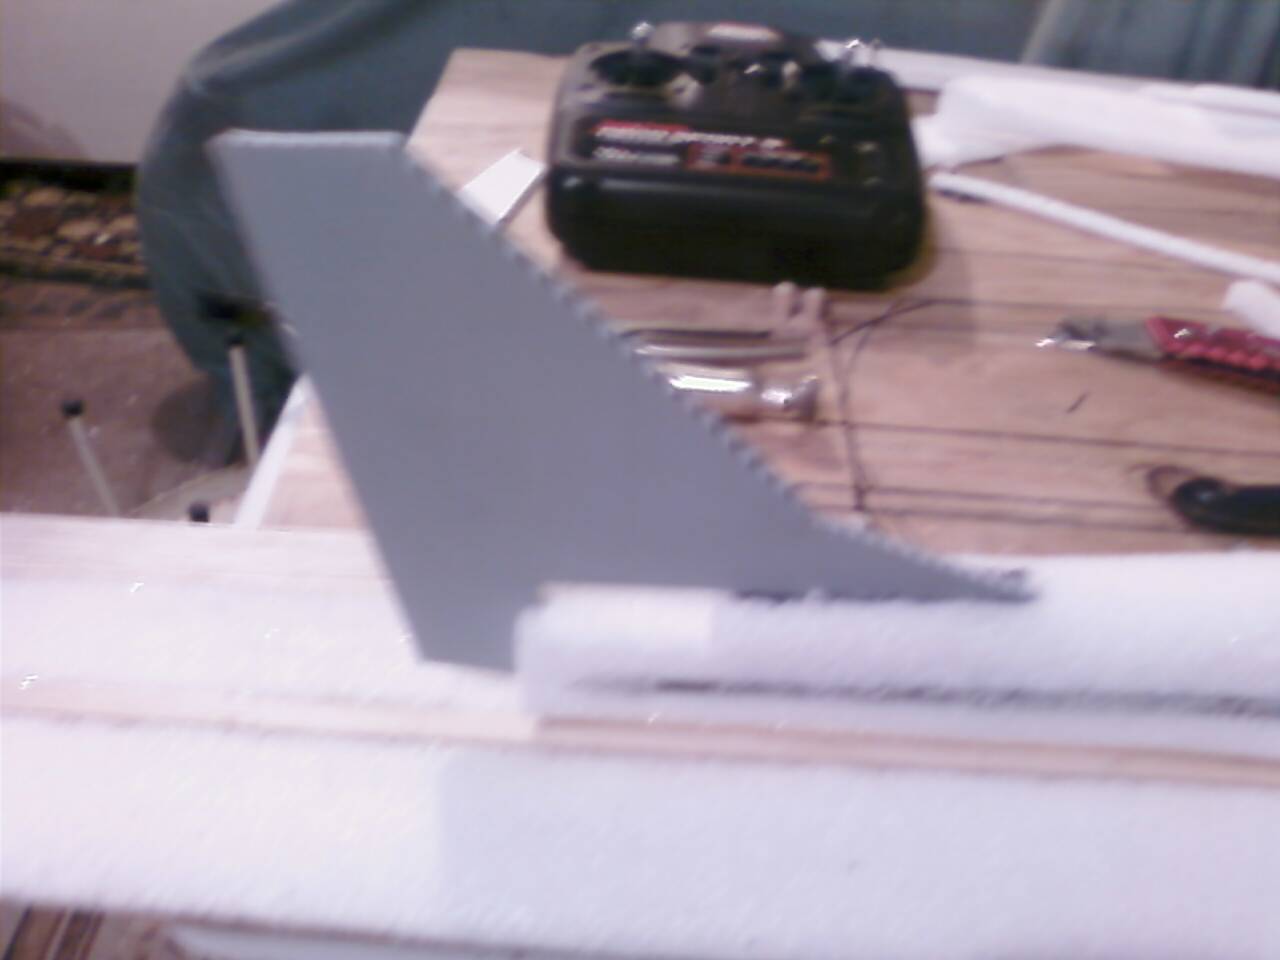
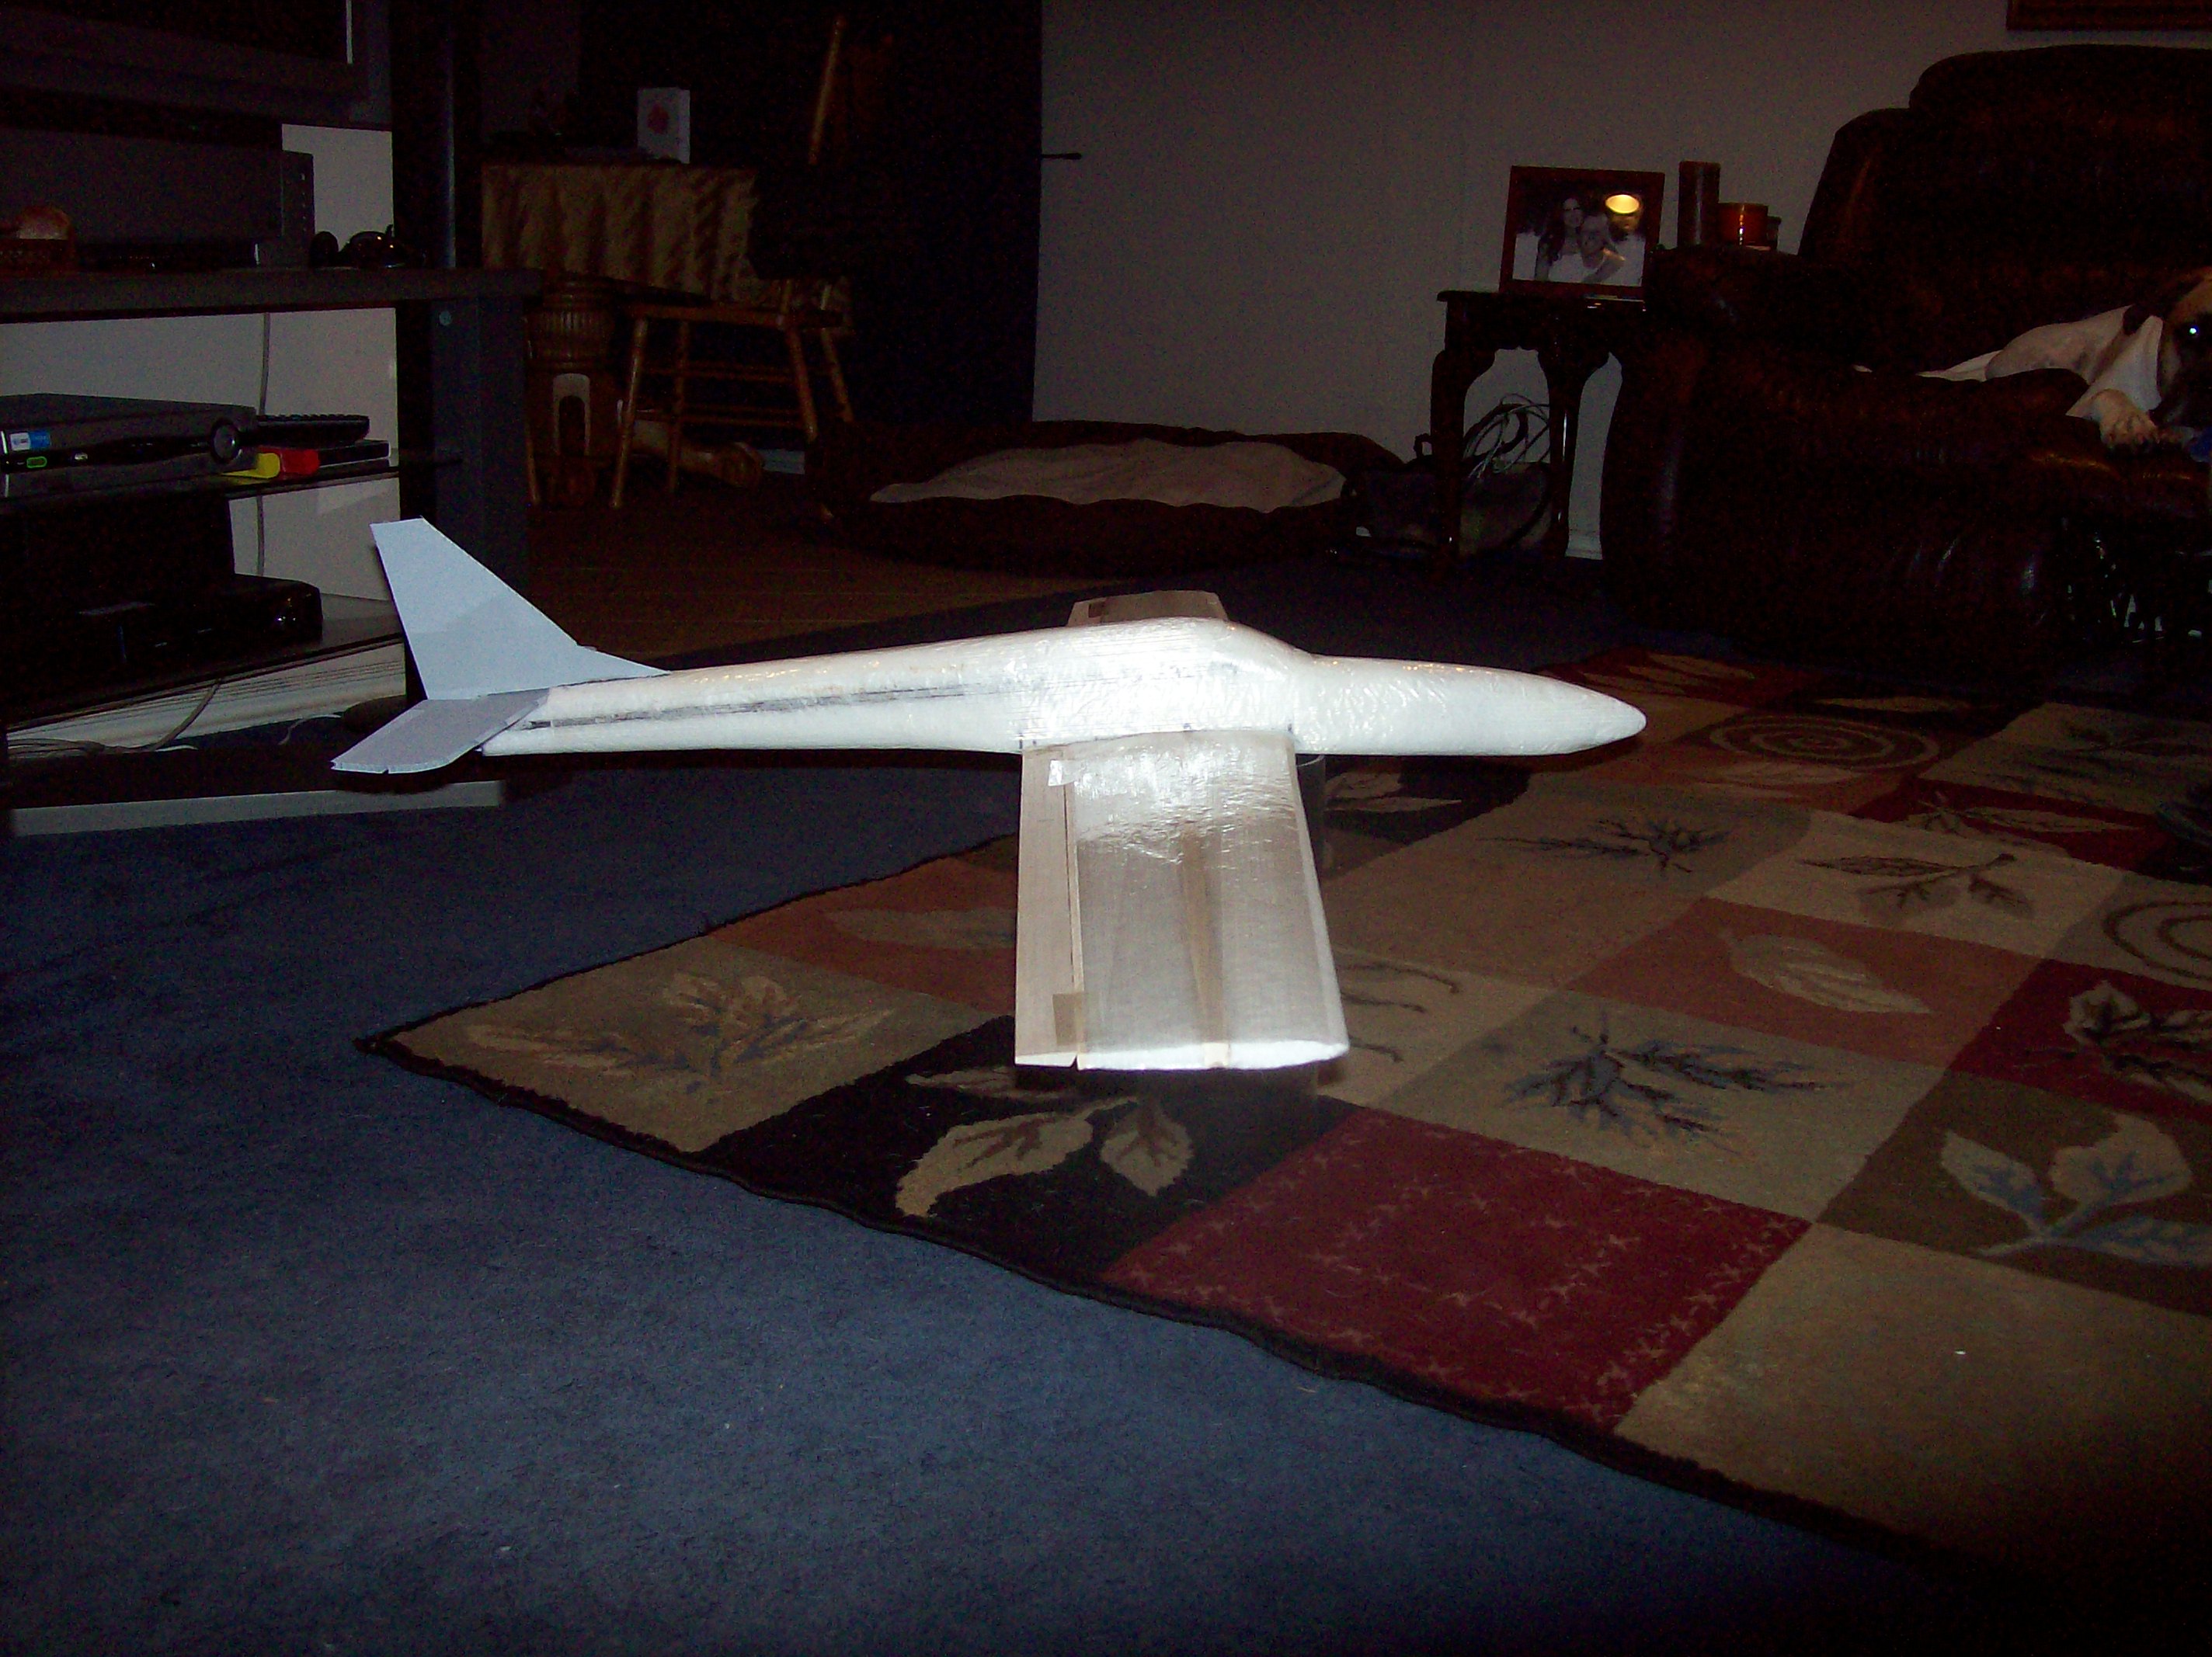
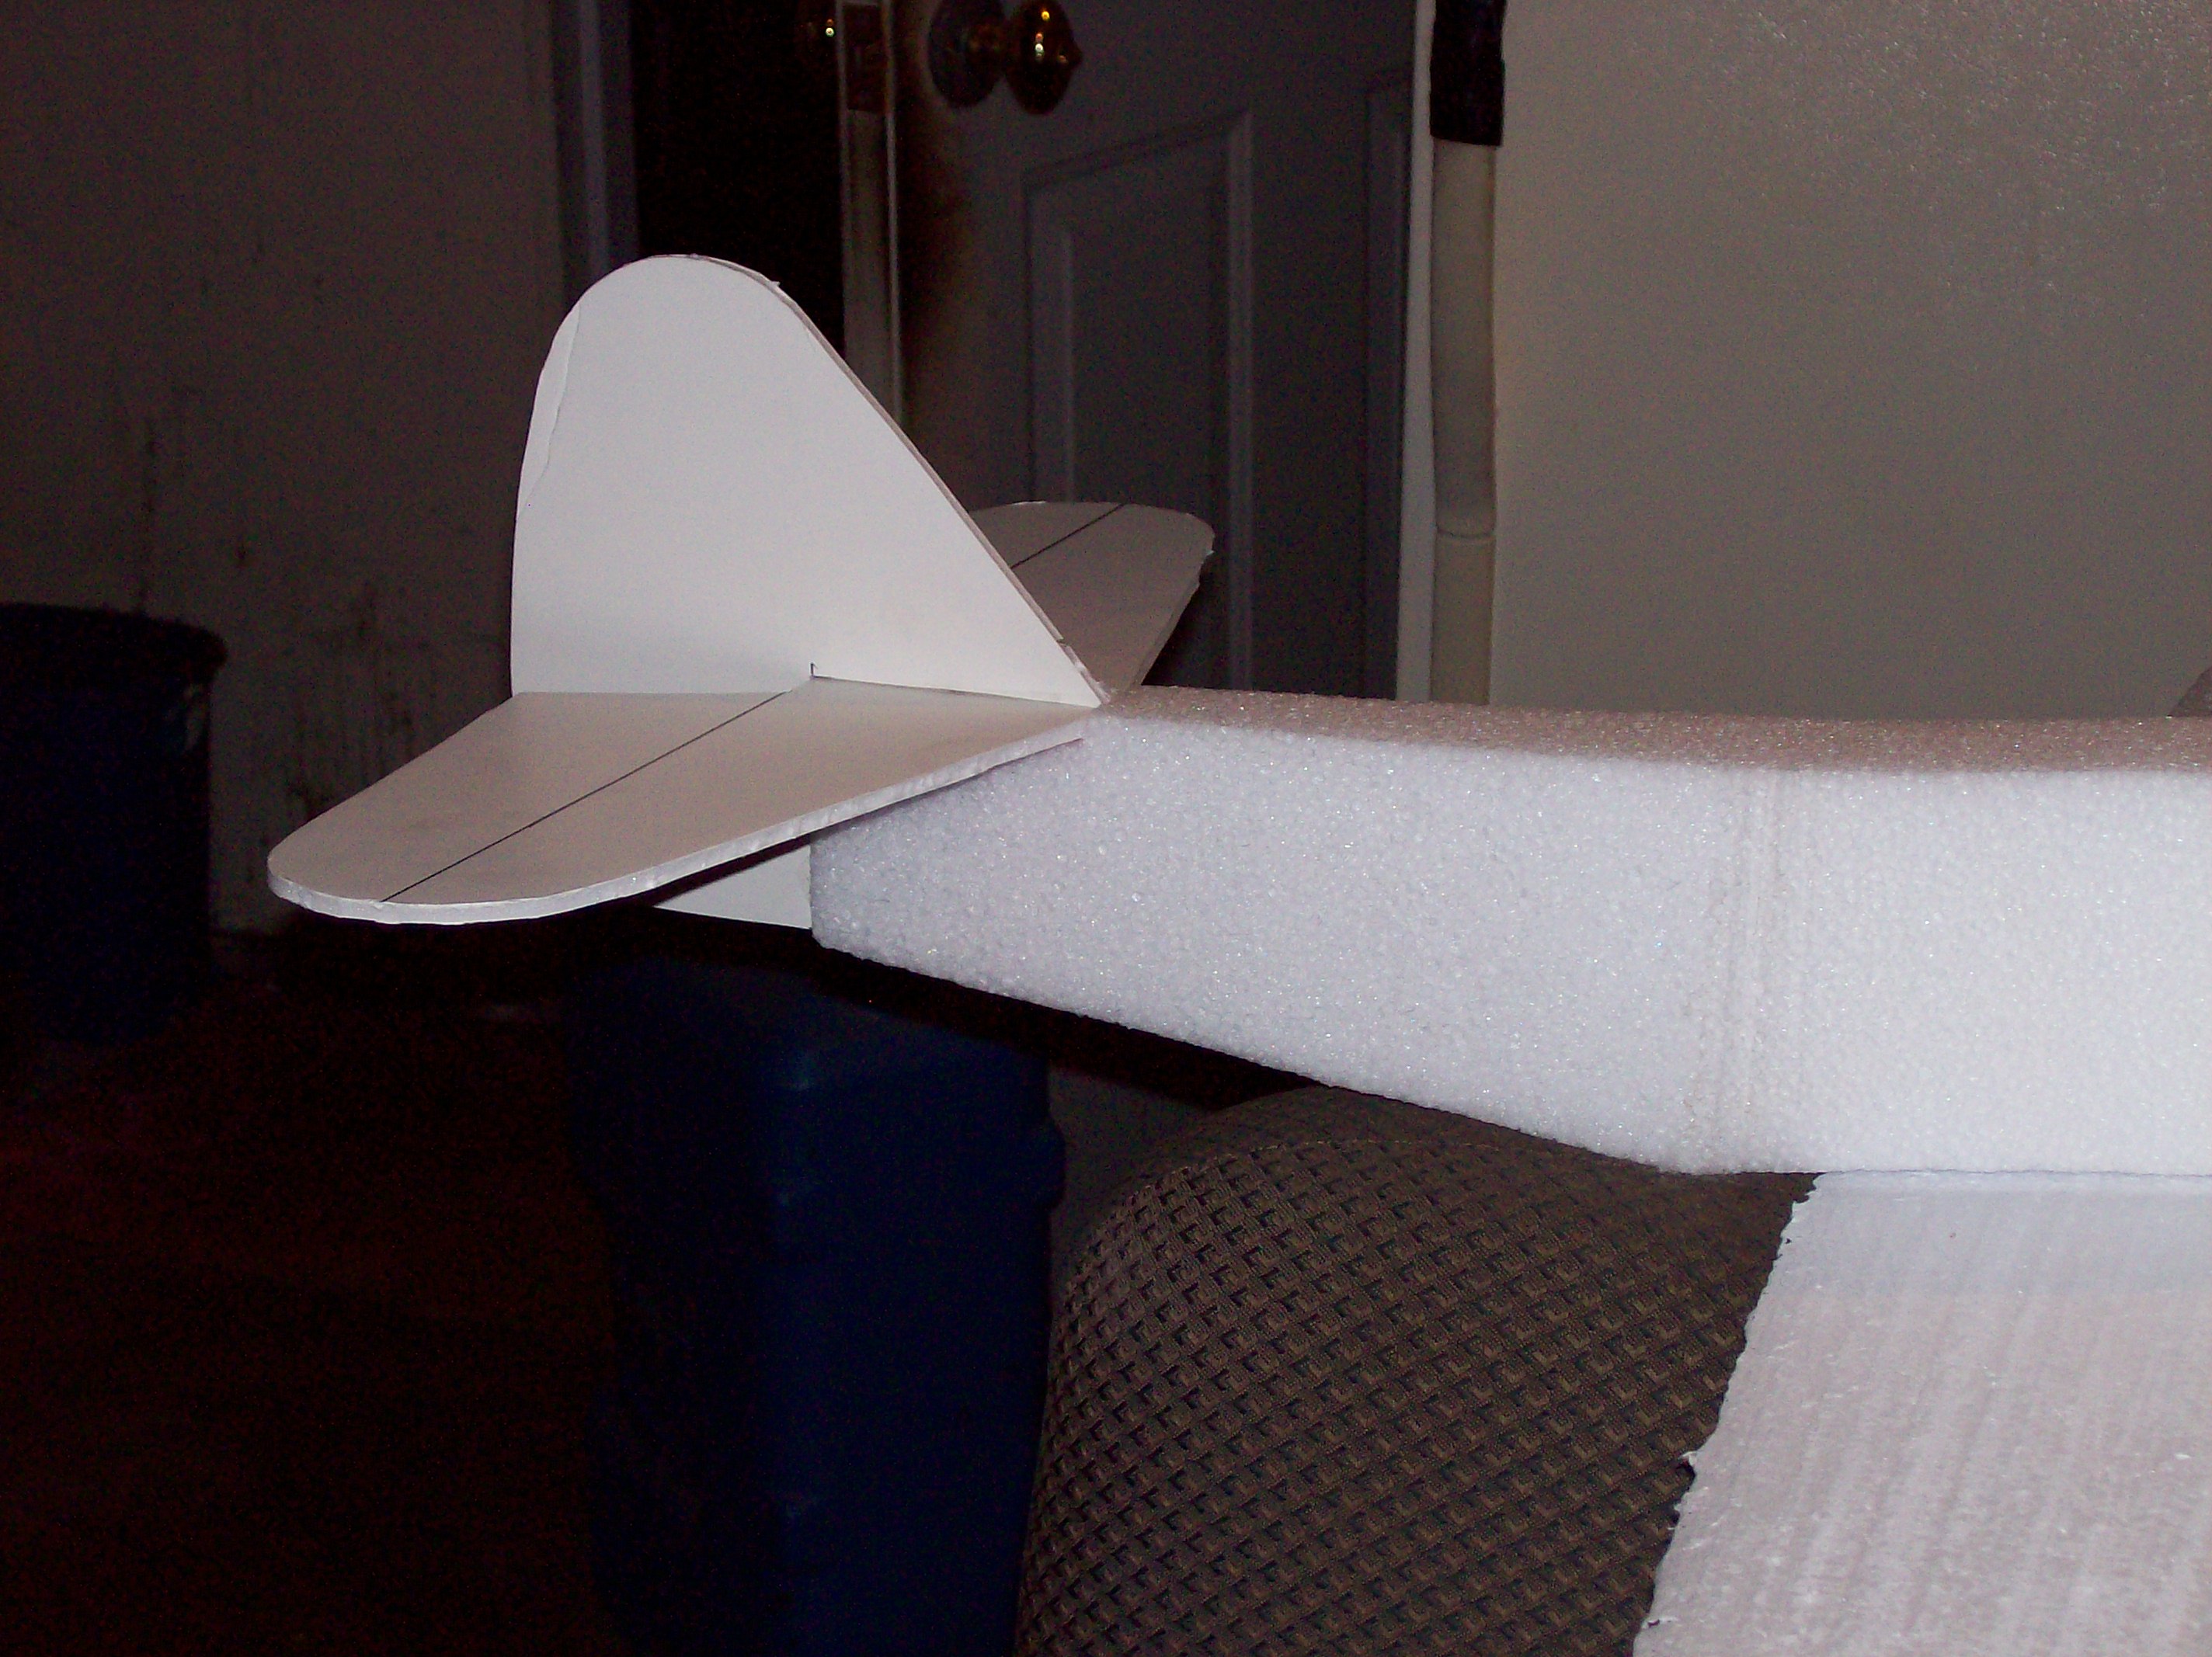
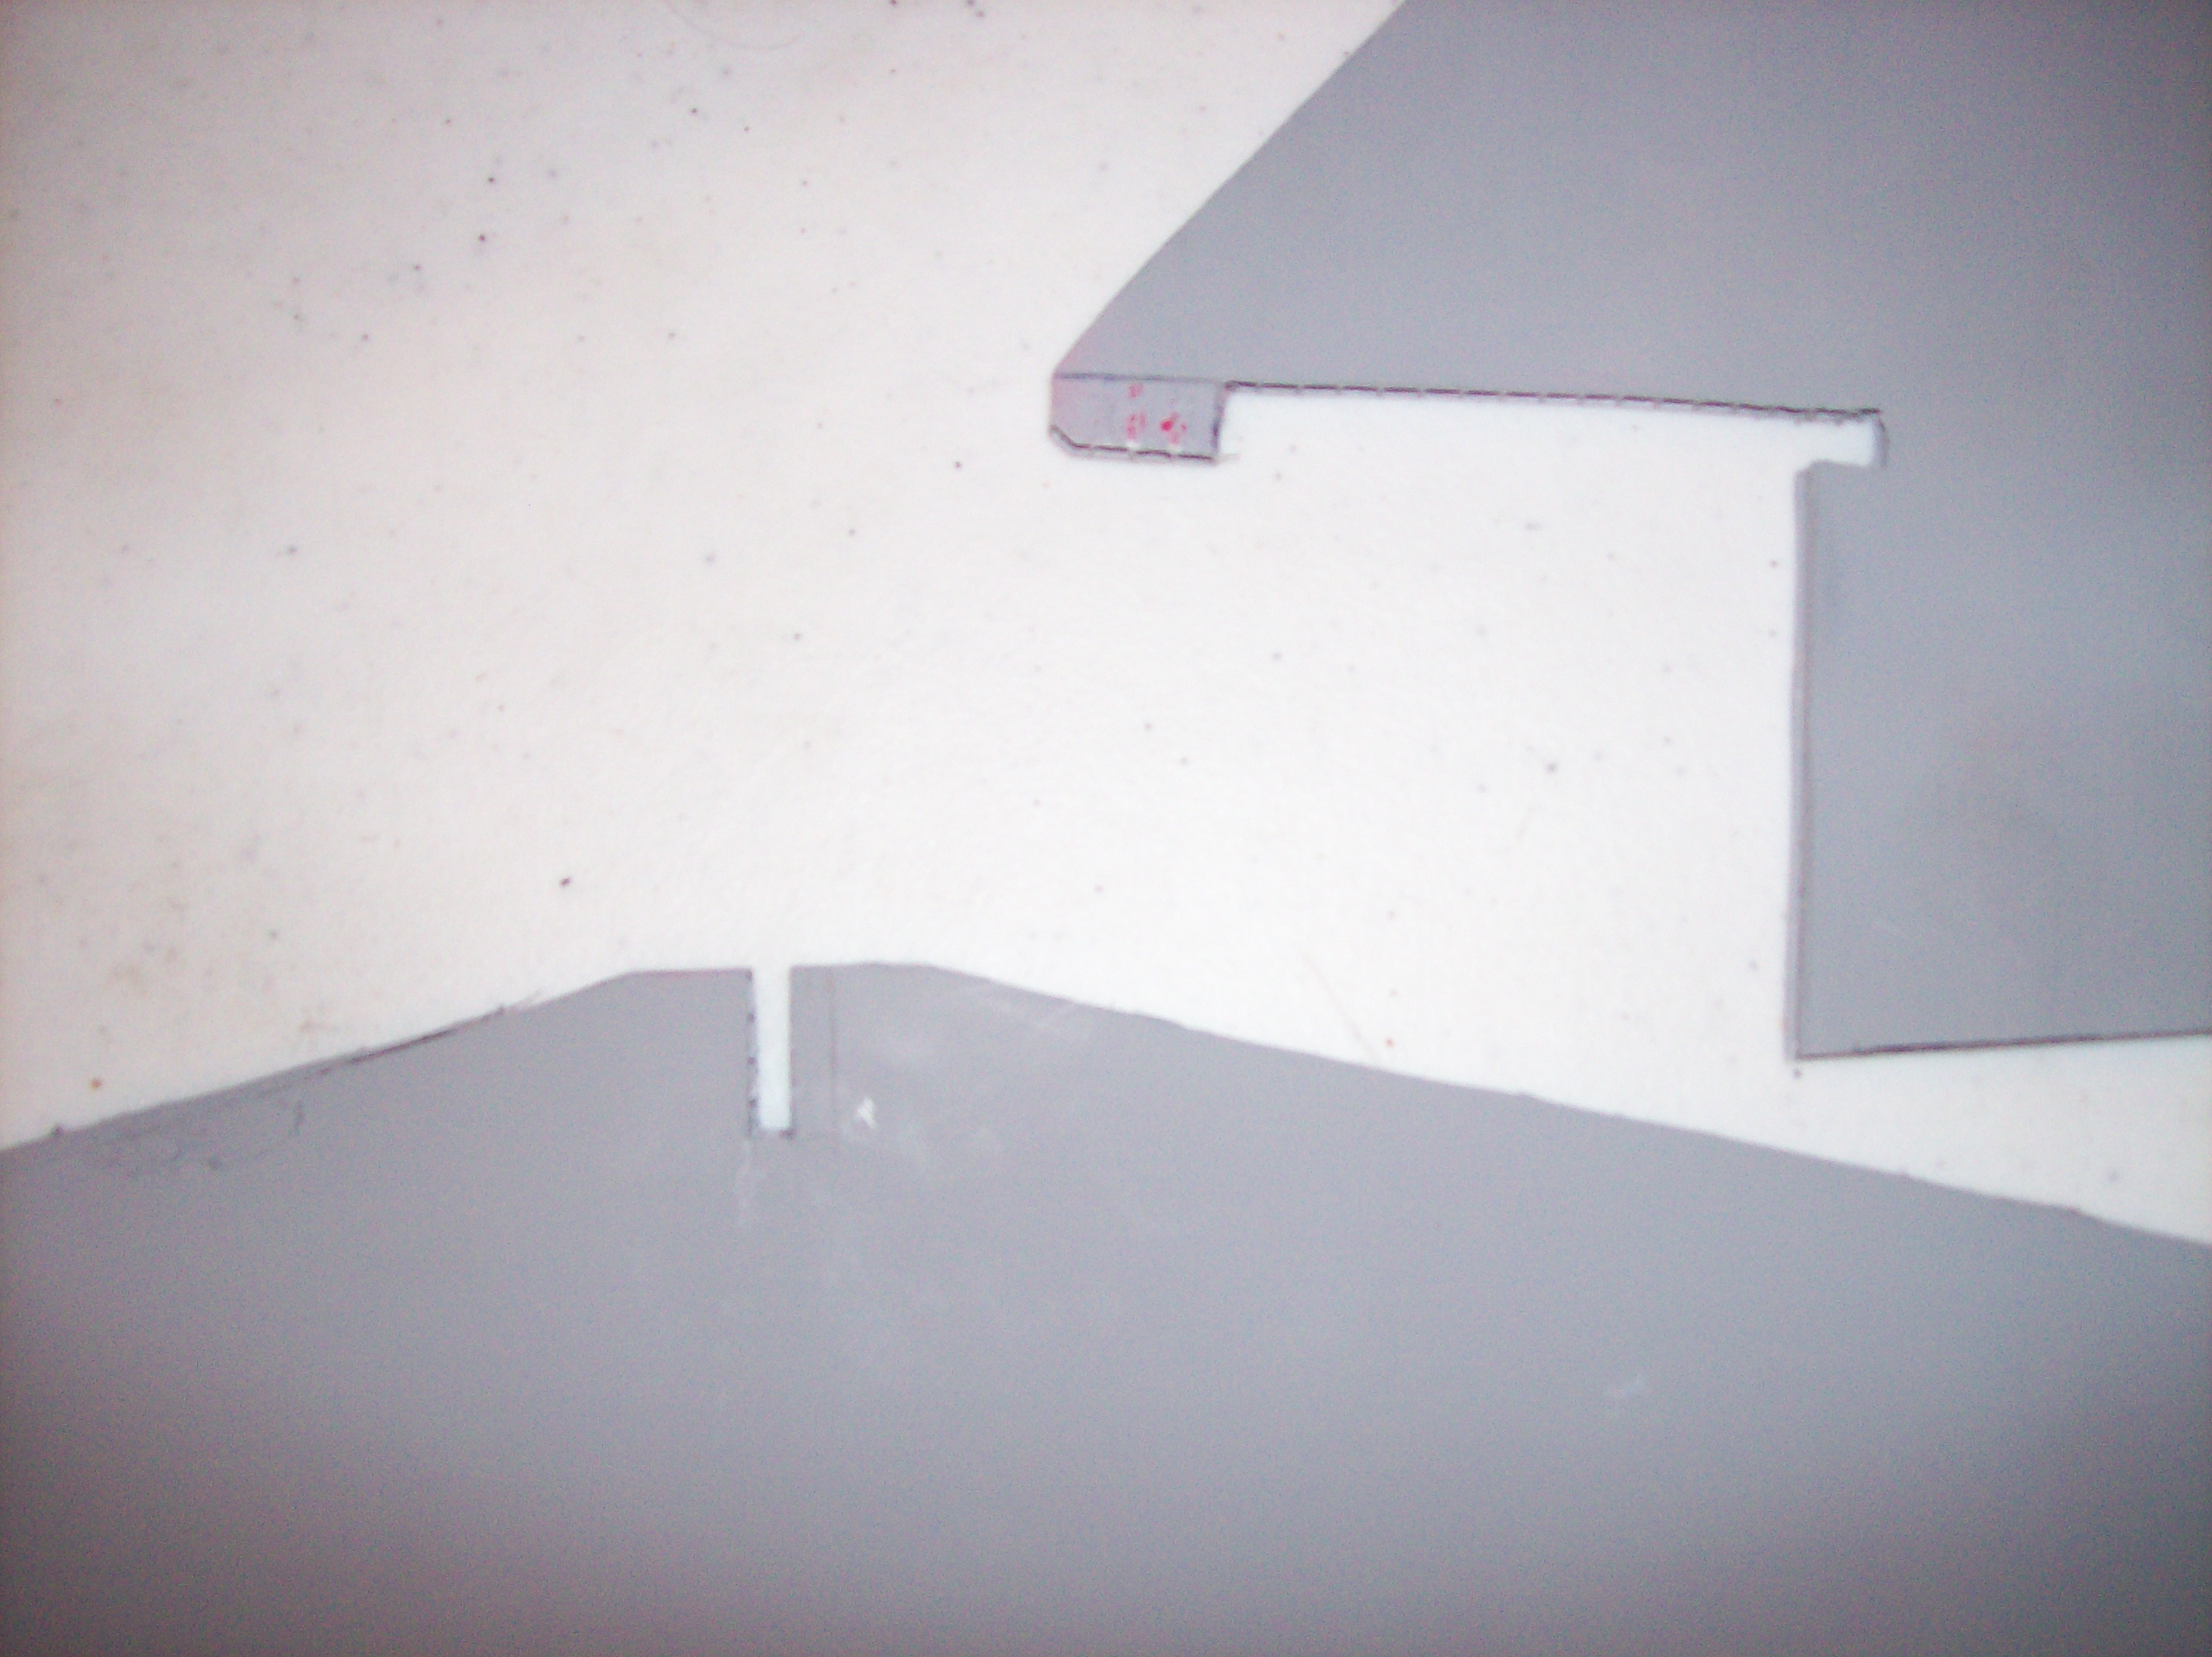
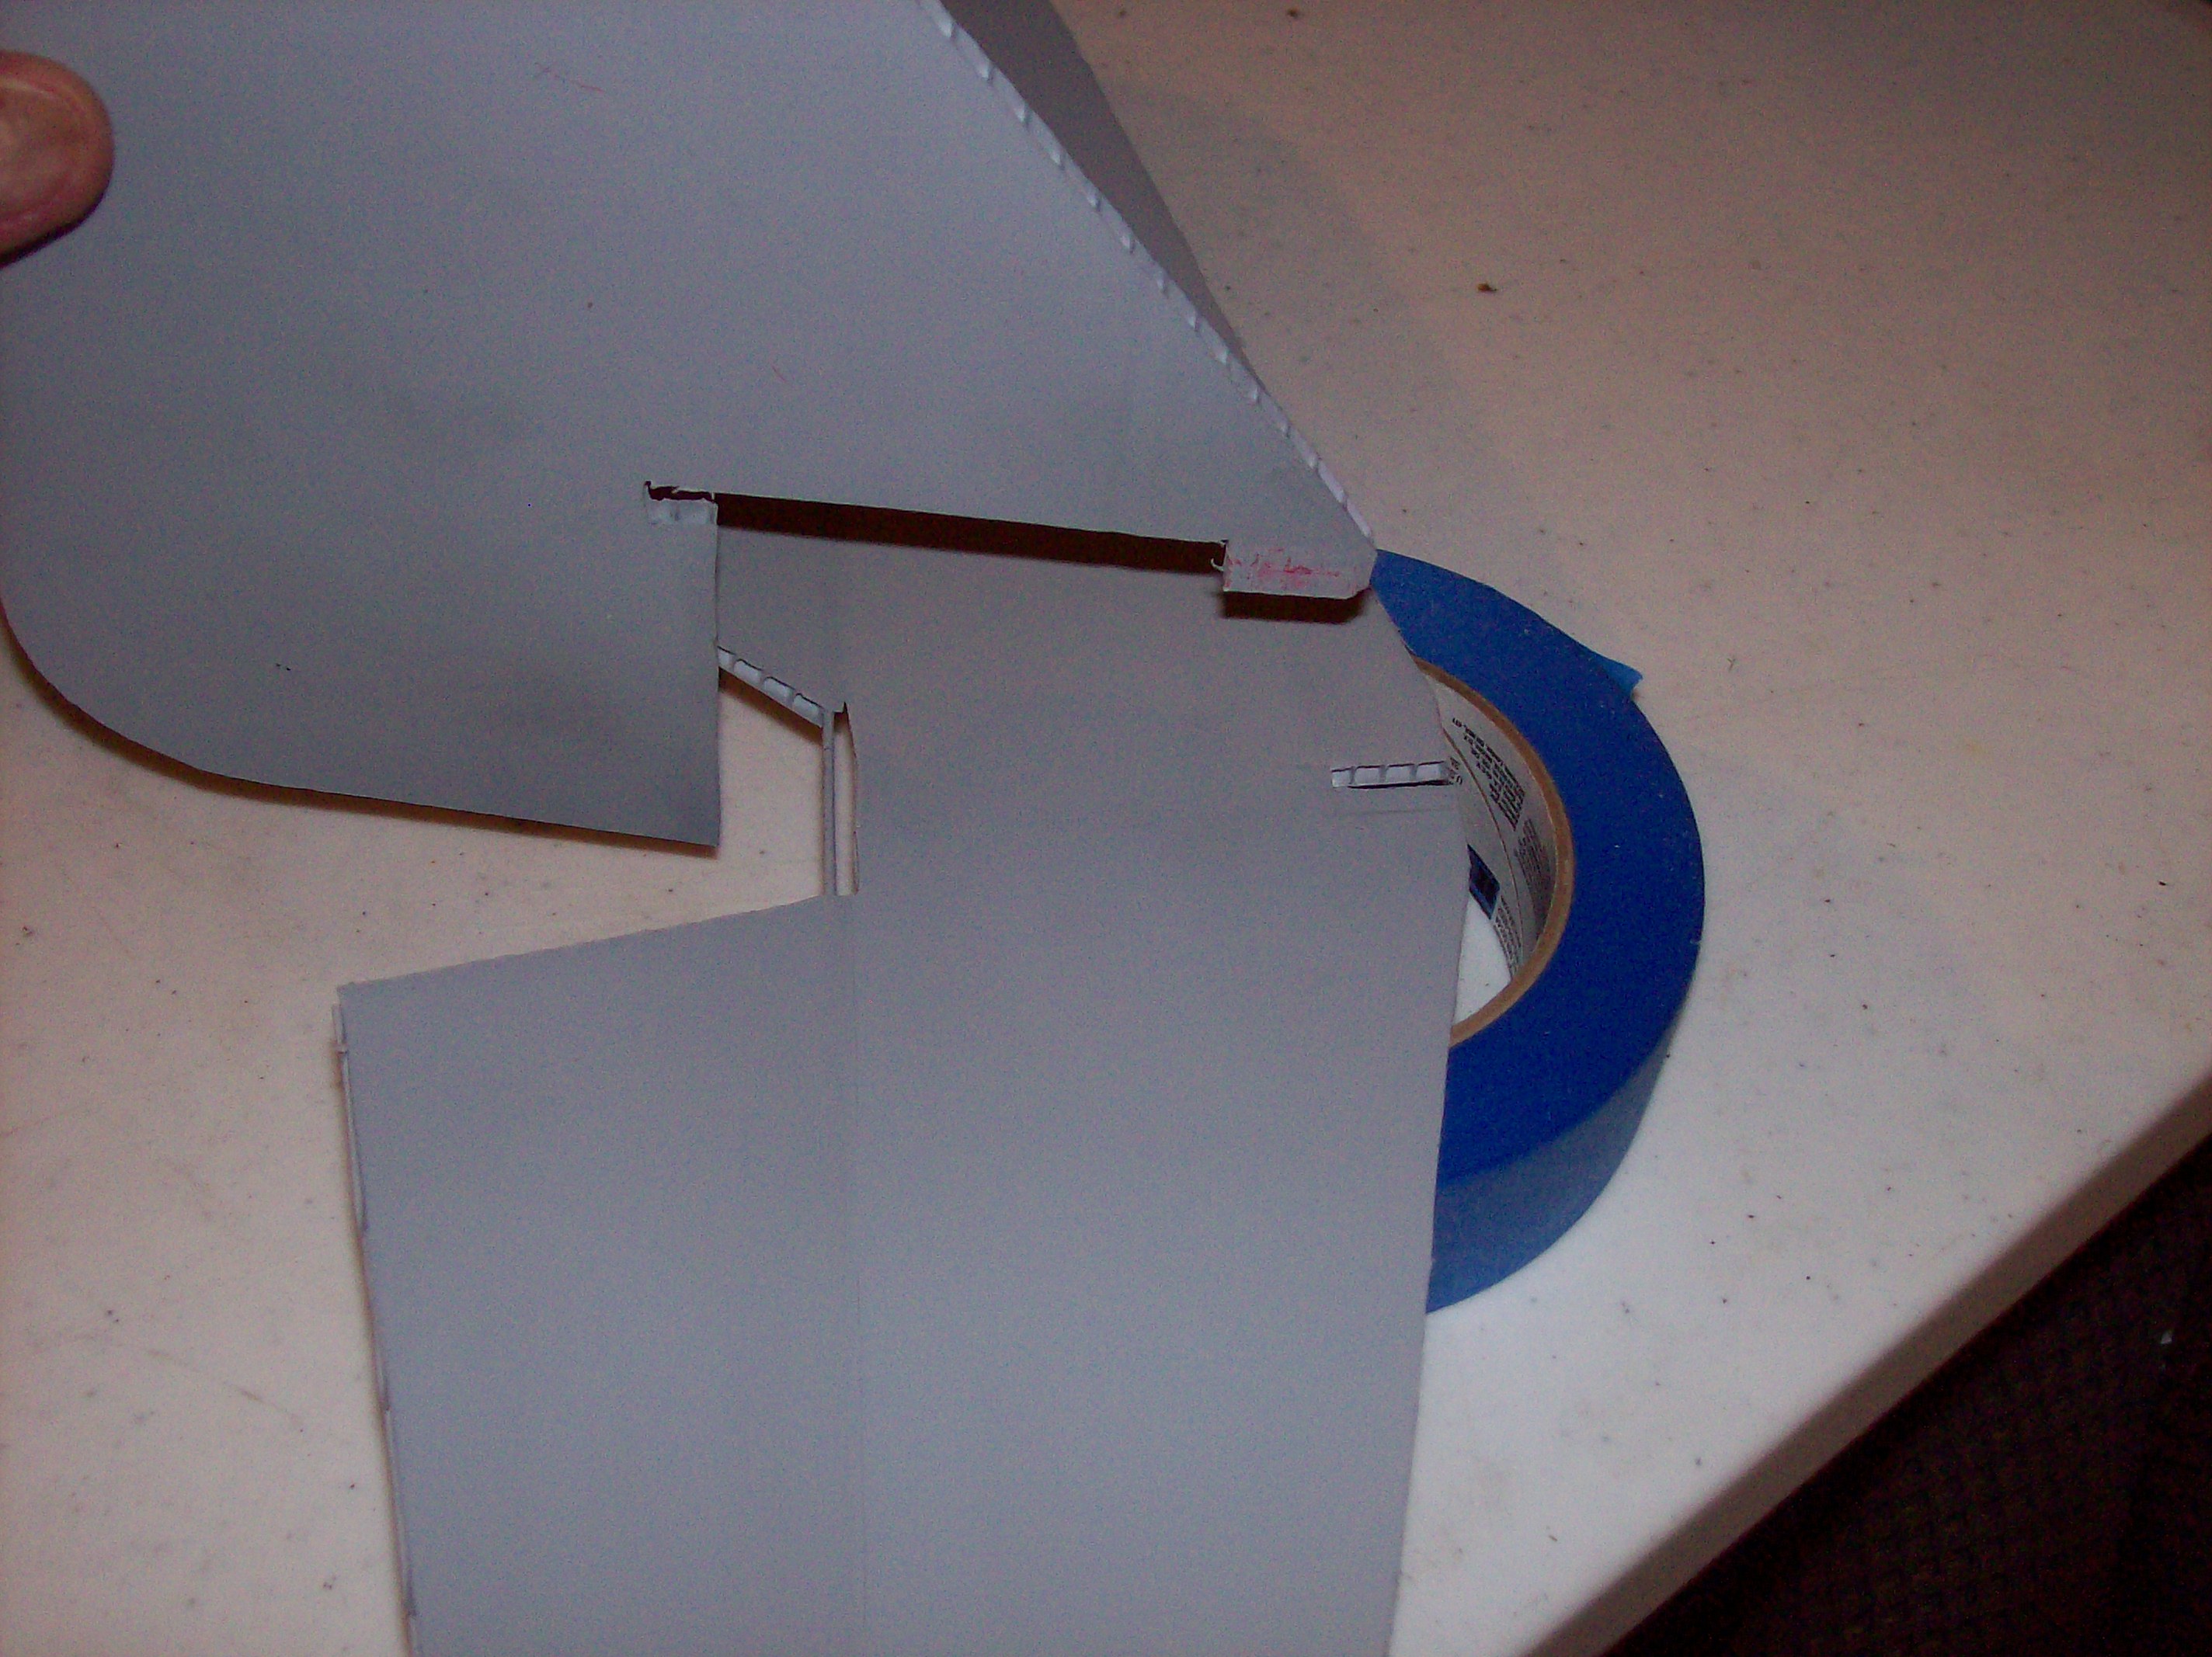
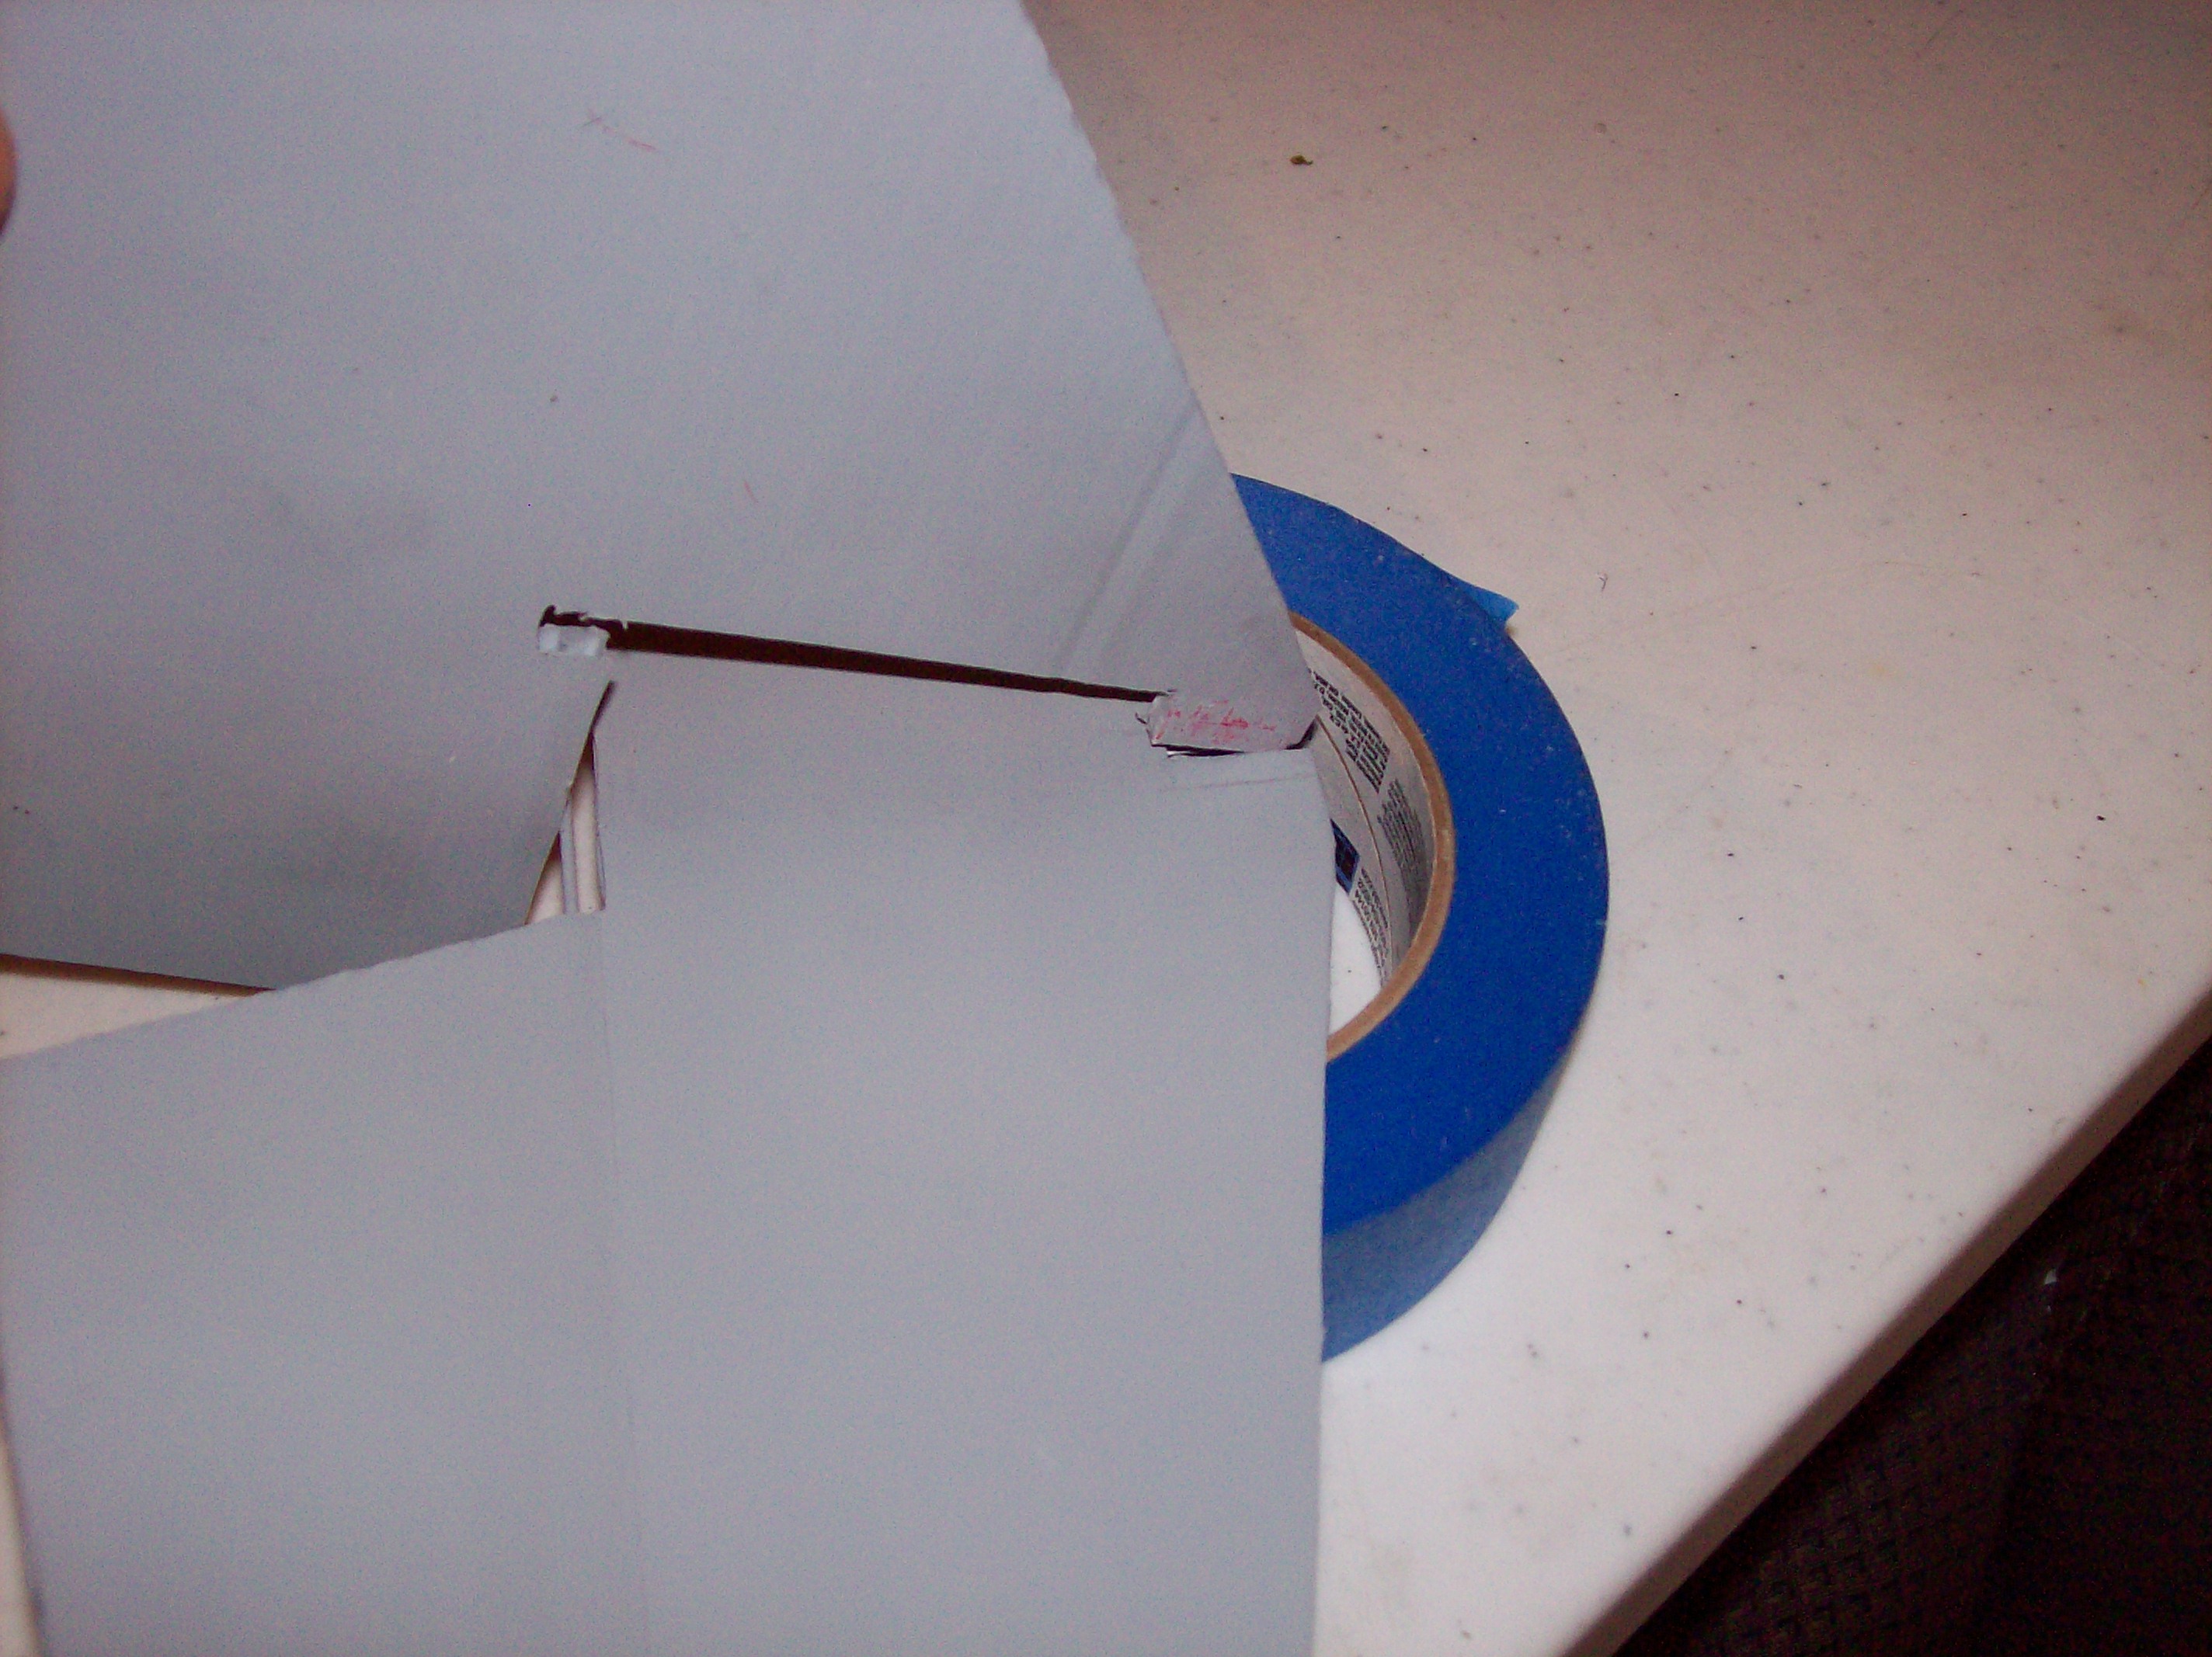
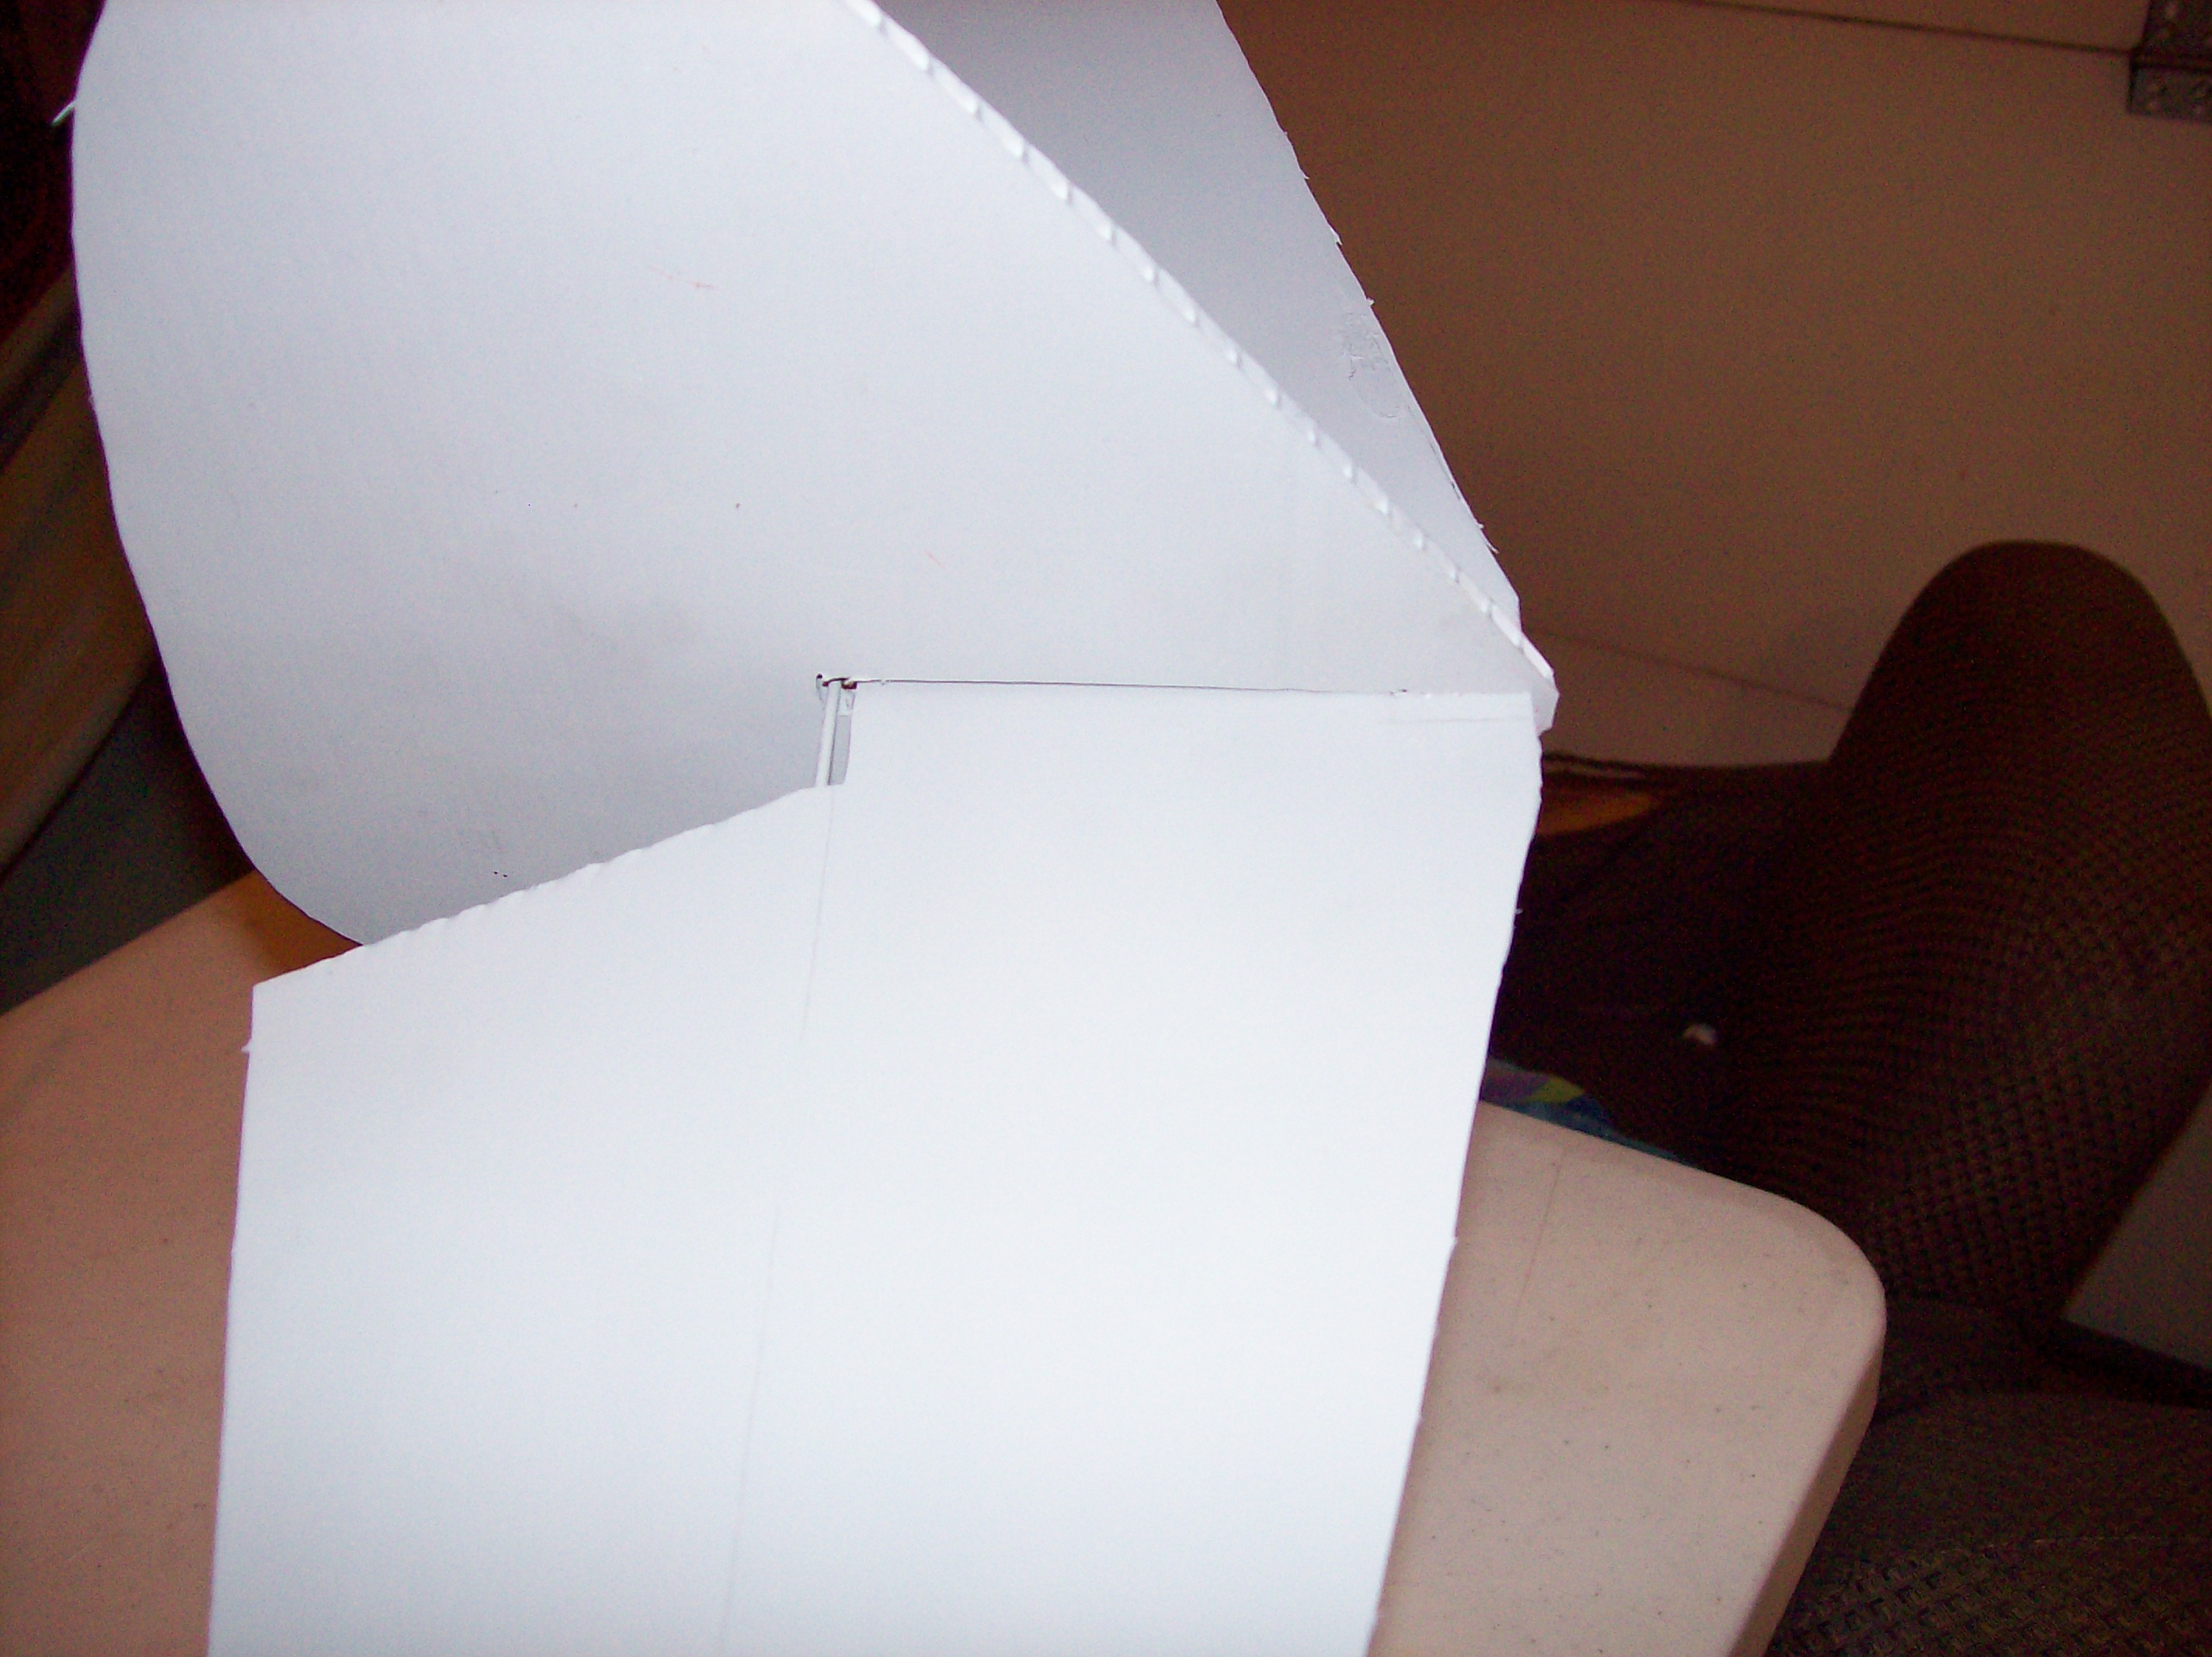
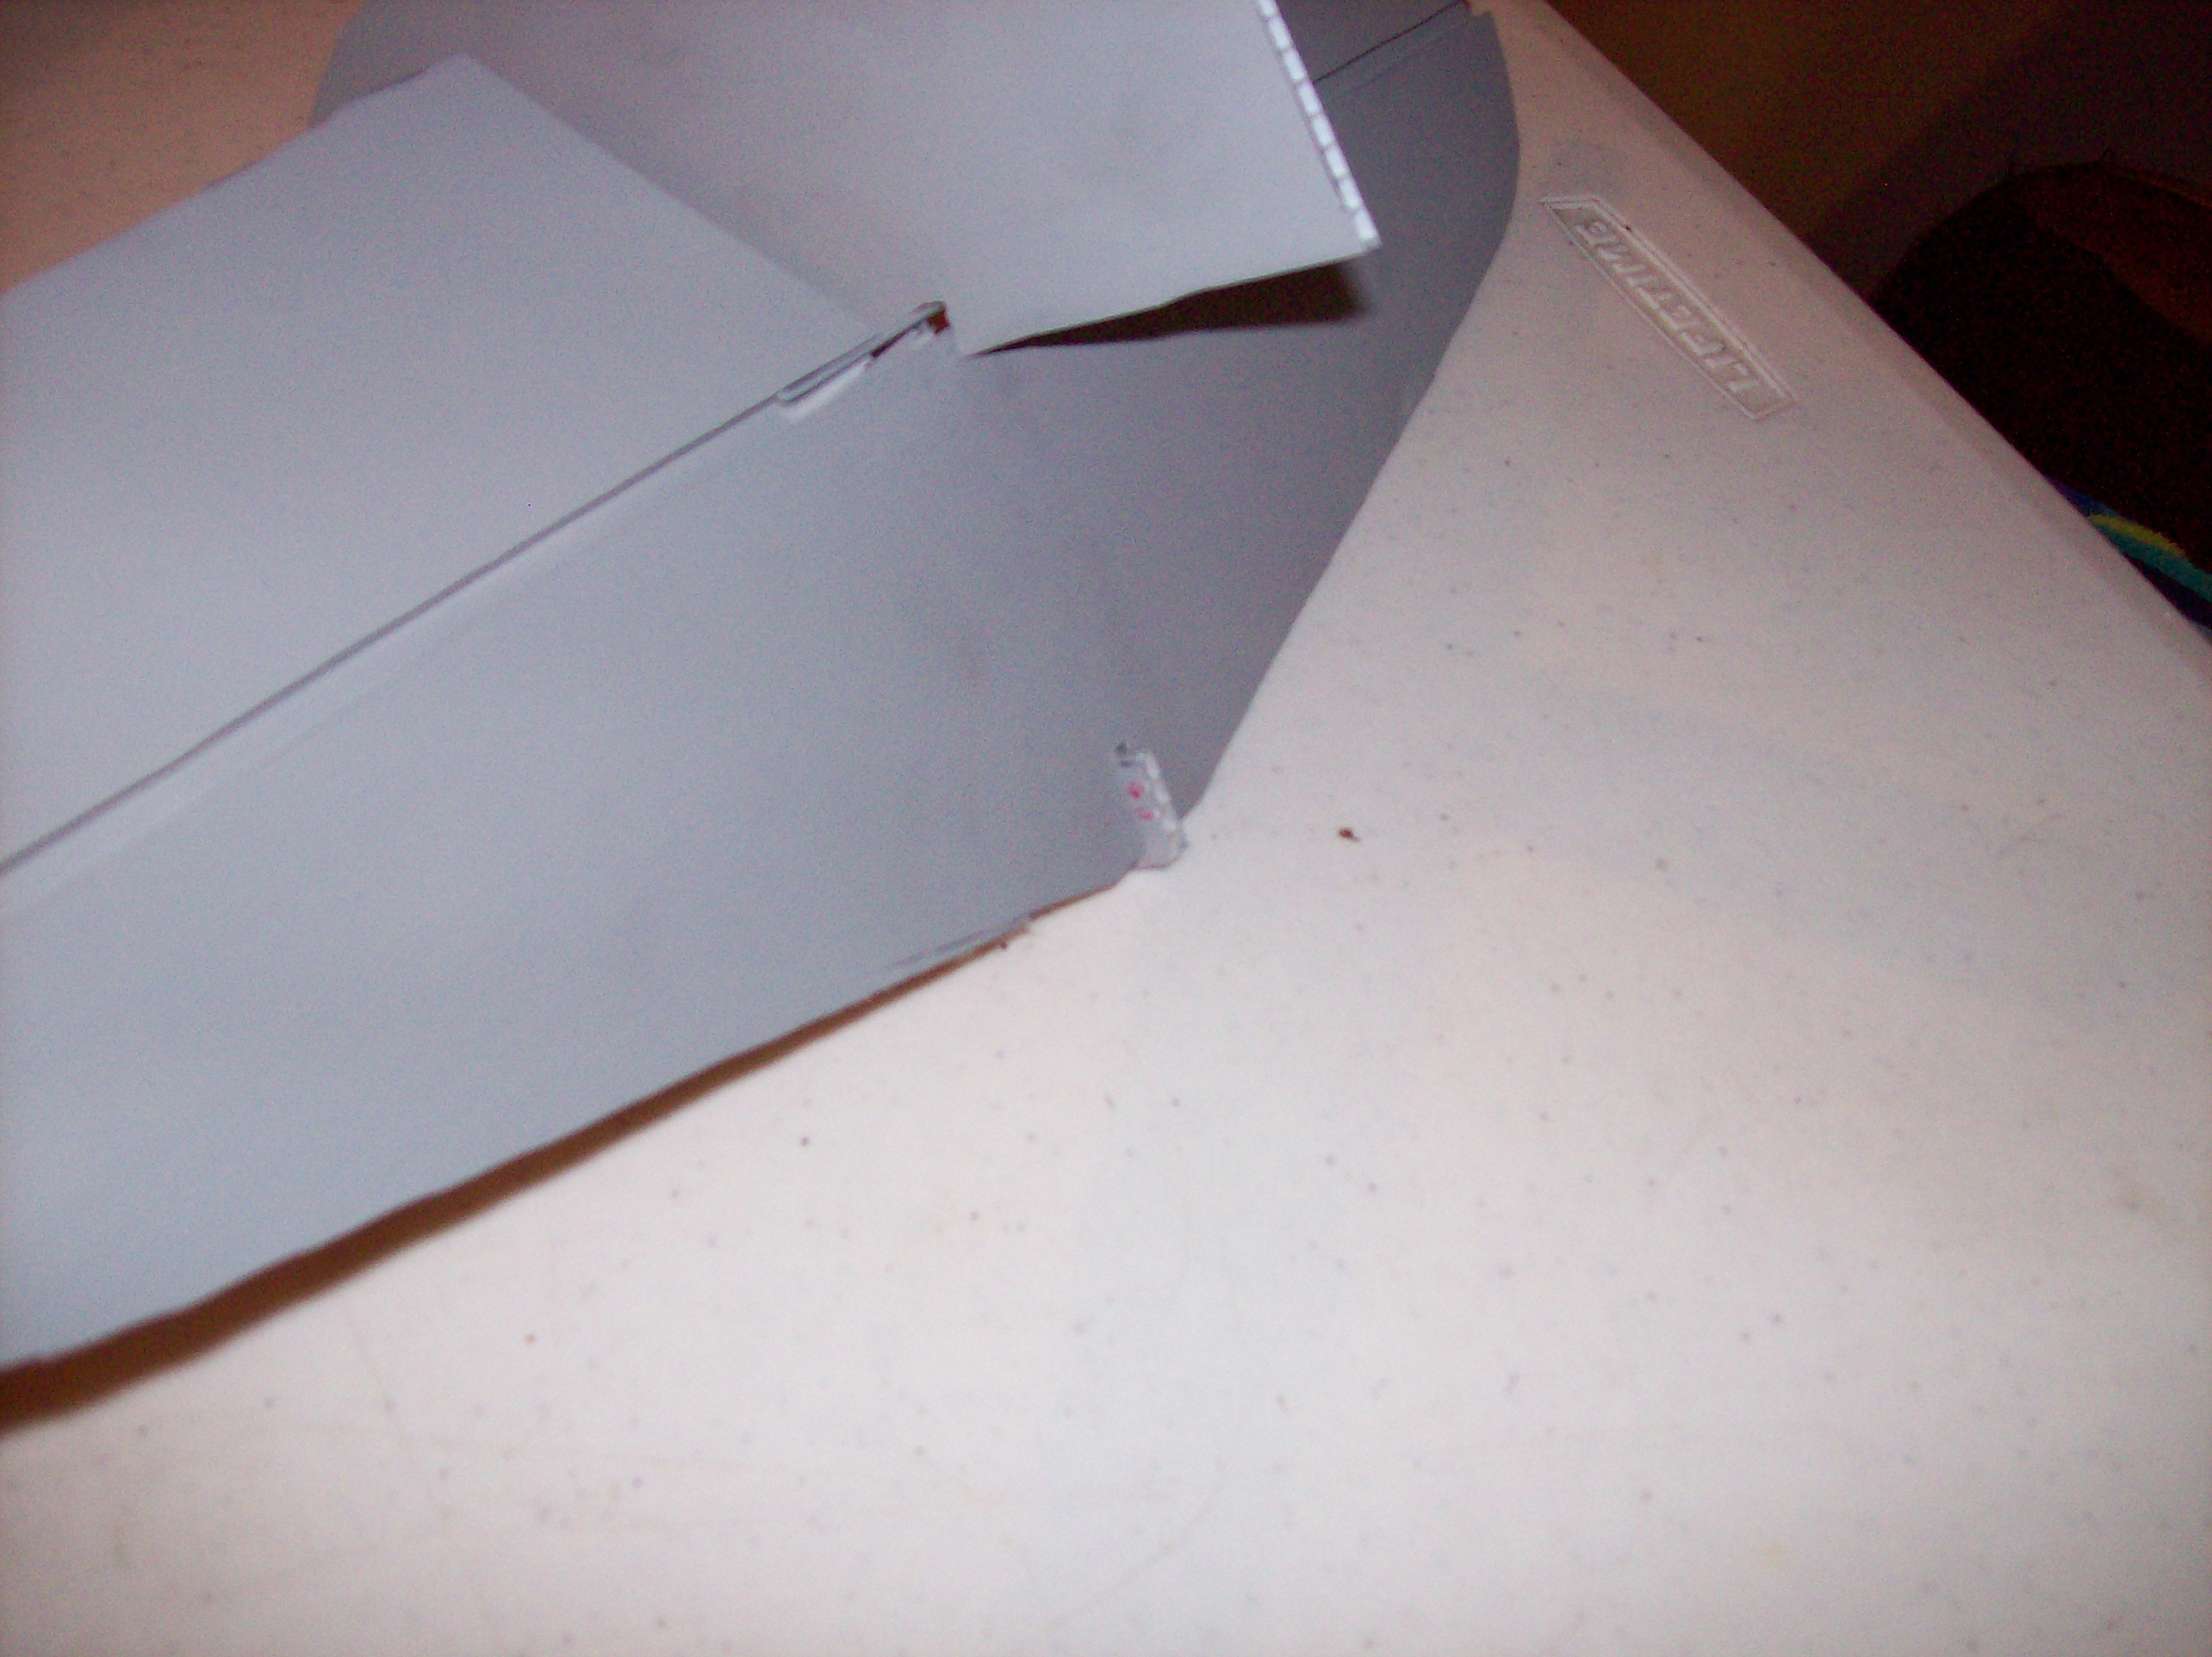
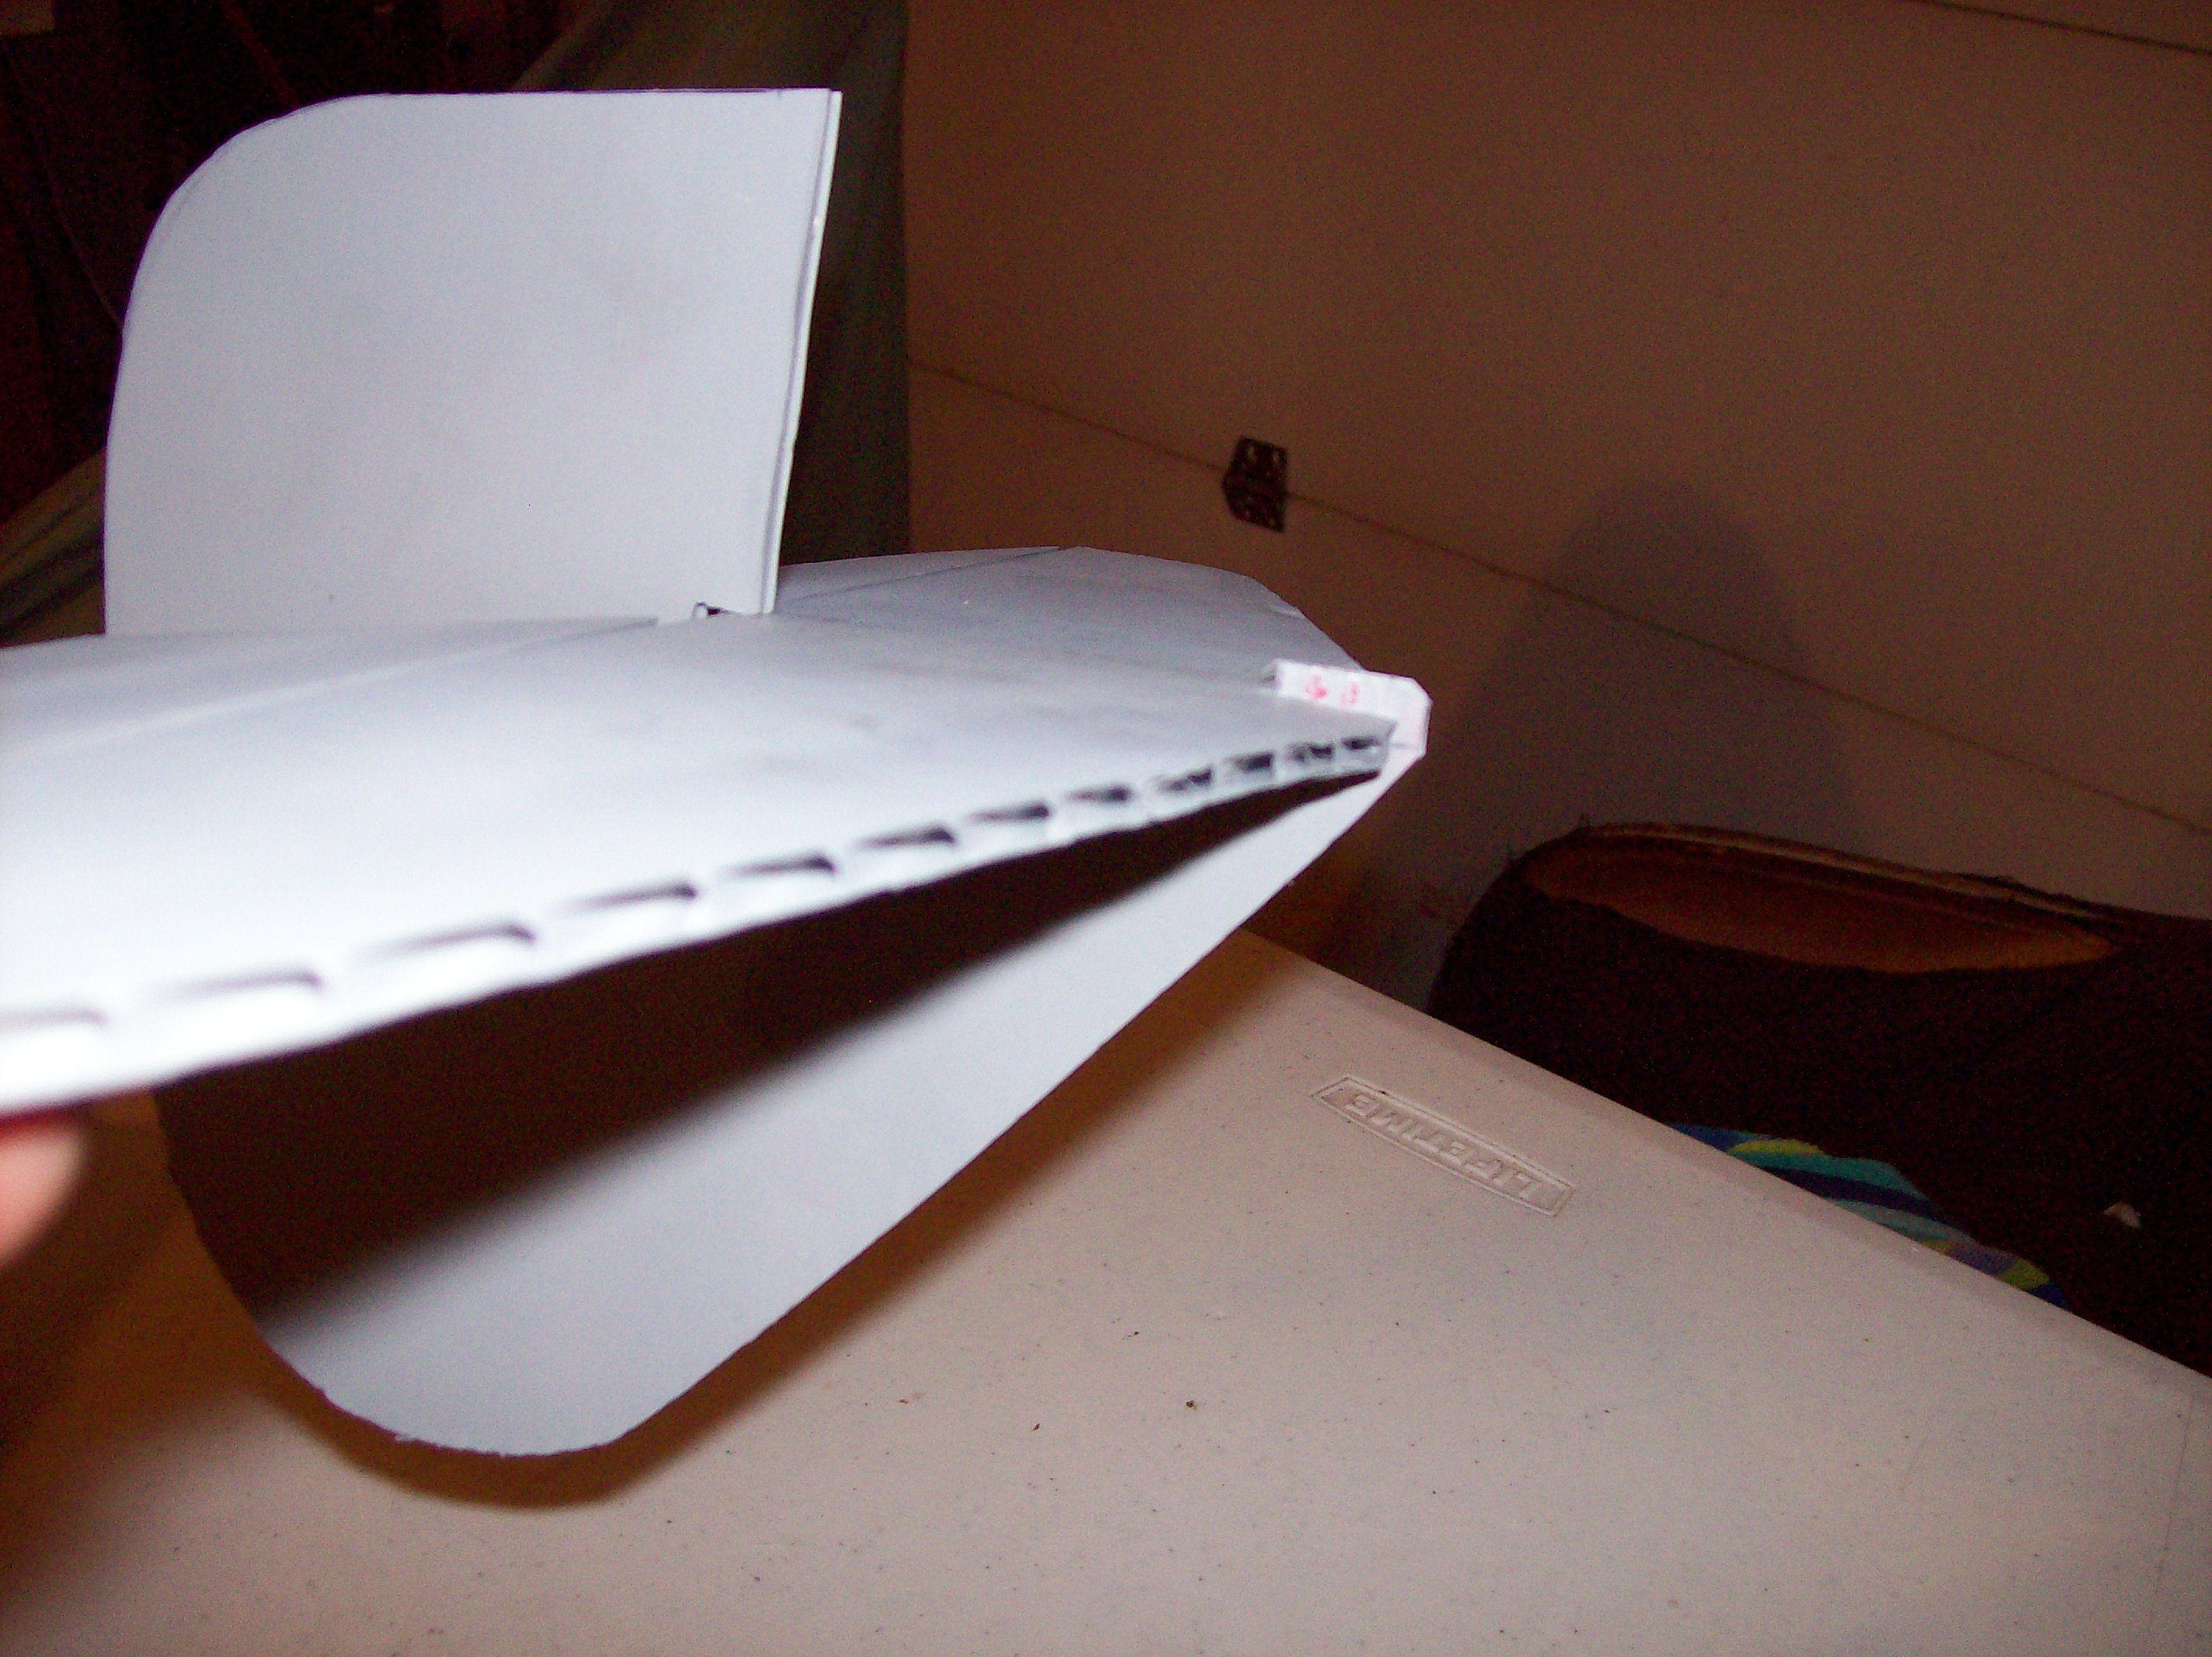
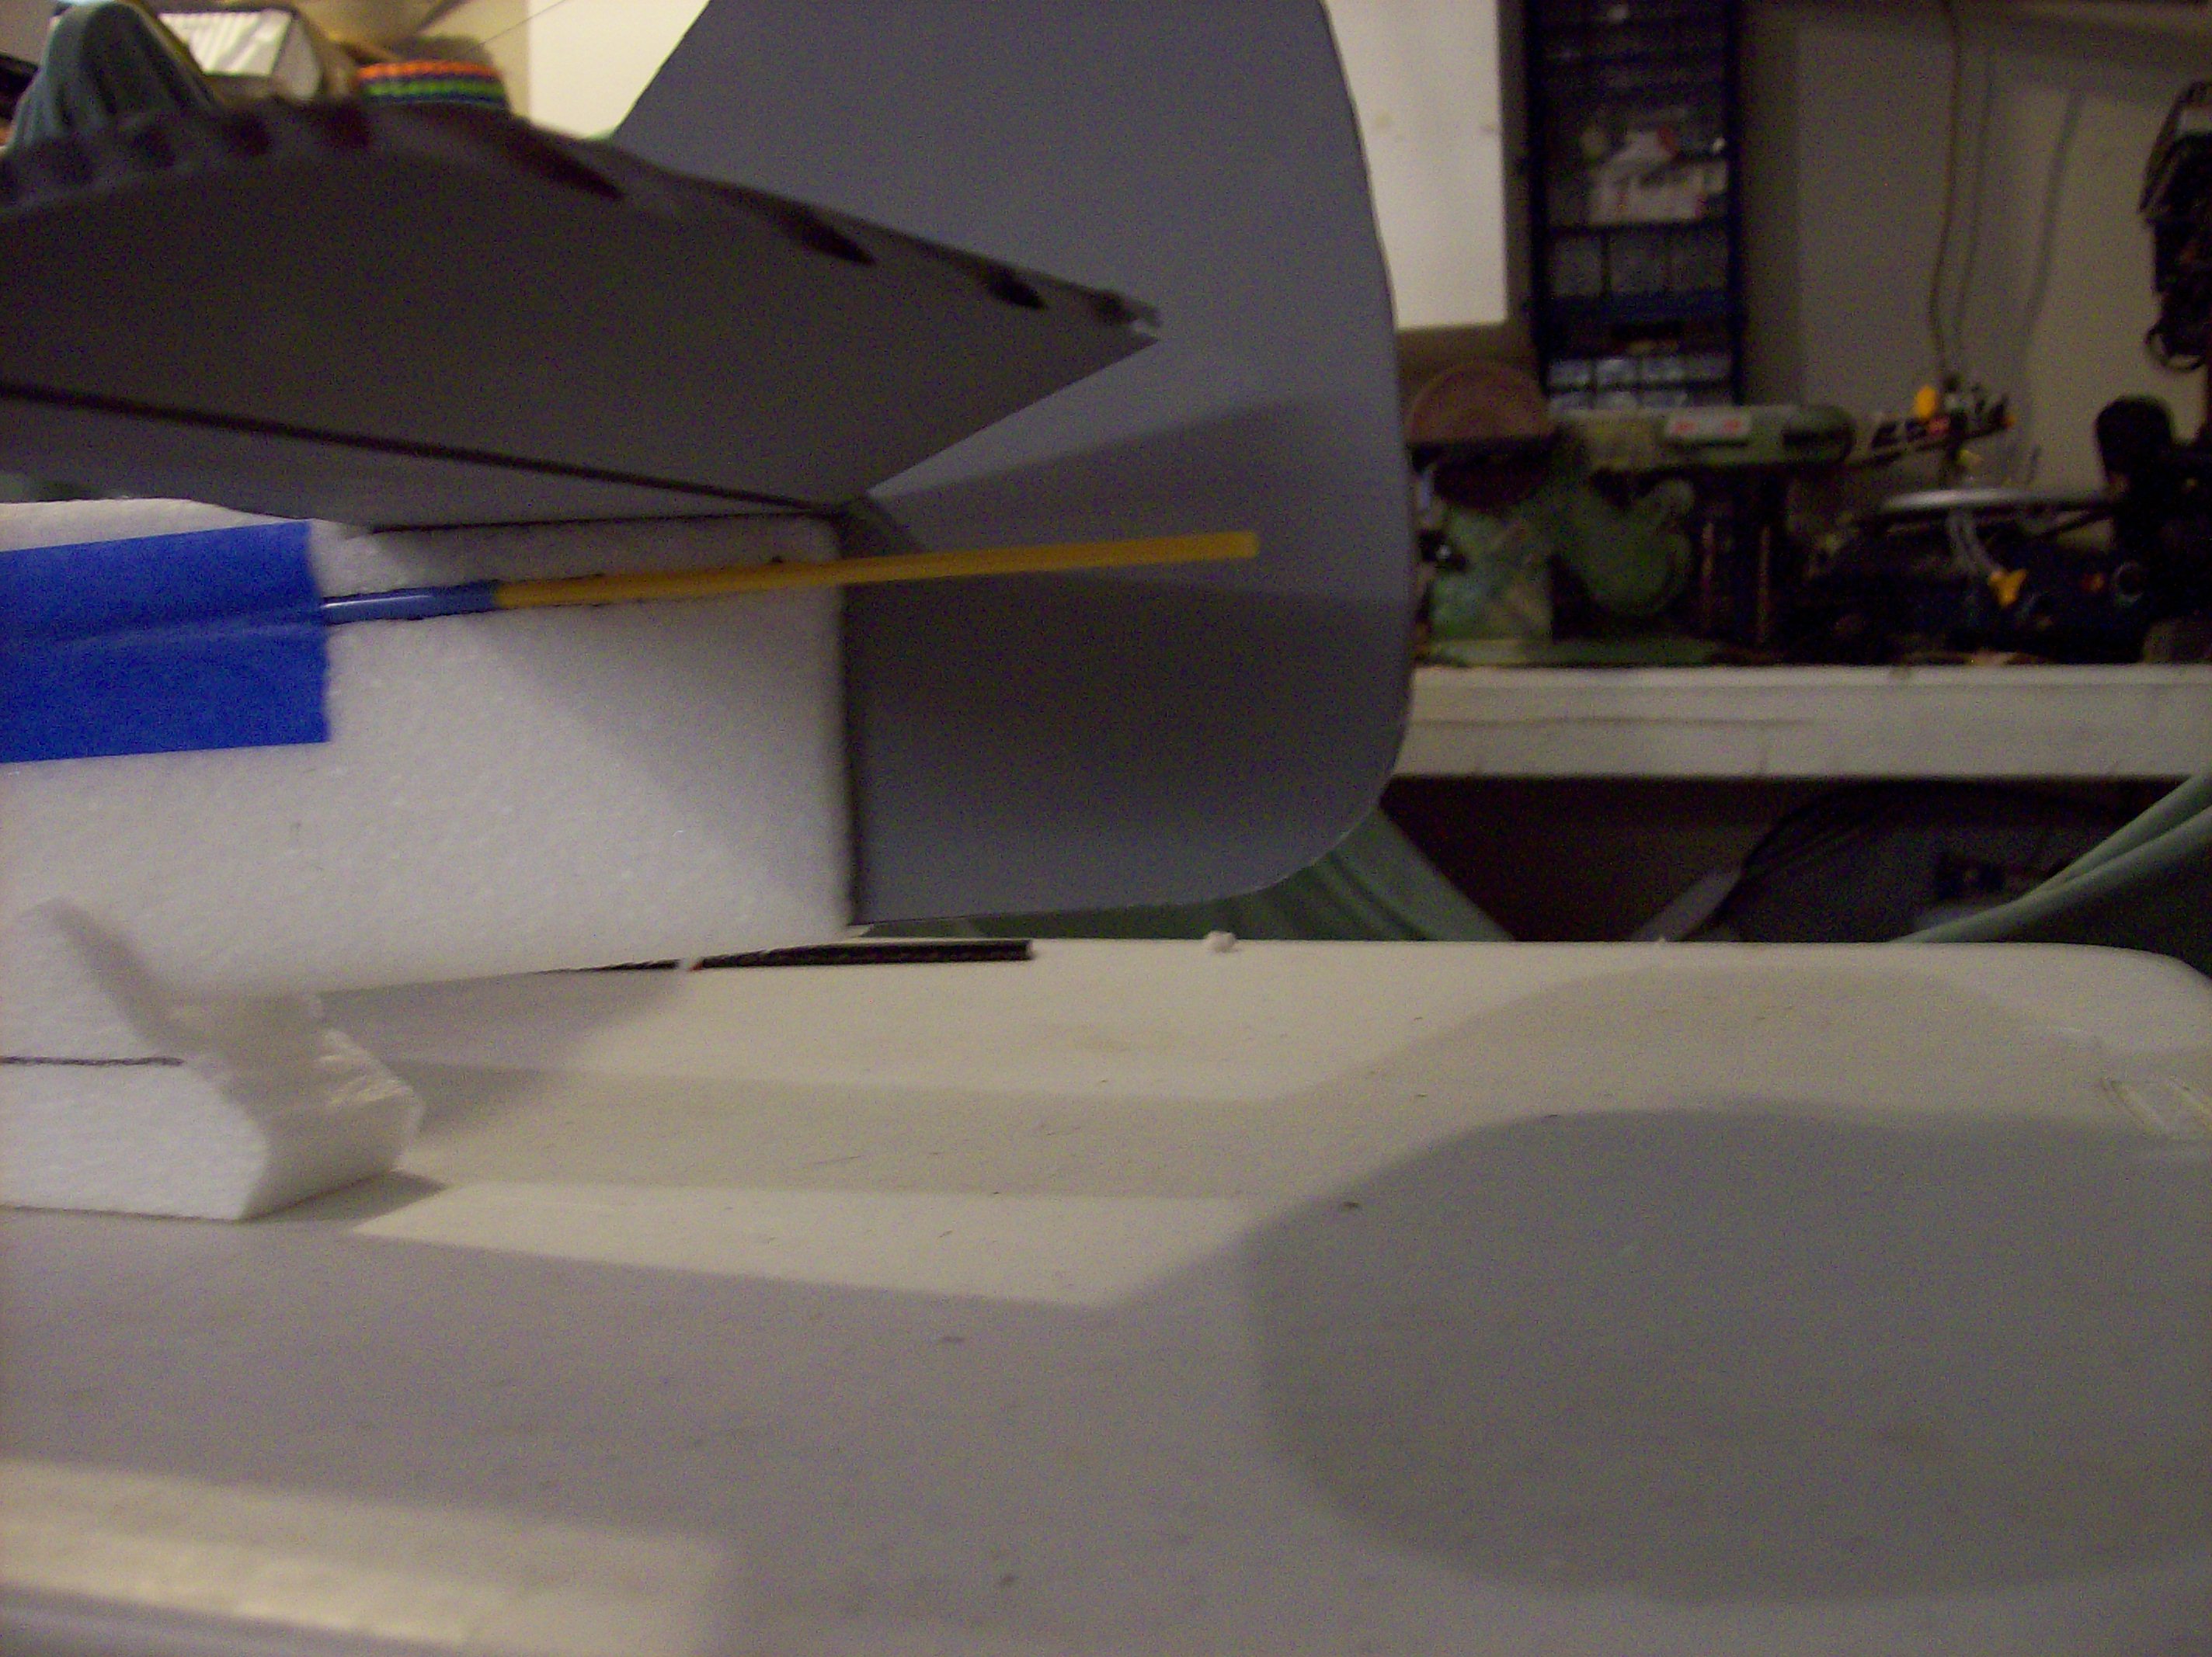
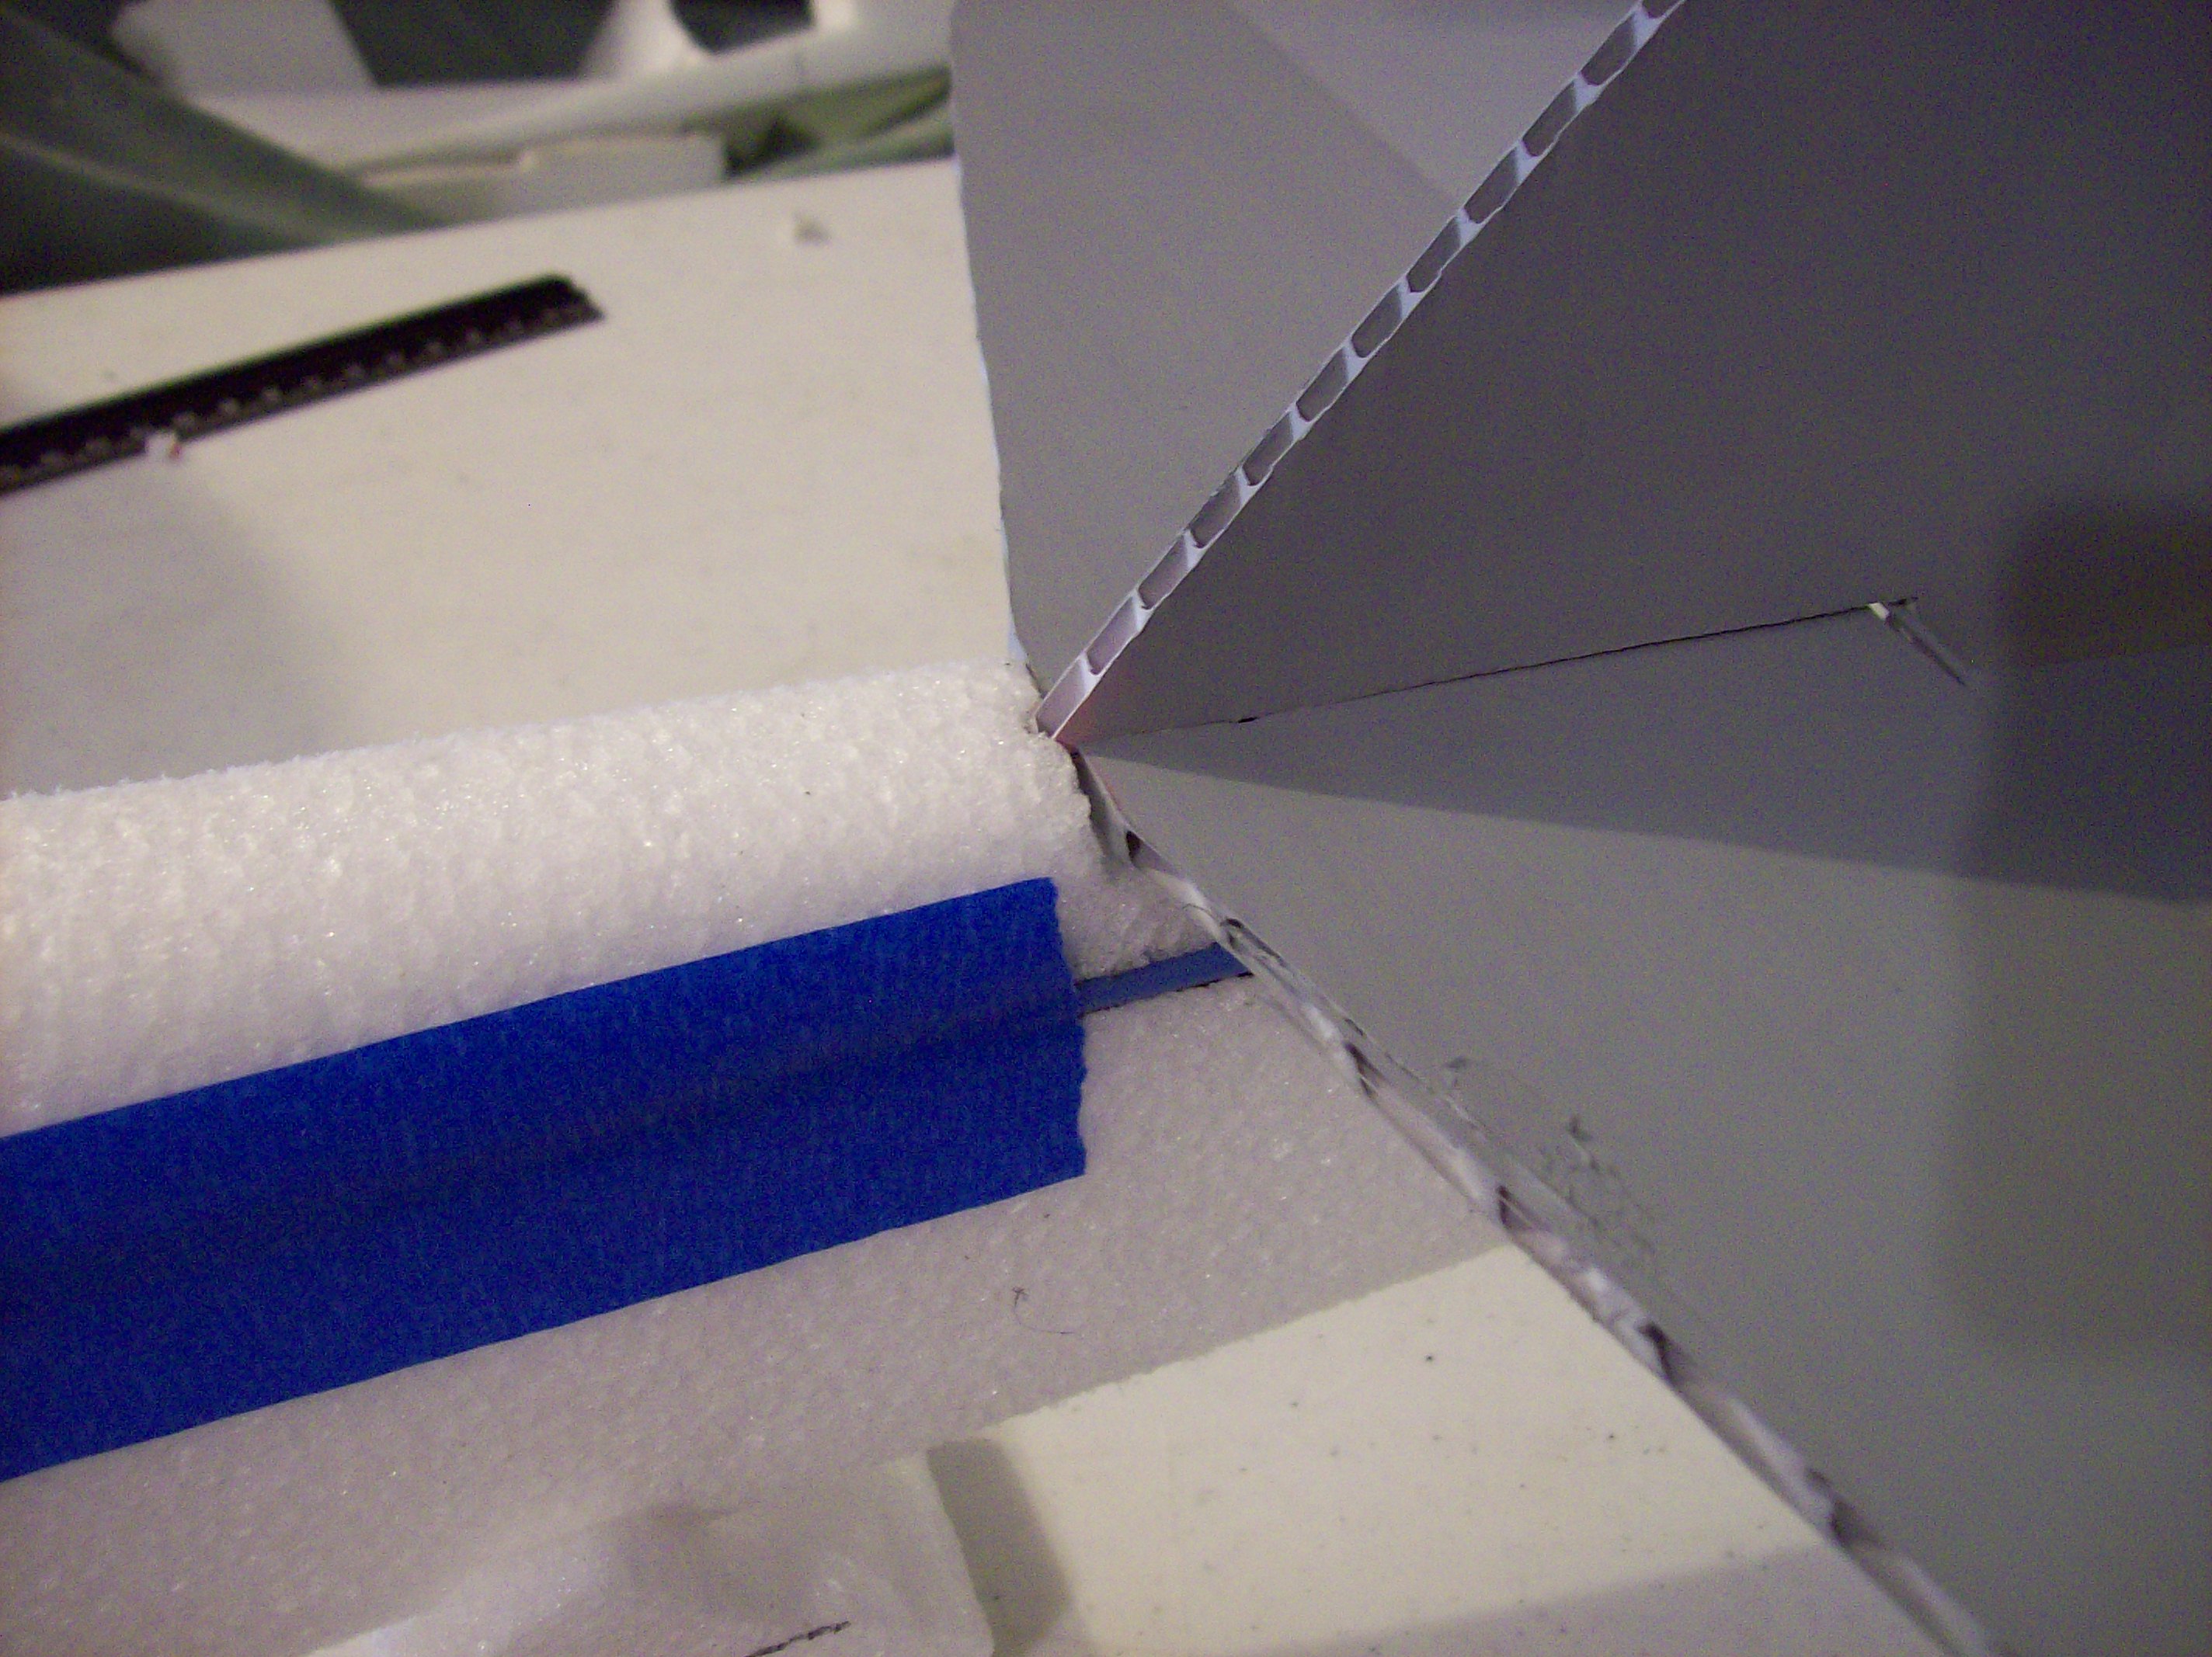
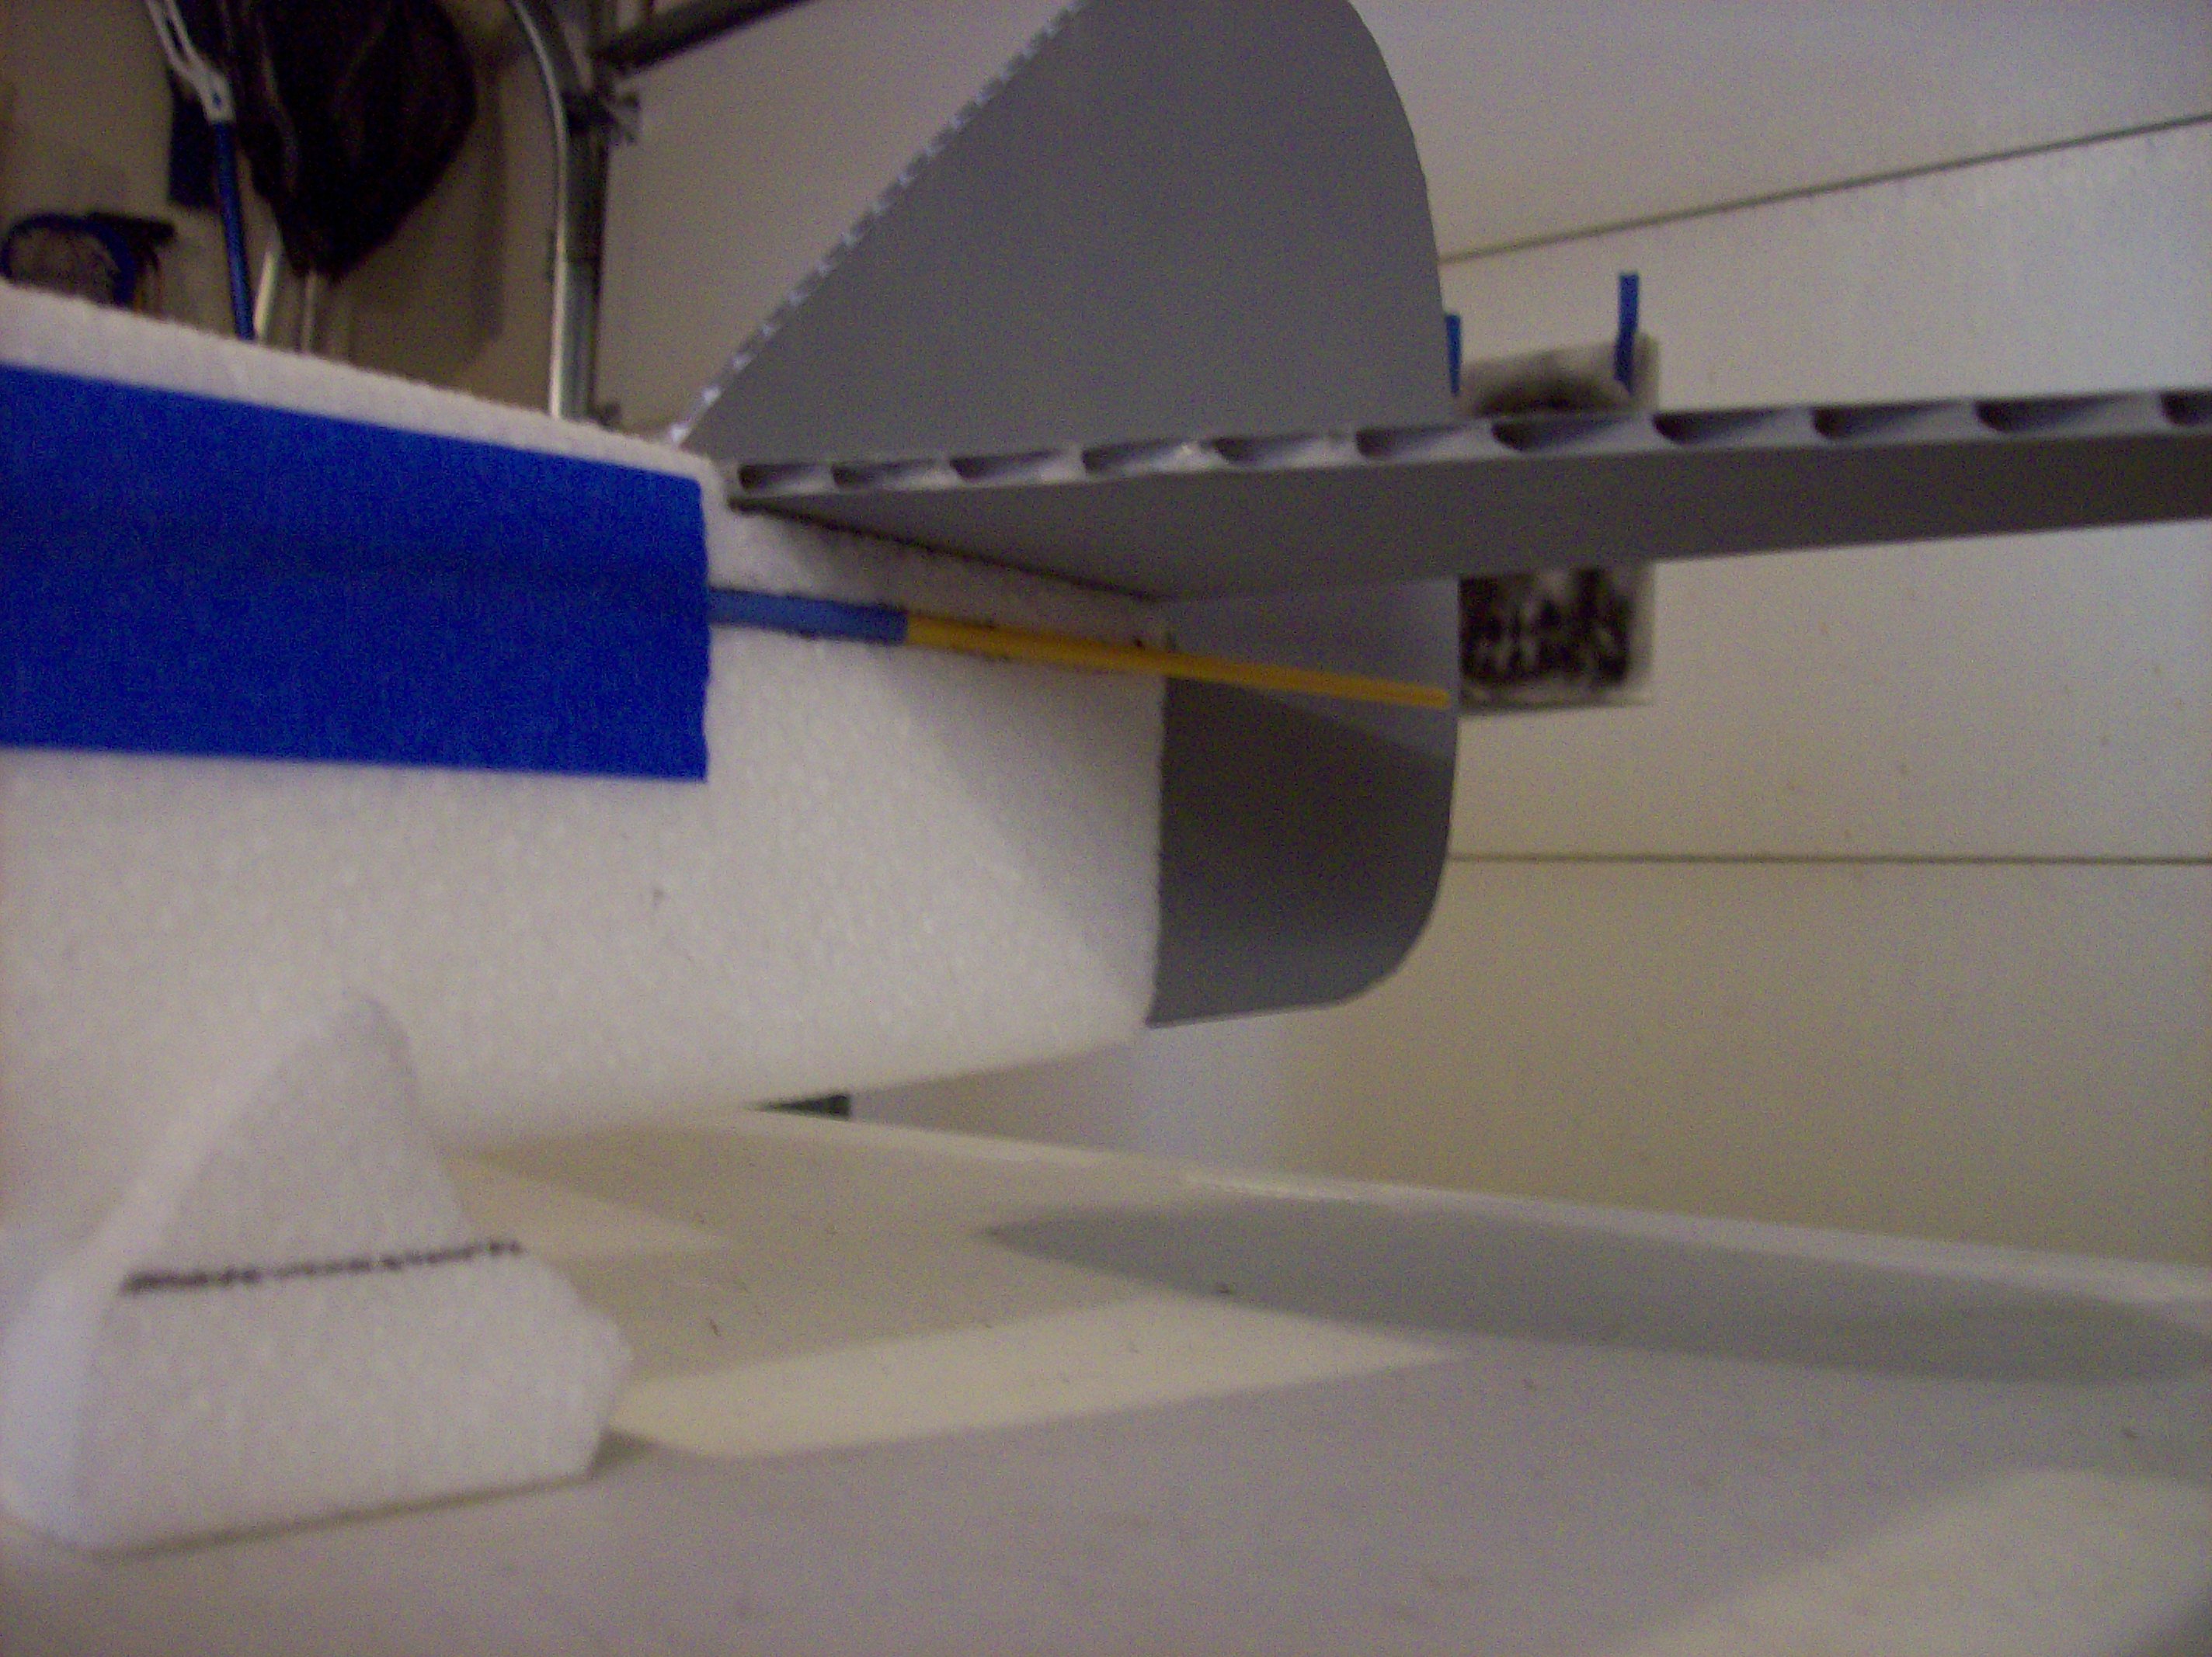
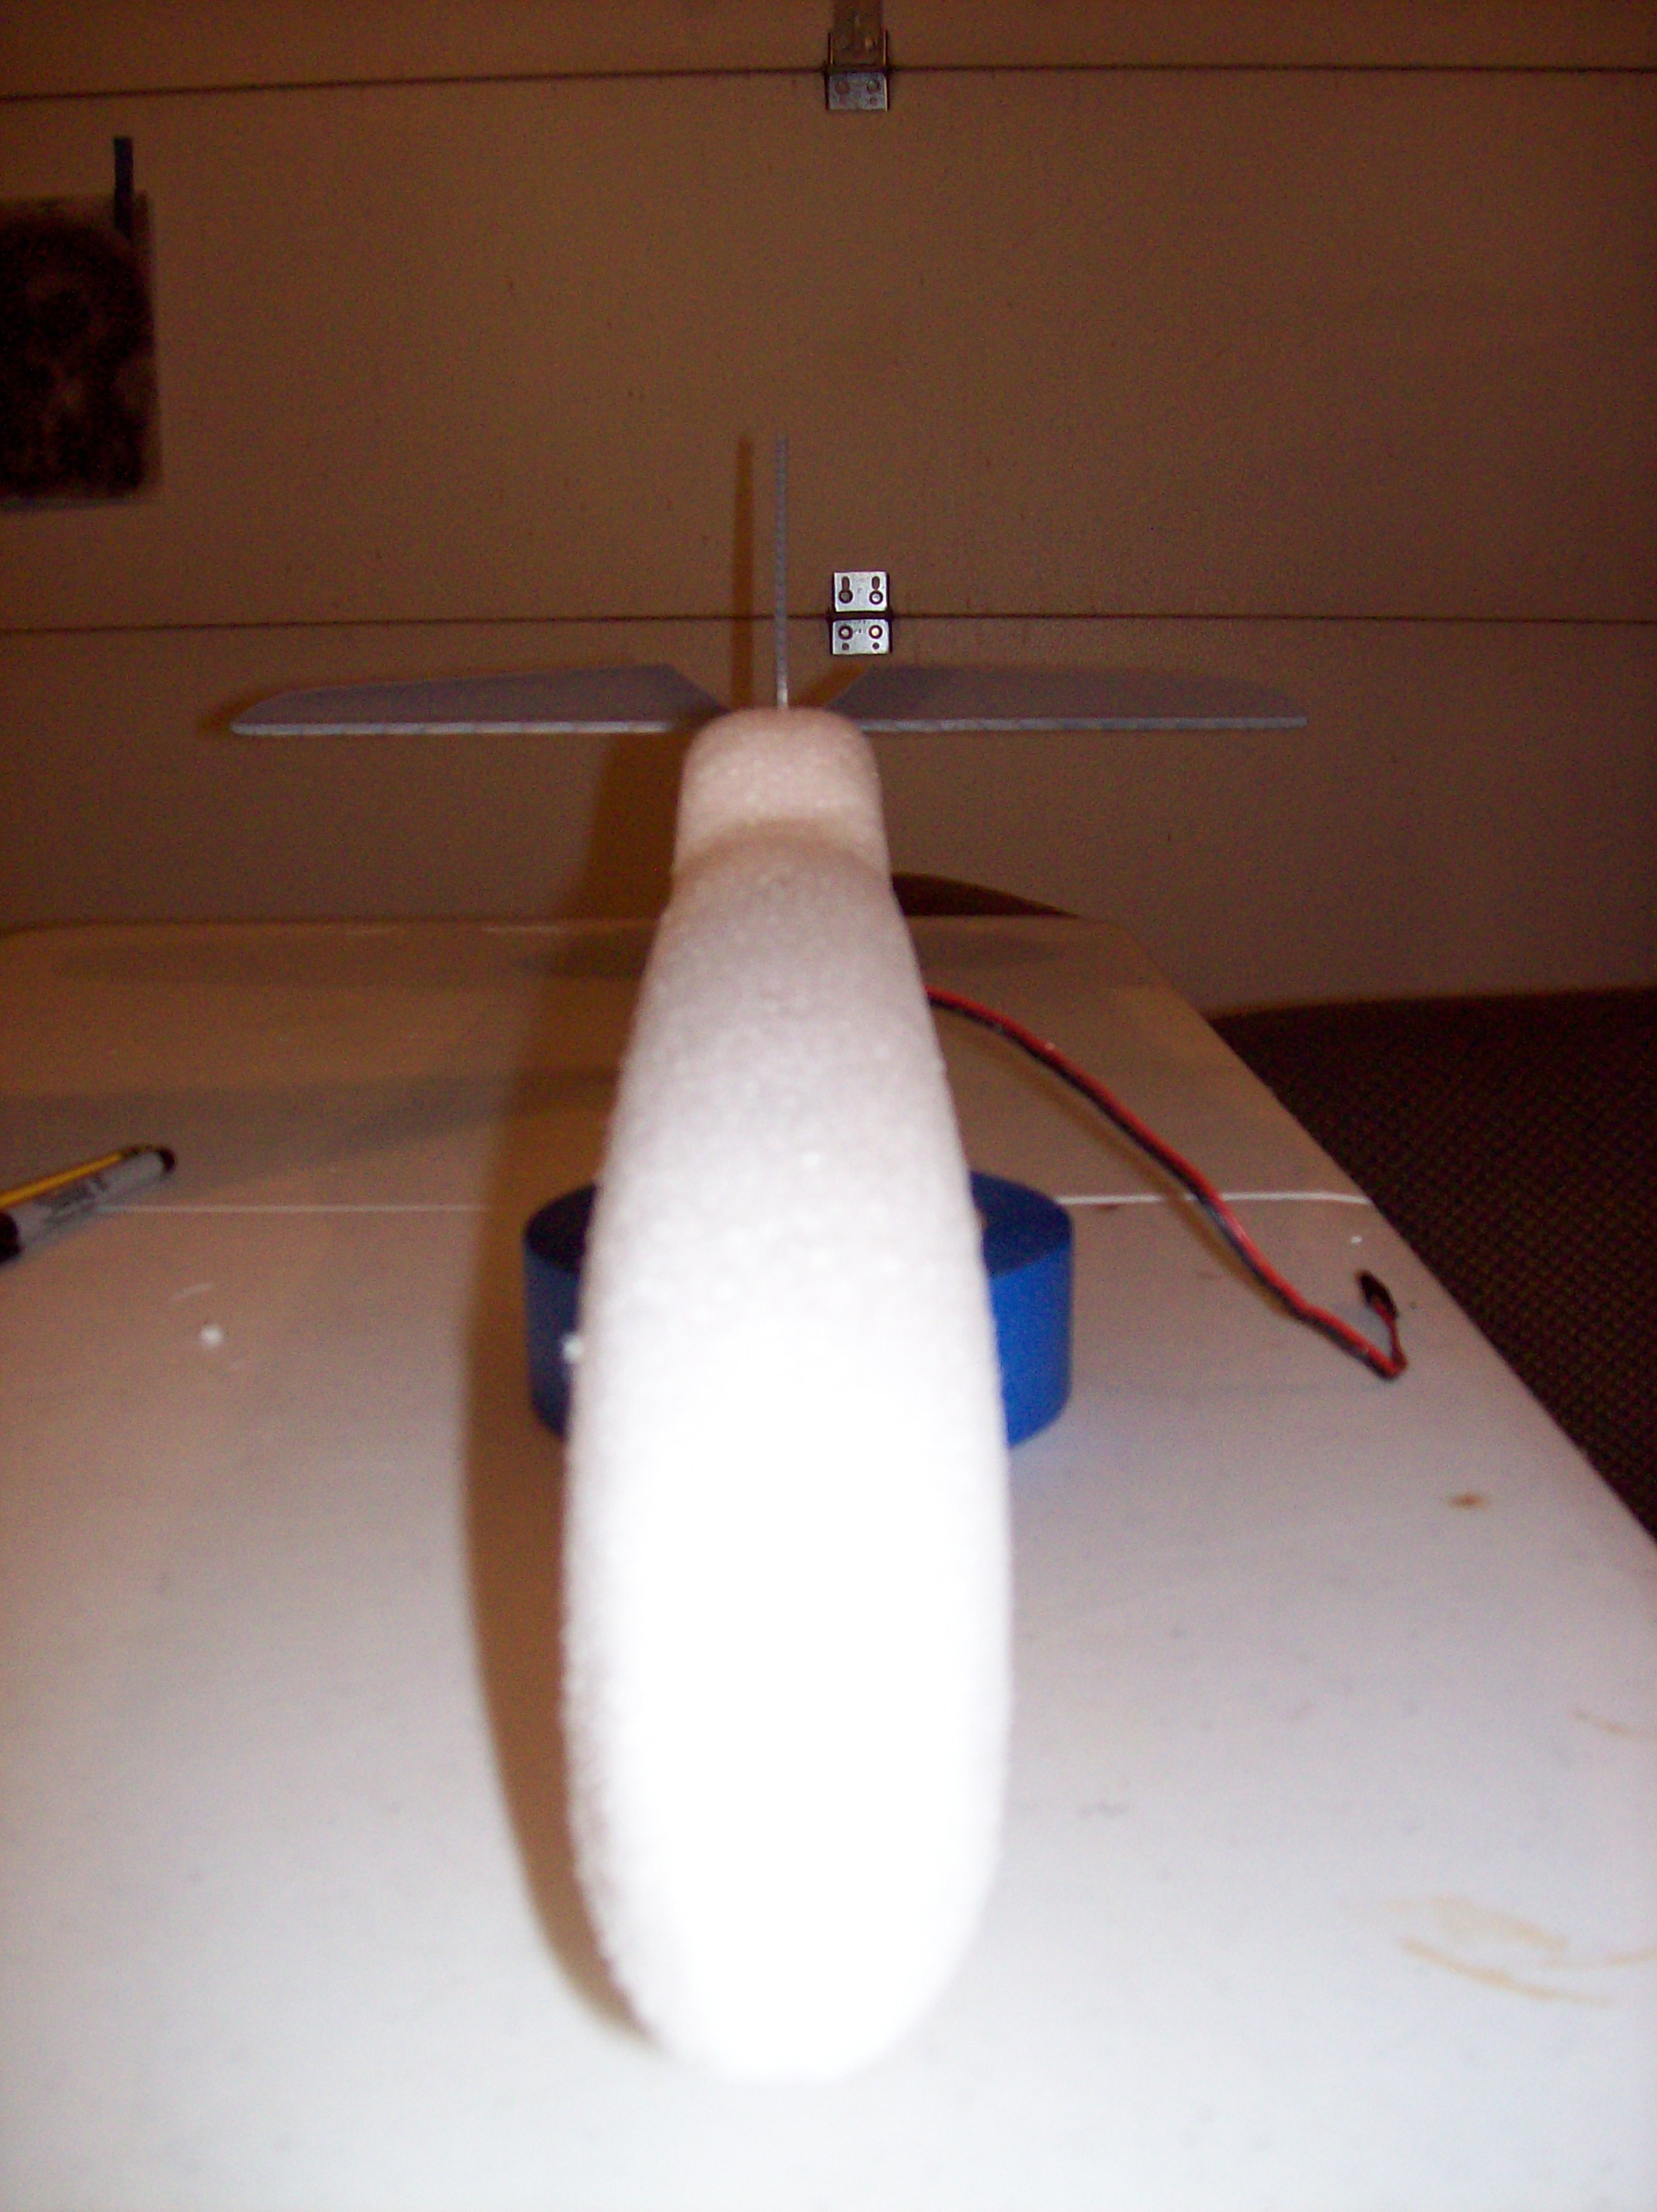
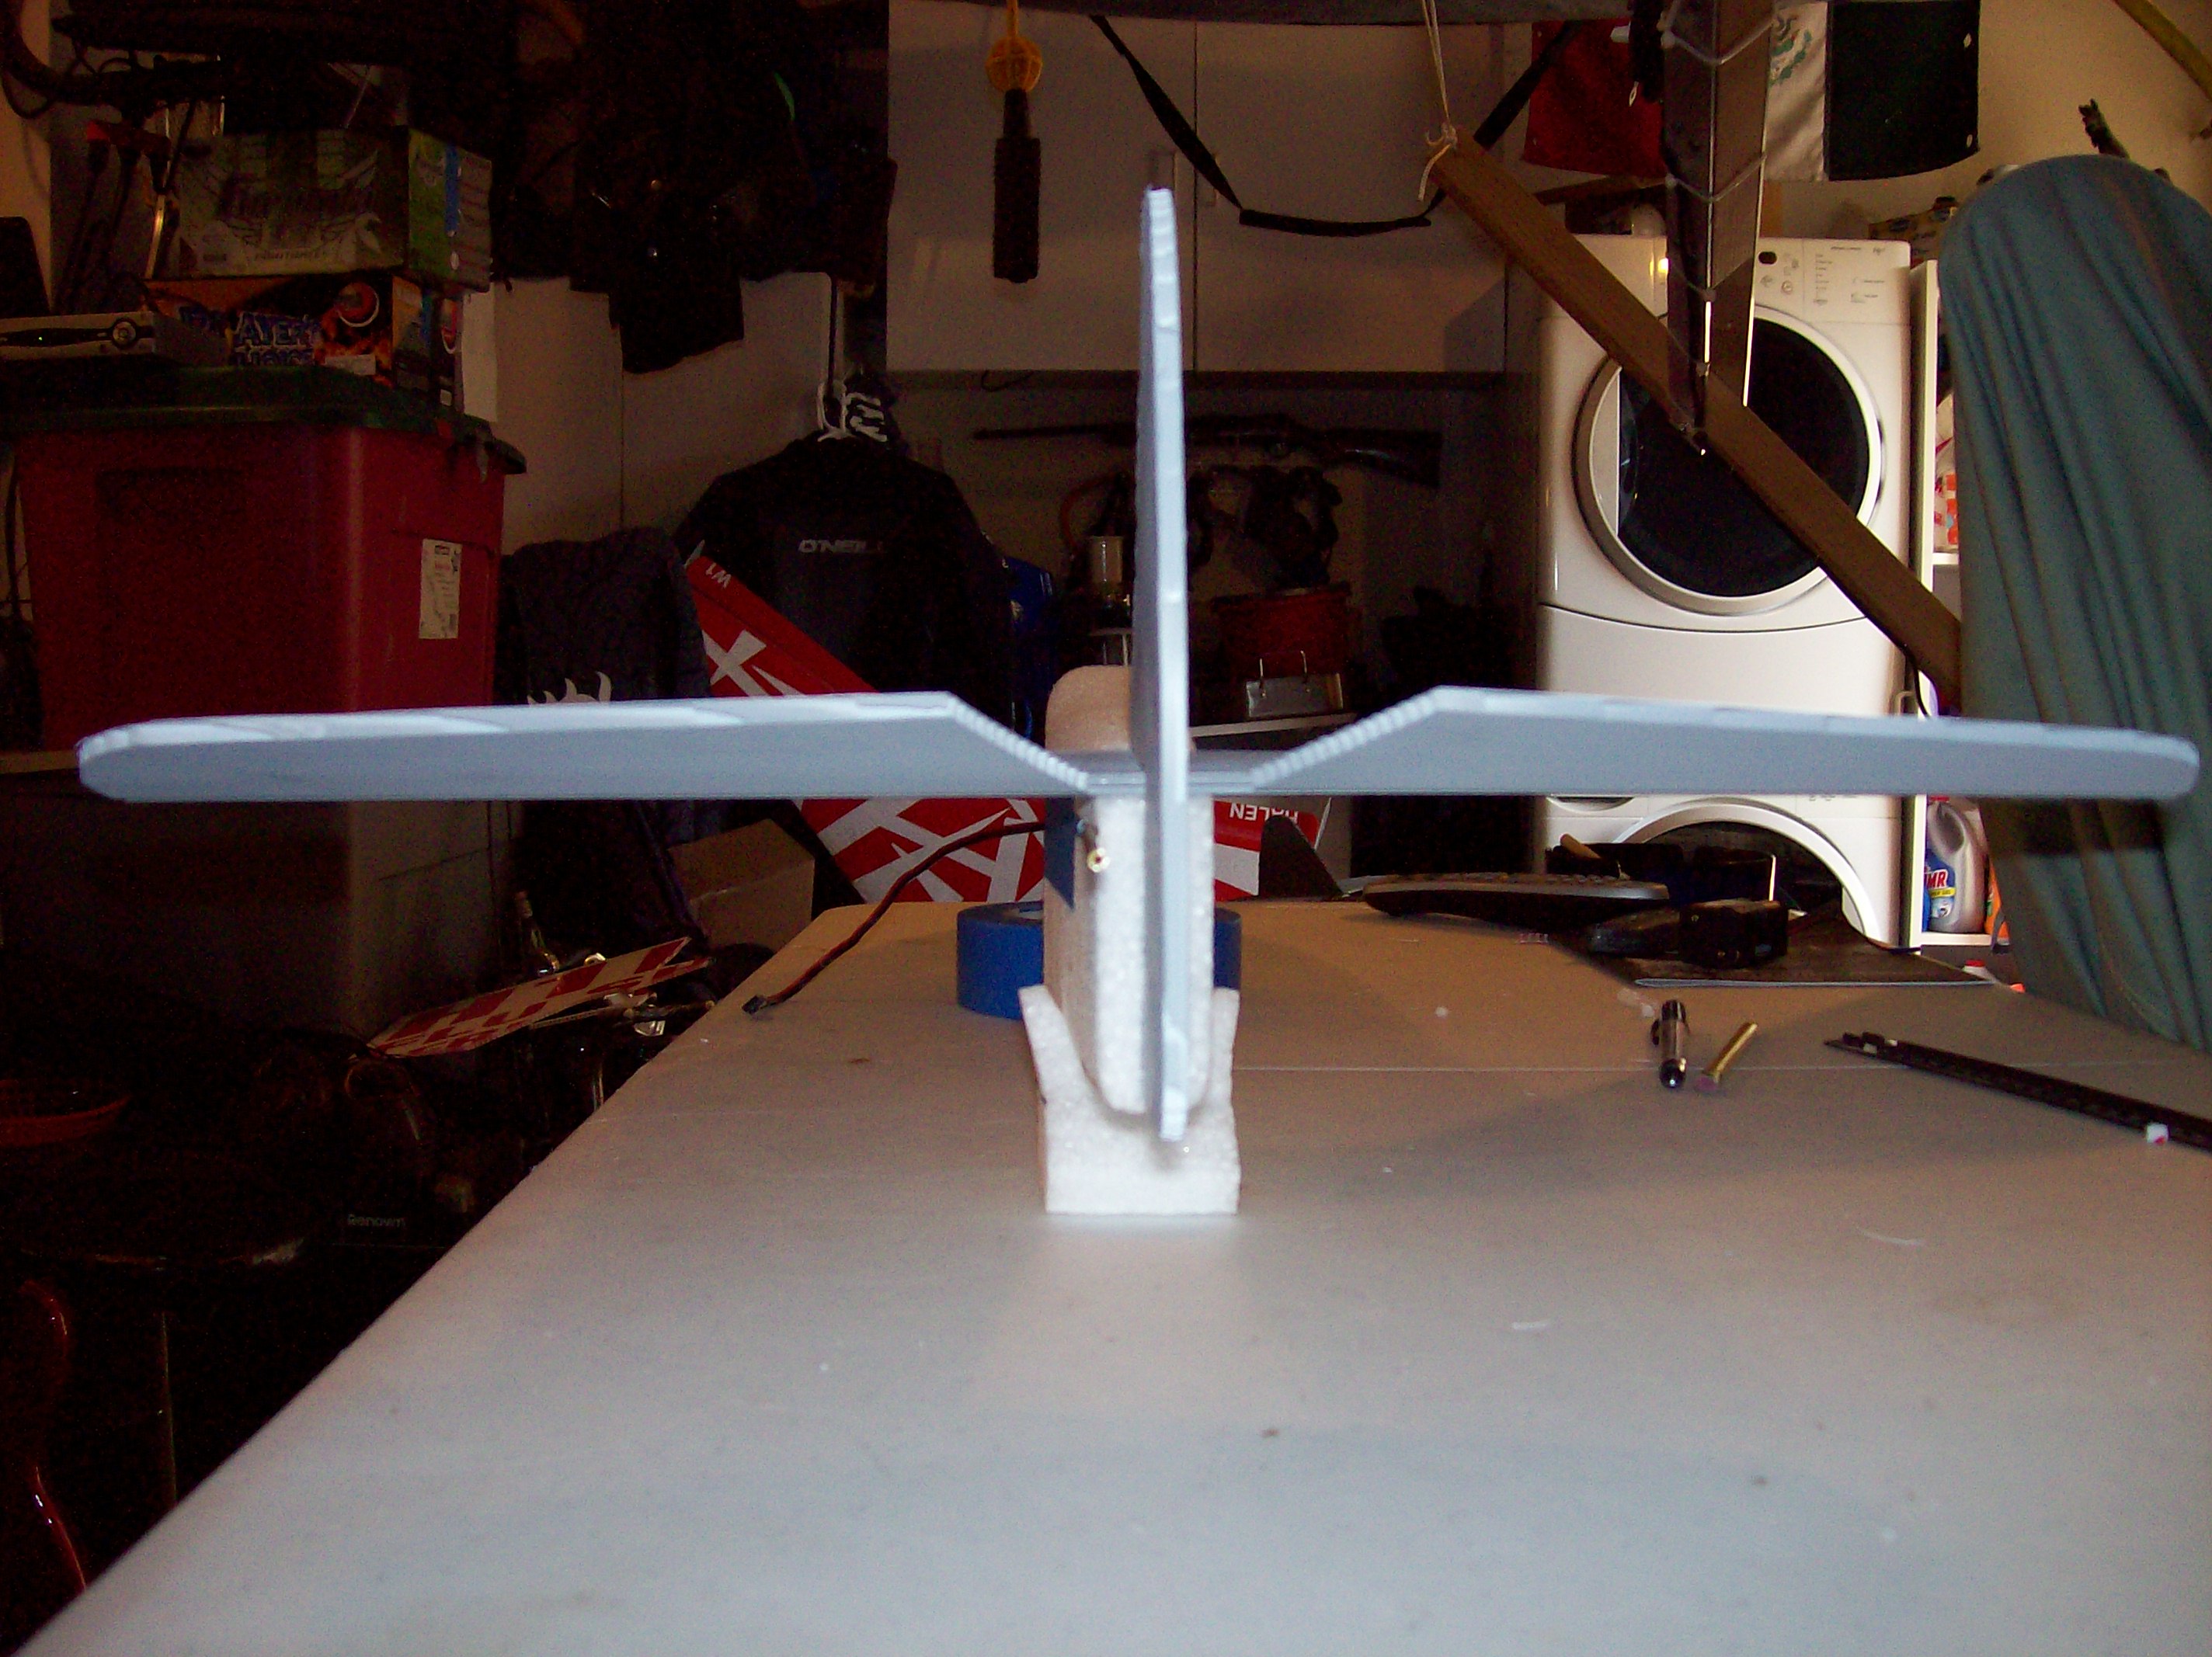
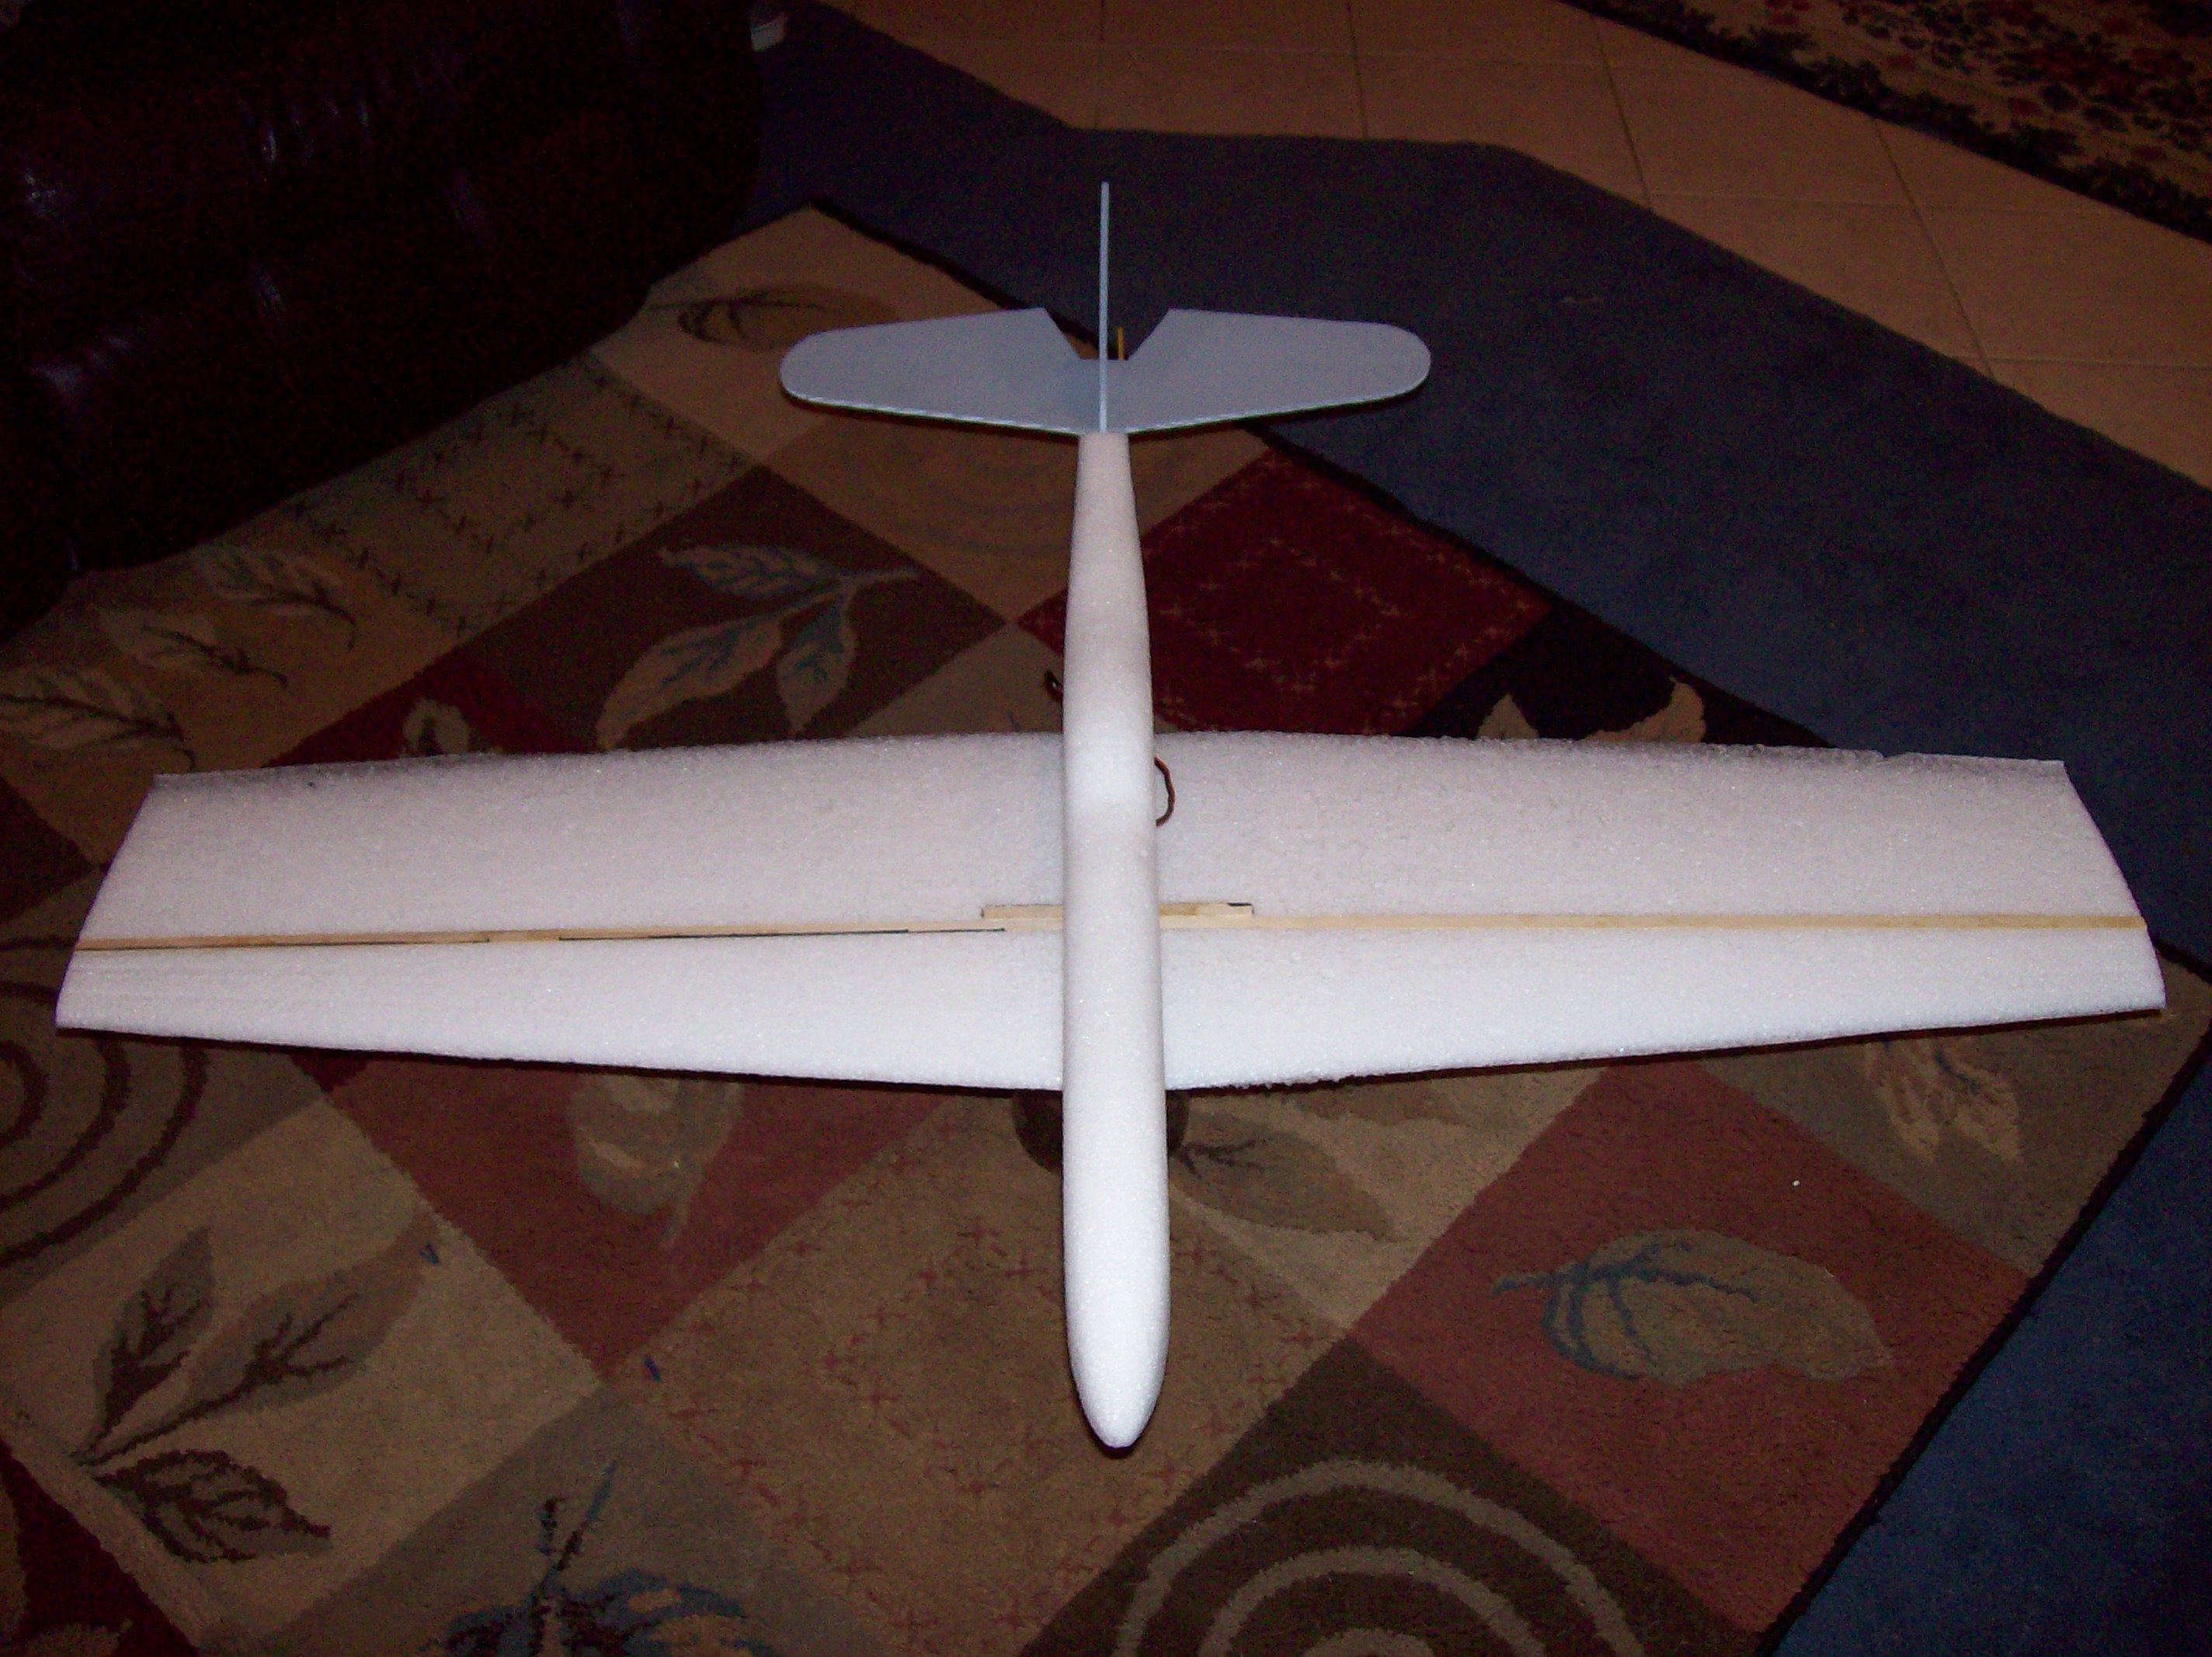
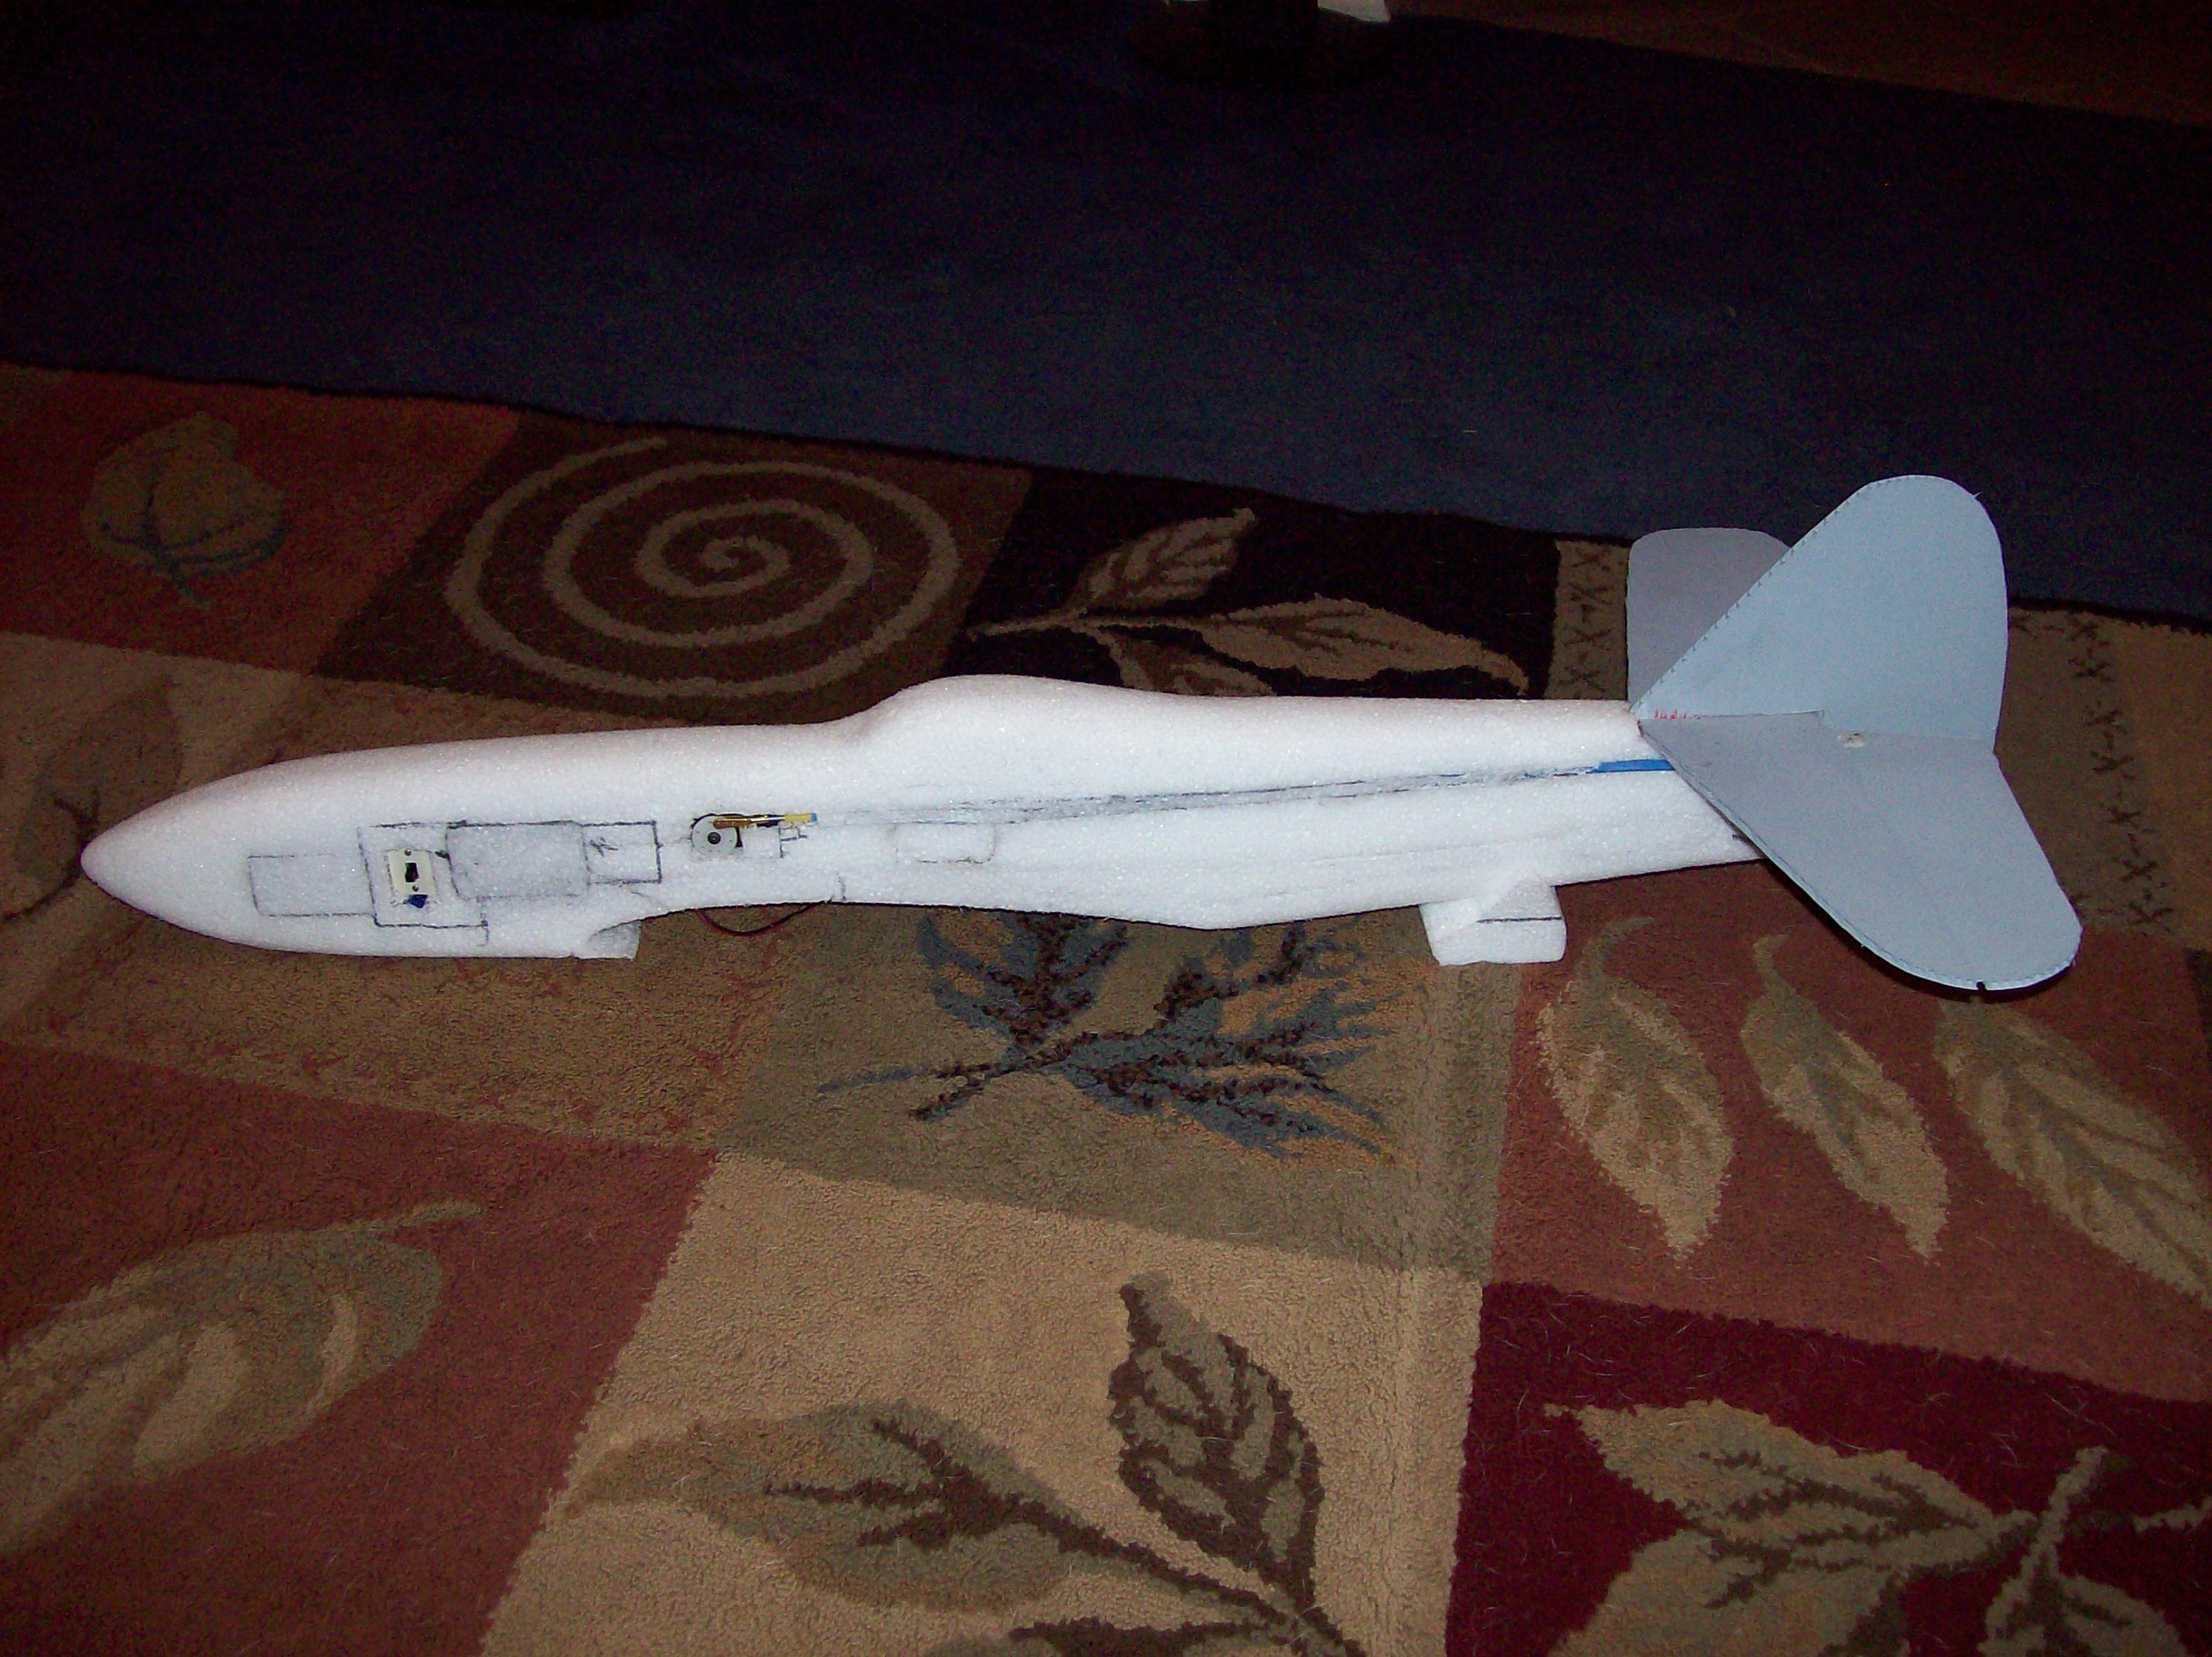
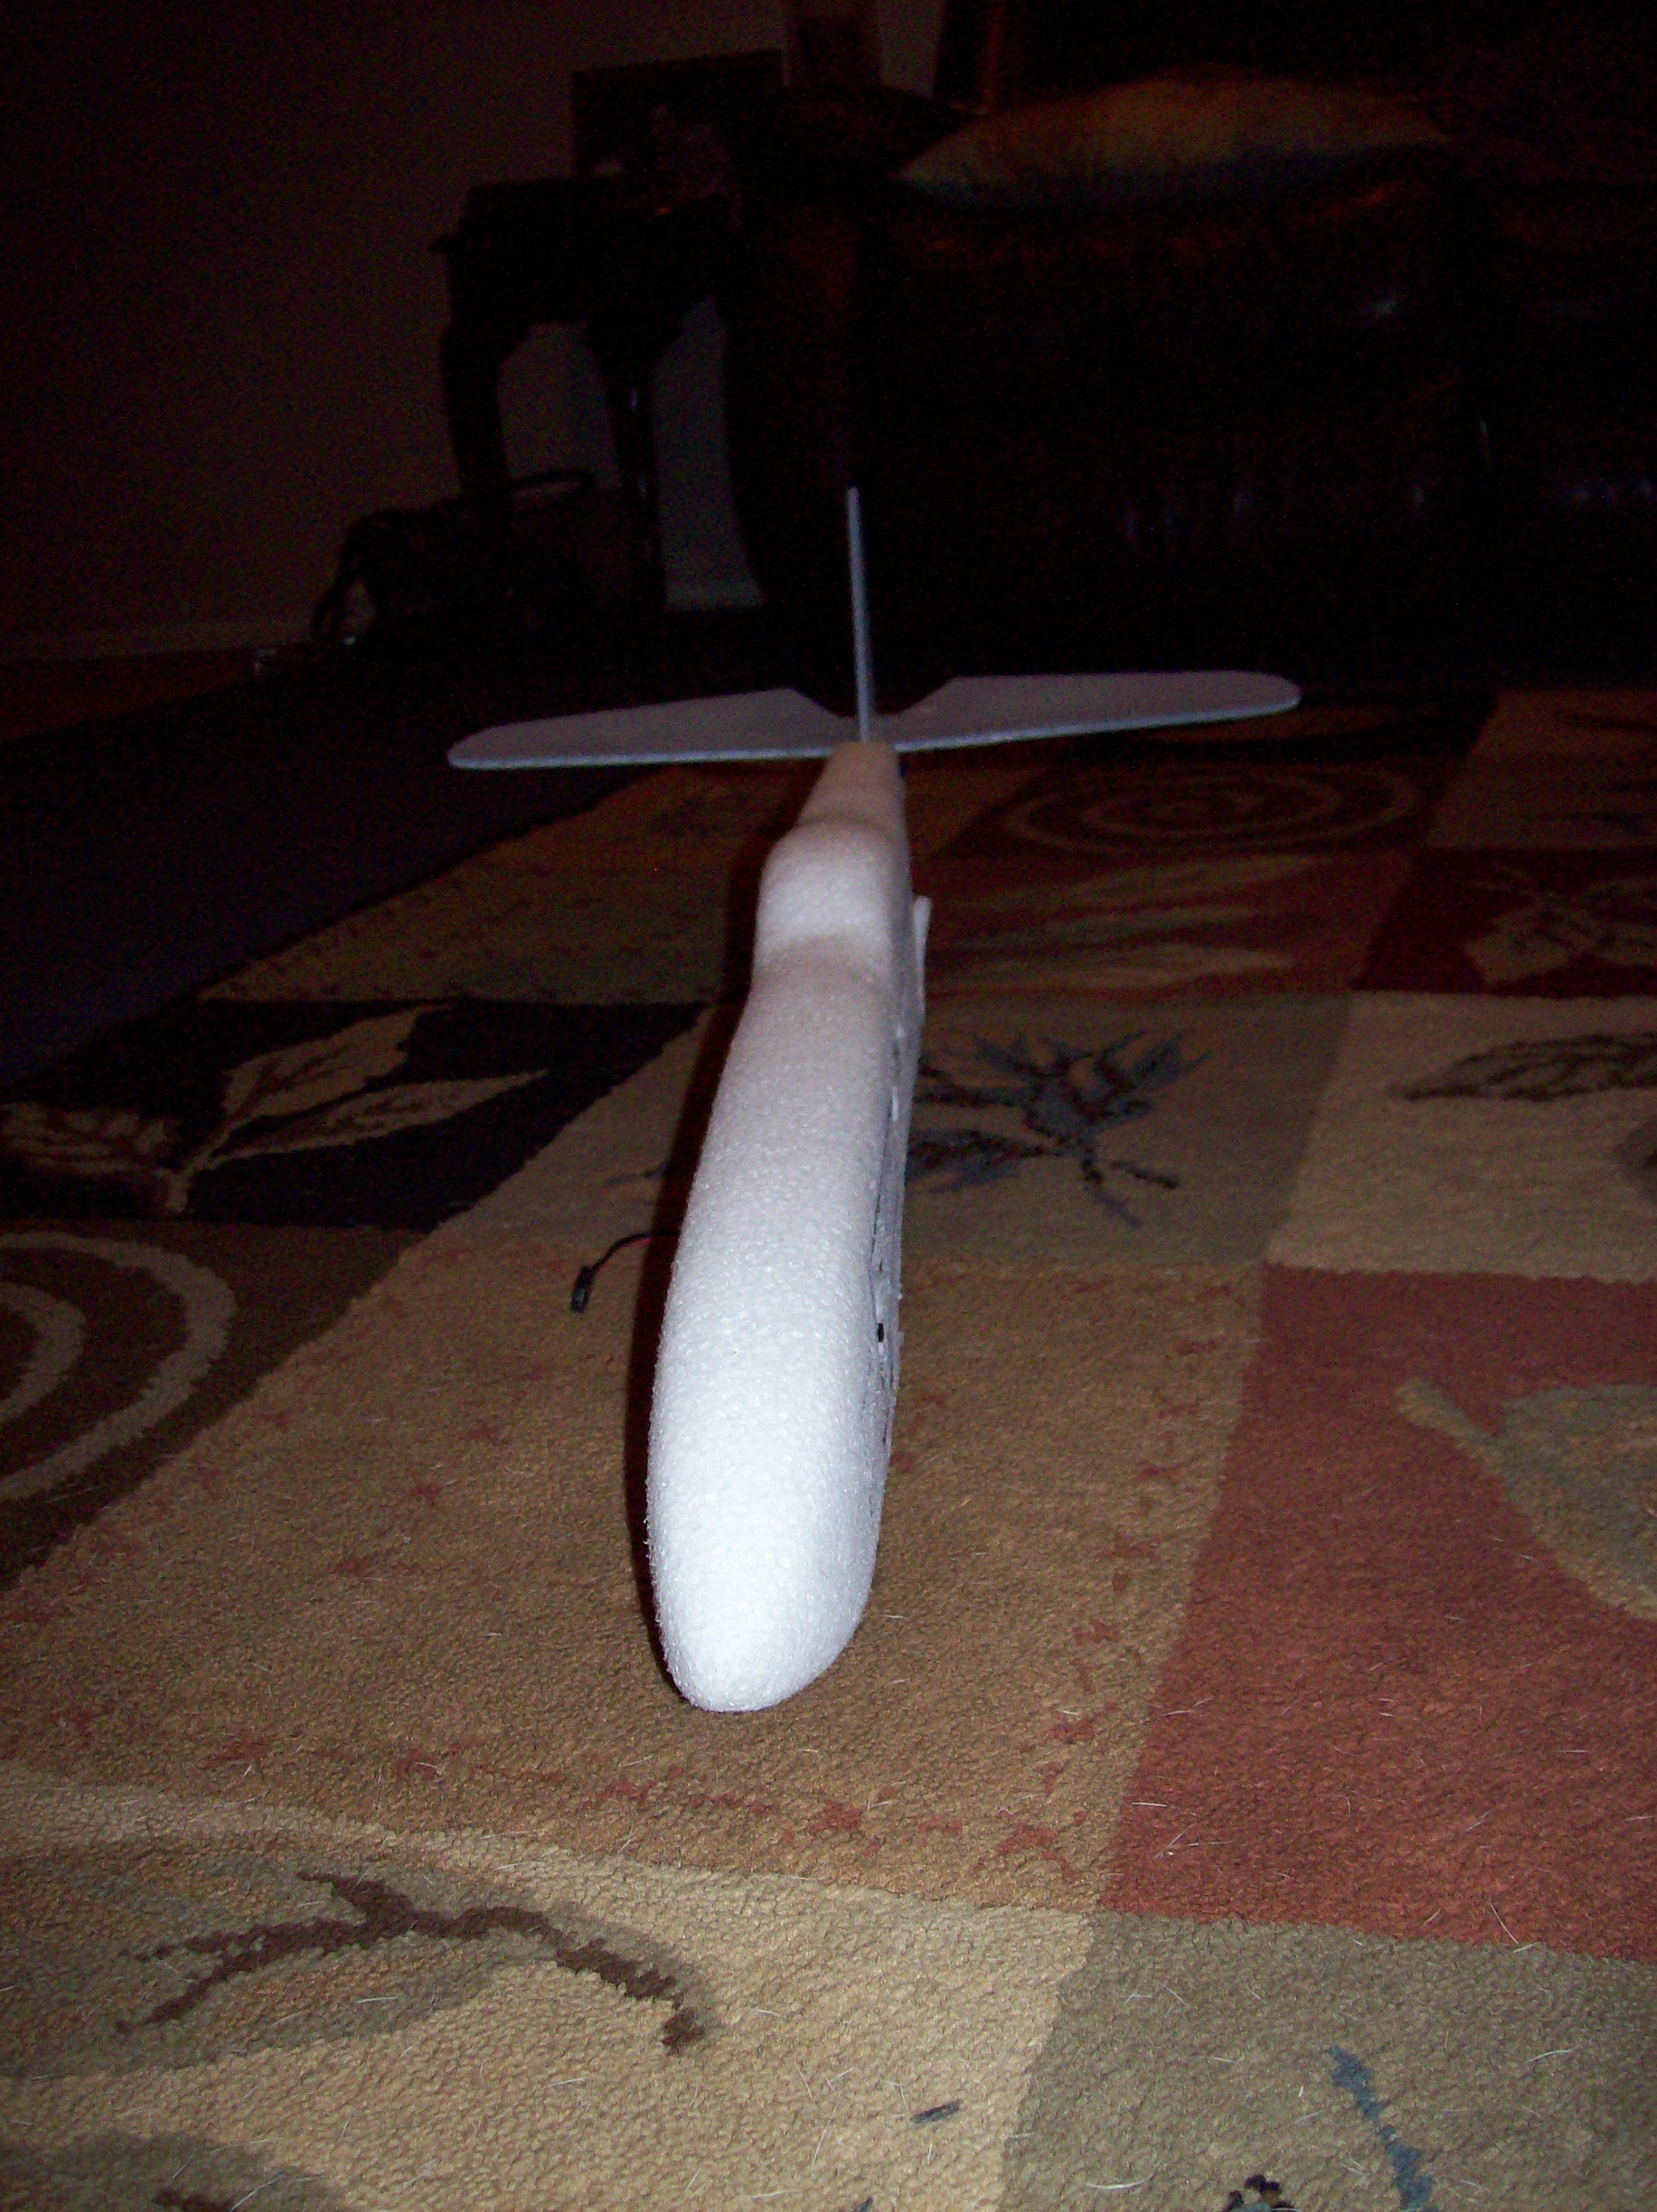
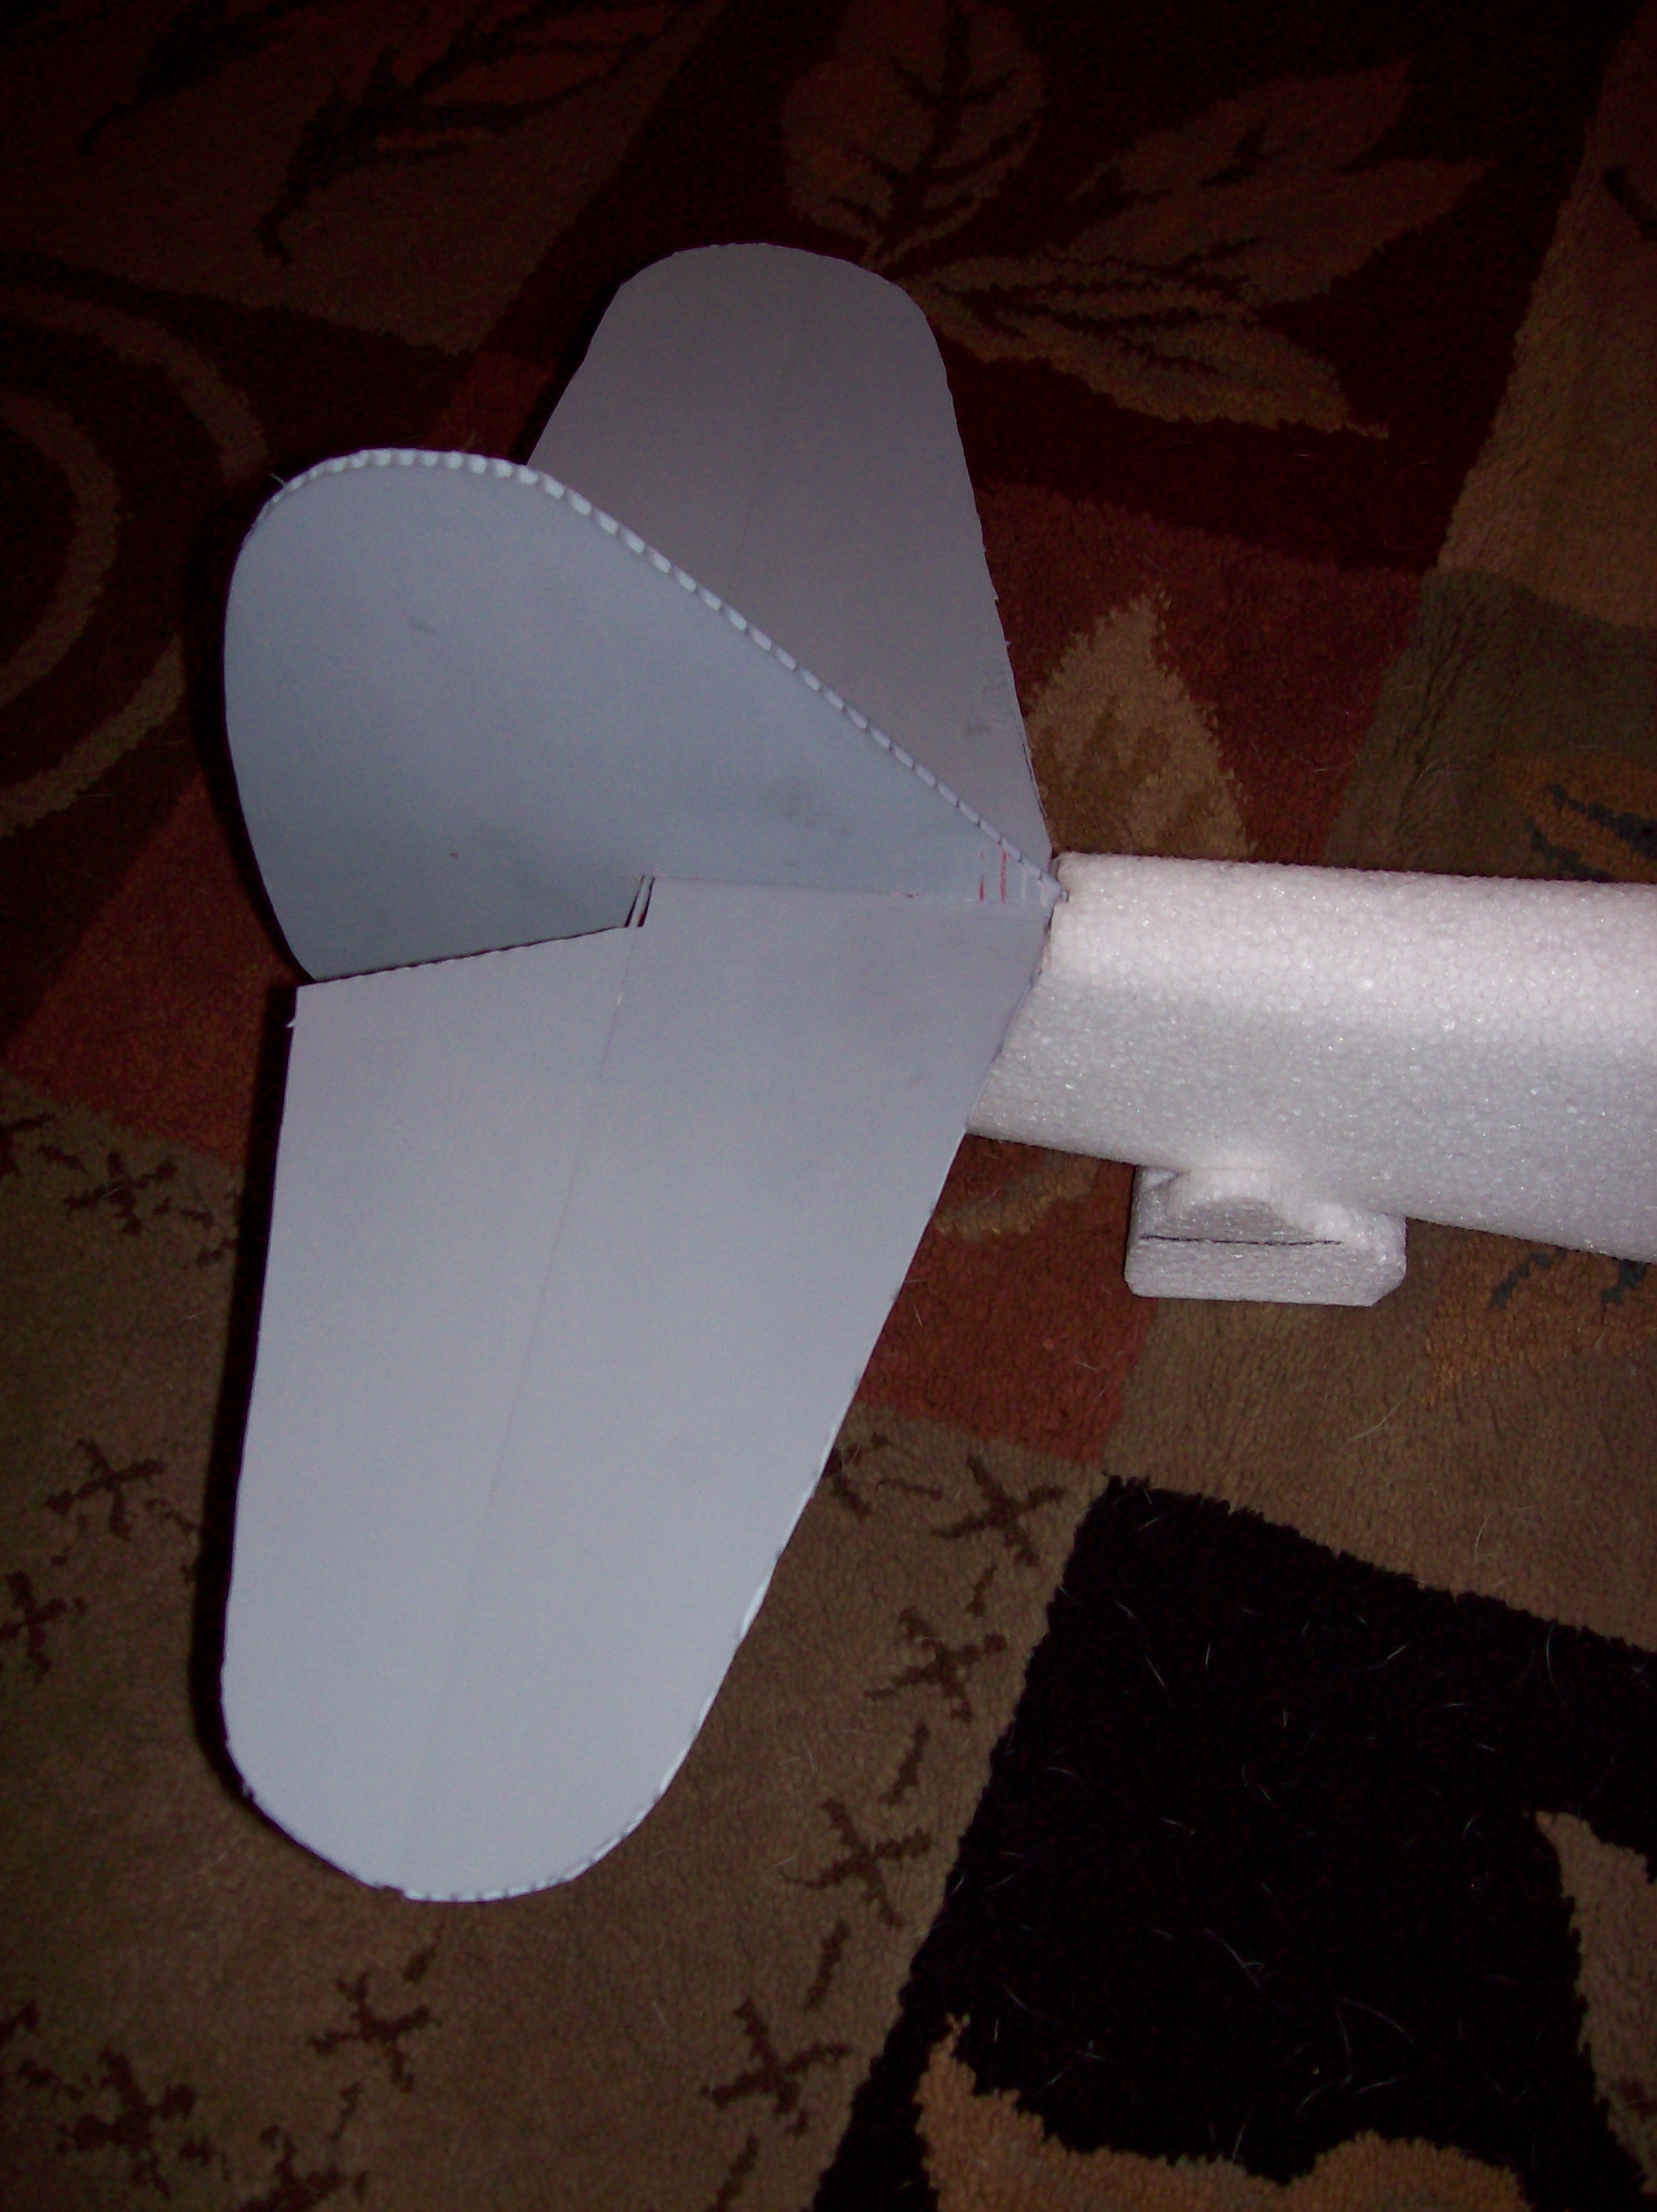
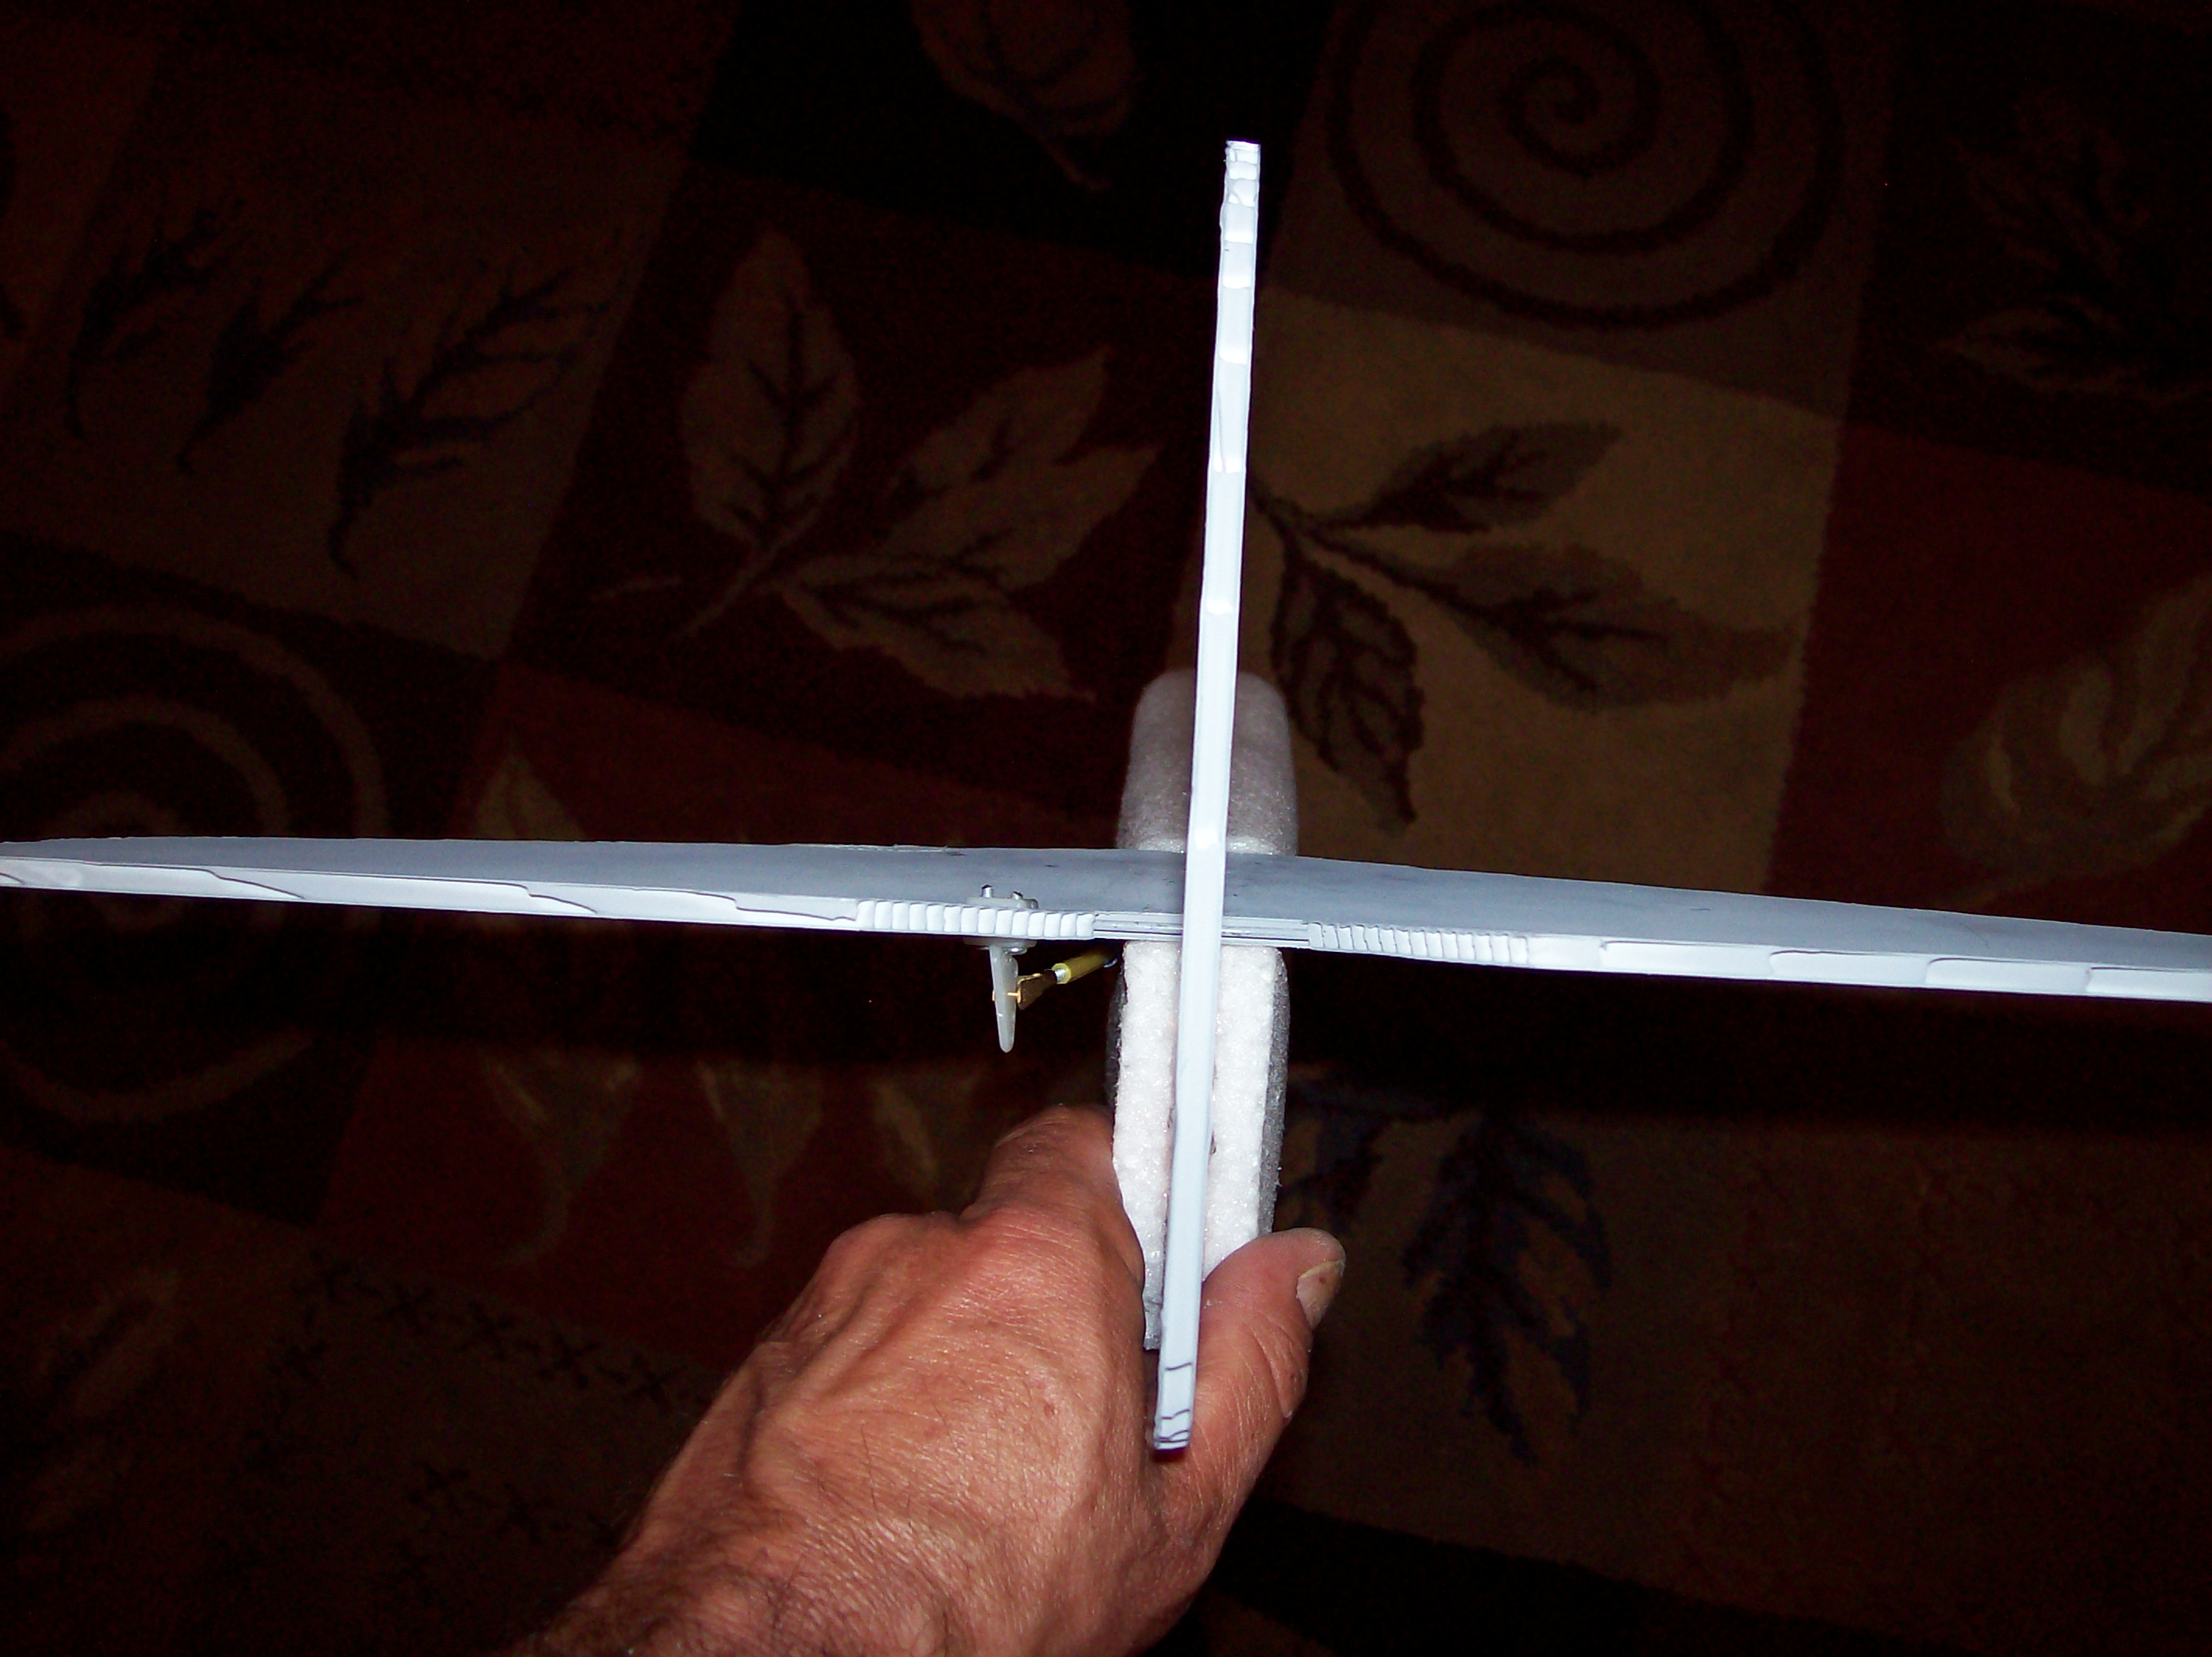
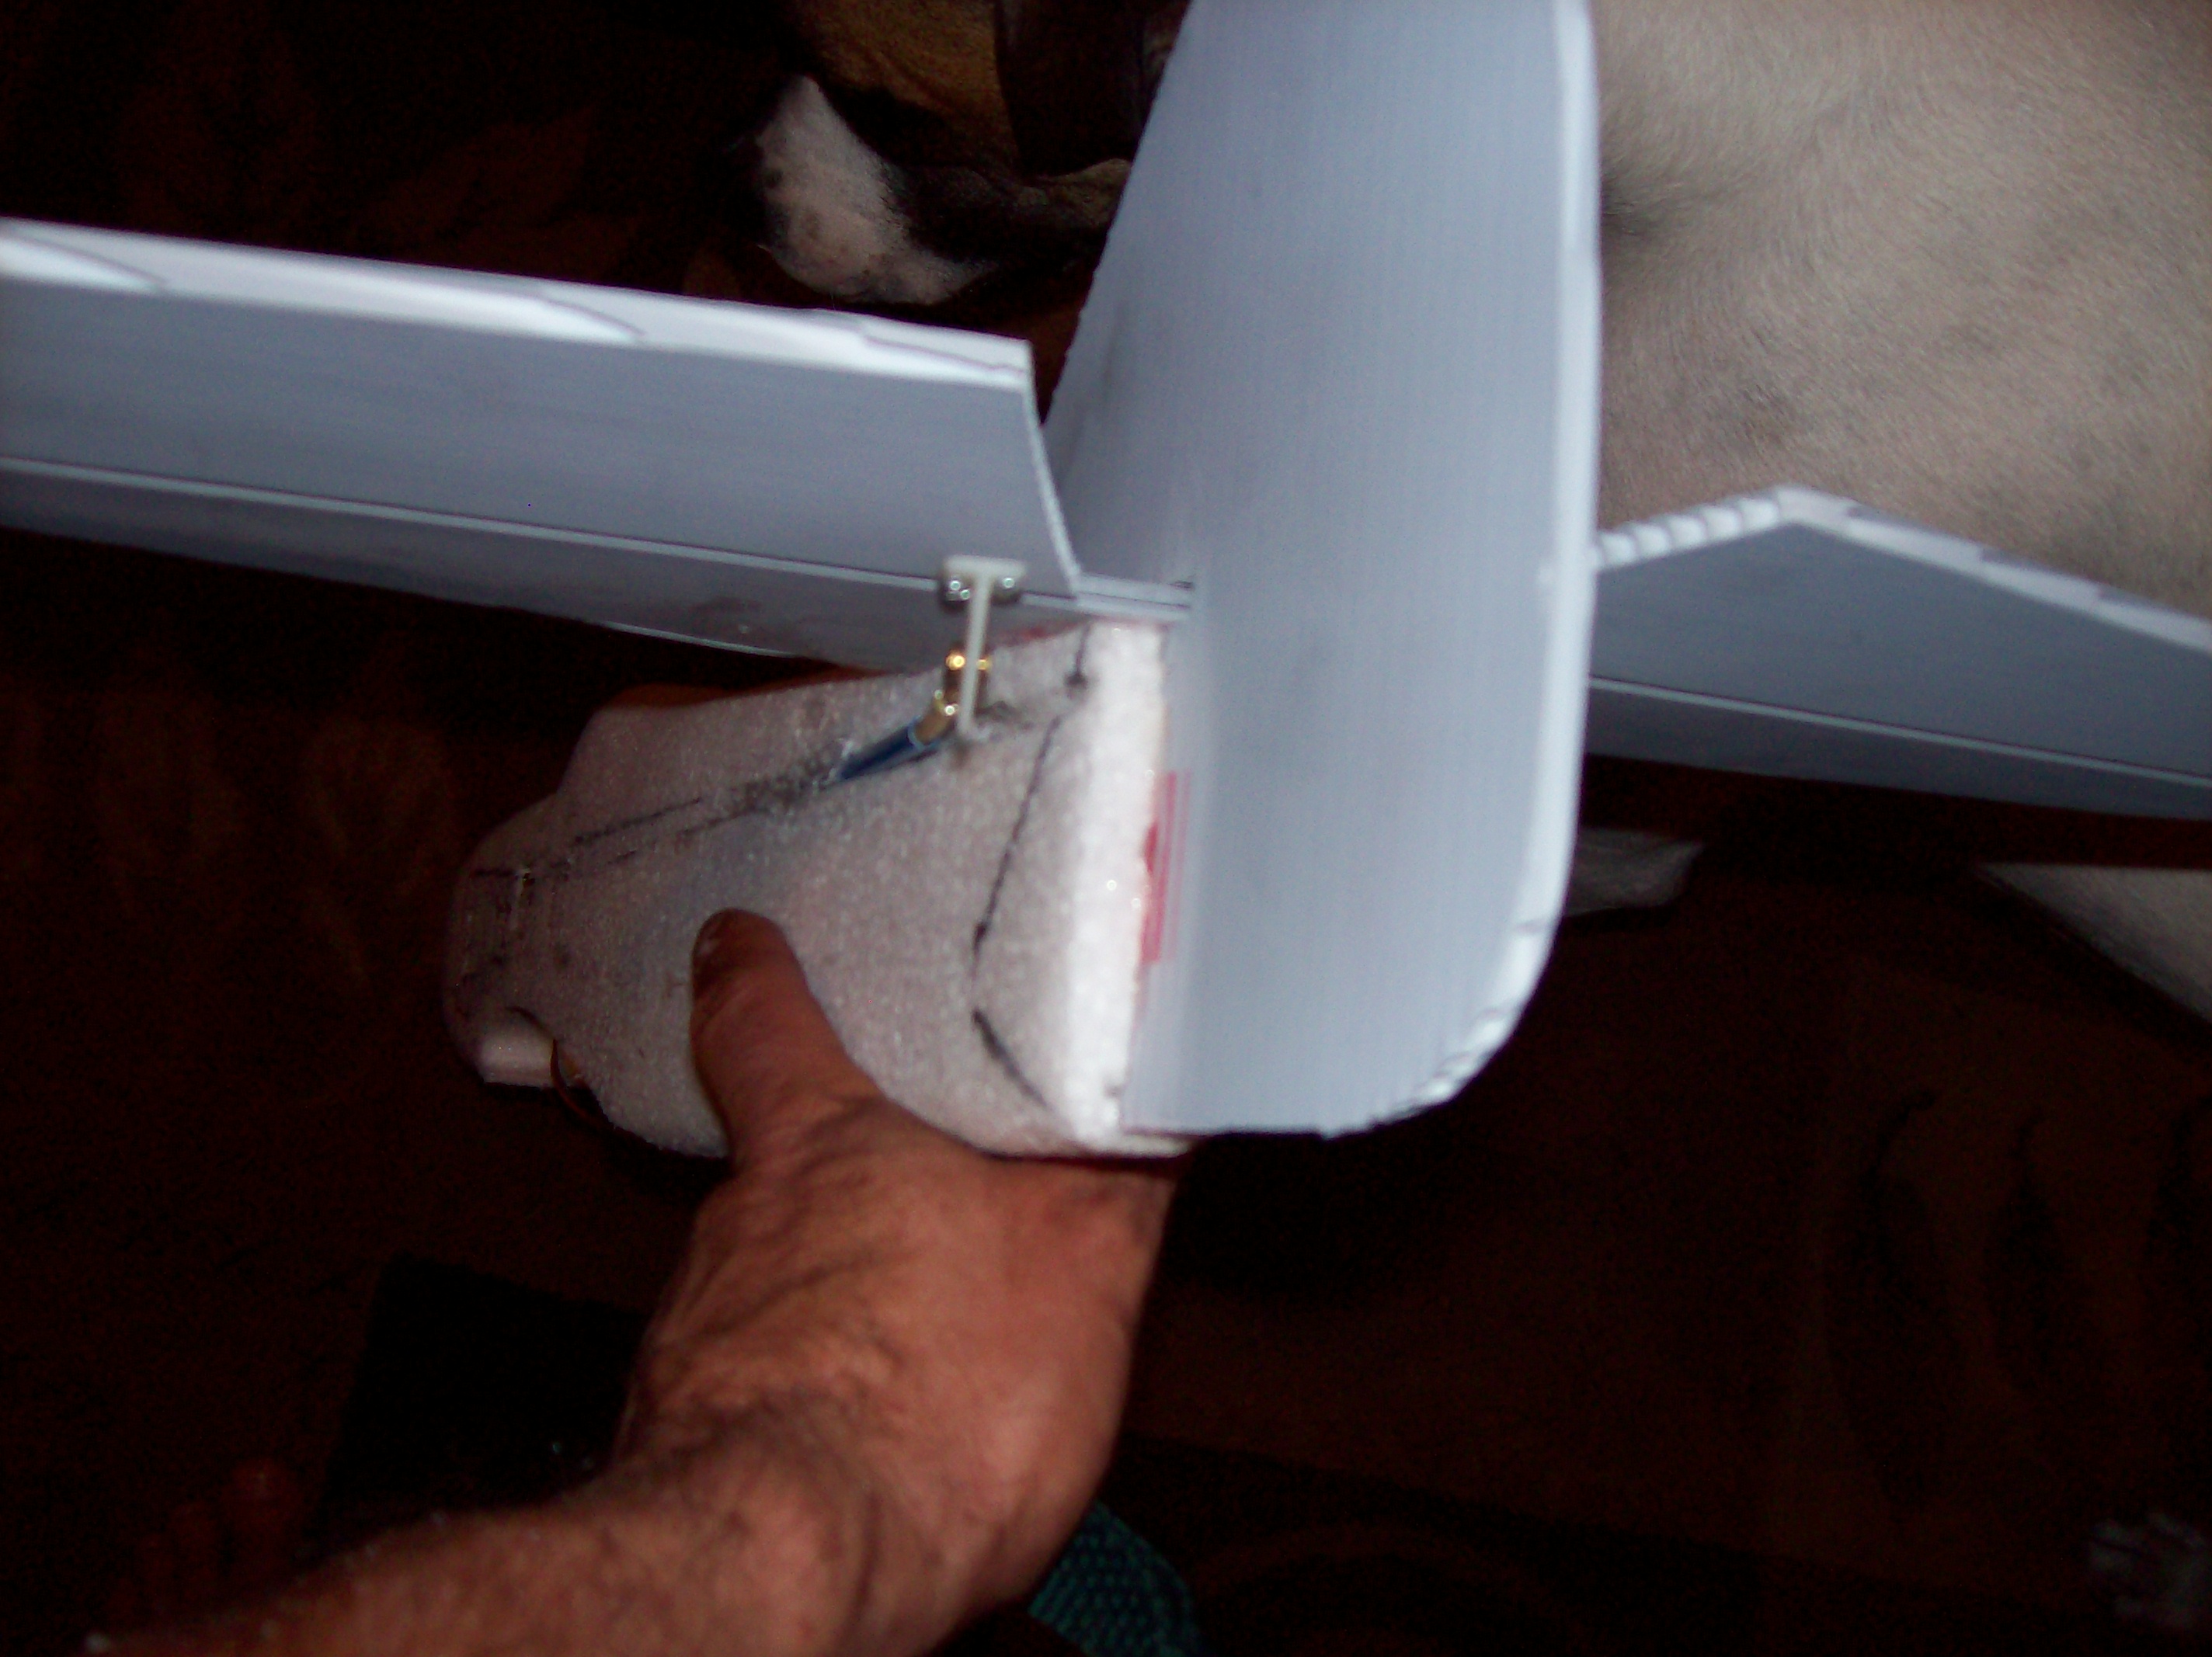
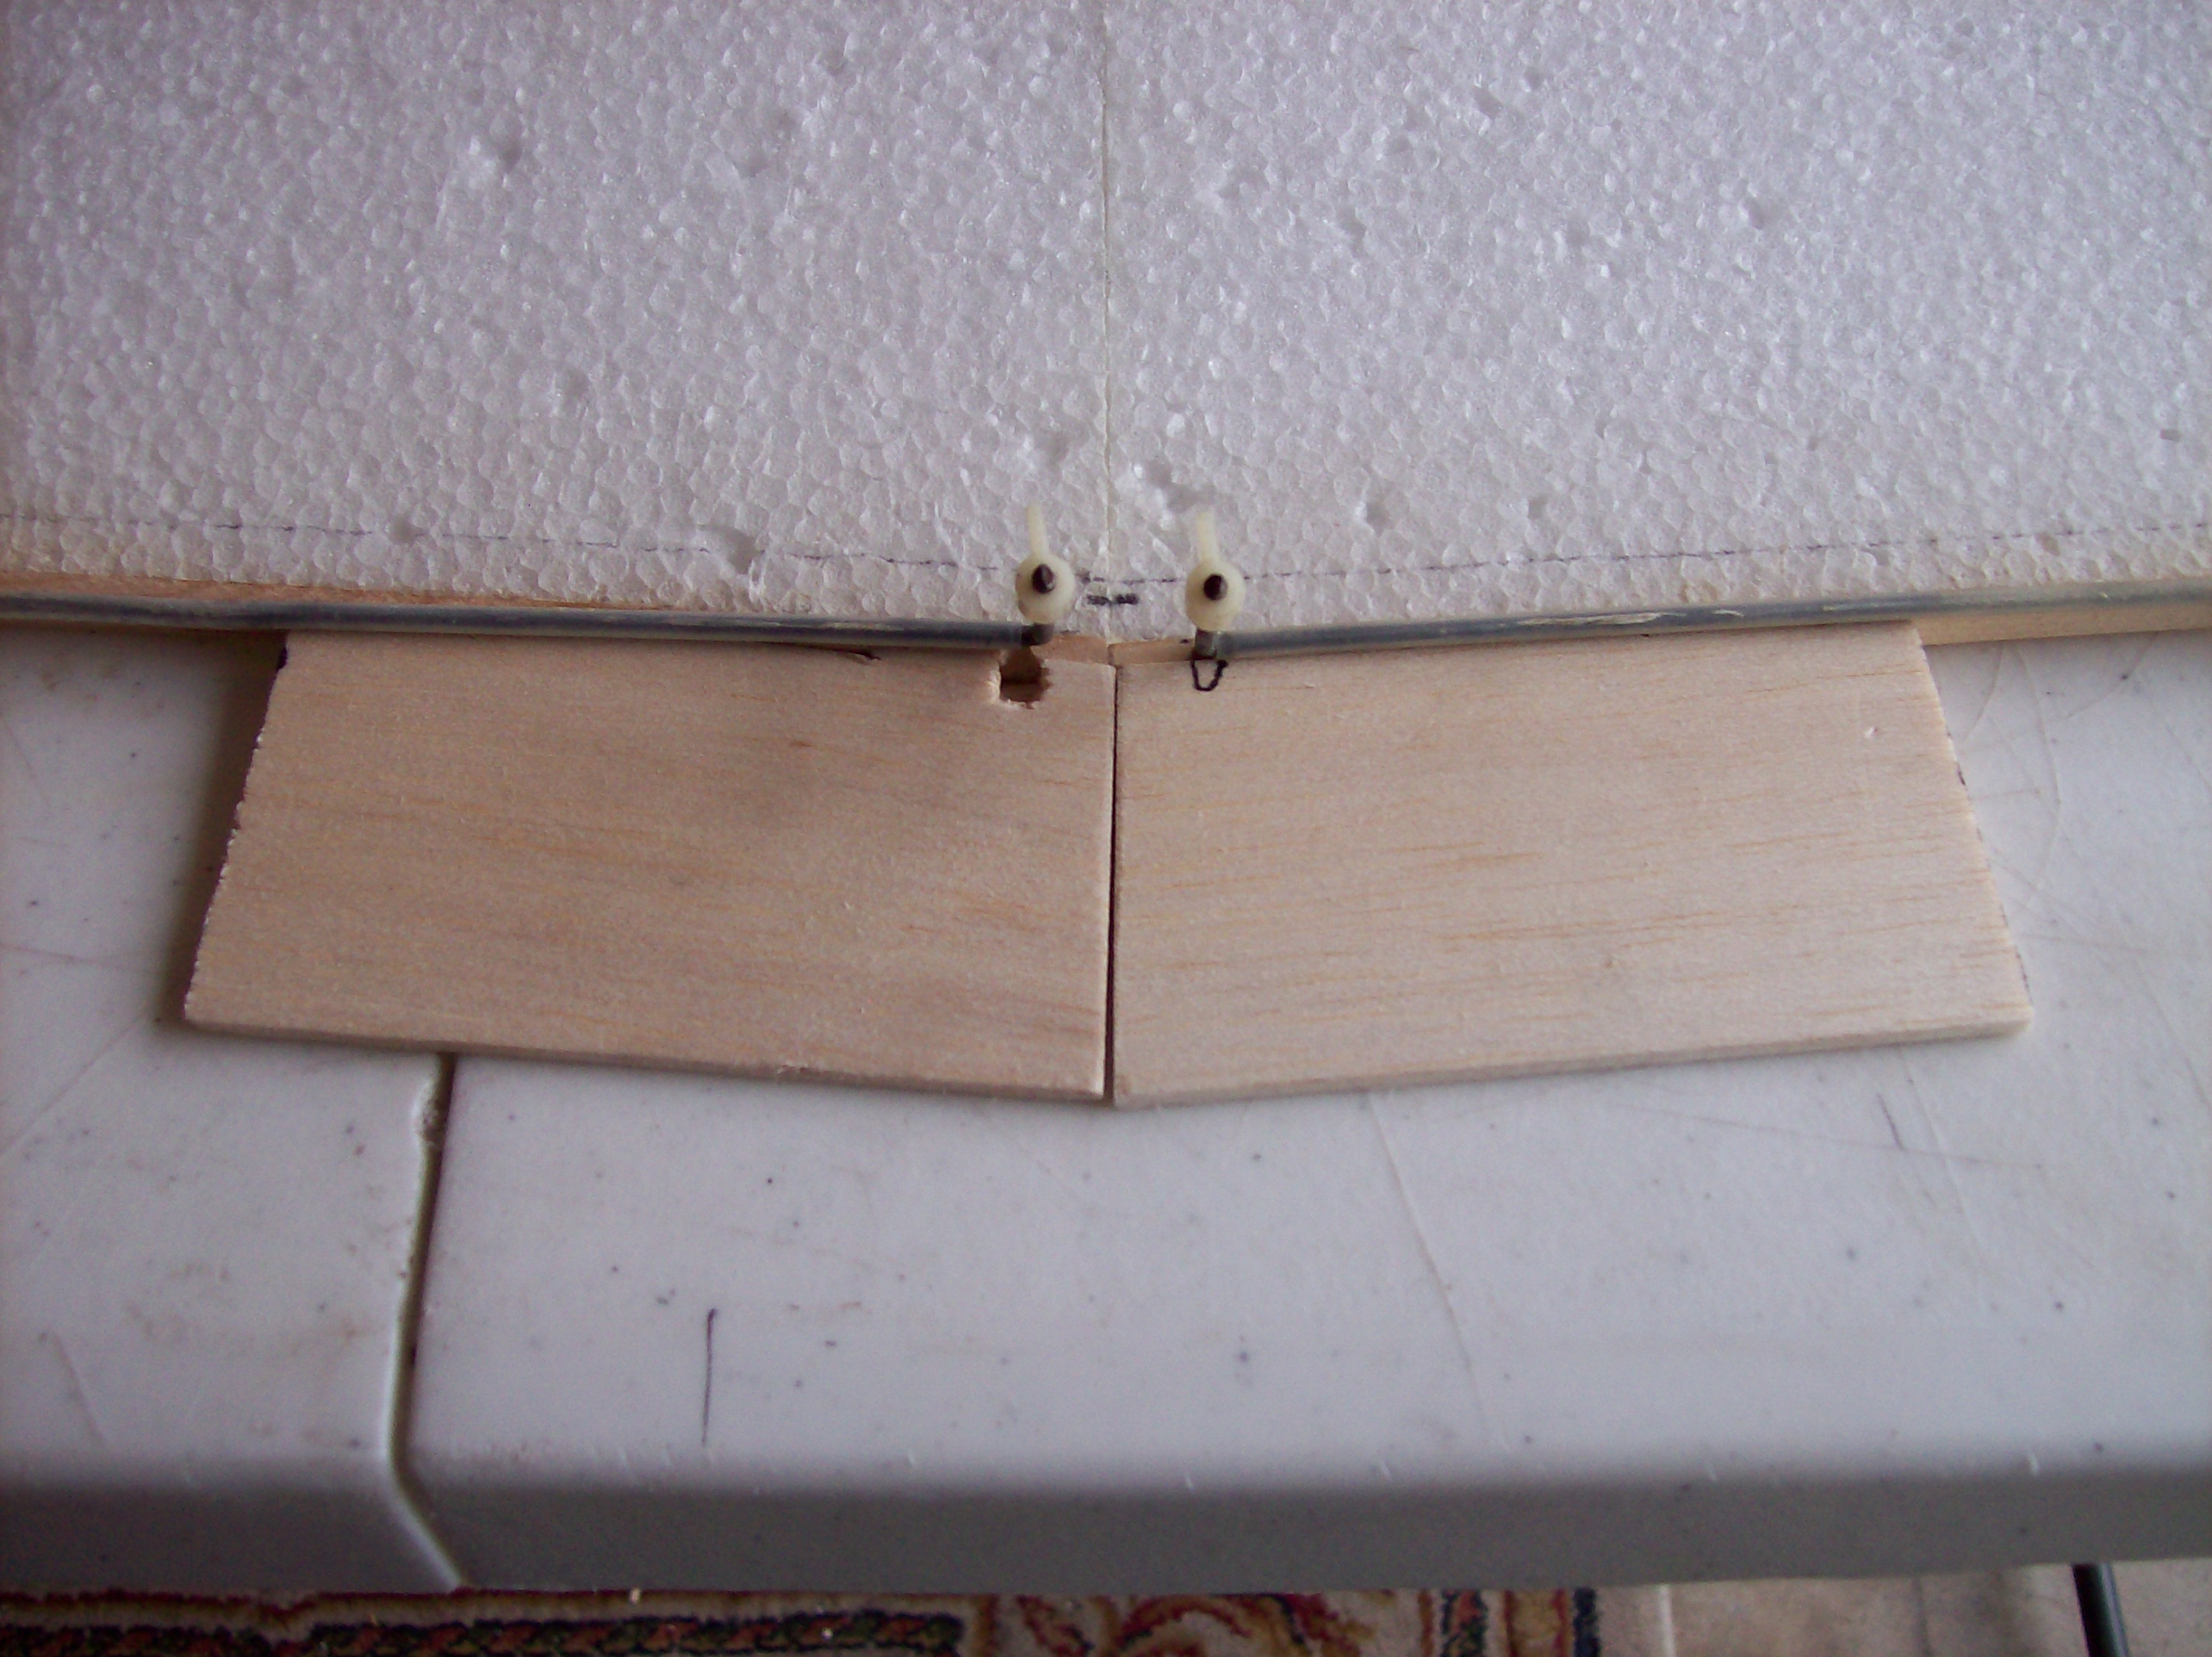
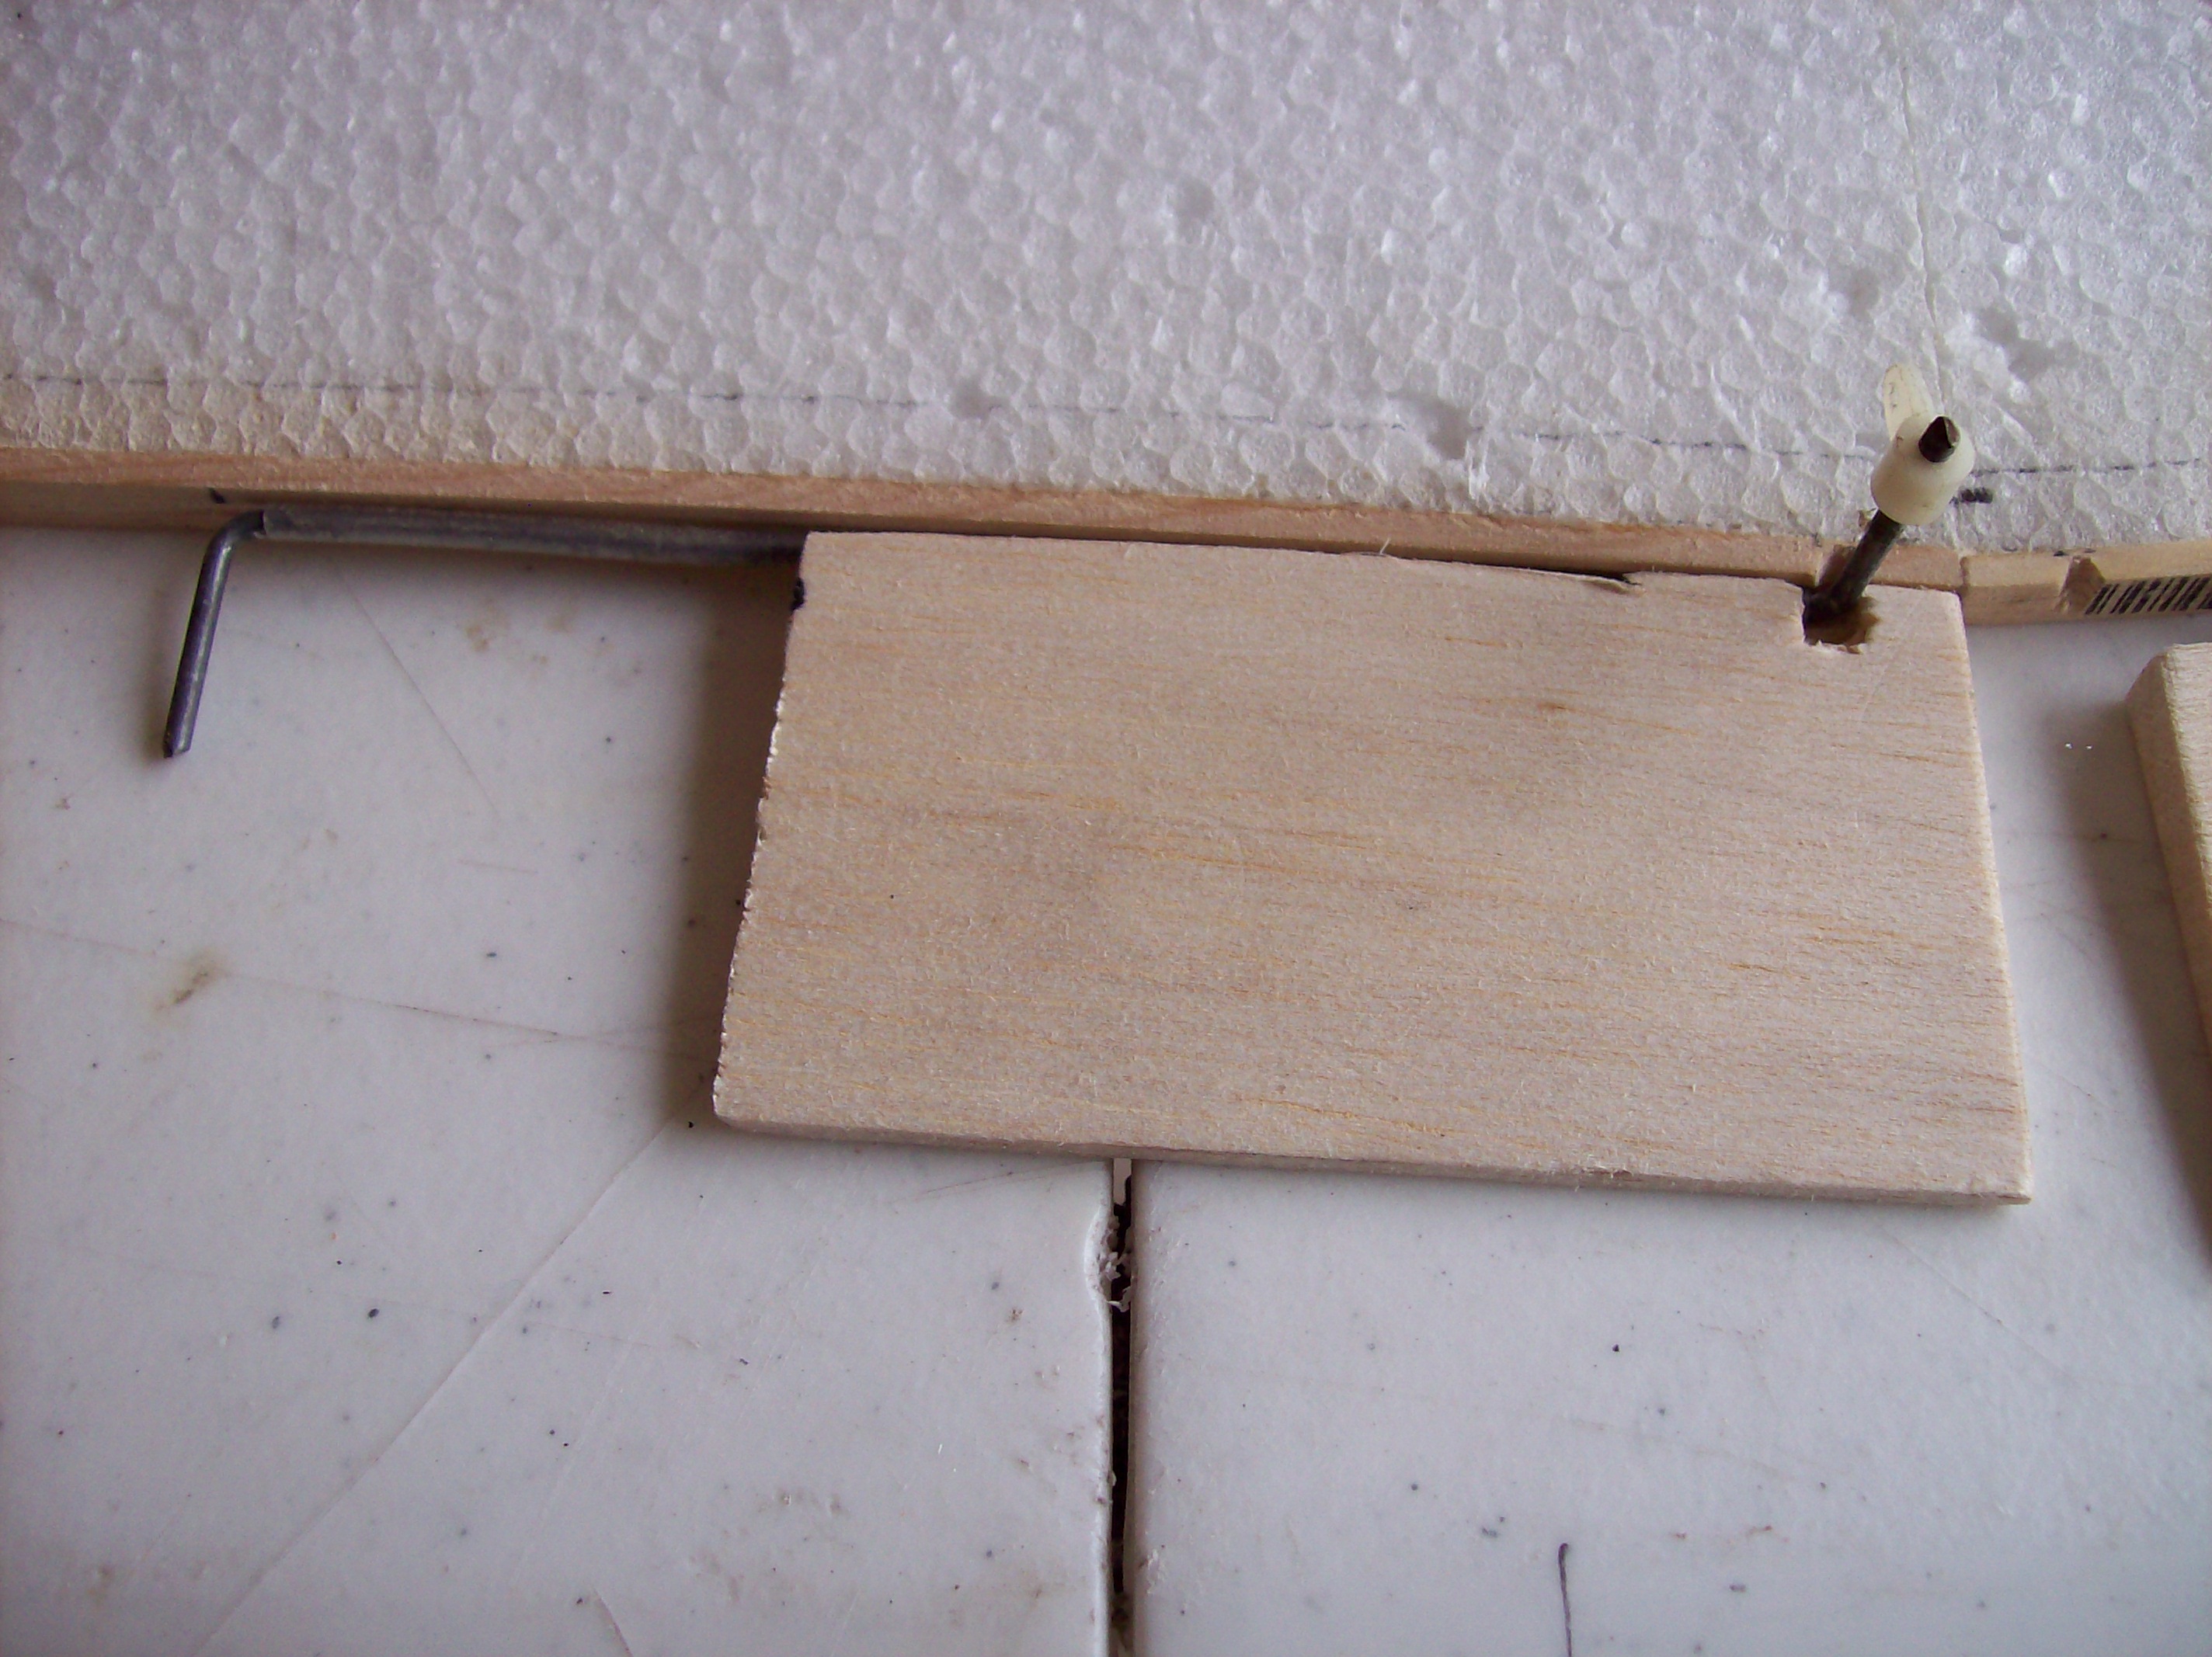
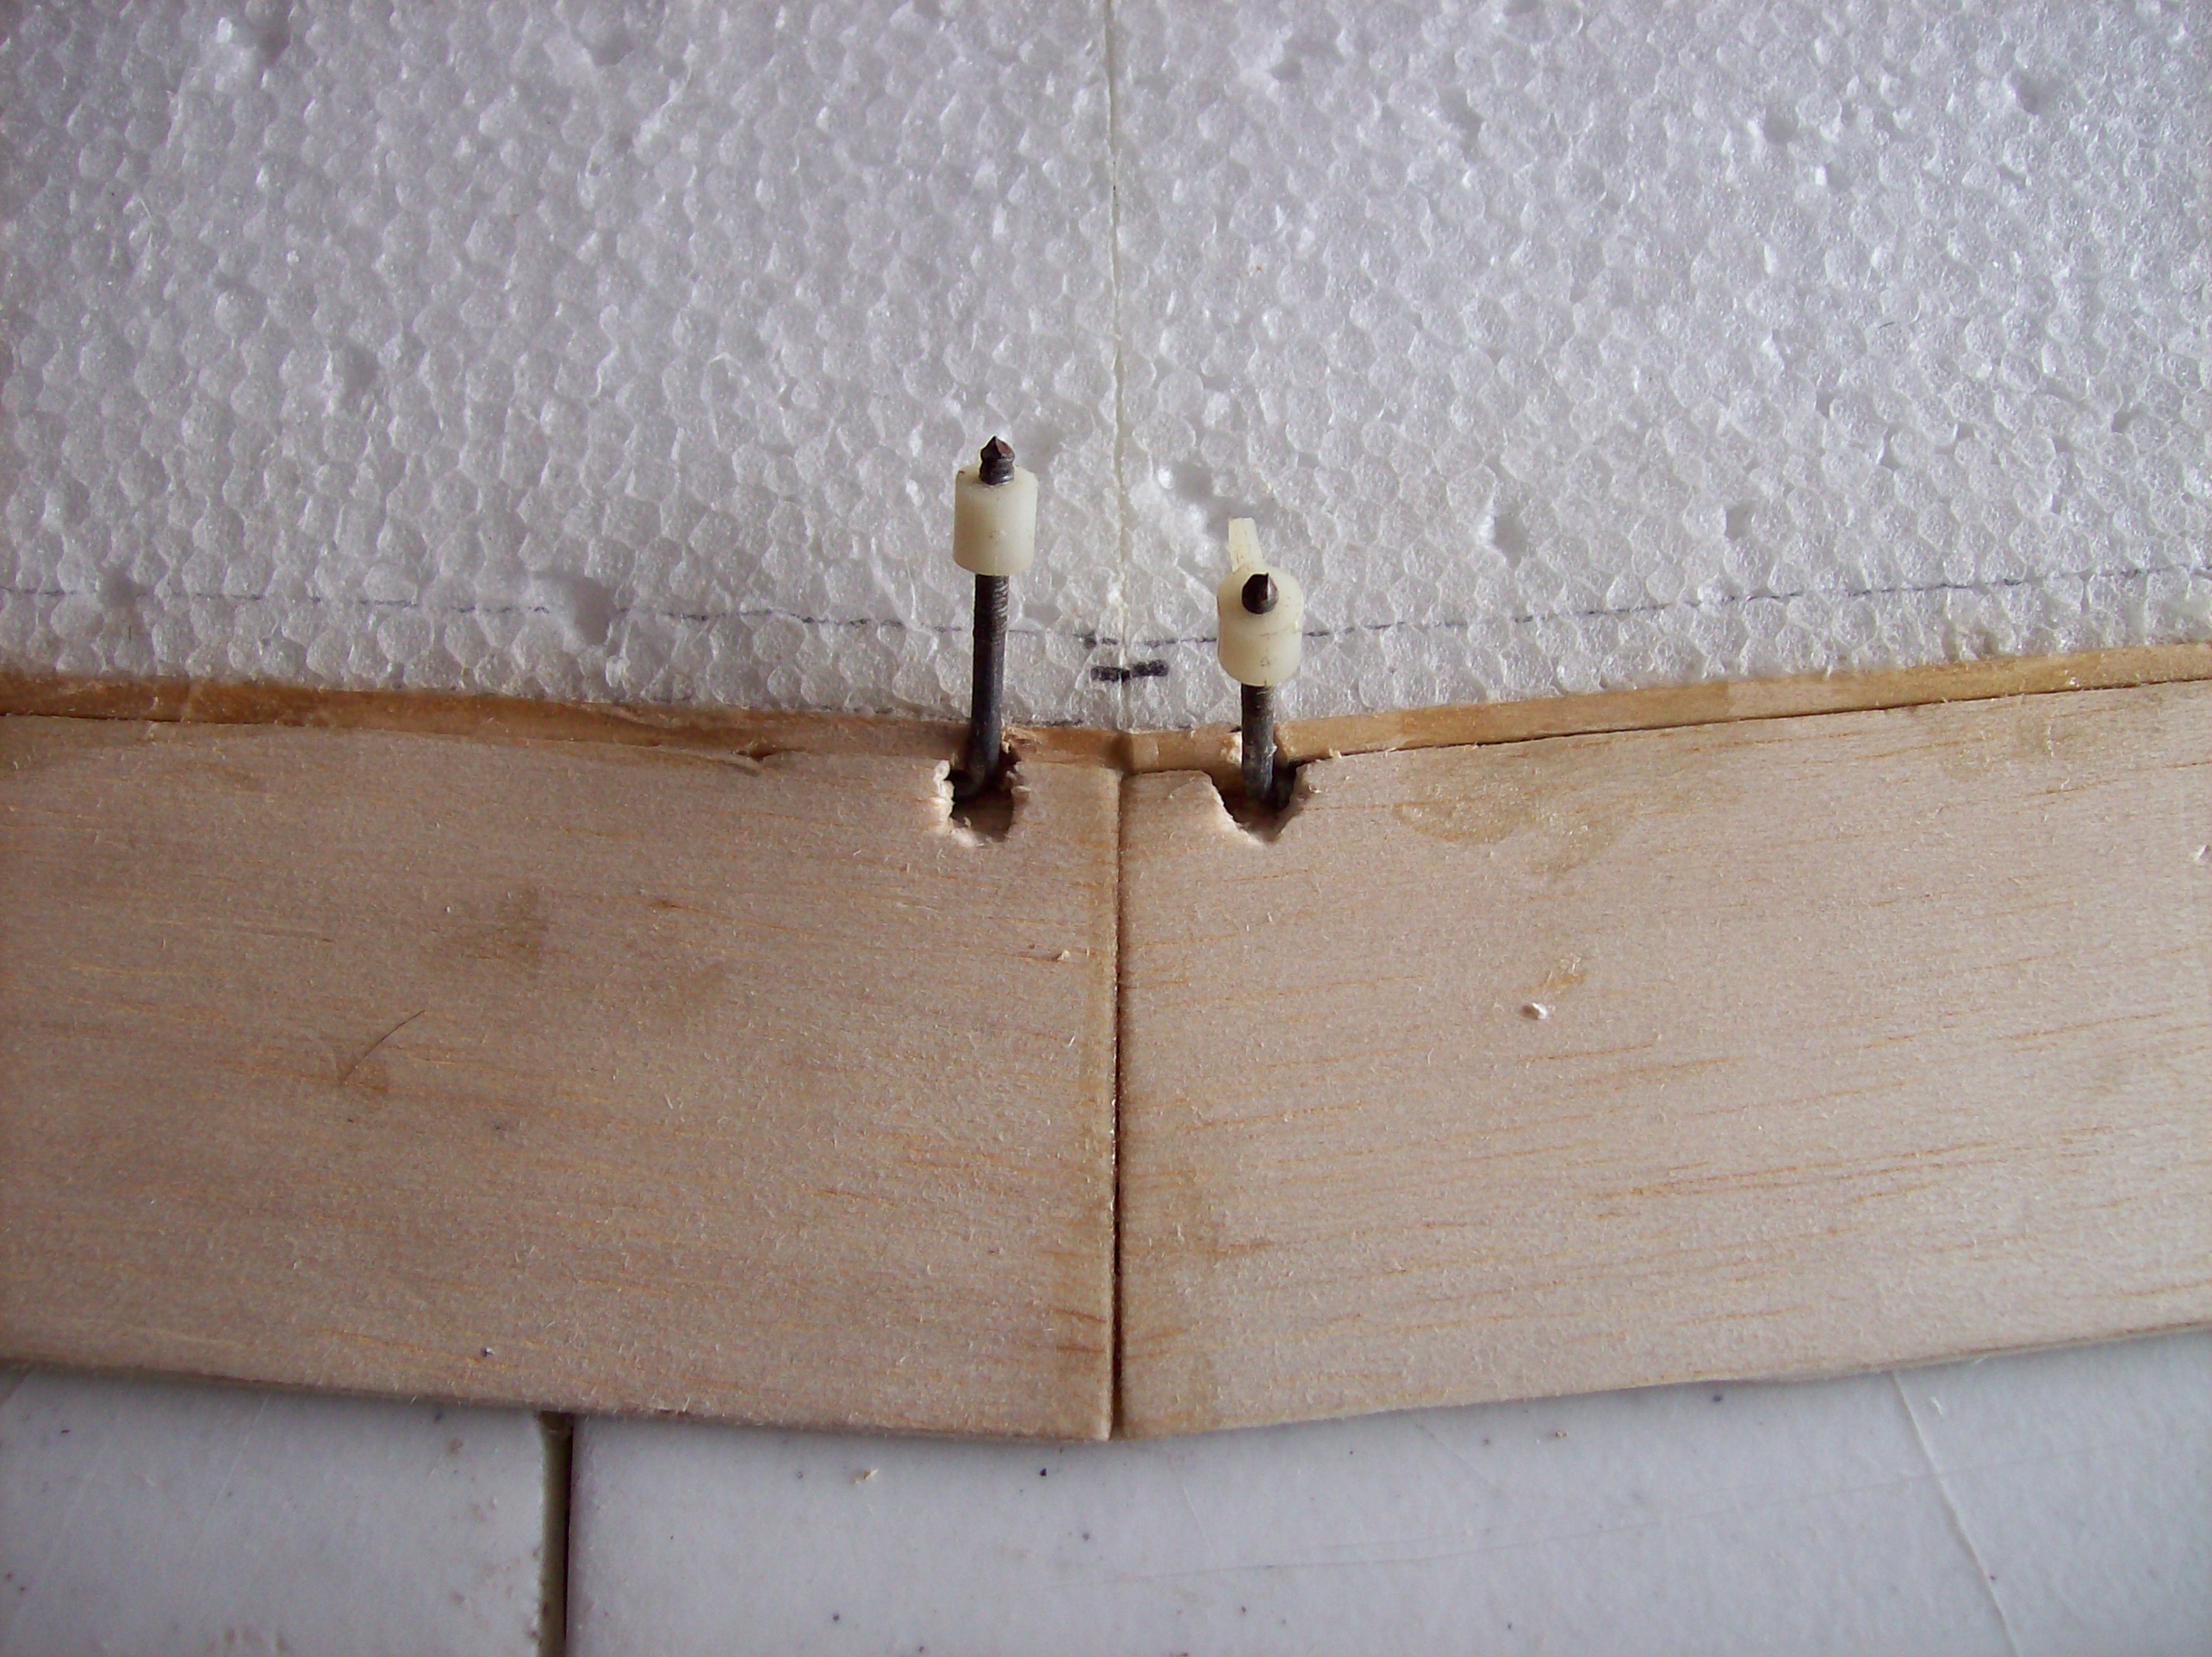
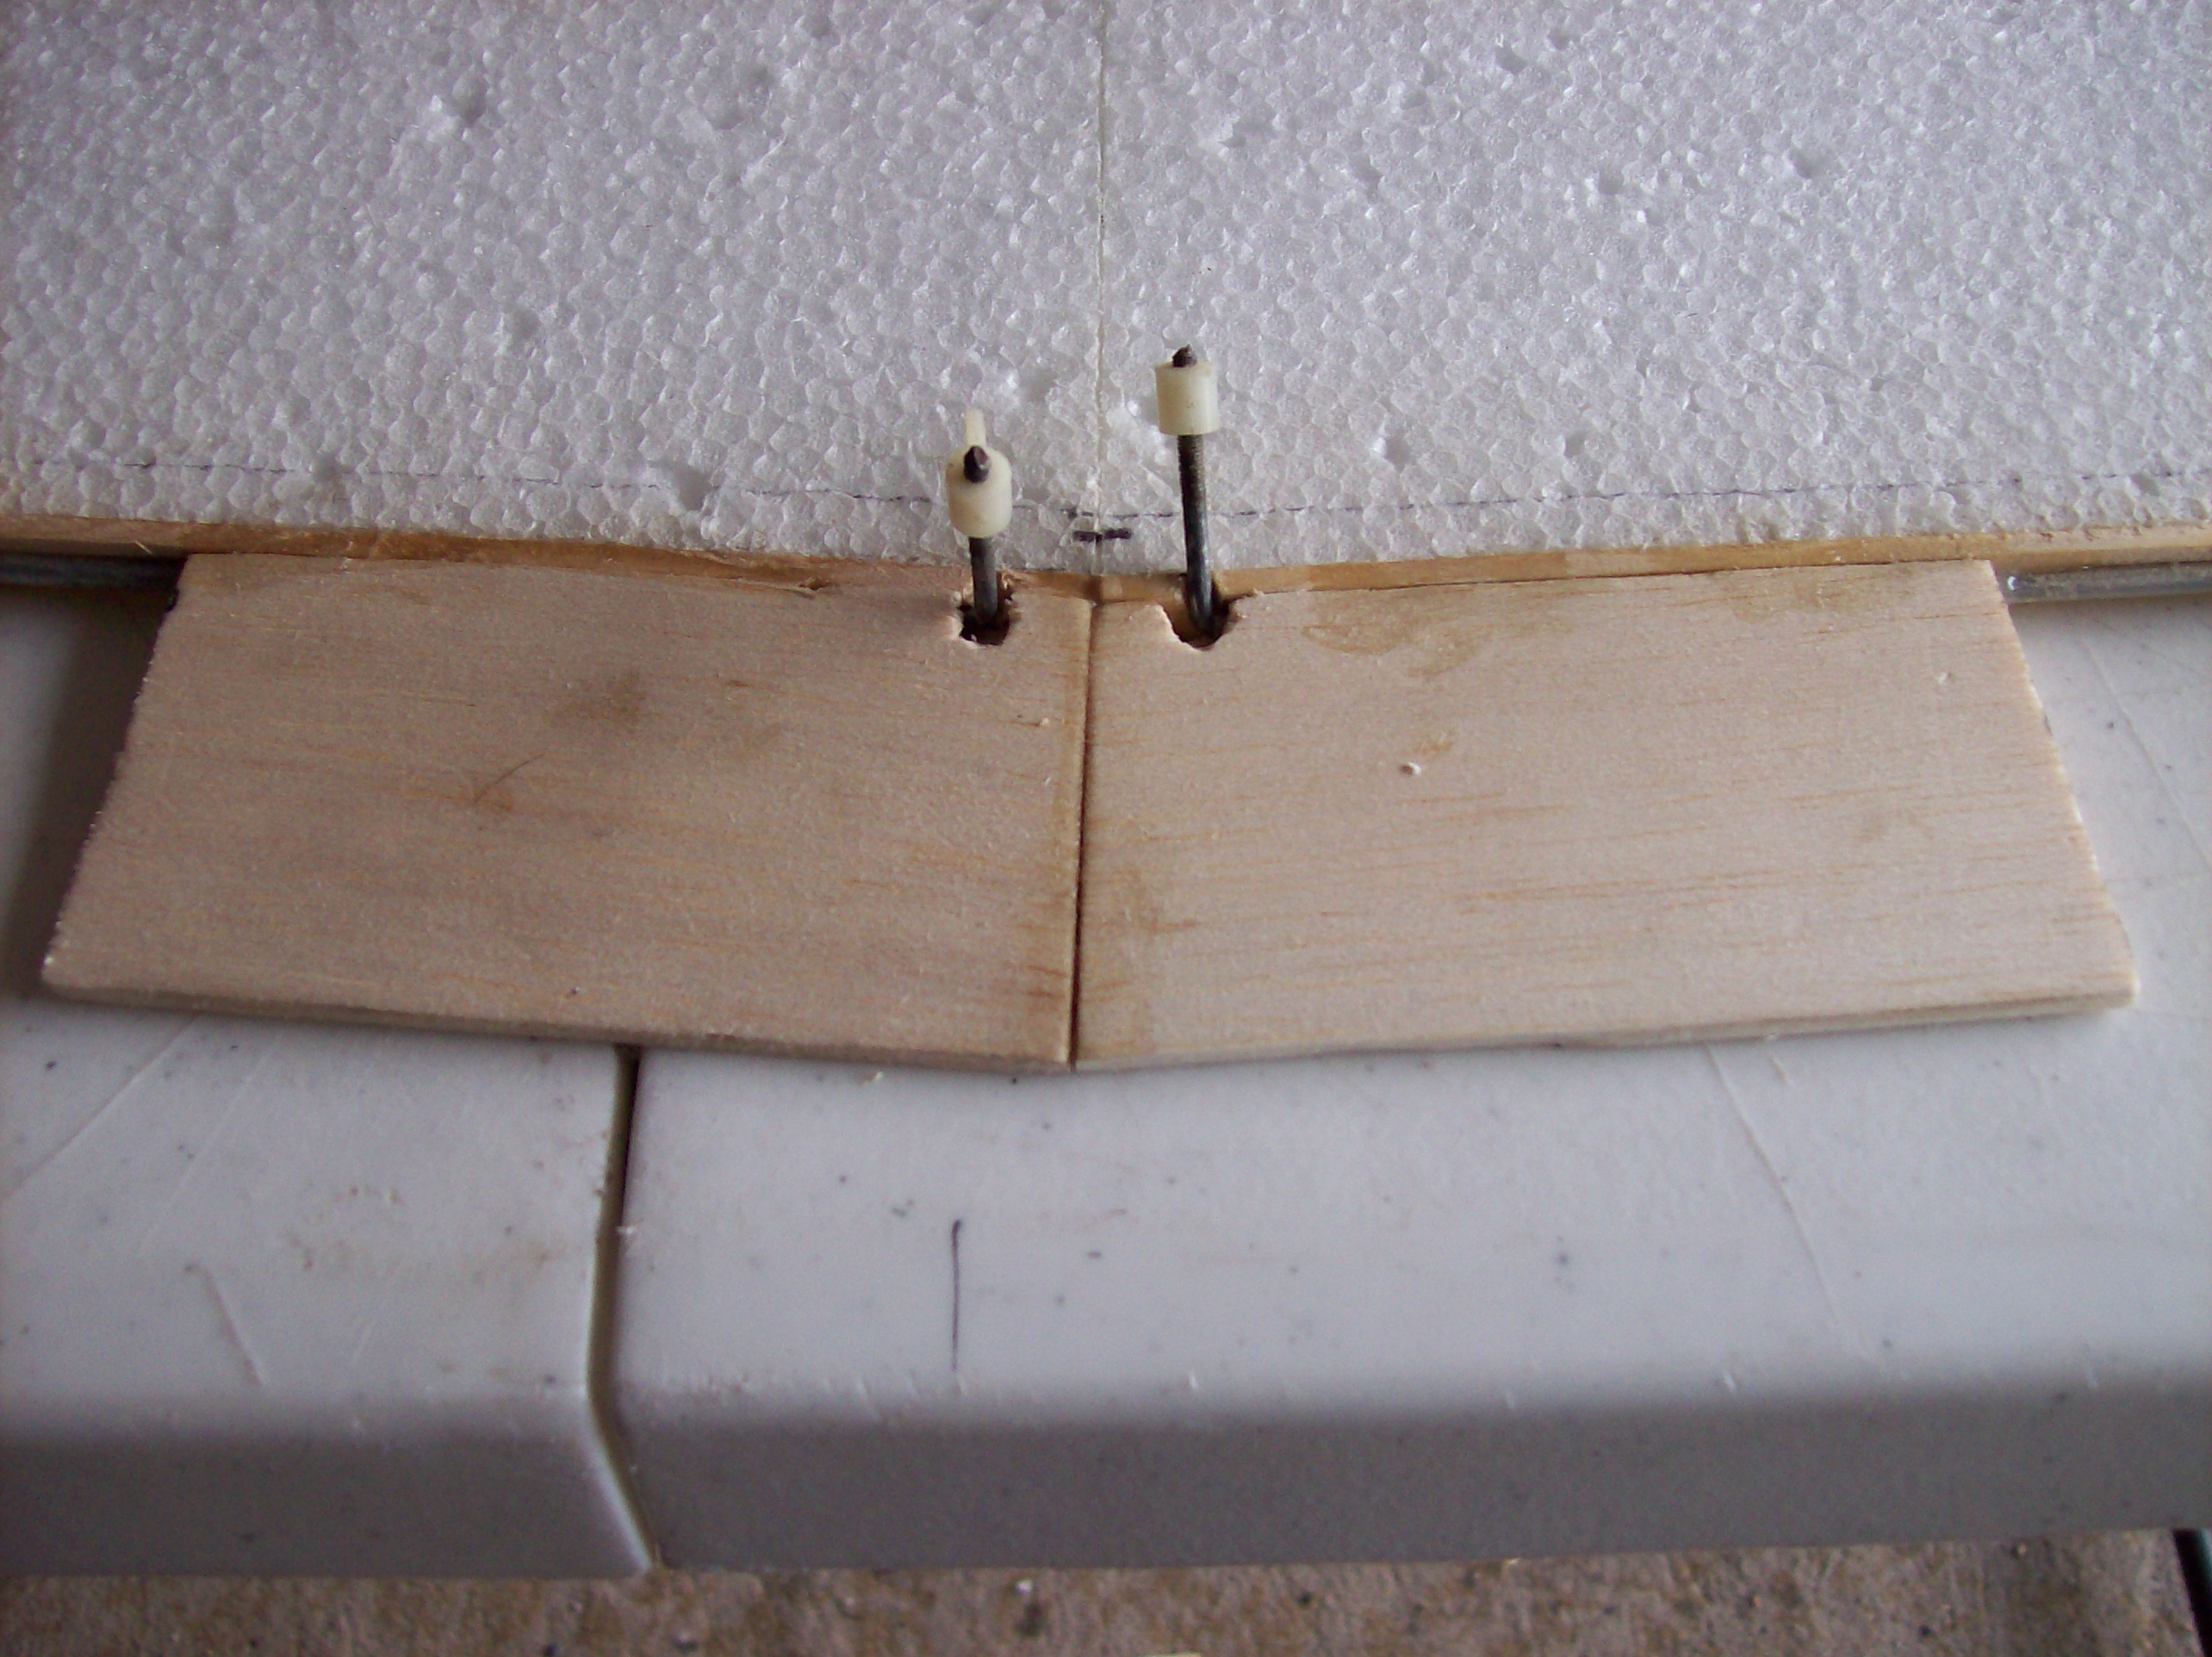
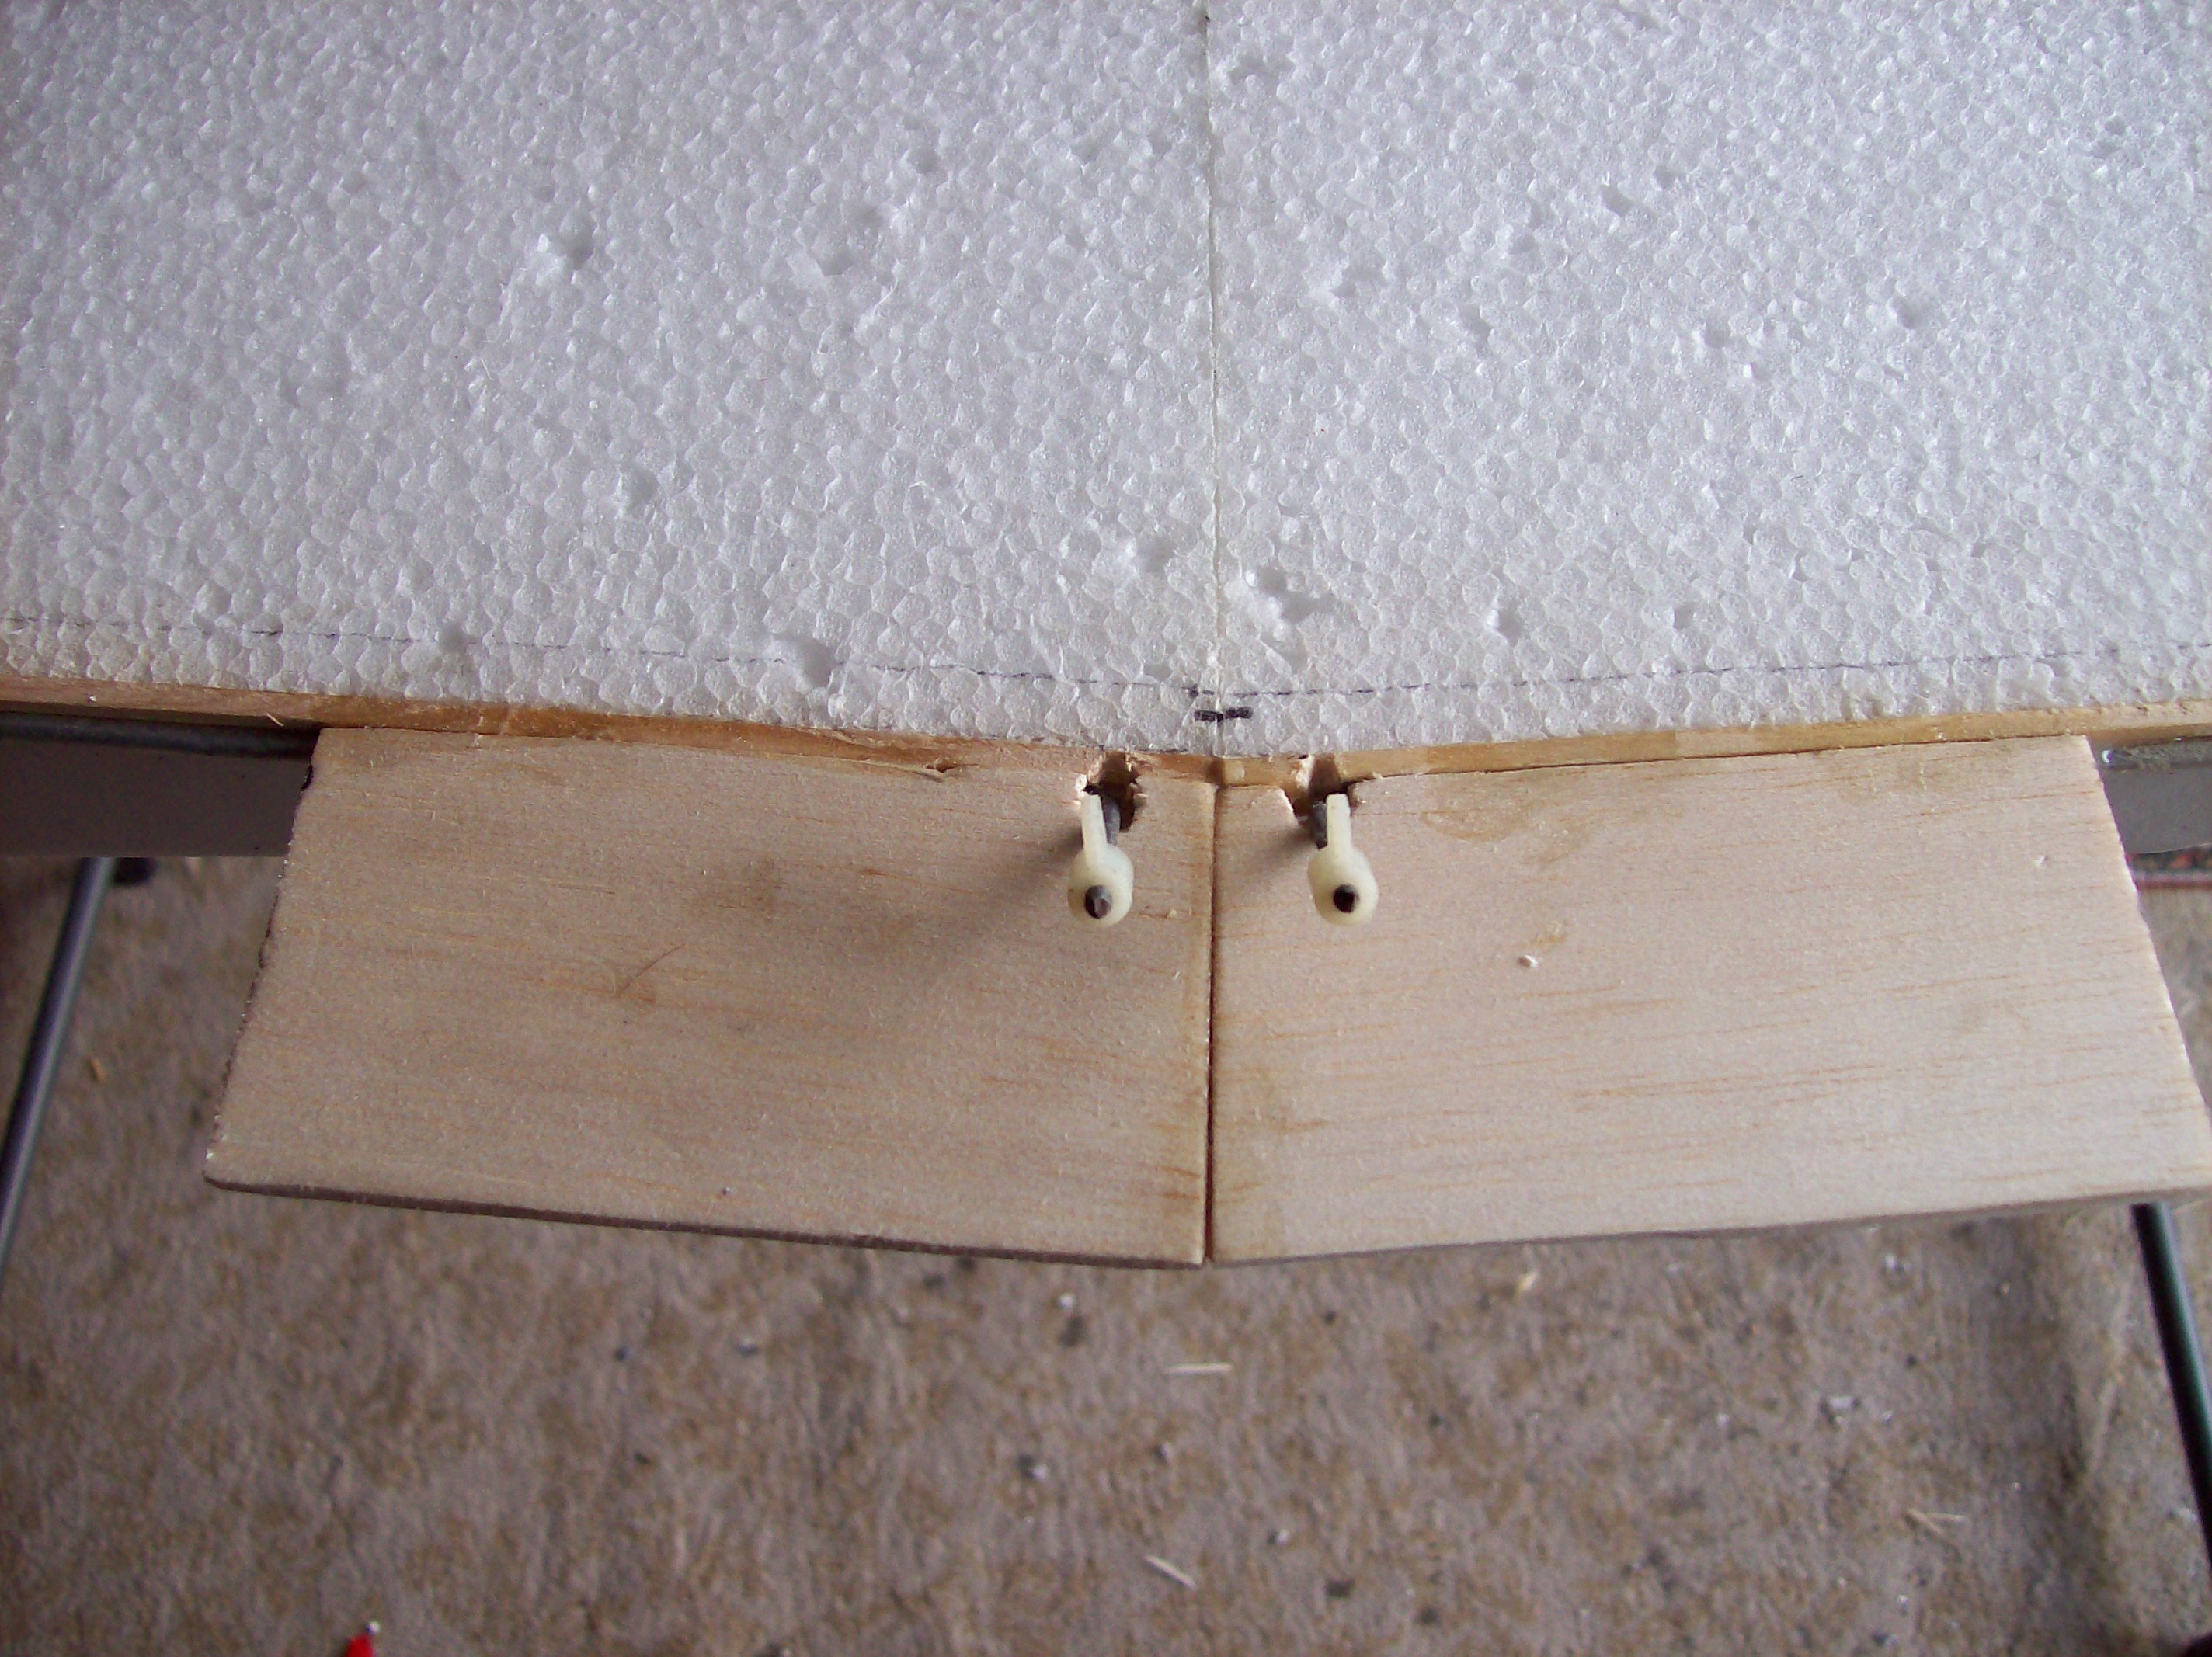
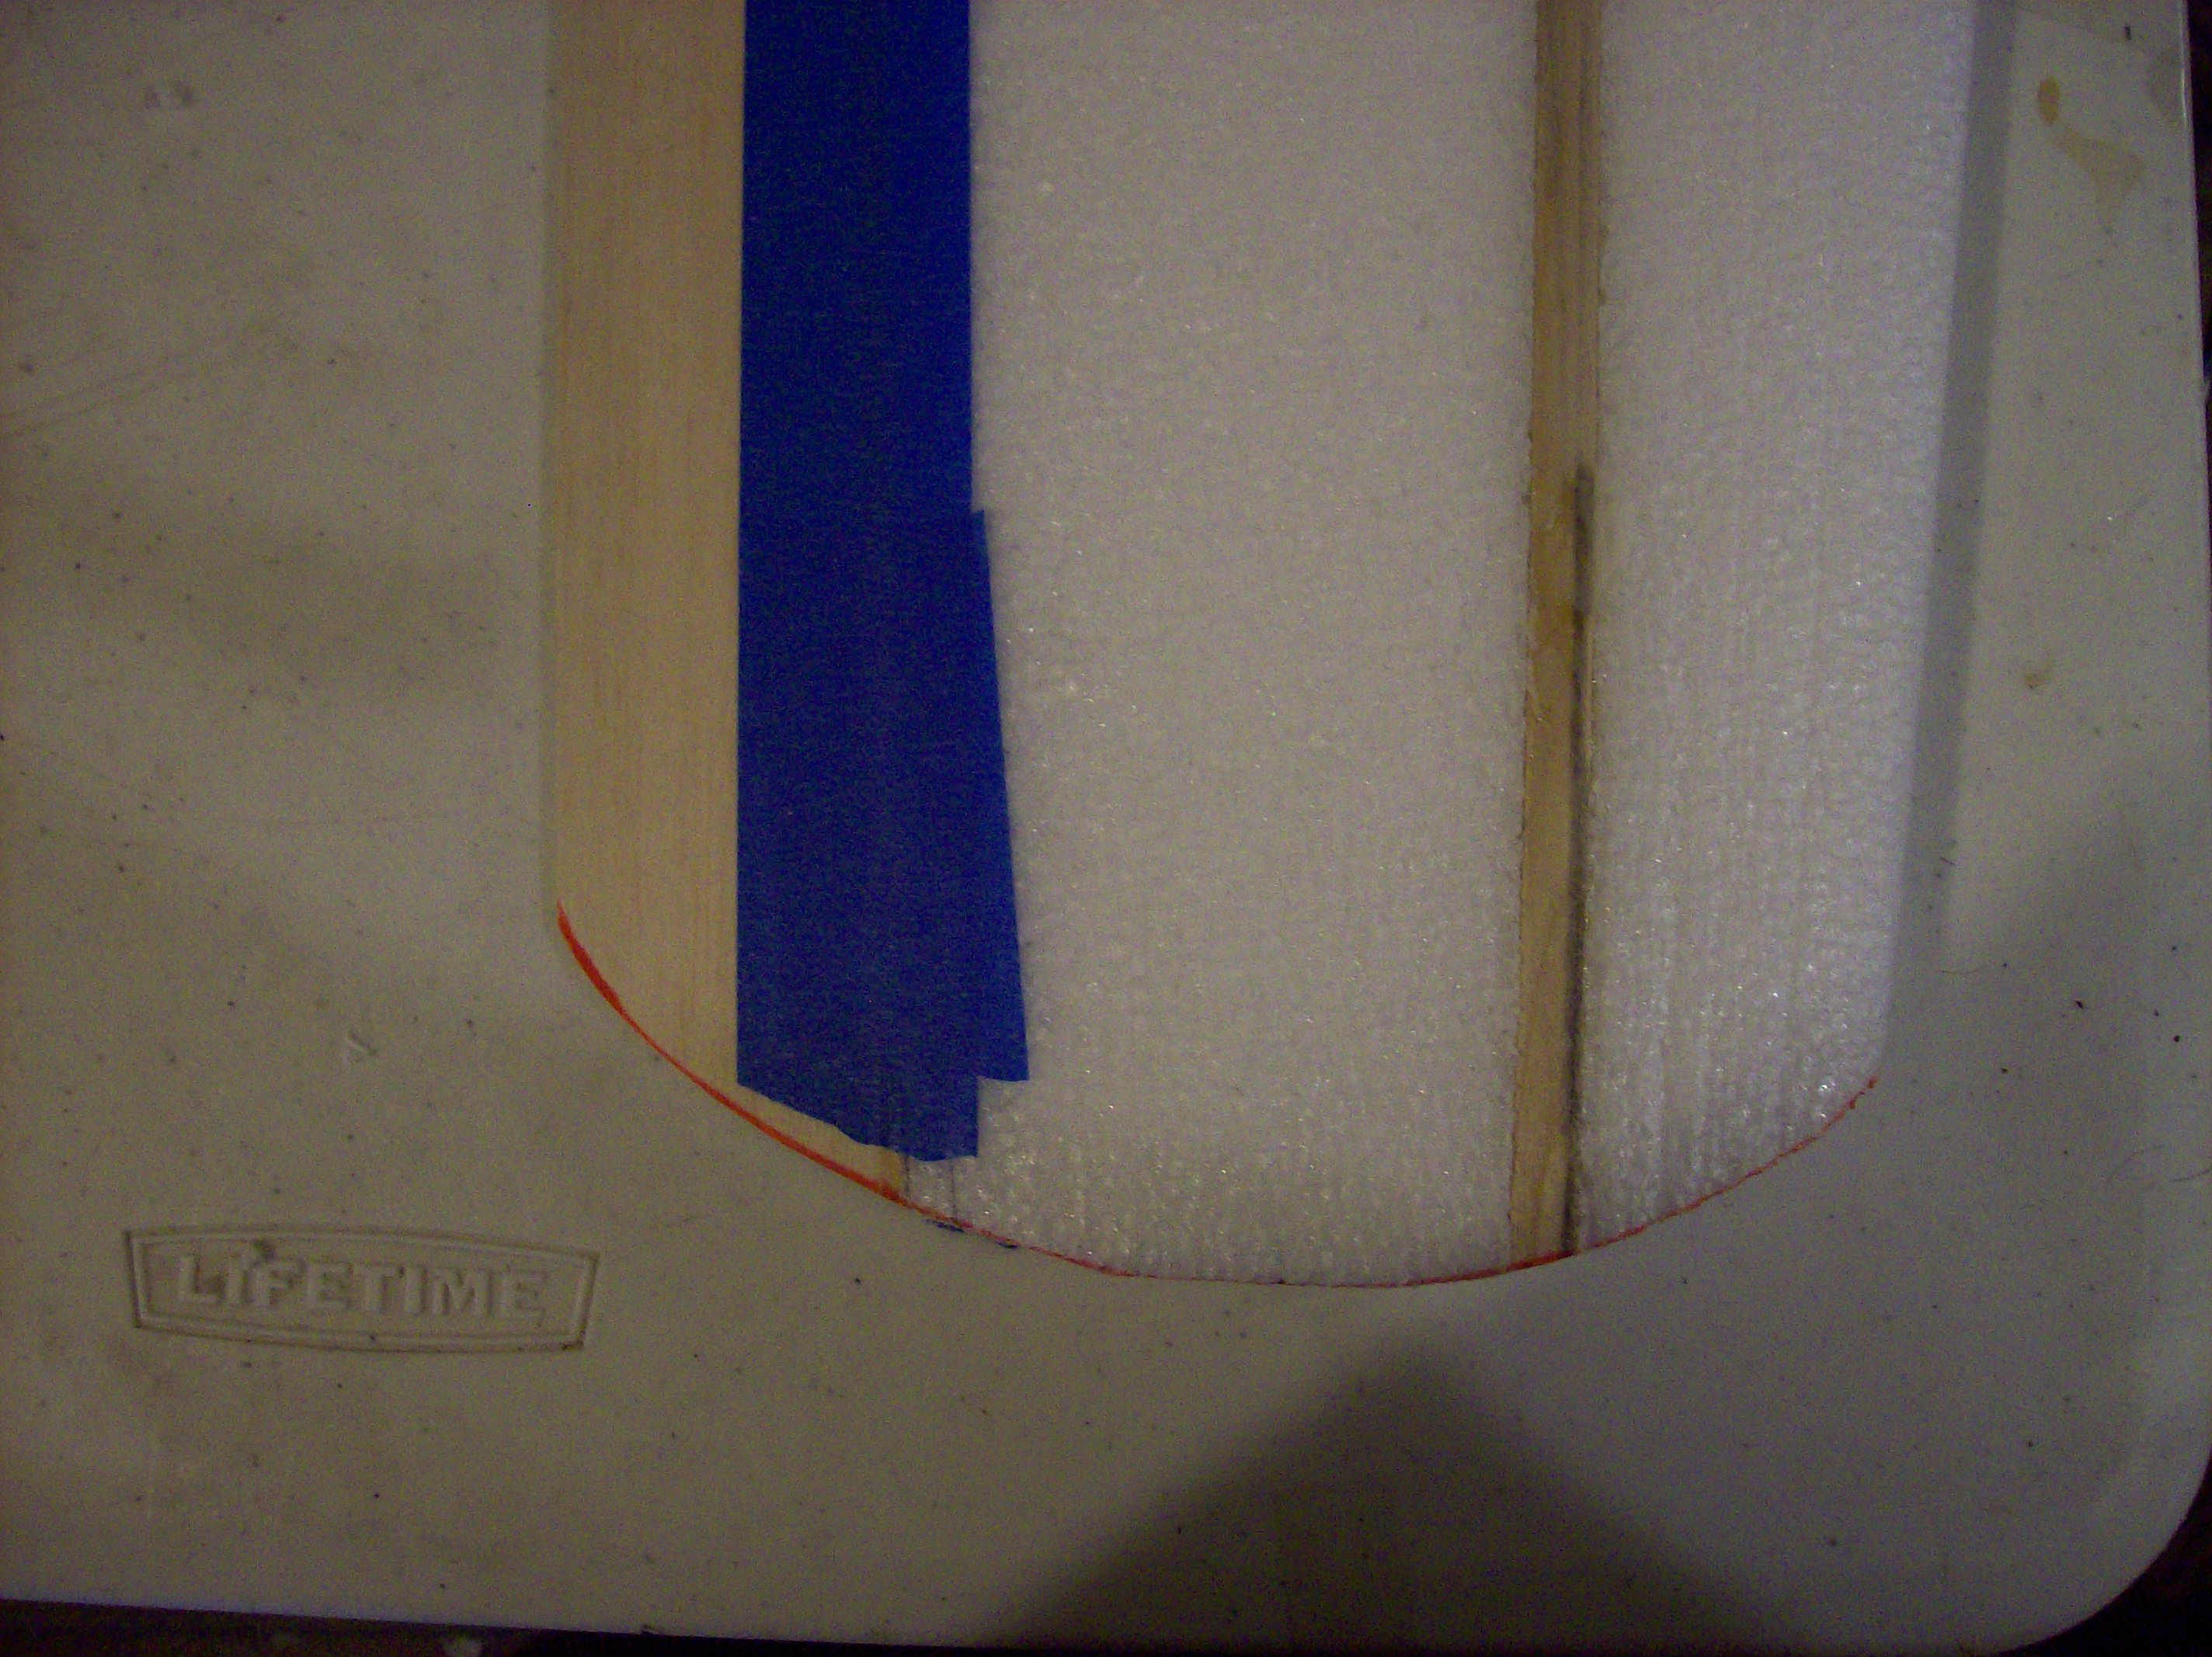
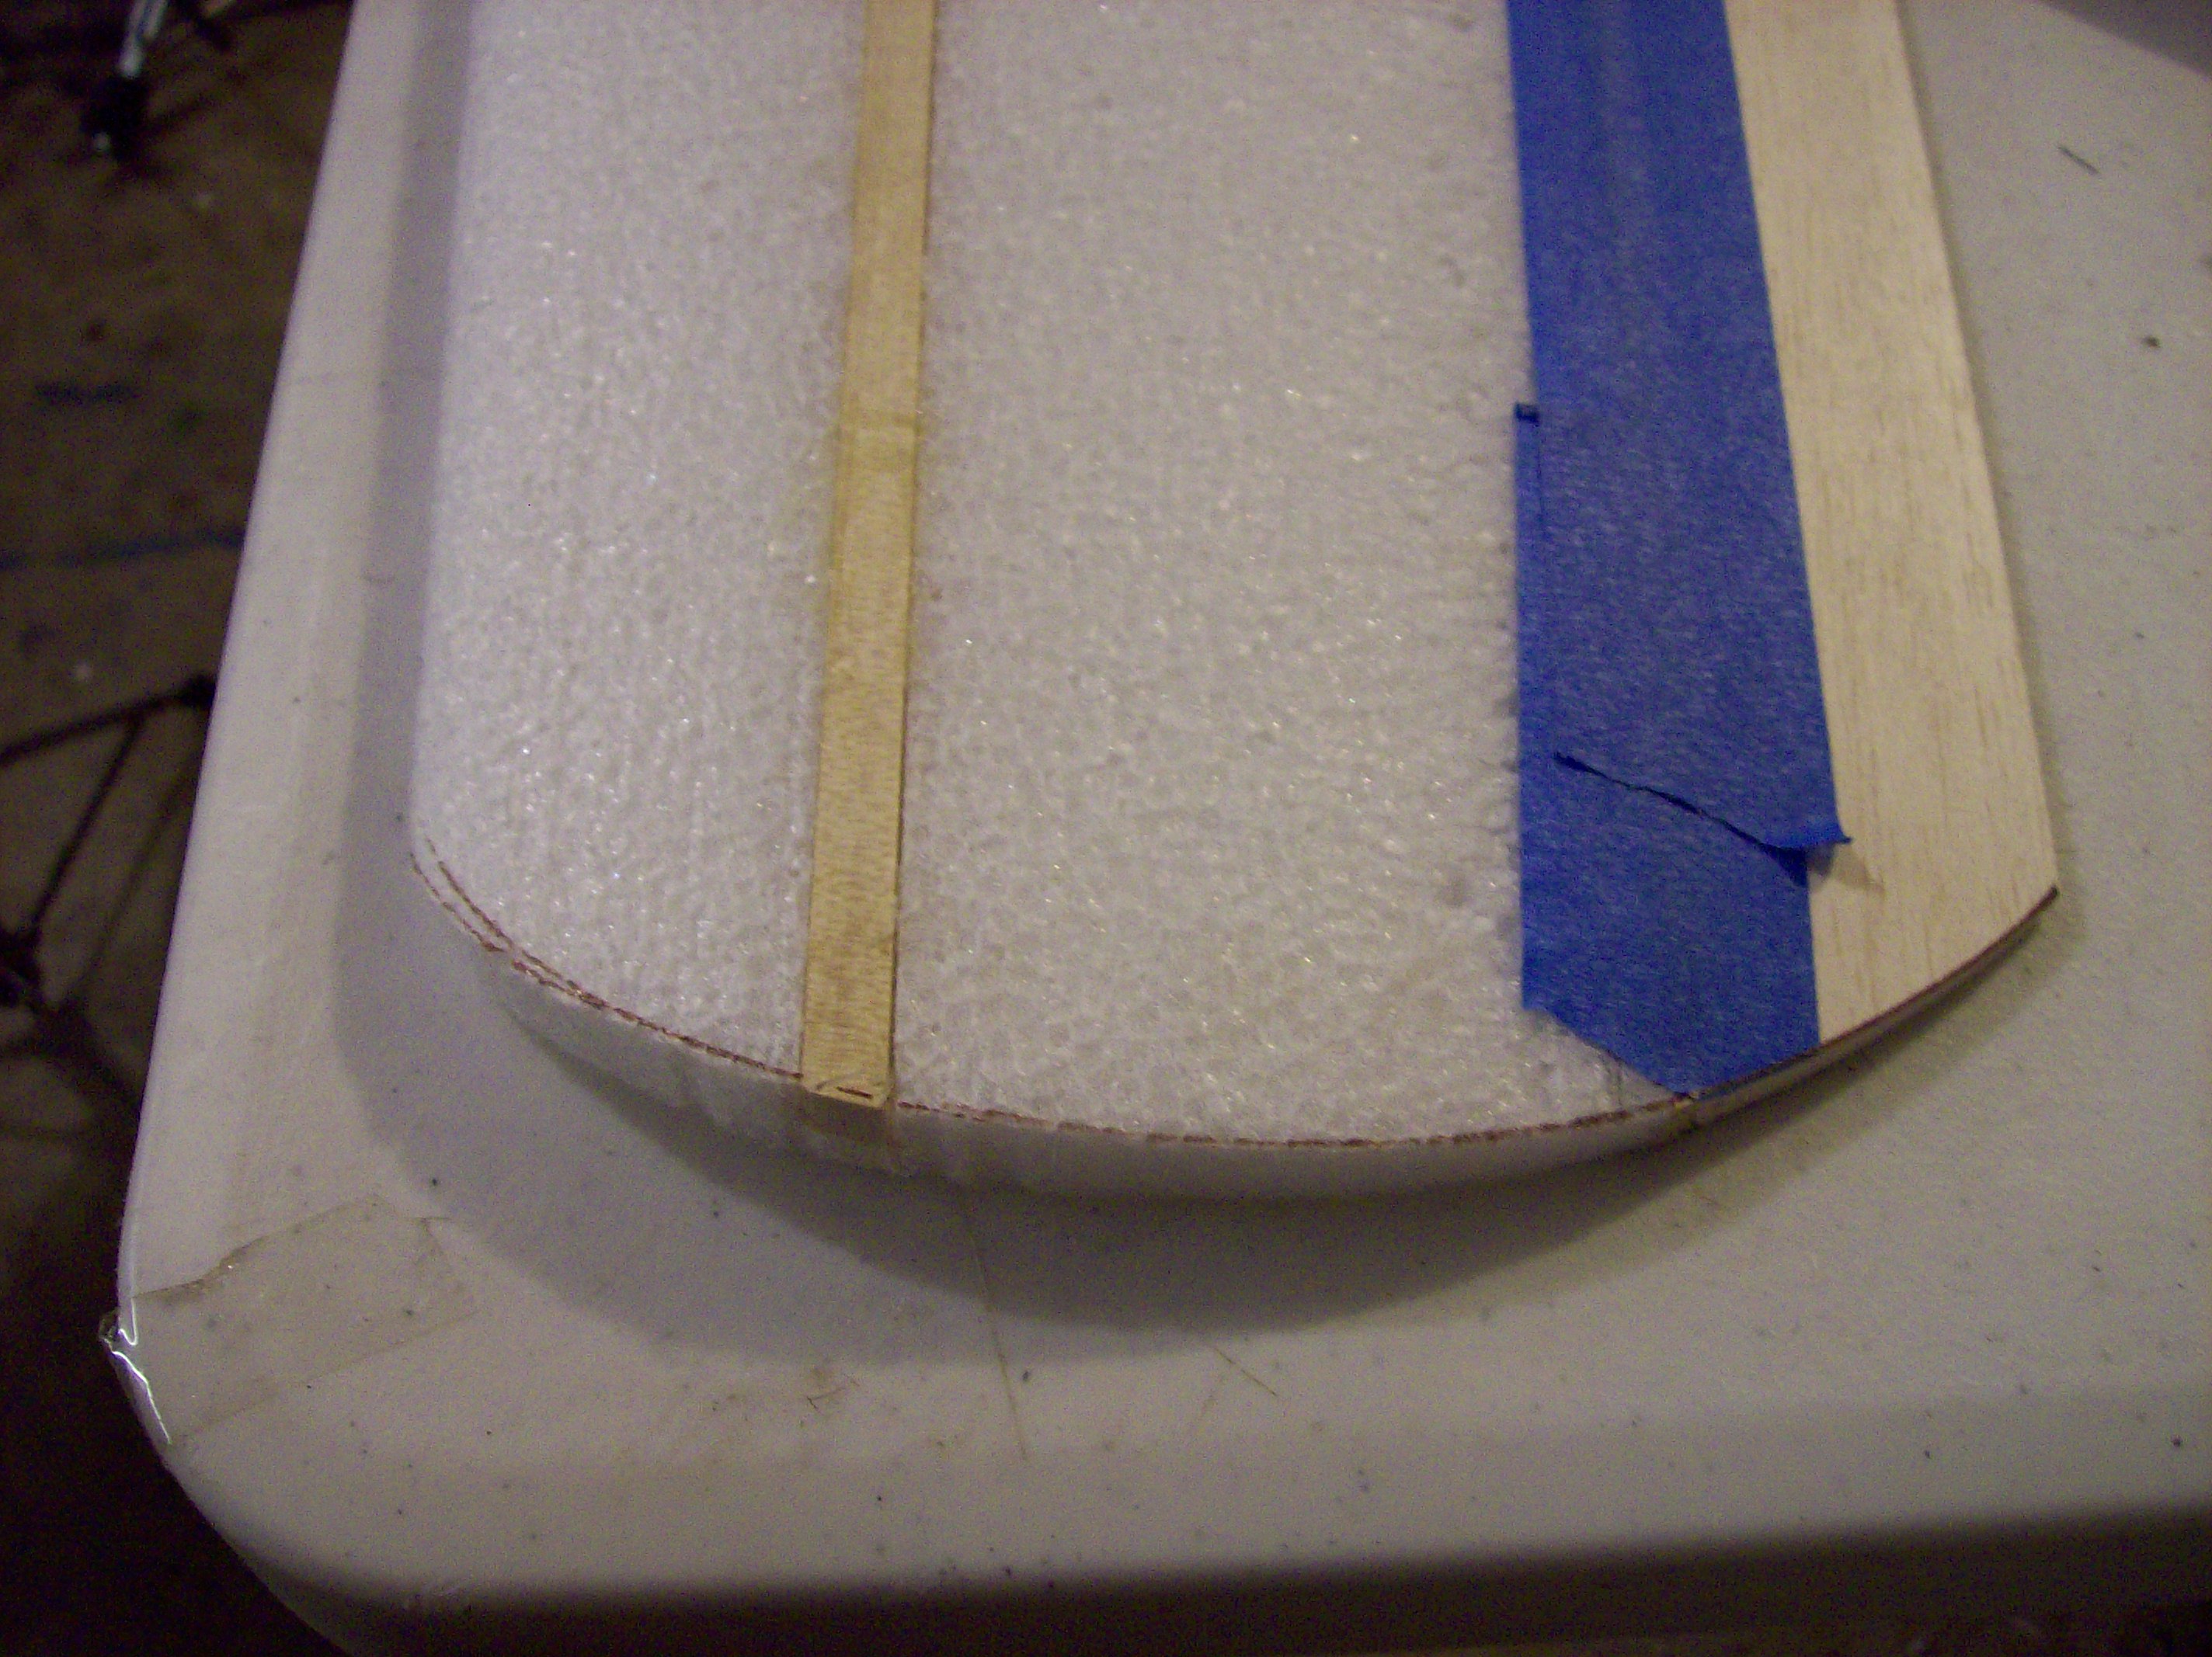
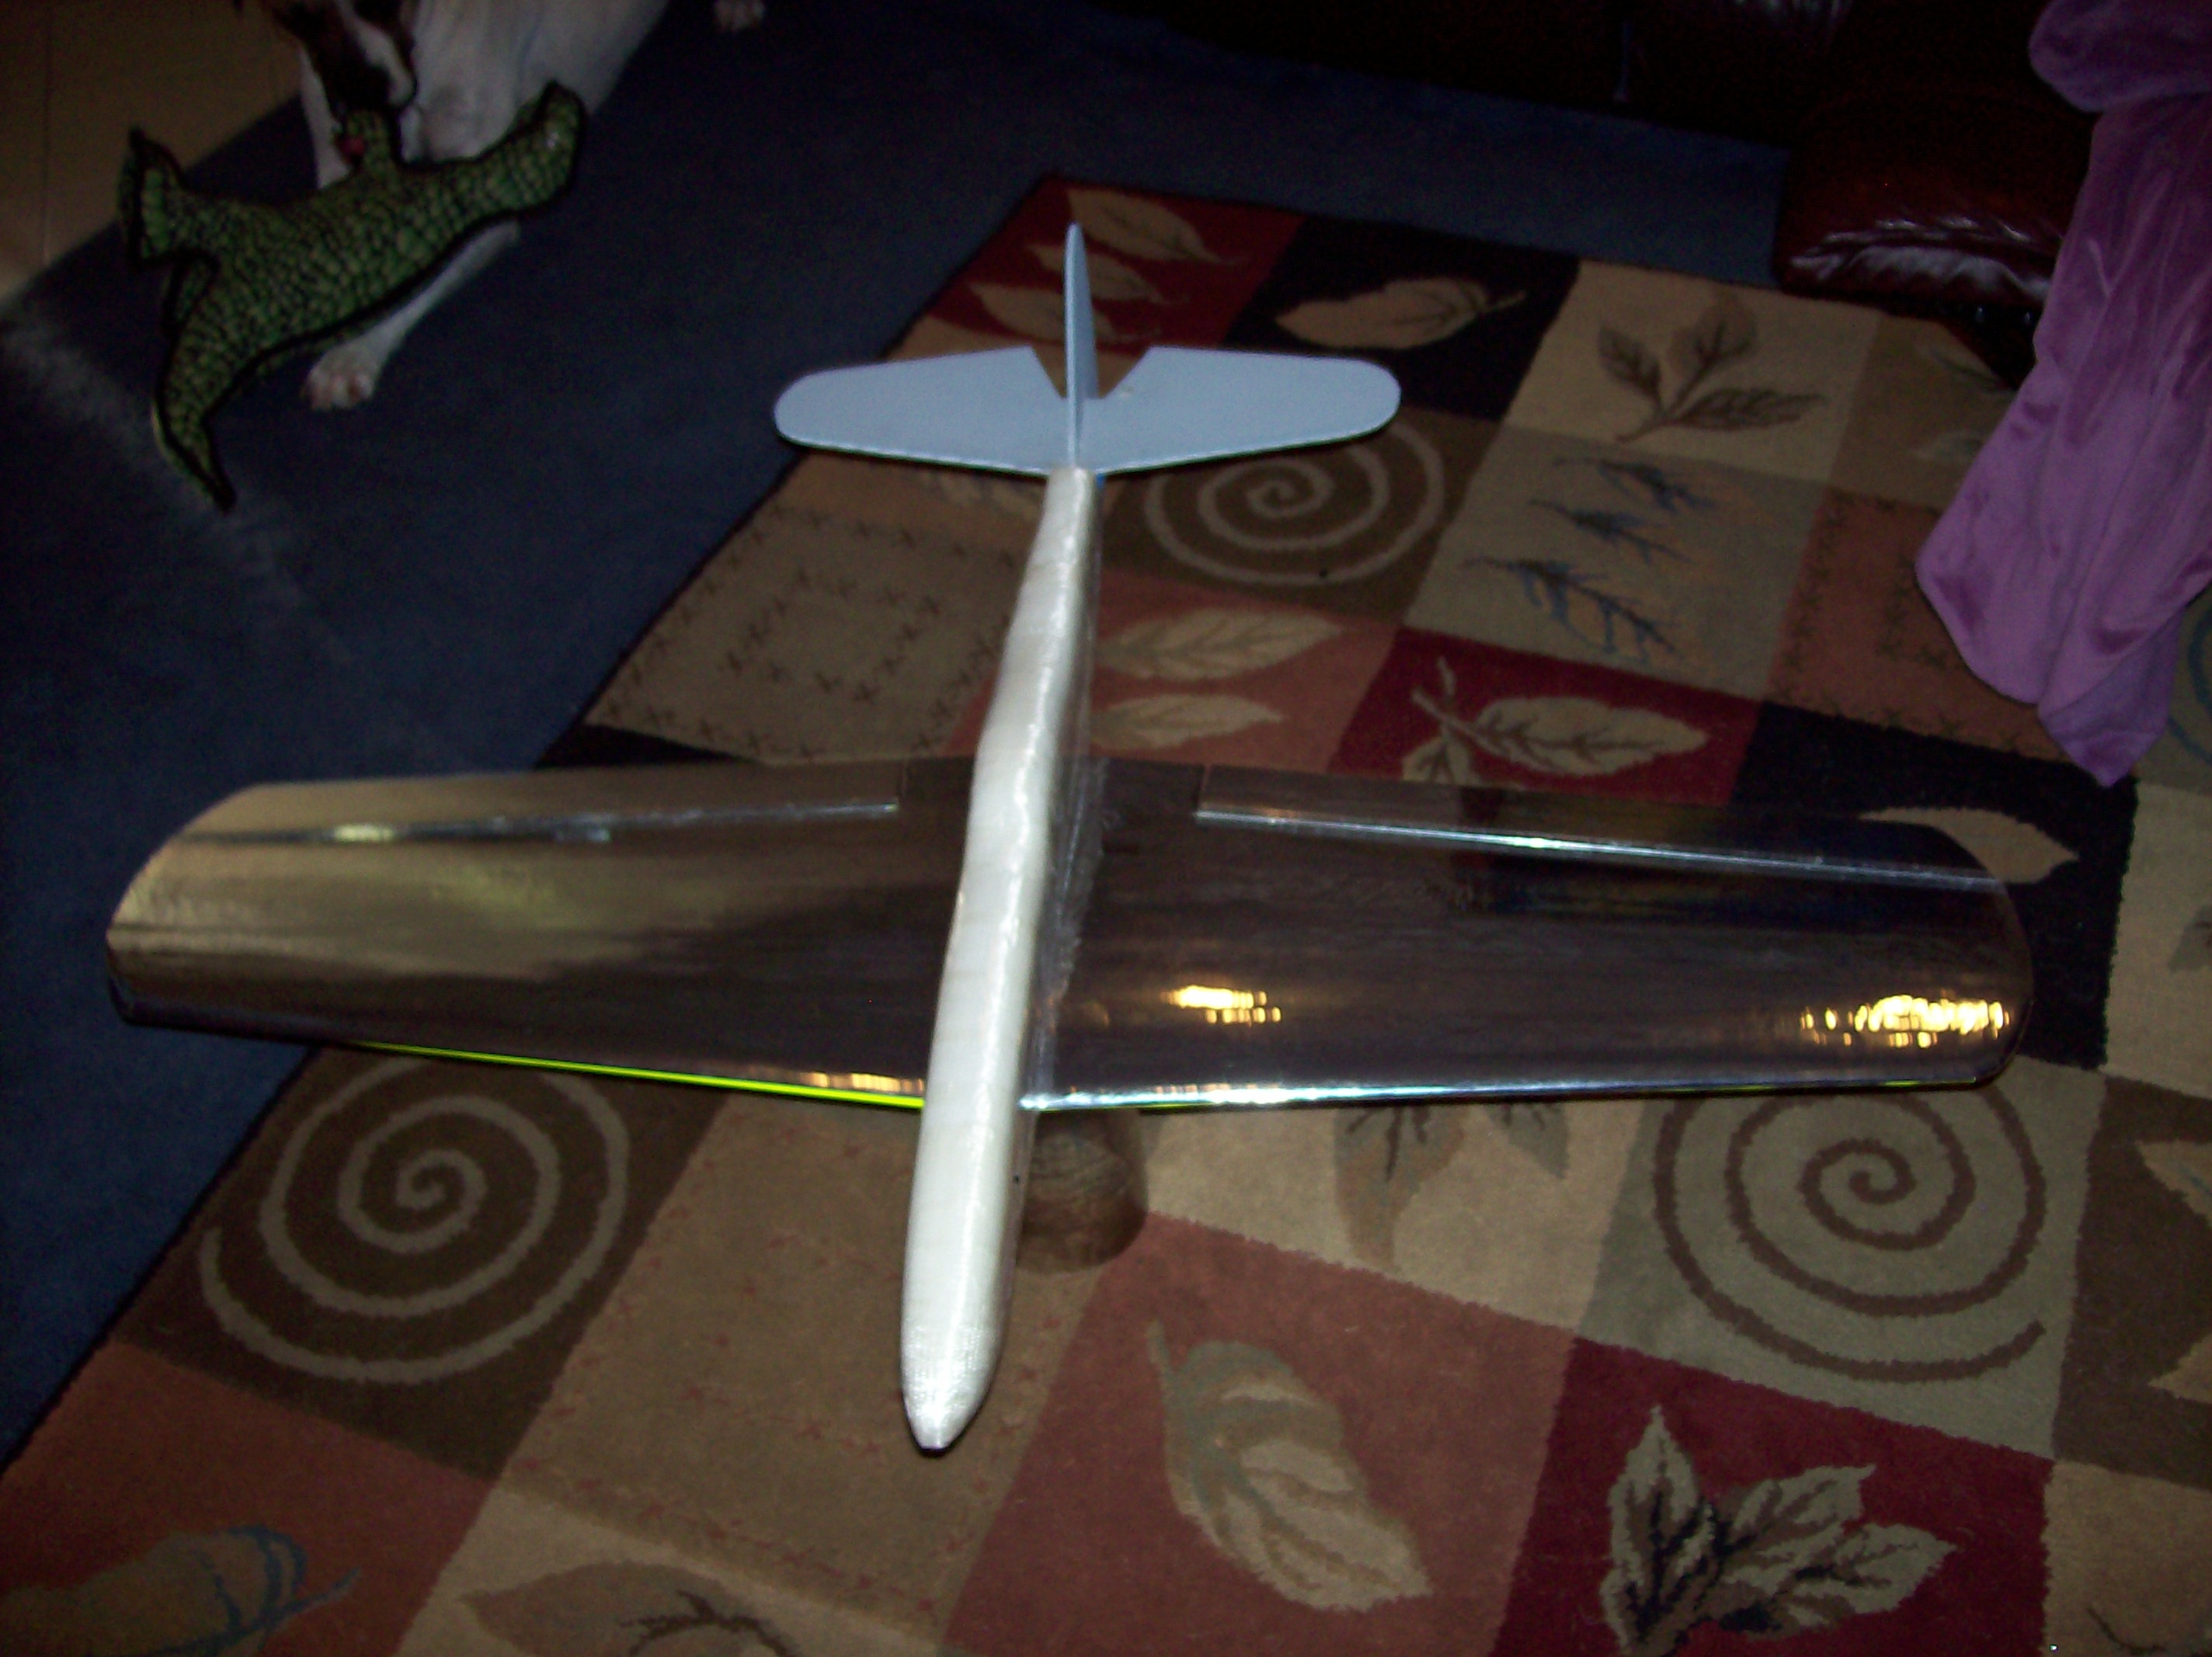
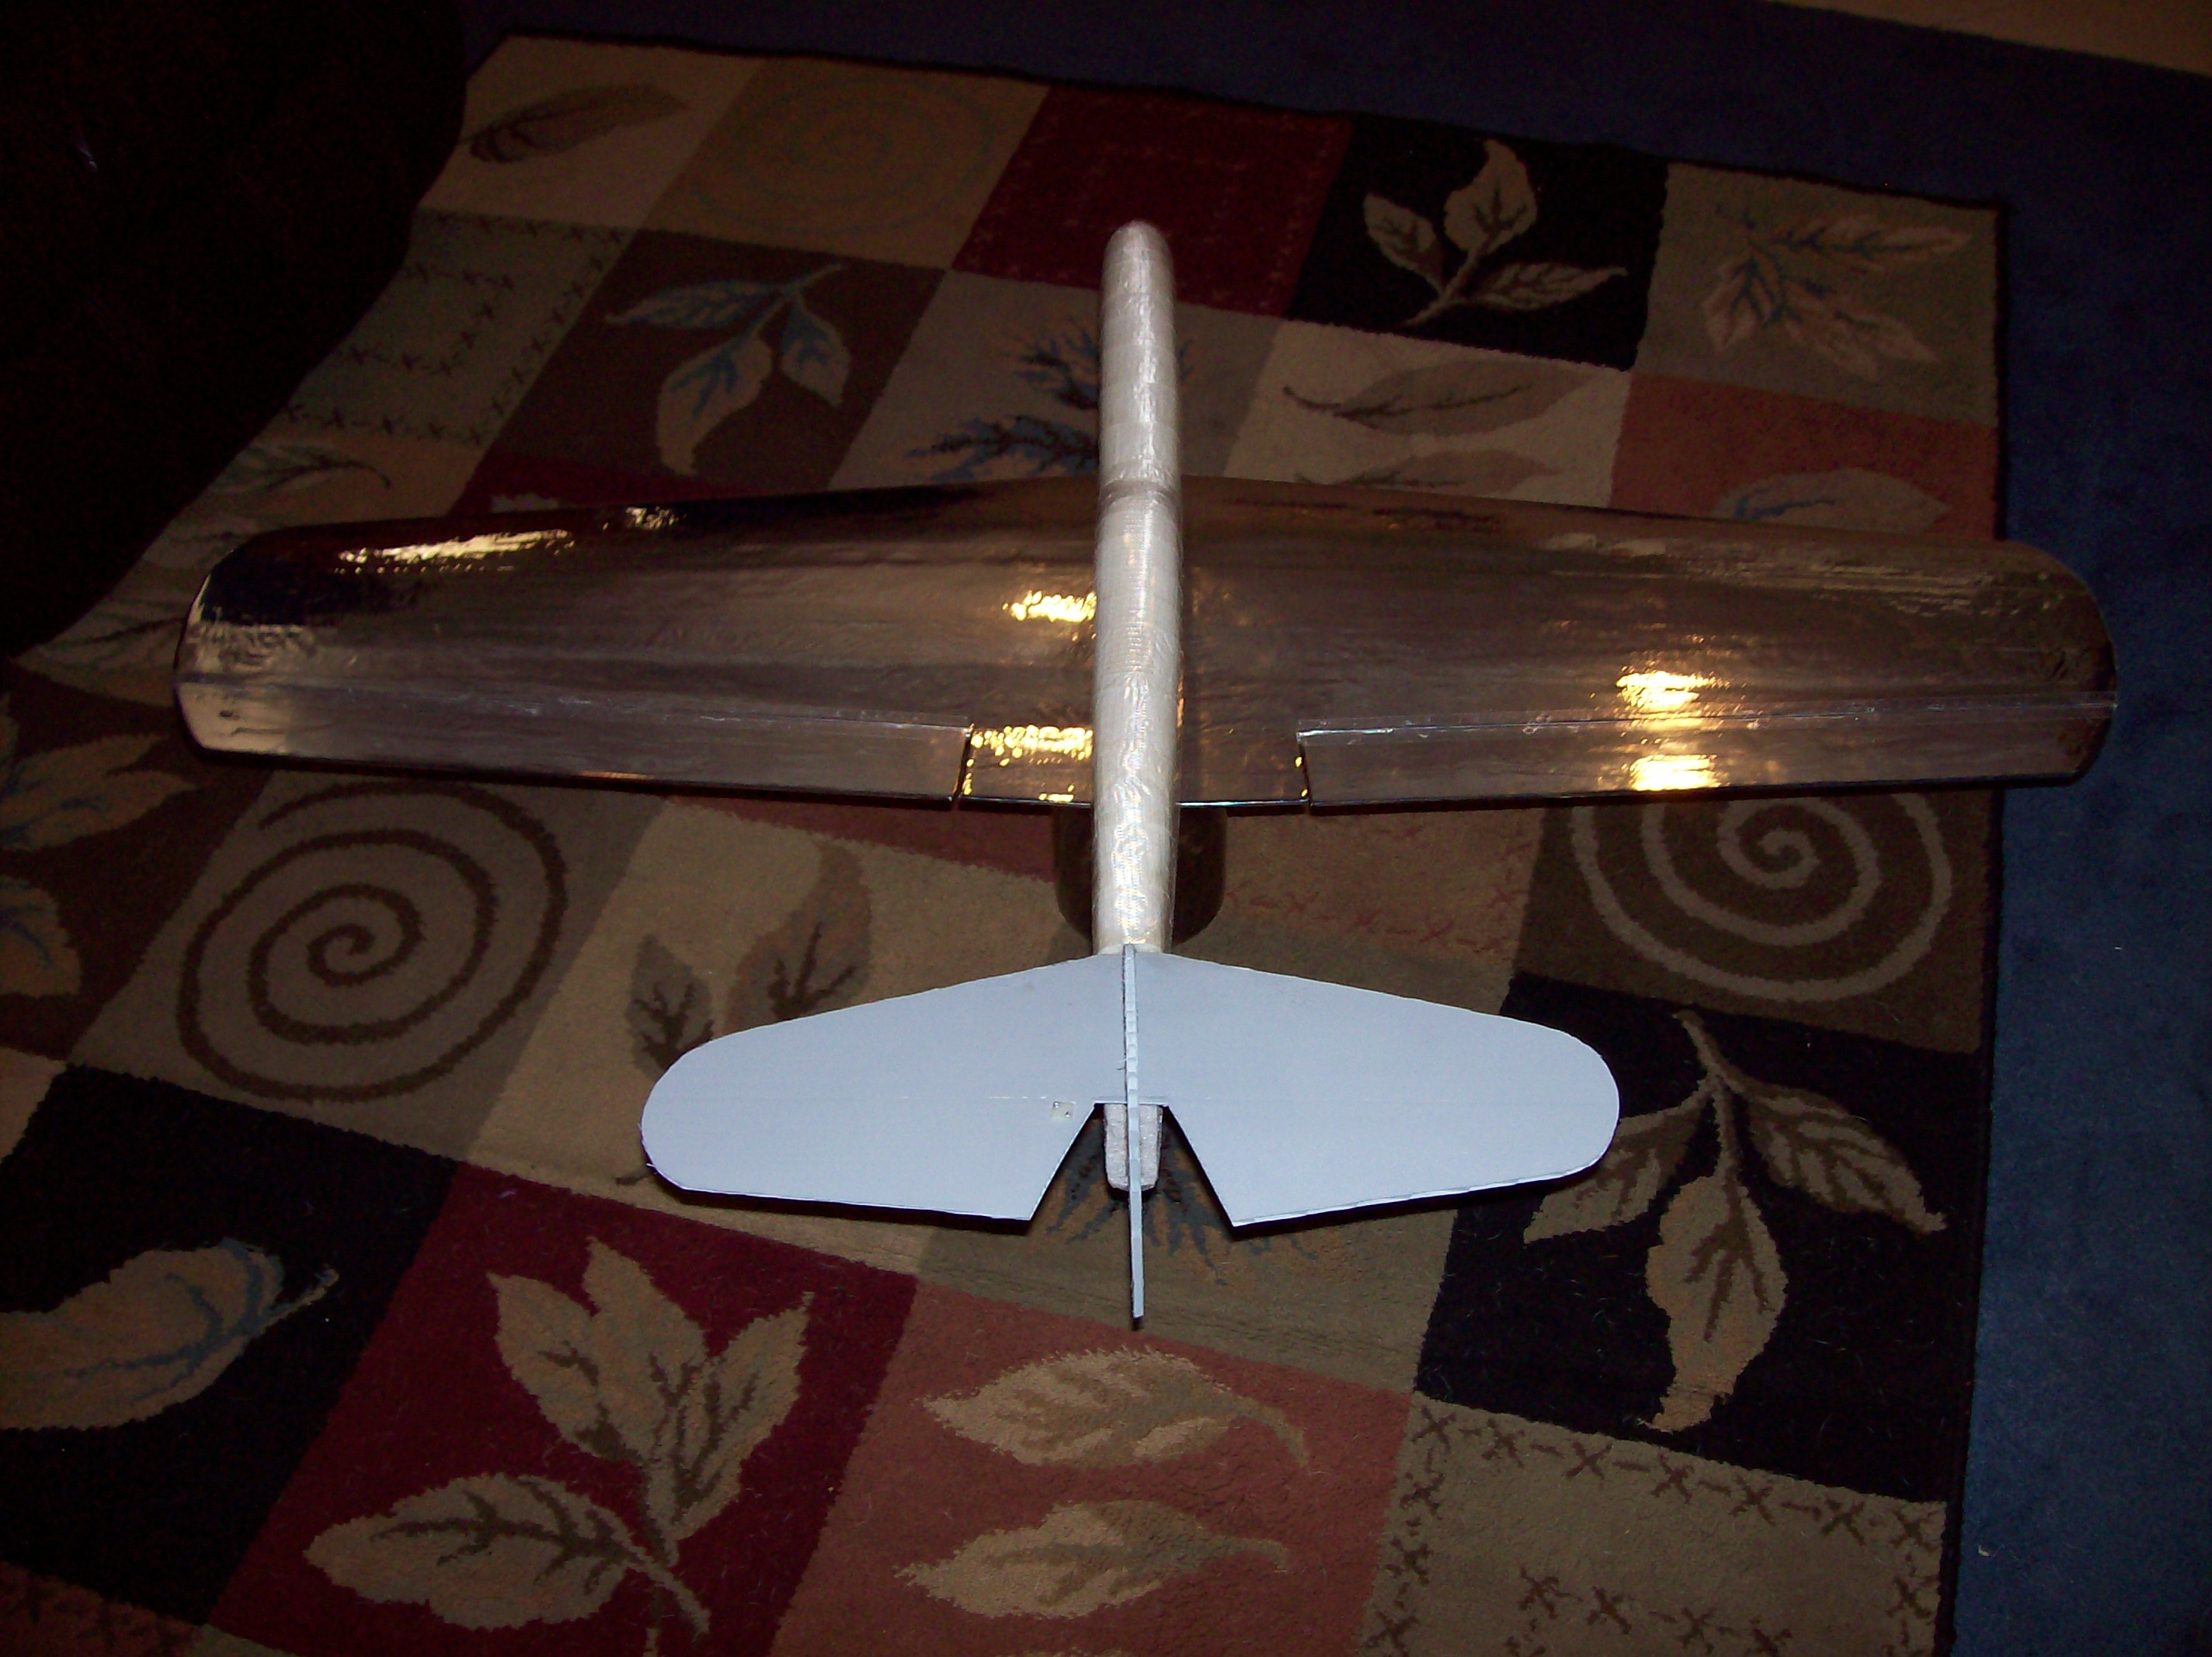
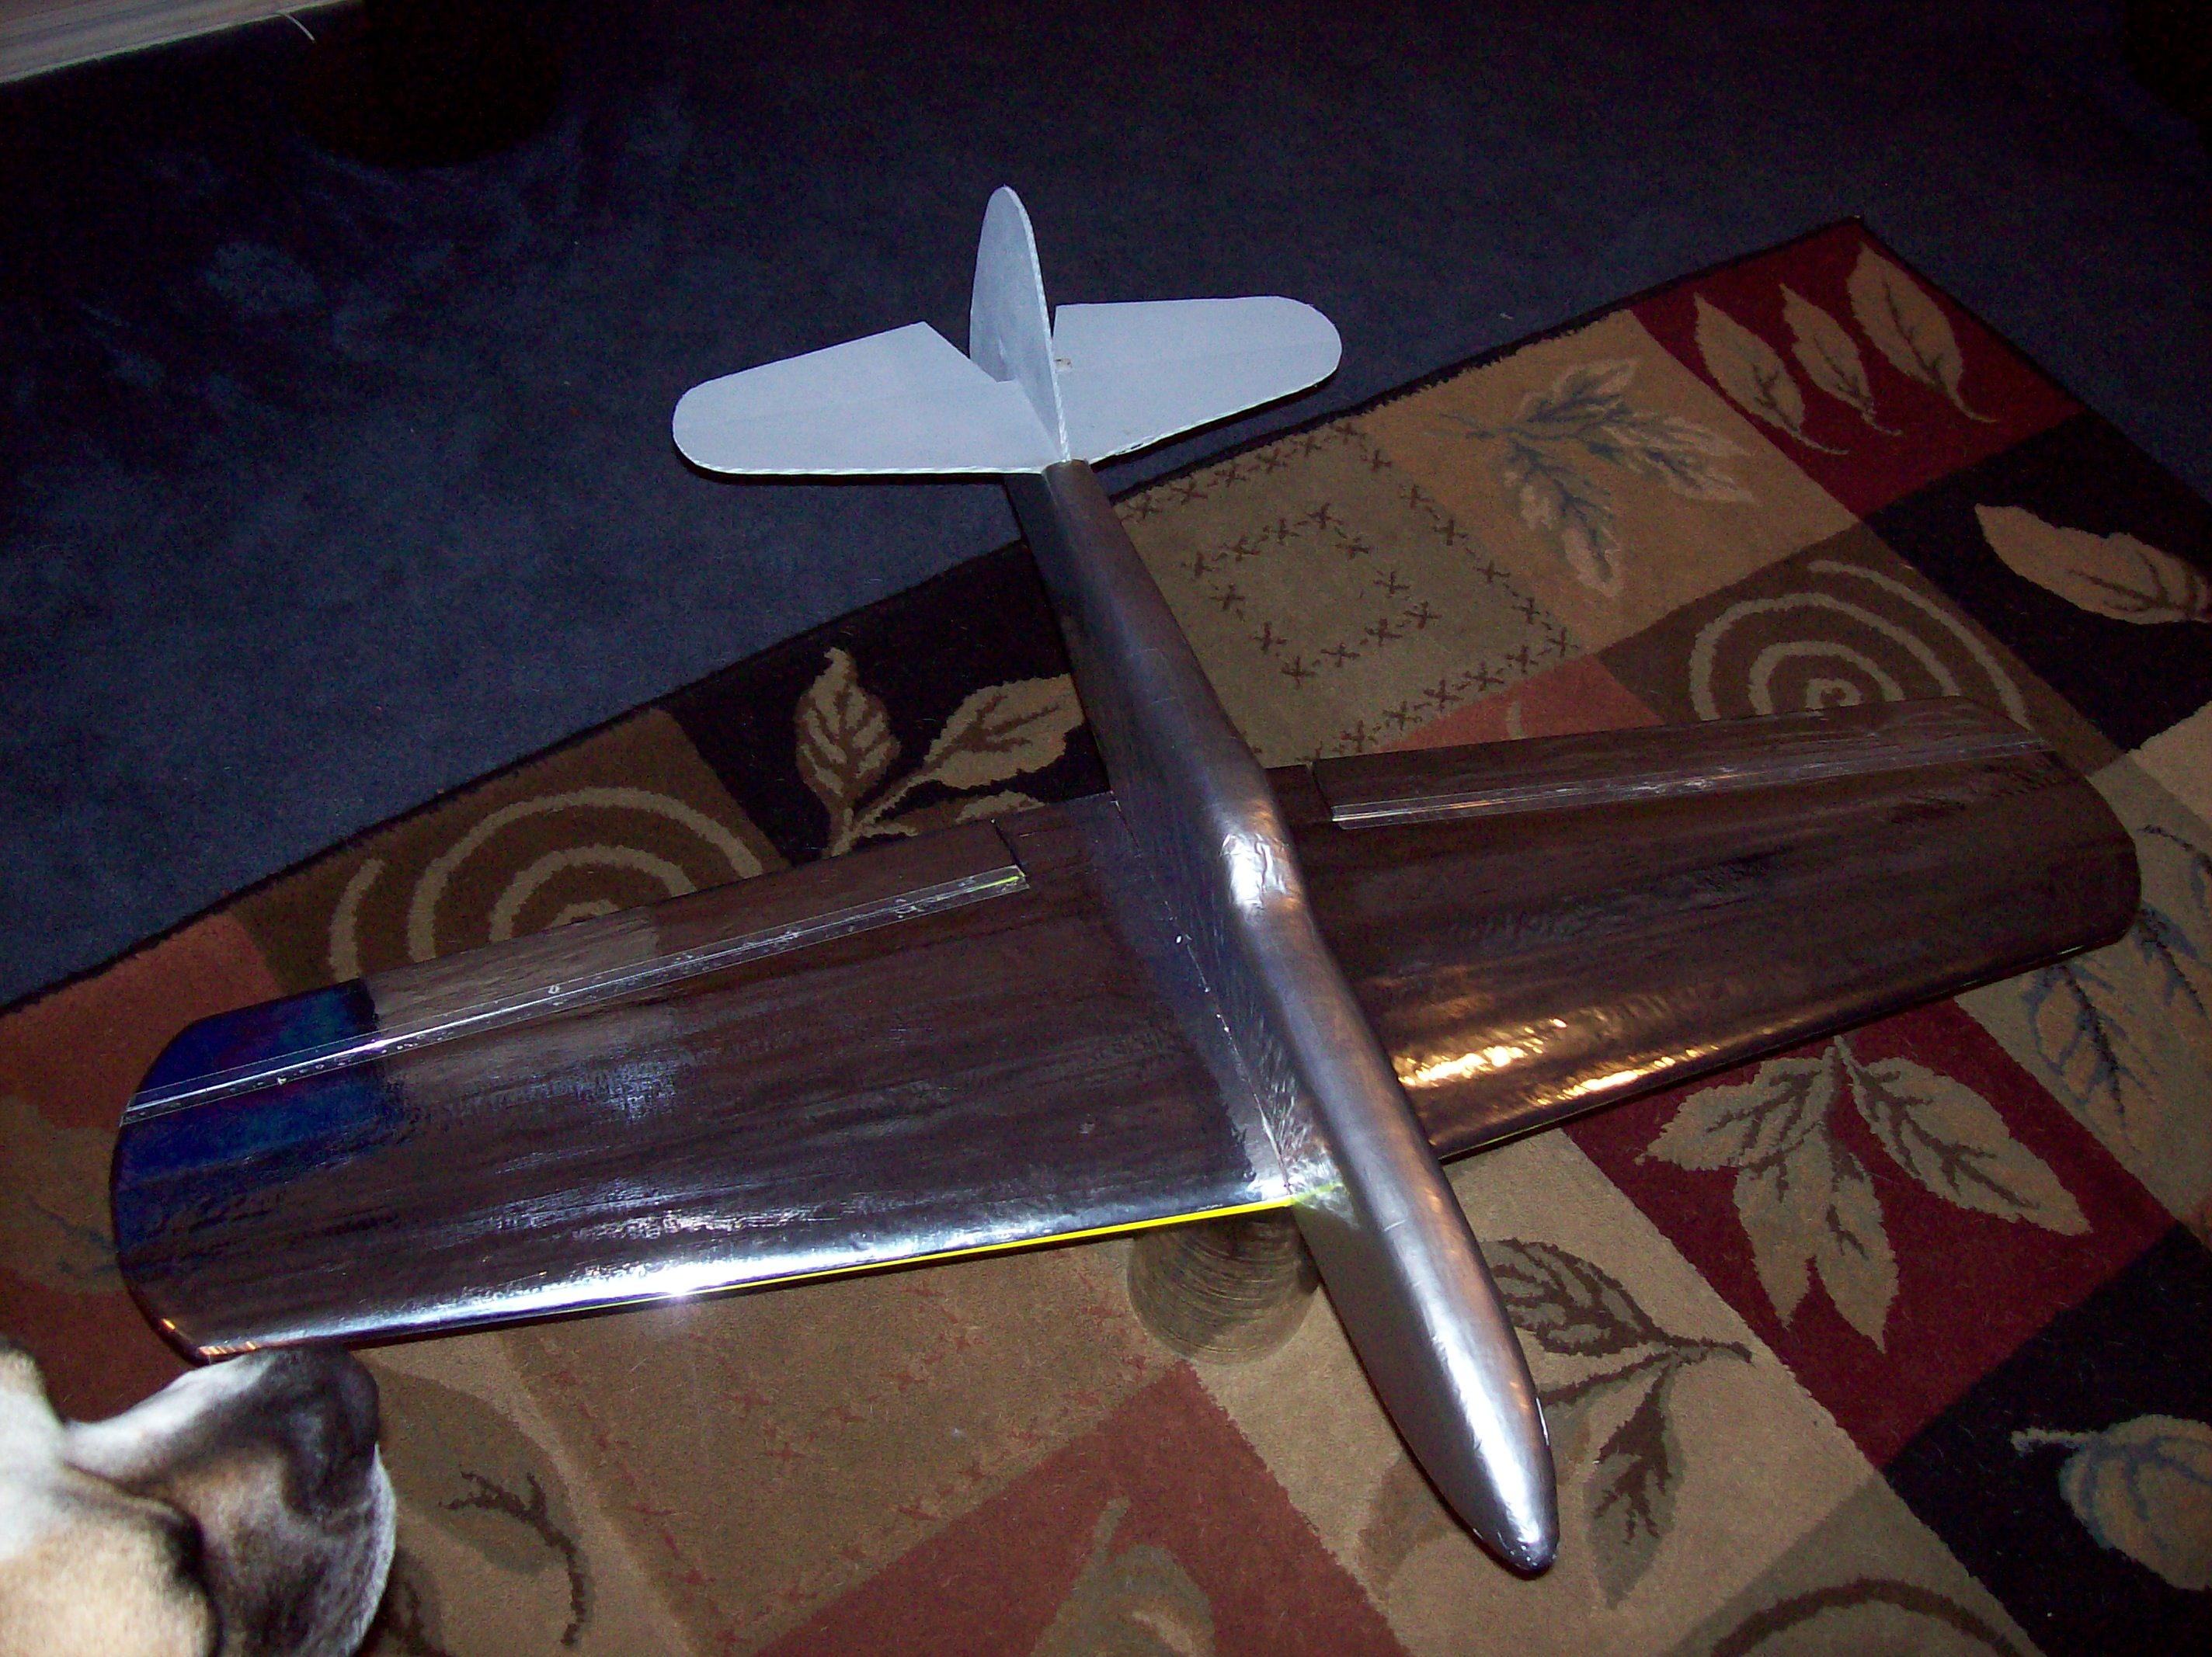
Here I cut and fit the horizontal and vertical stabilizers.


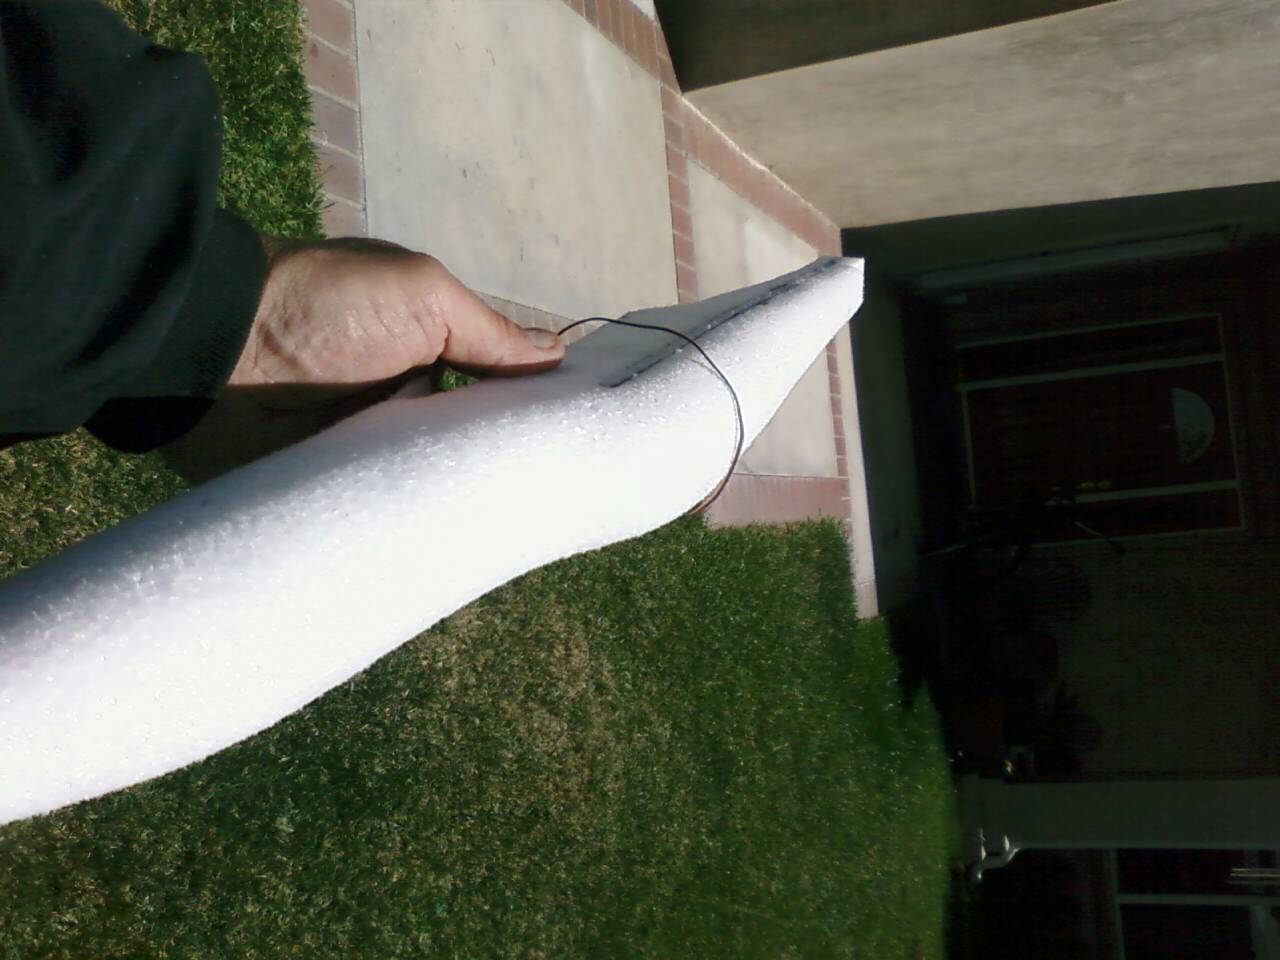
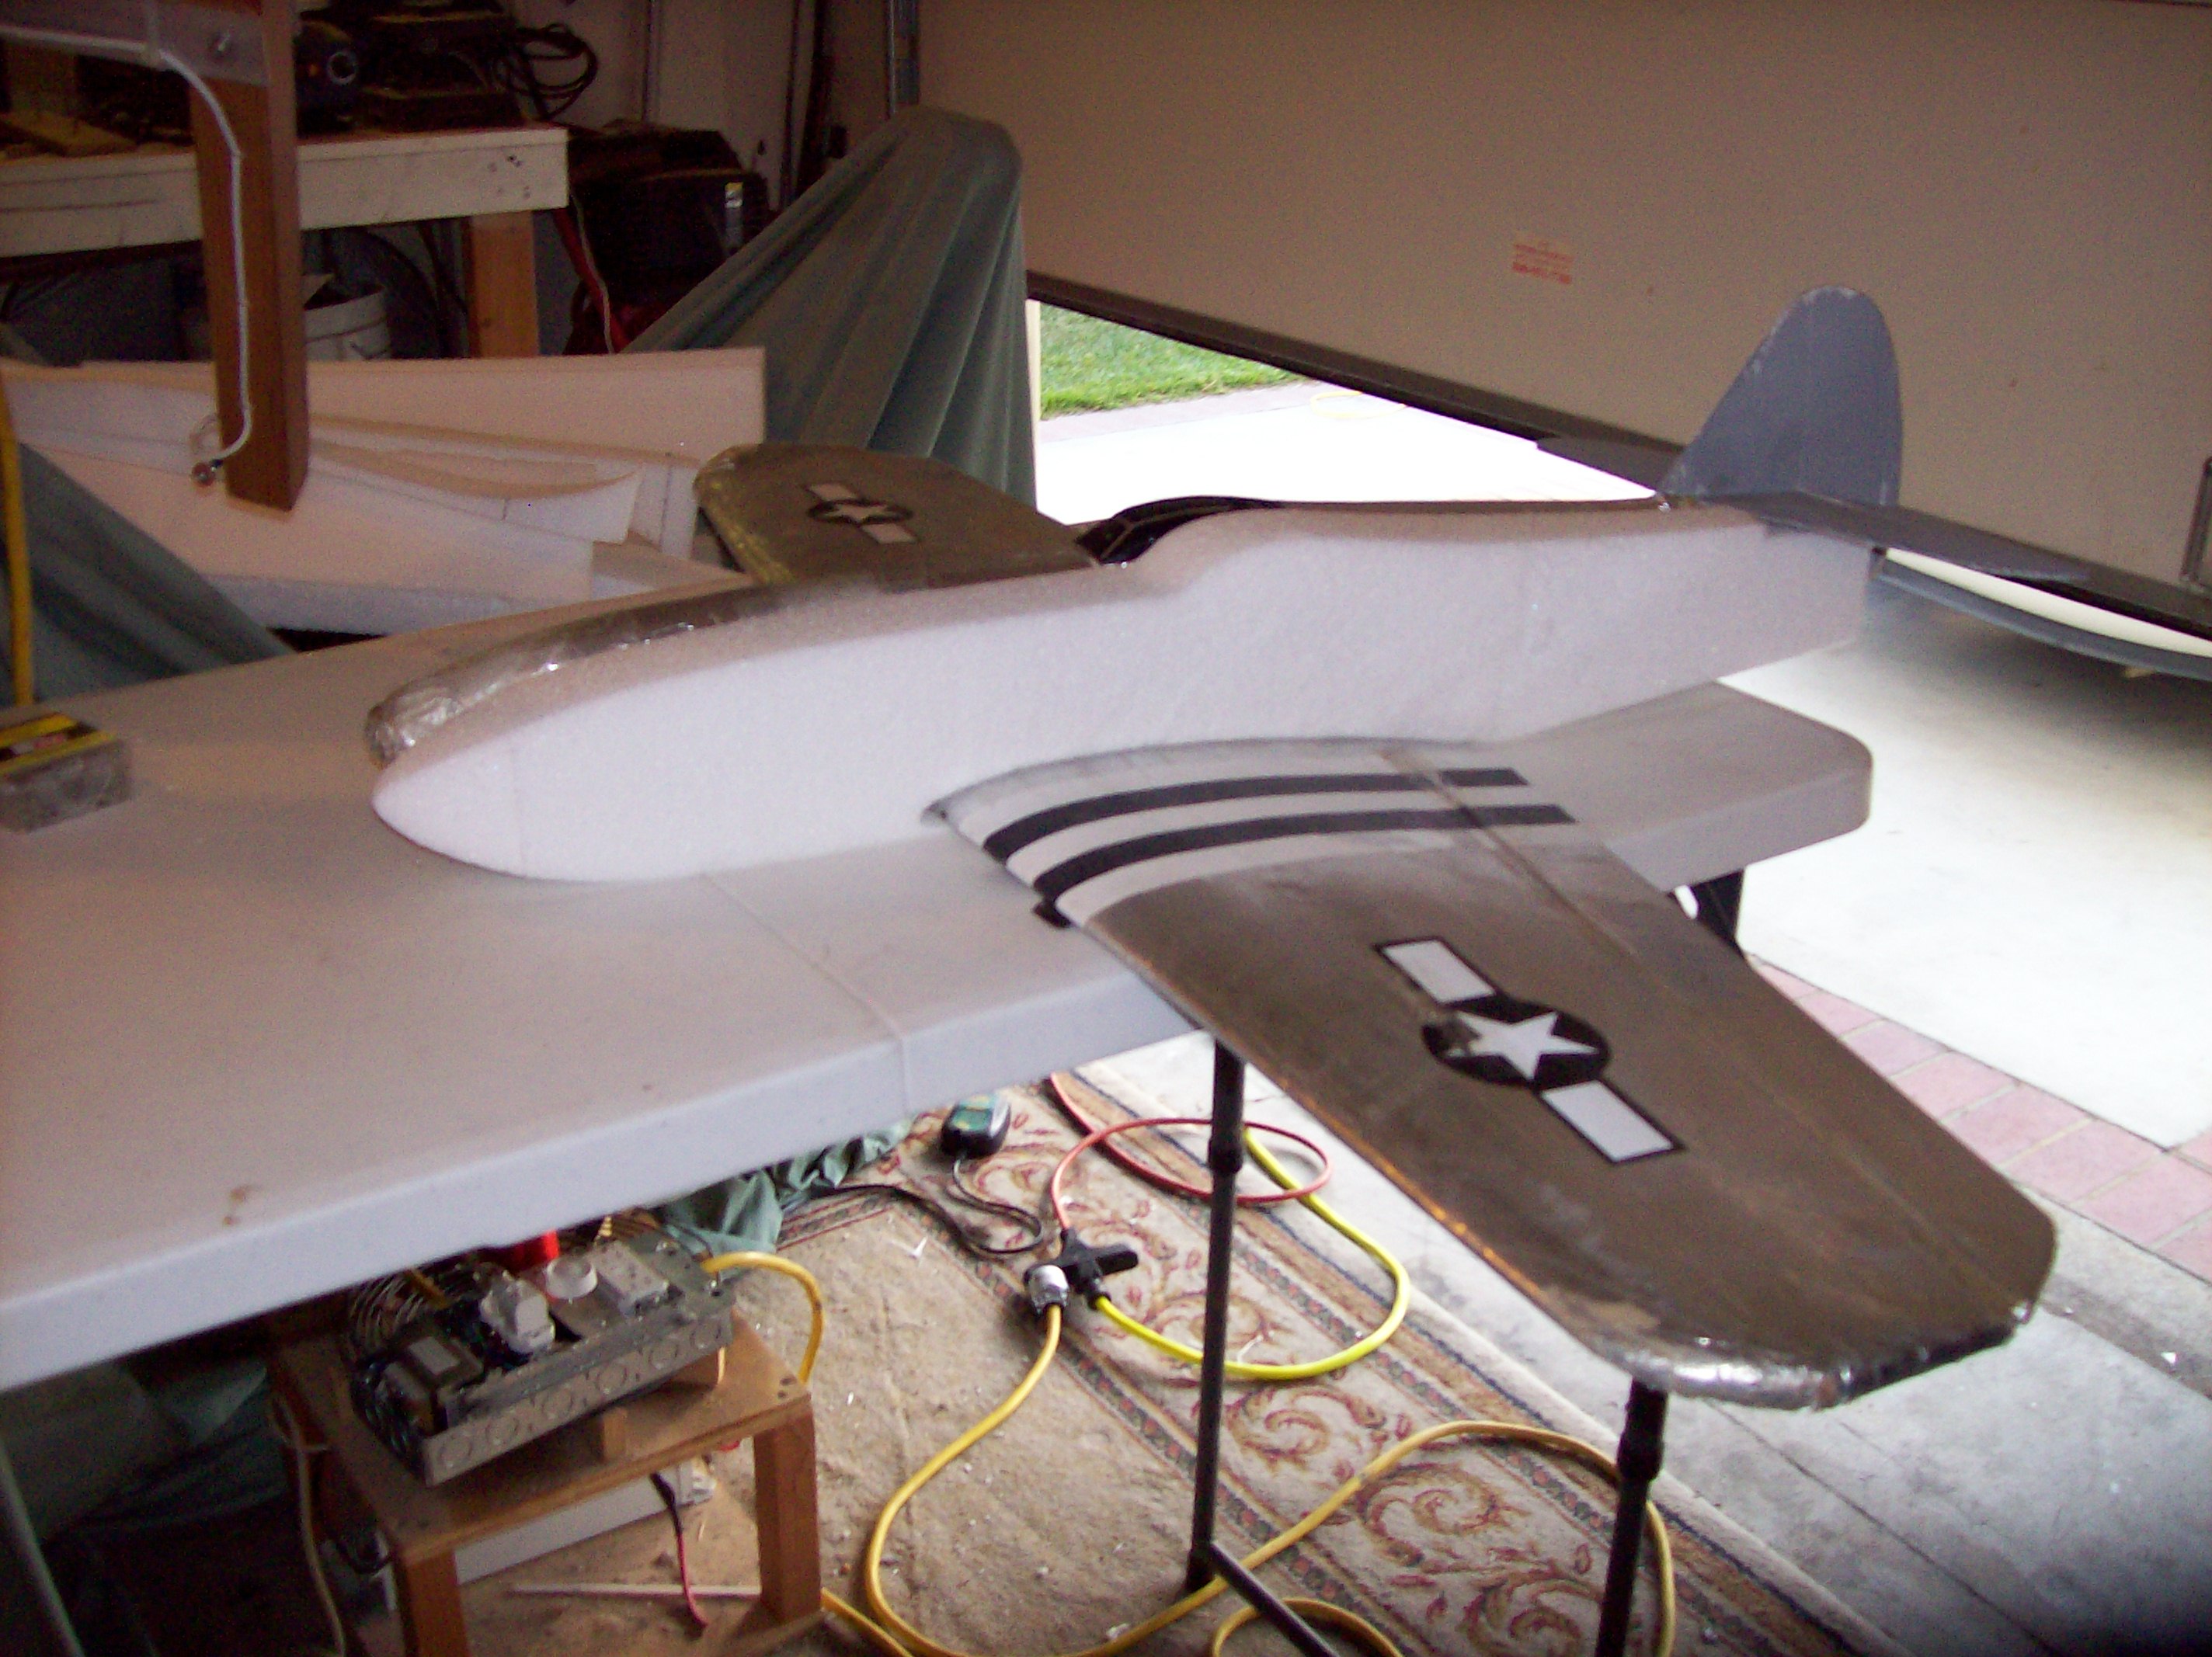
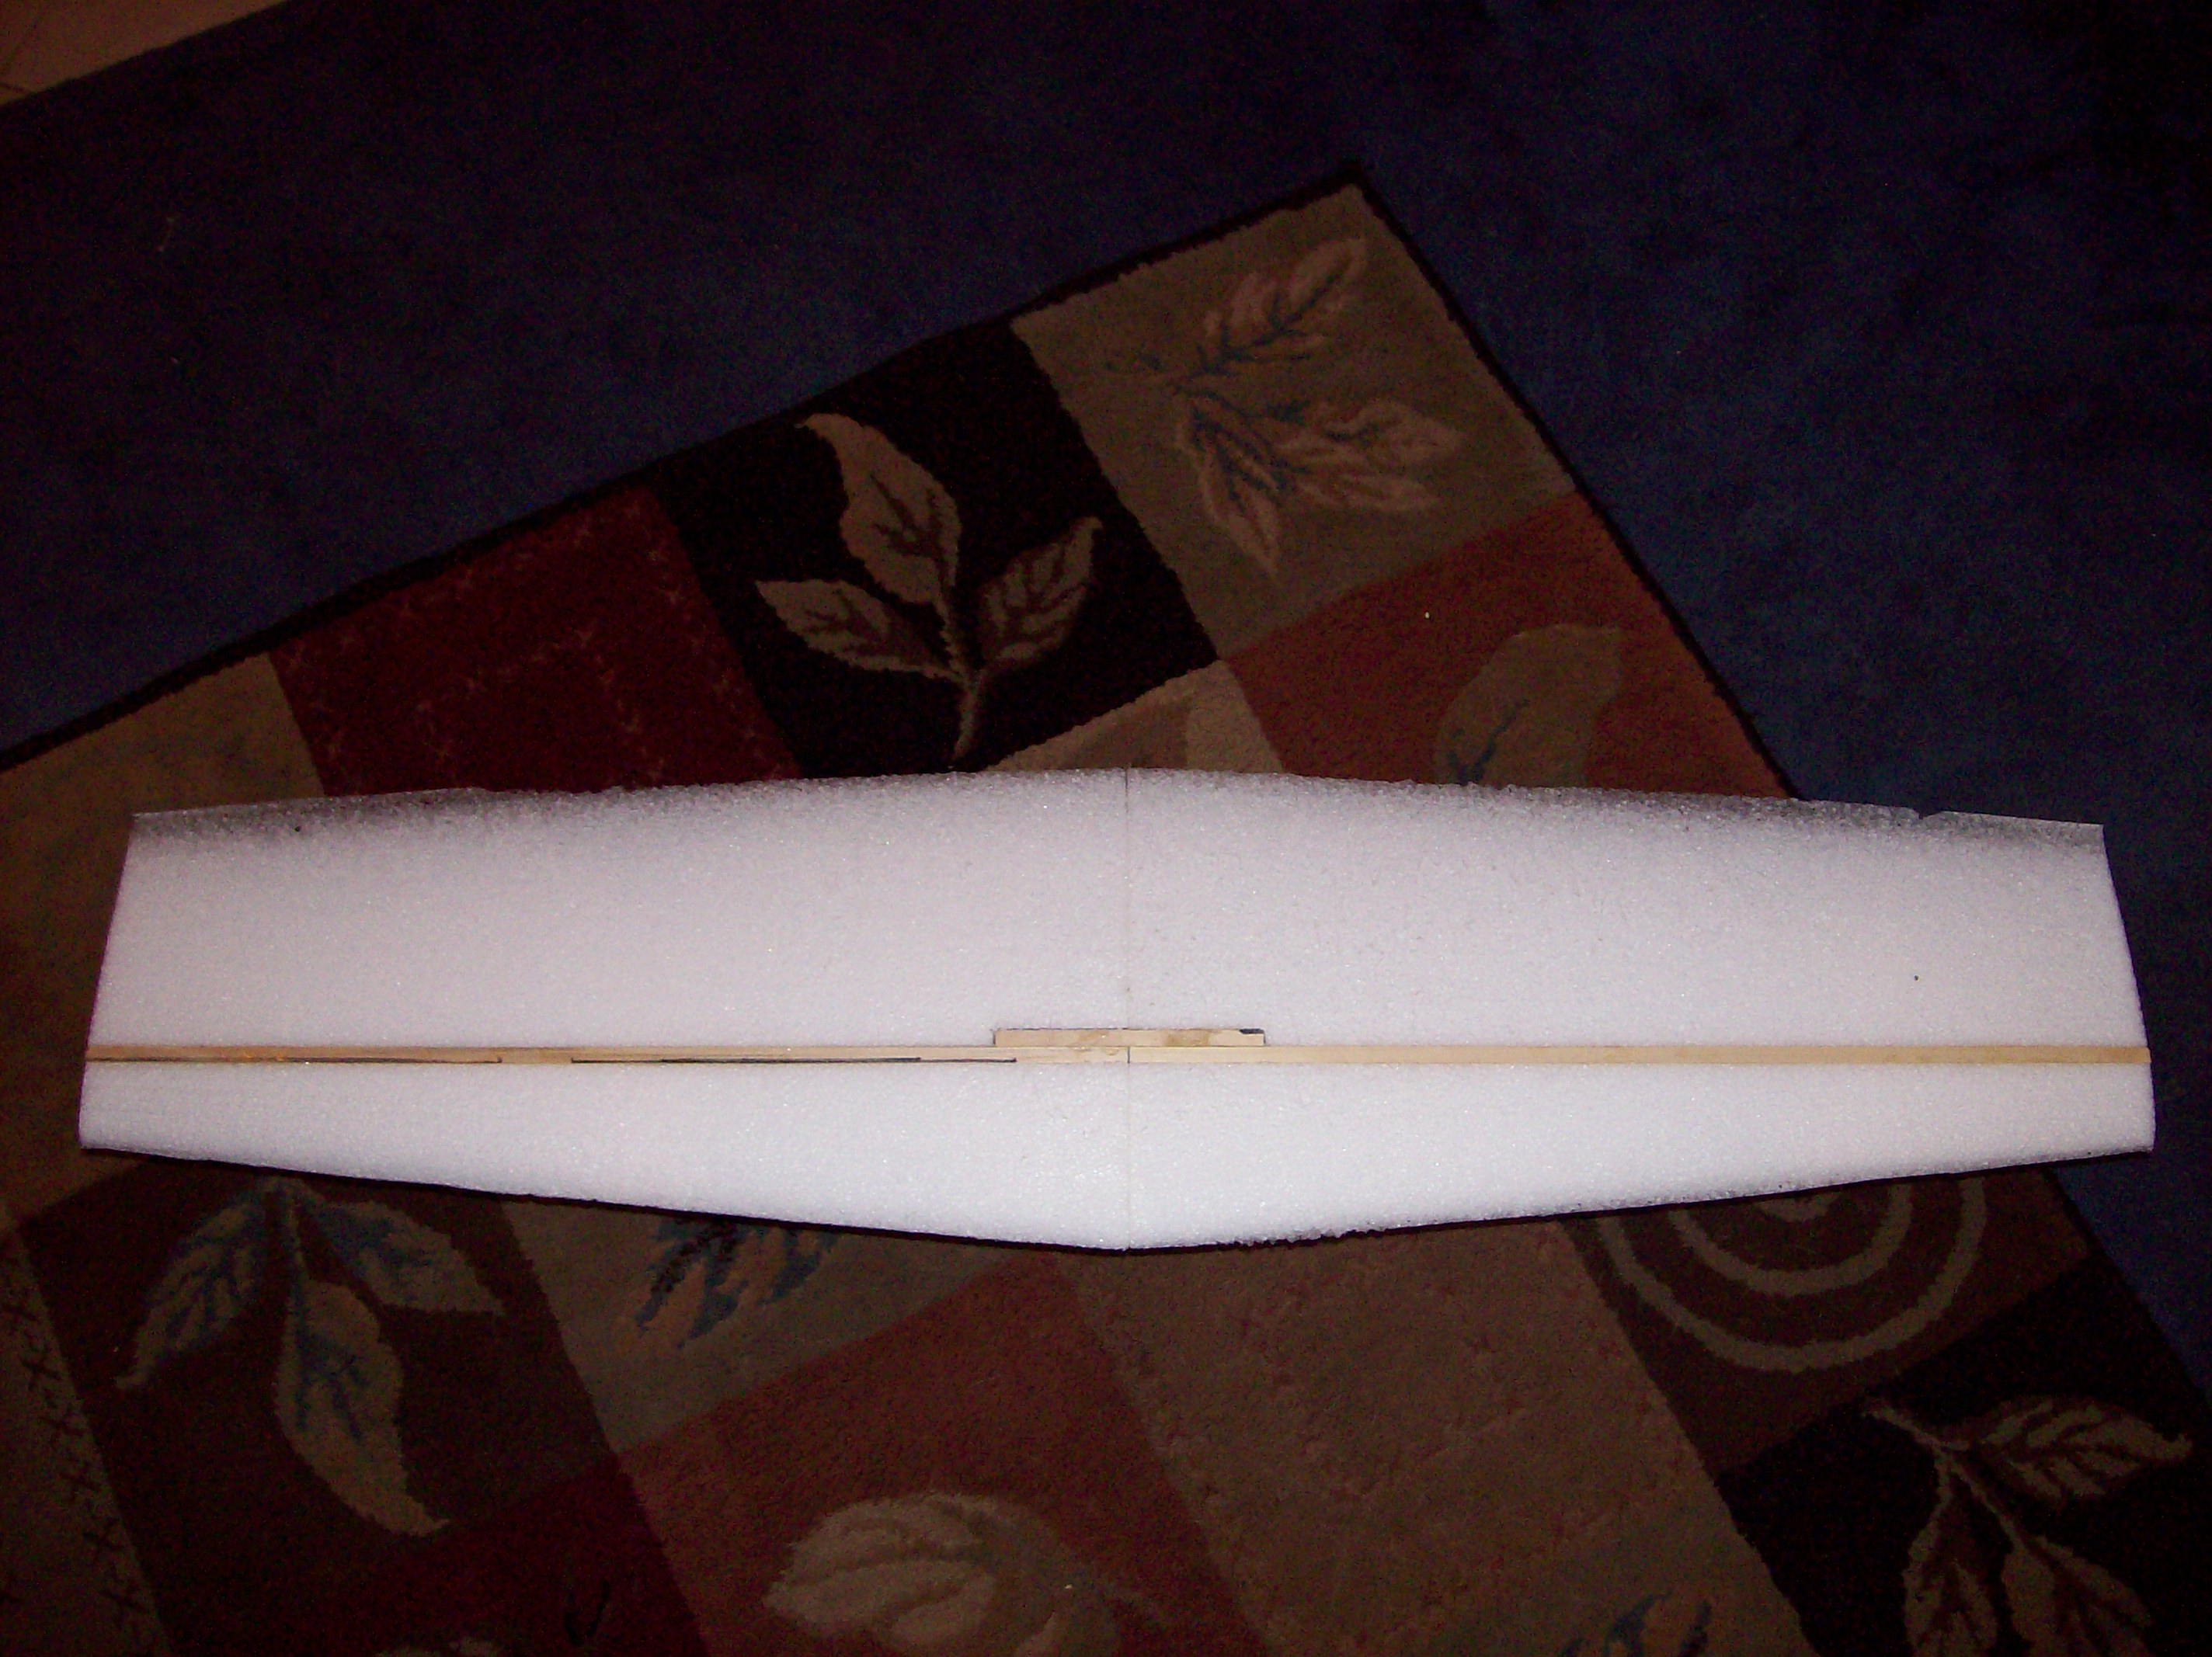
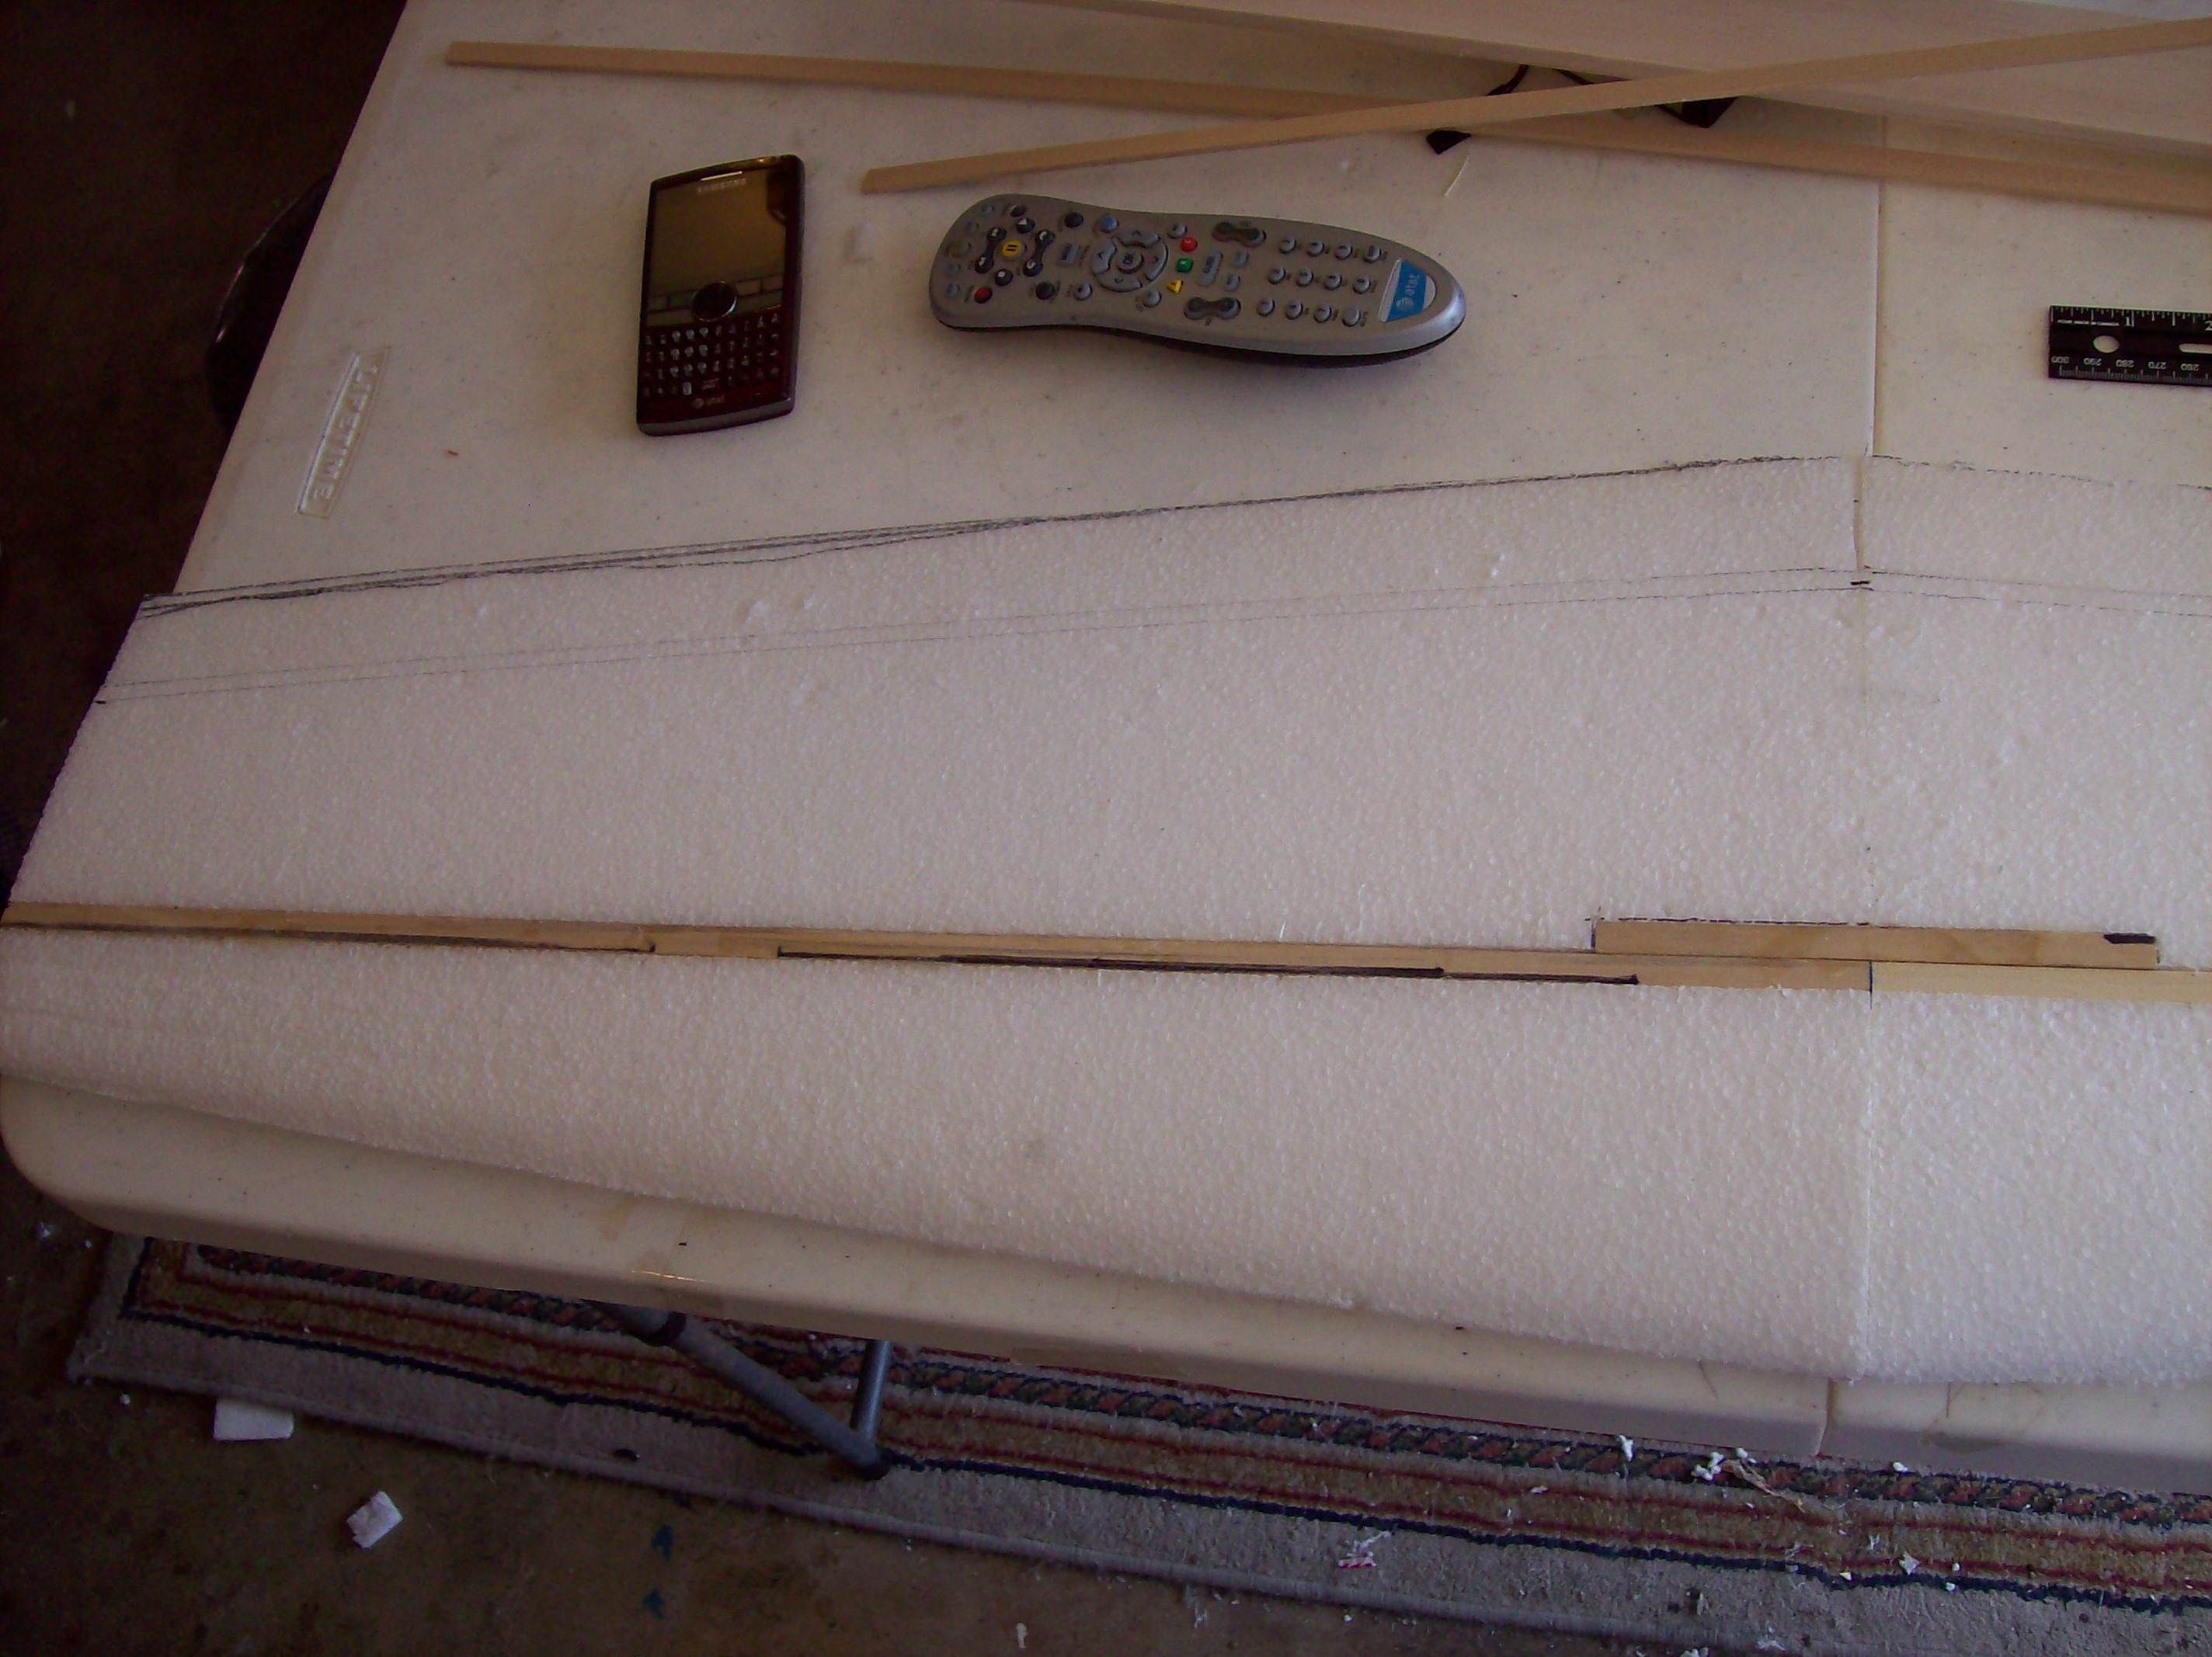
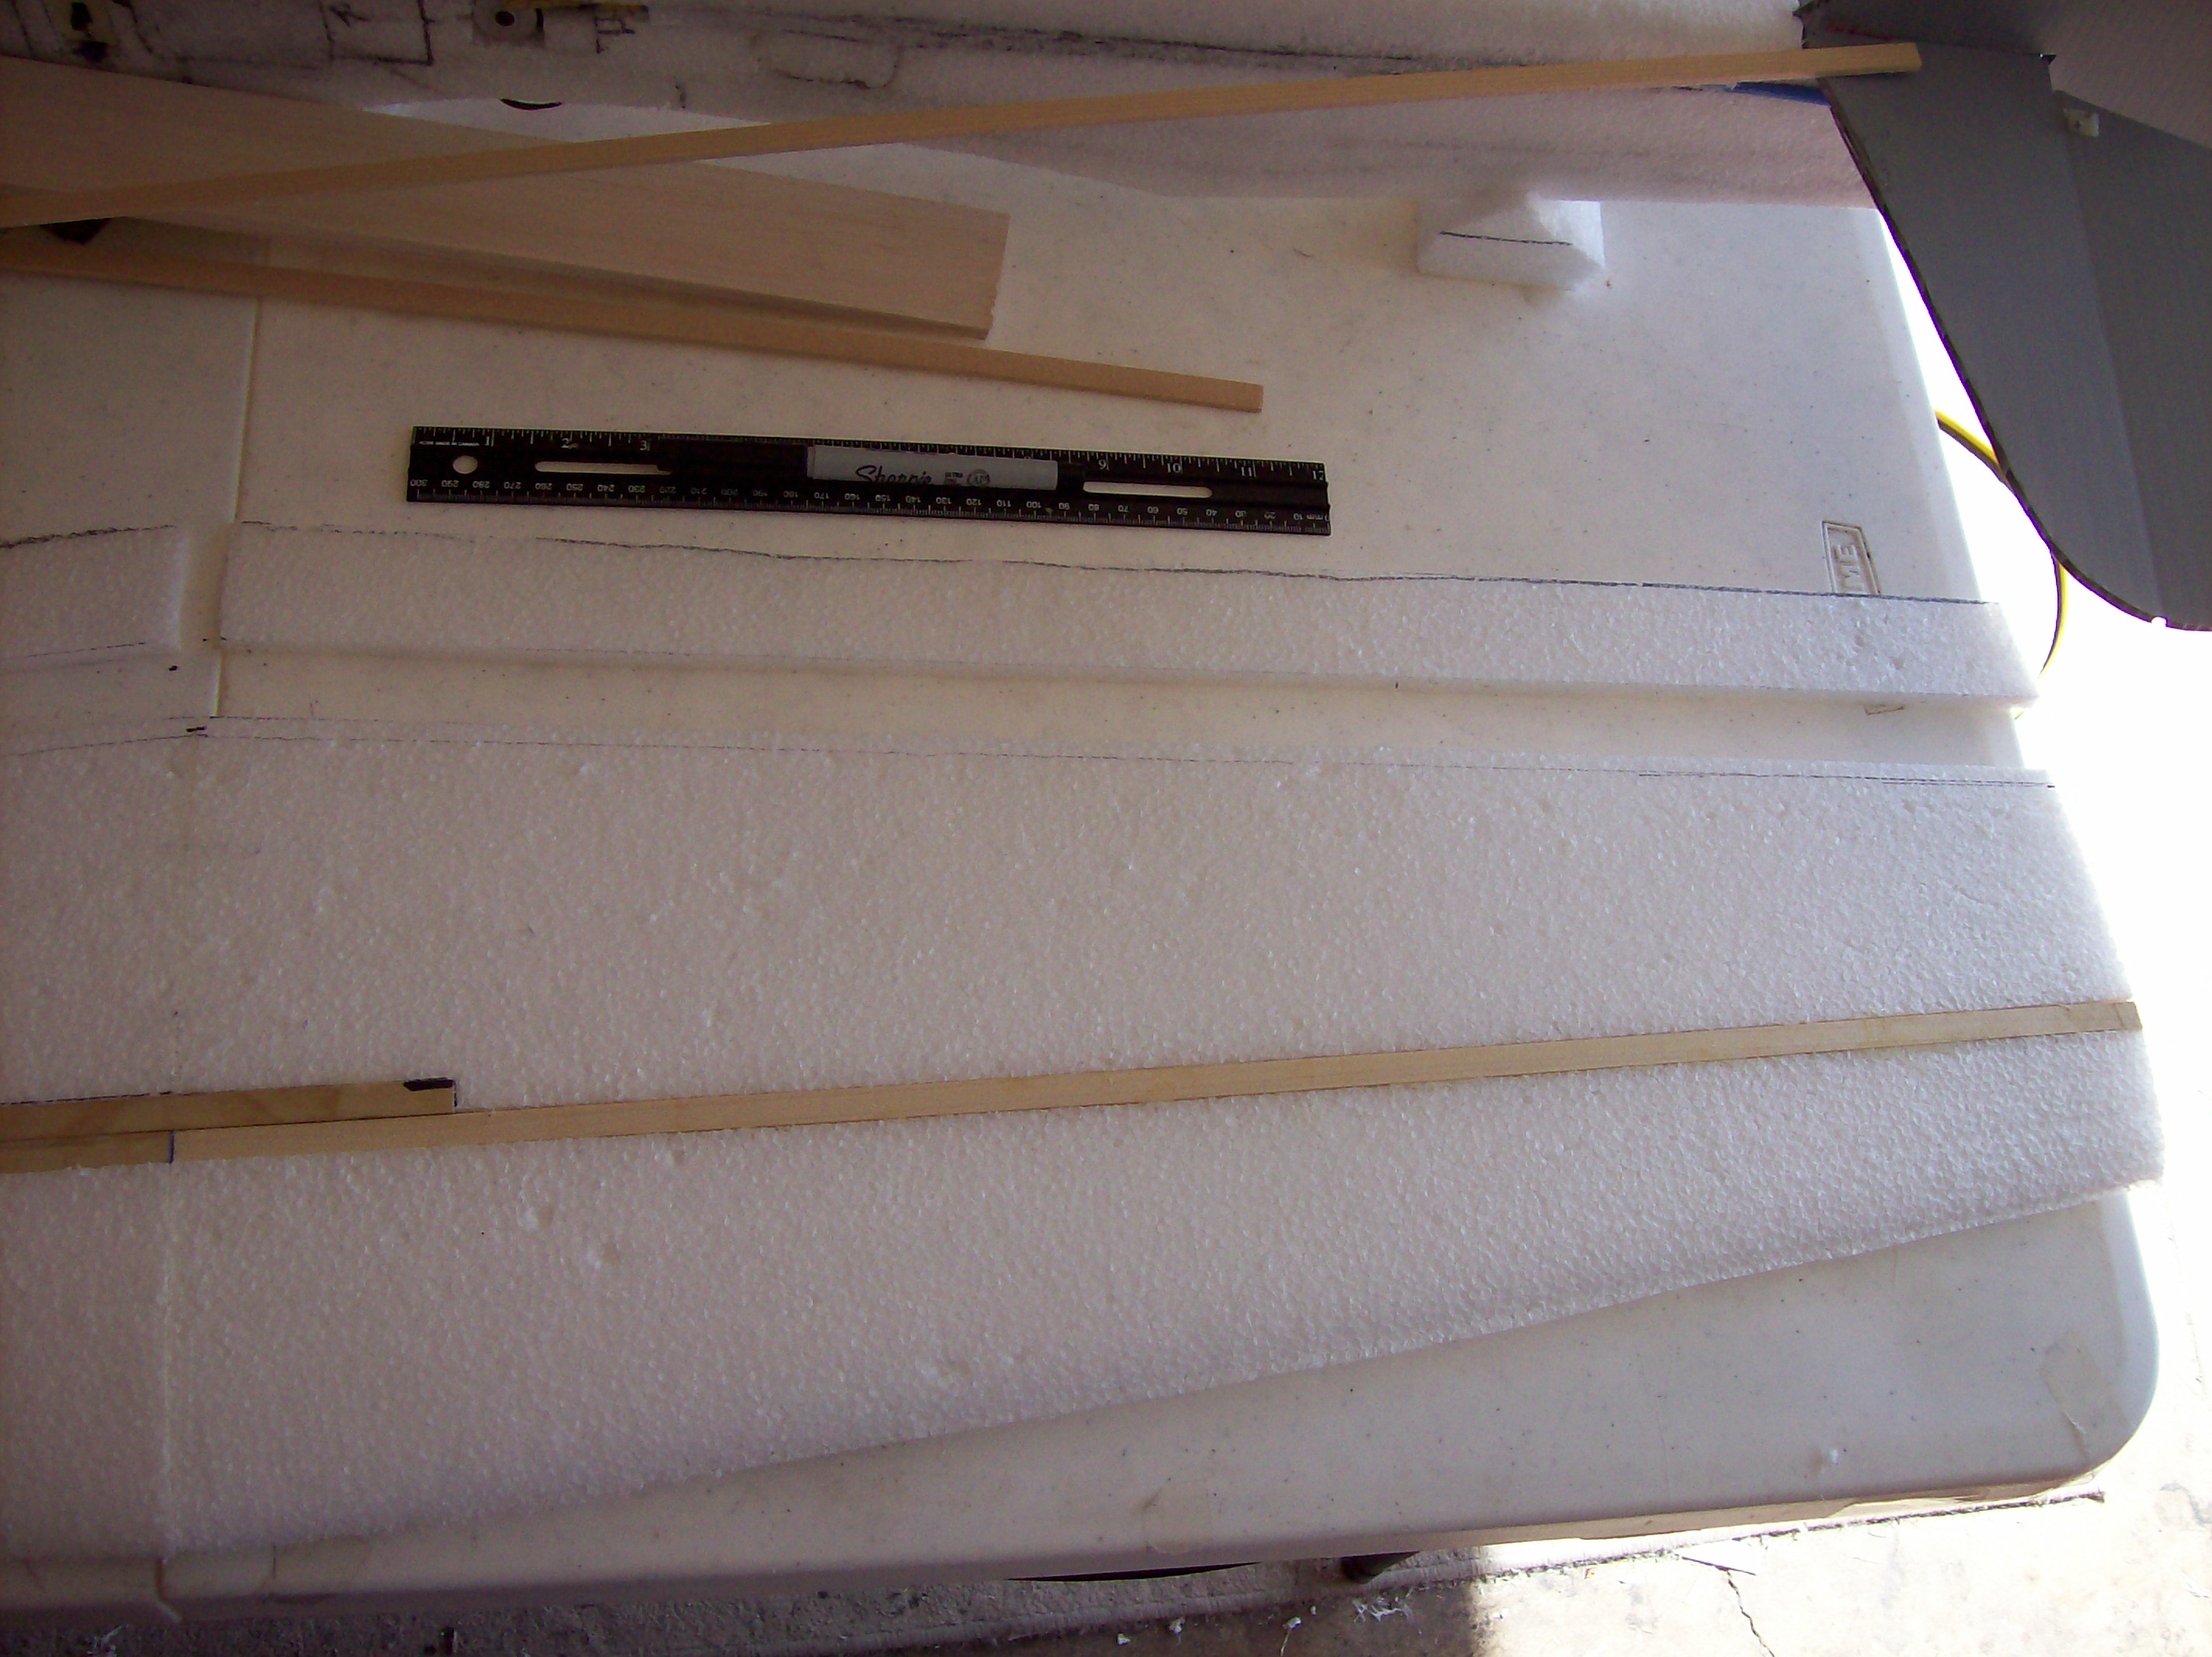
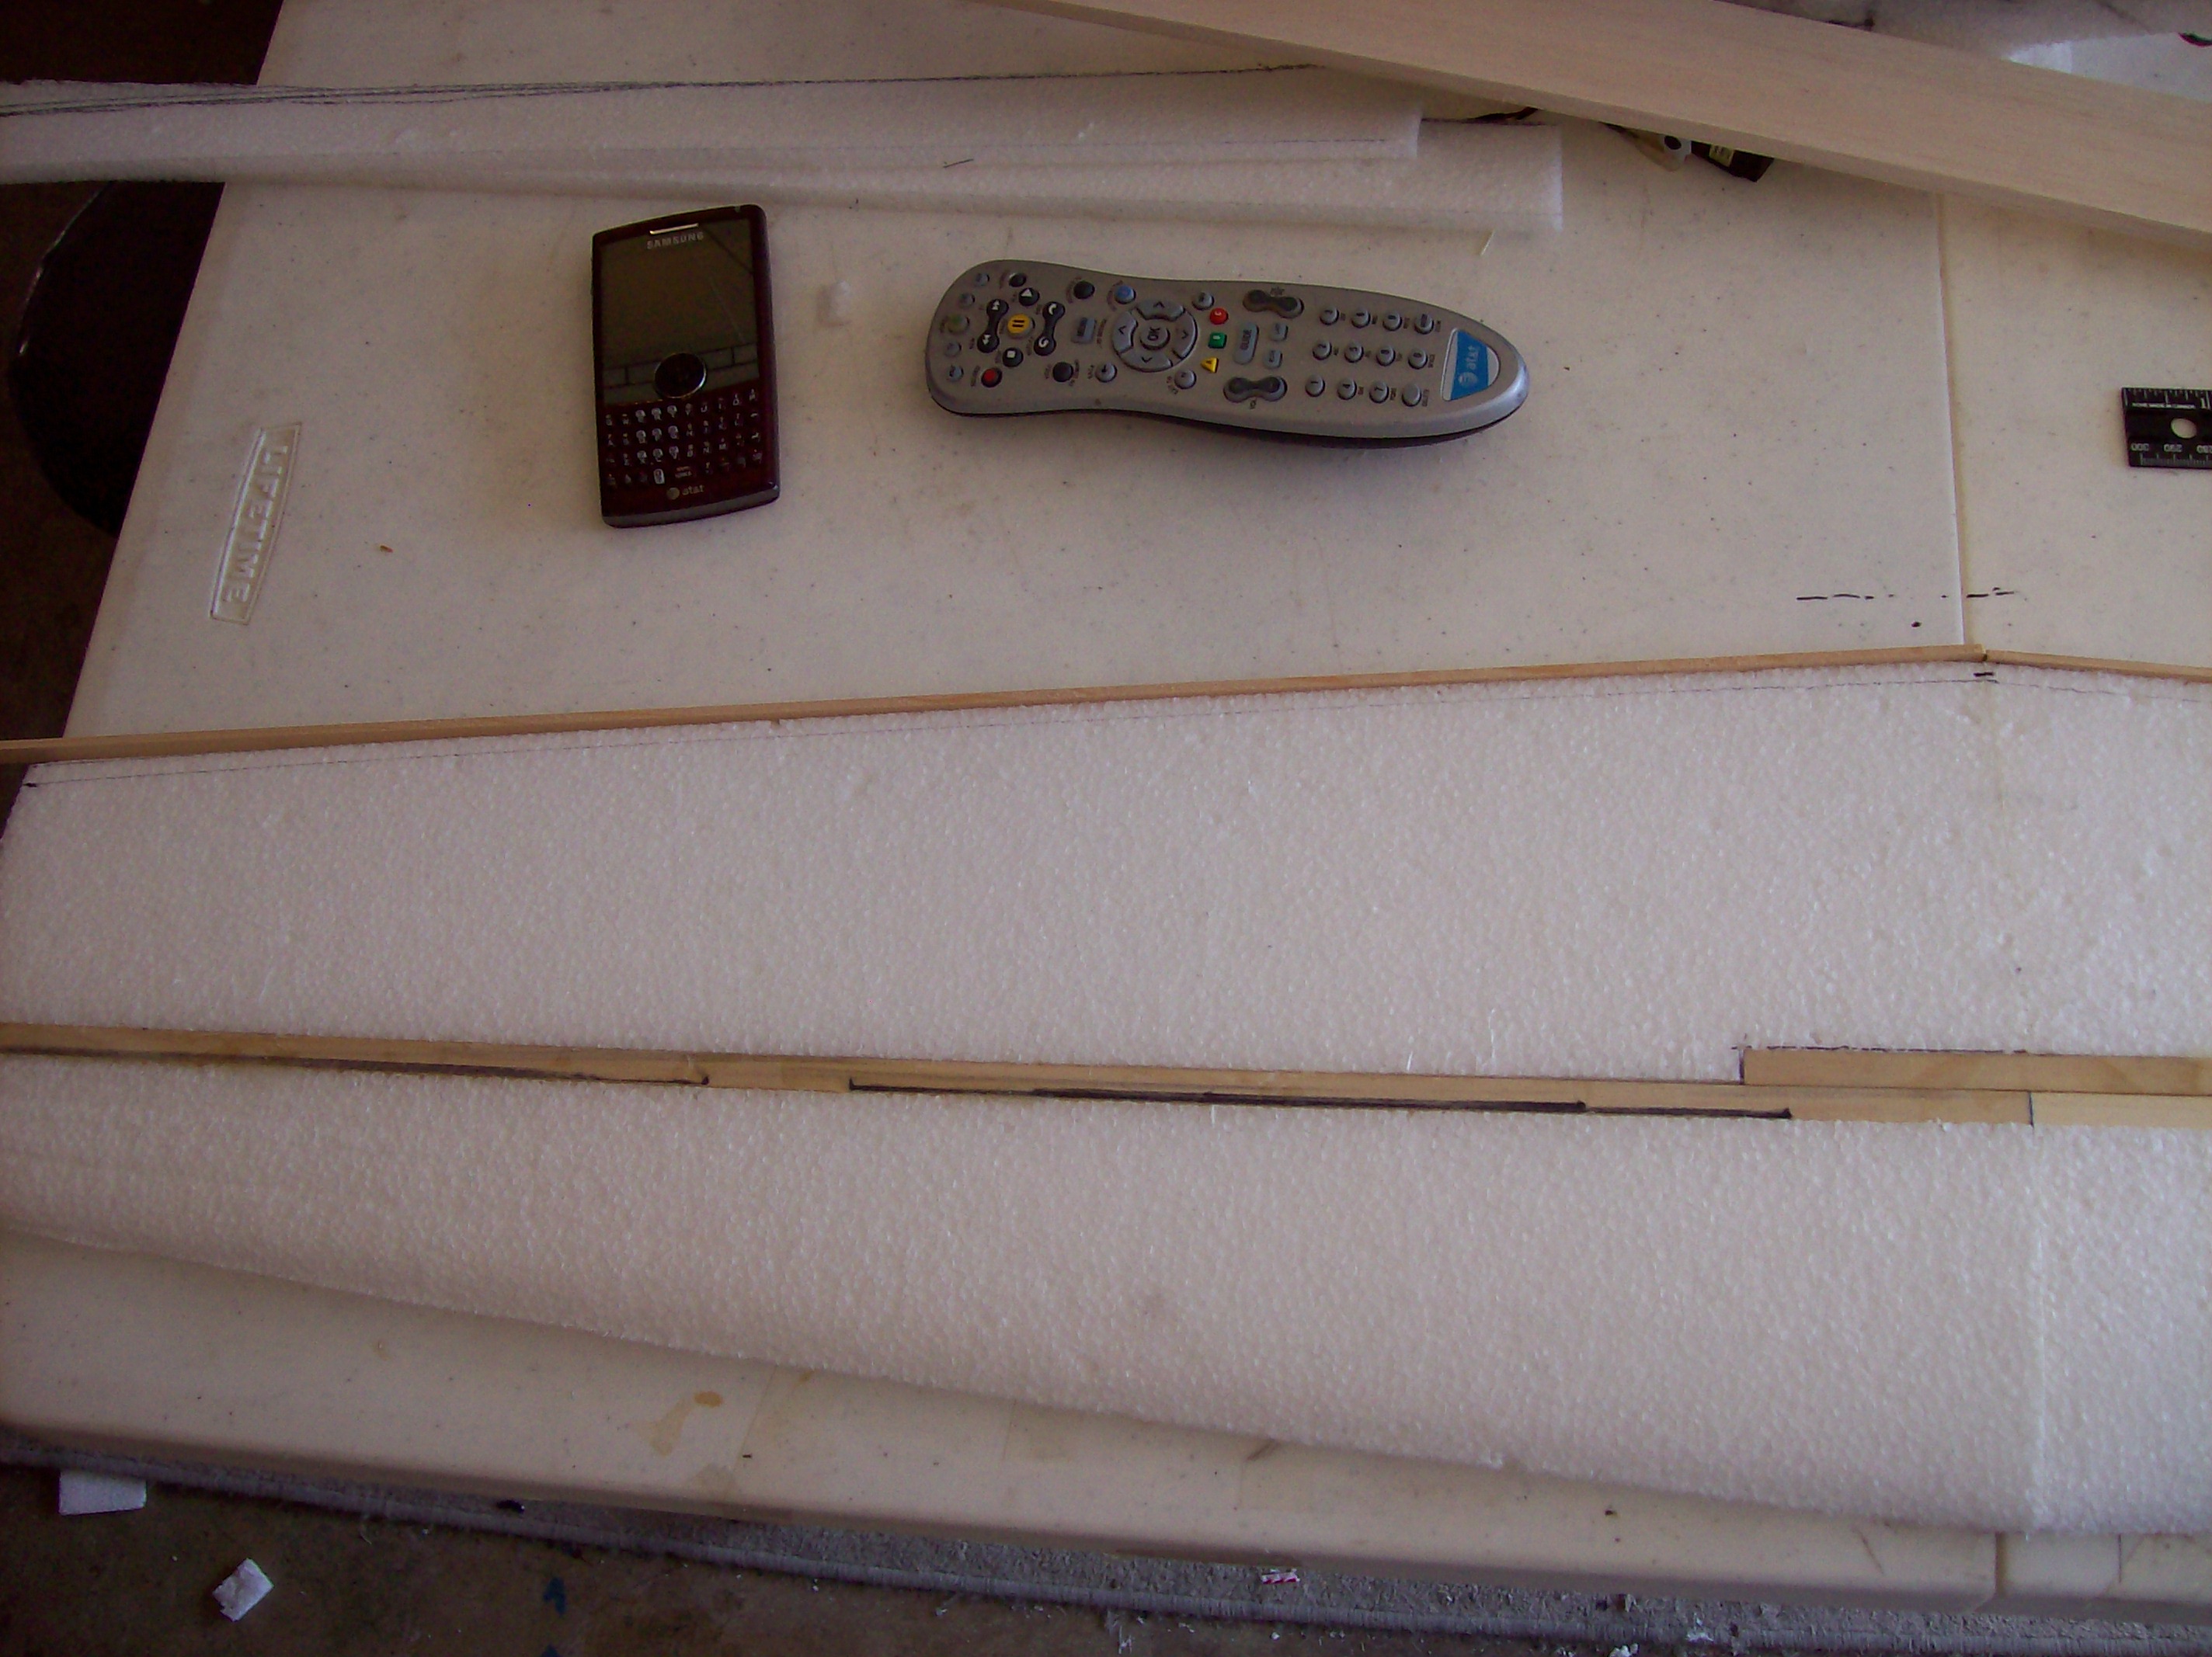
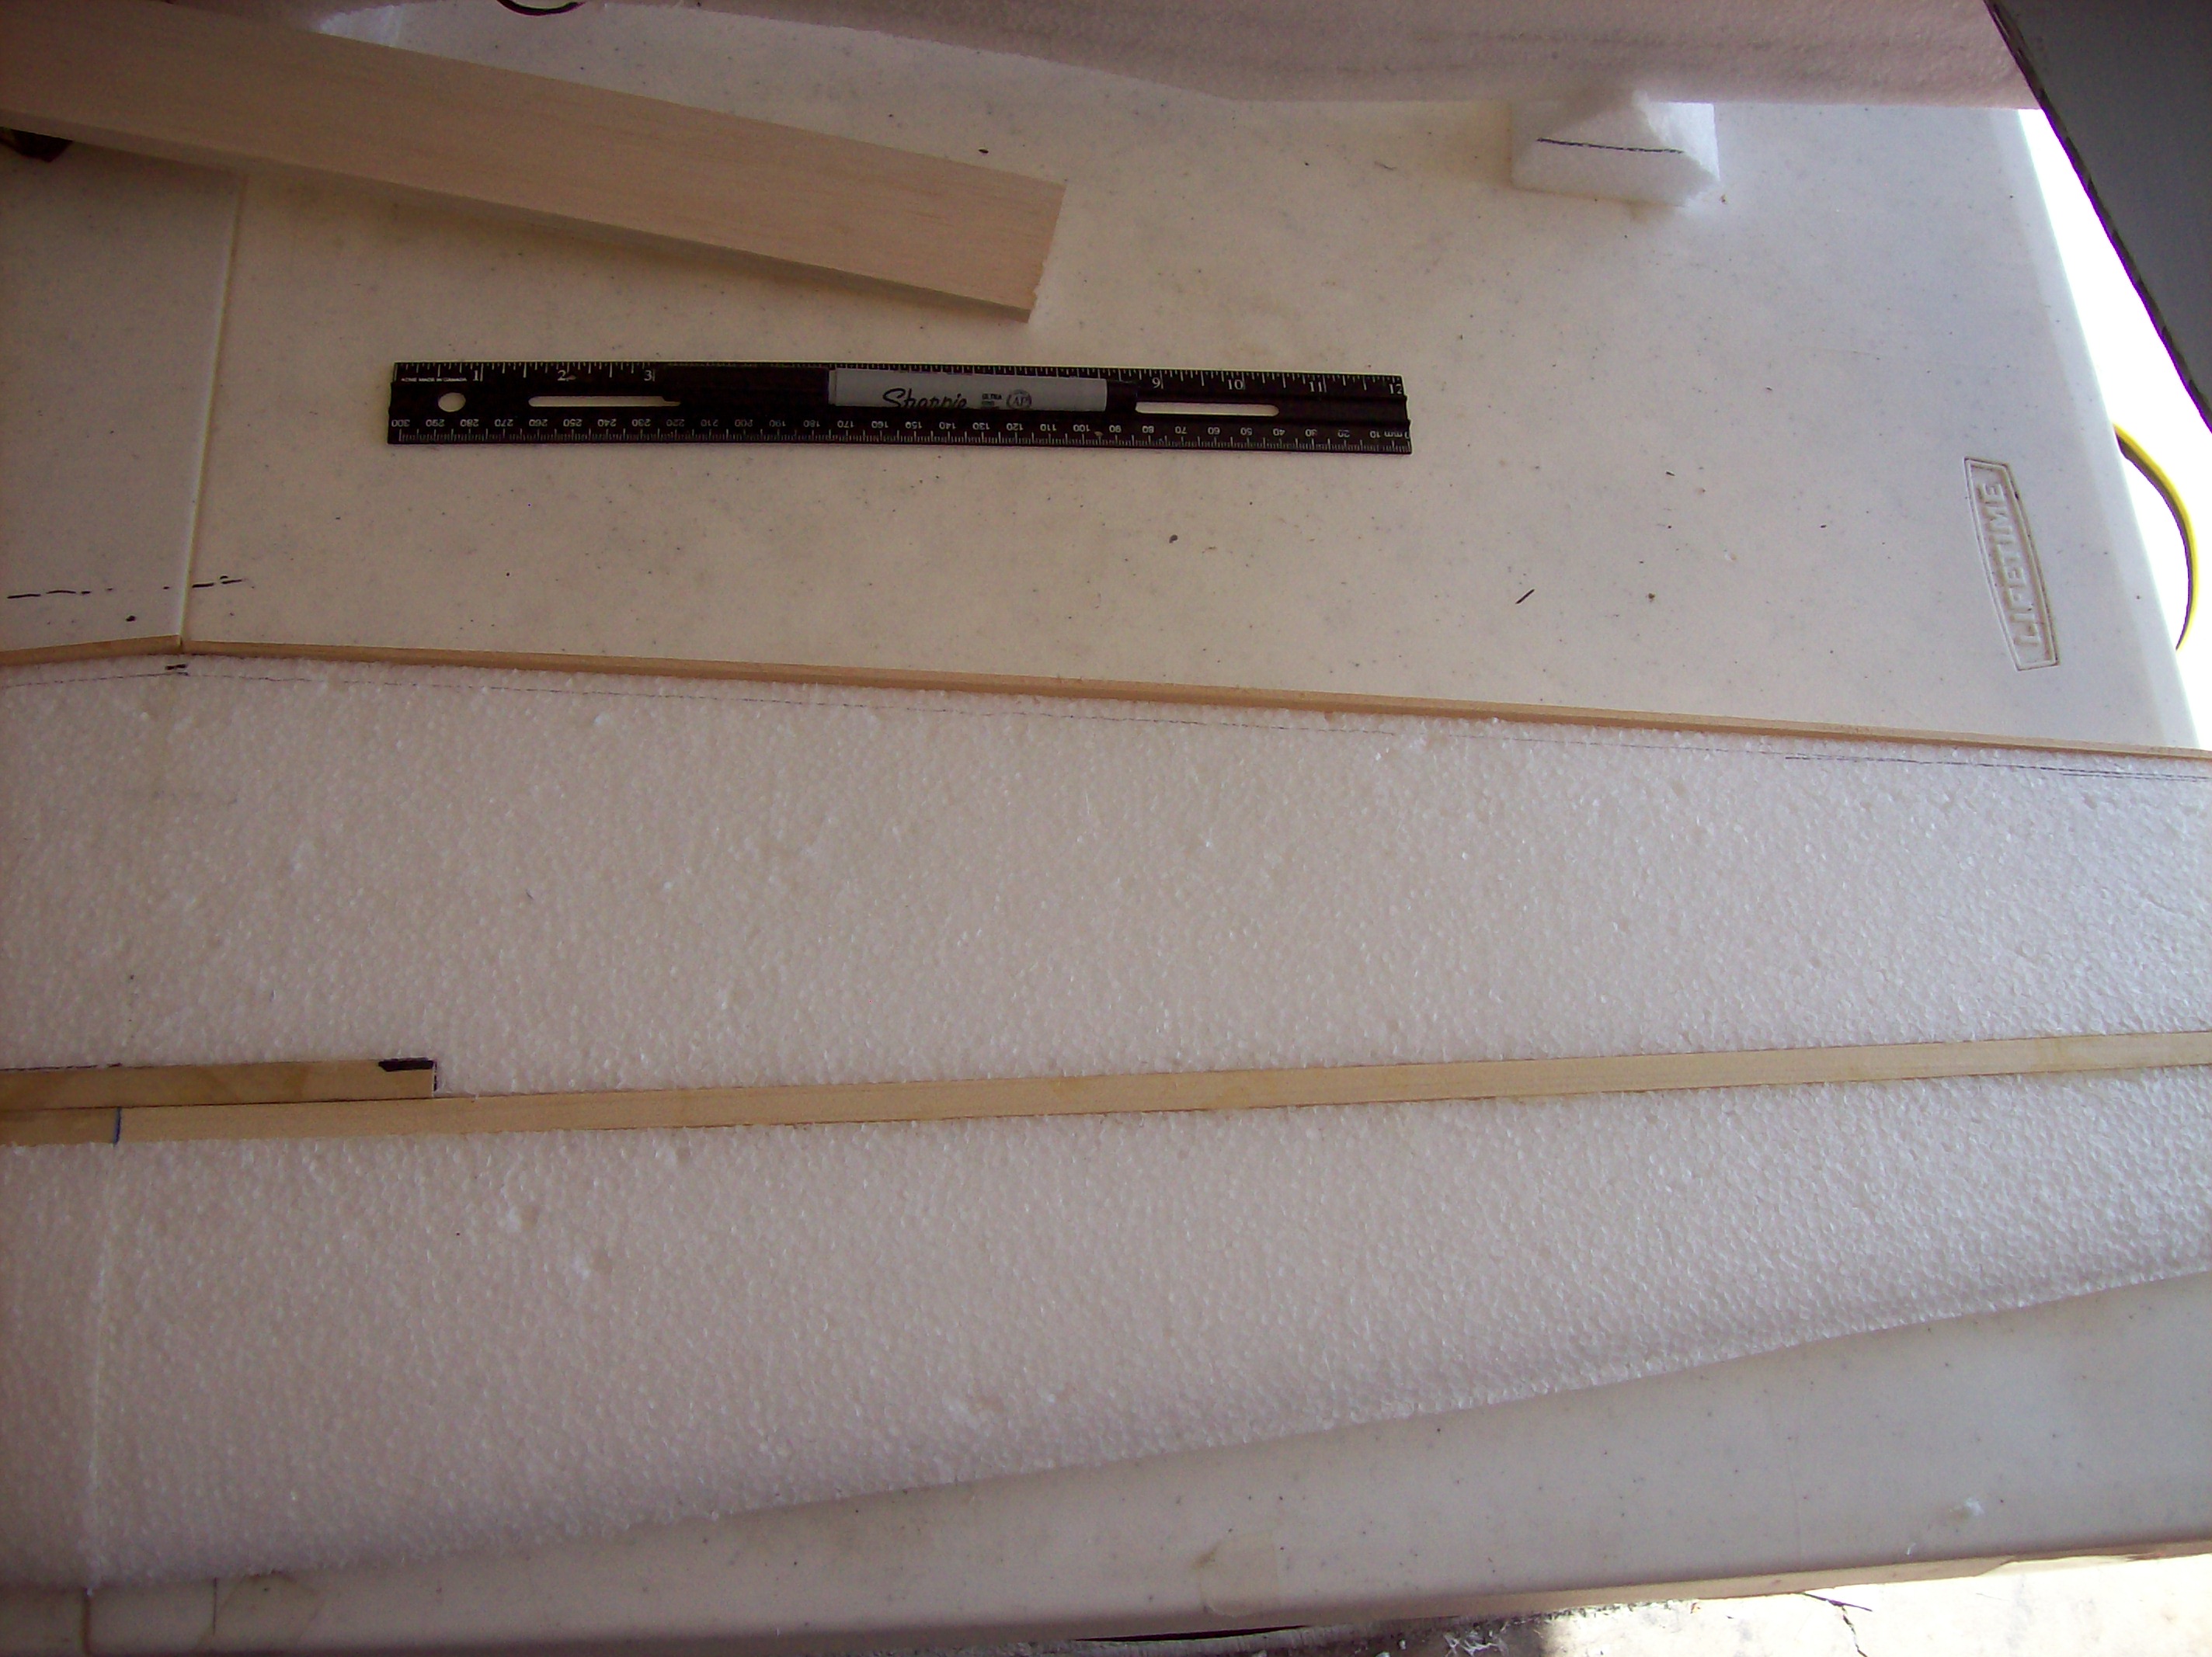
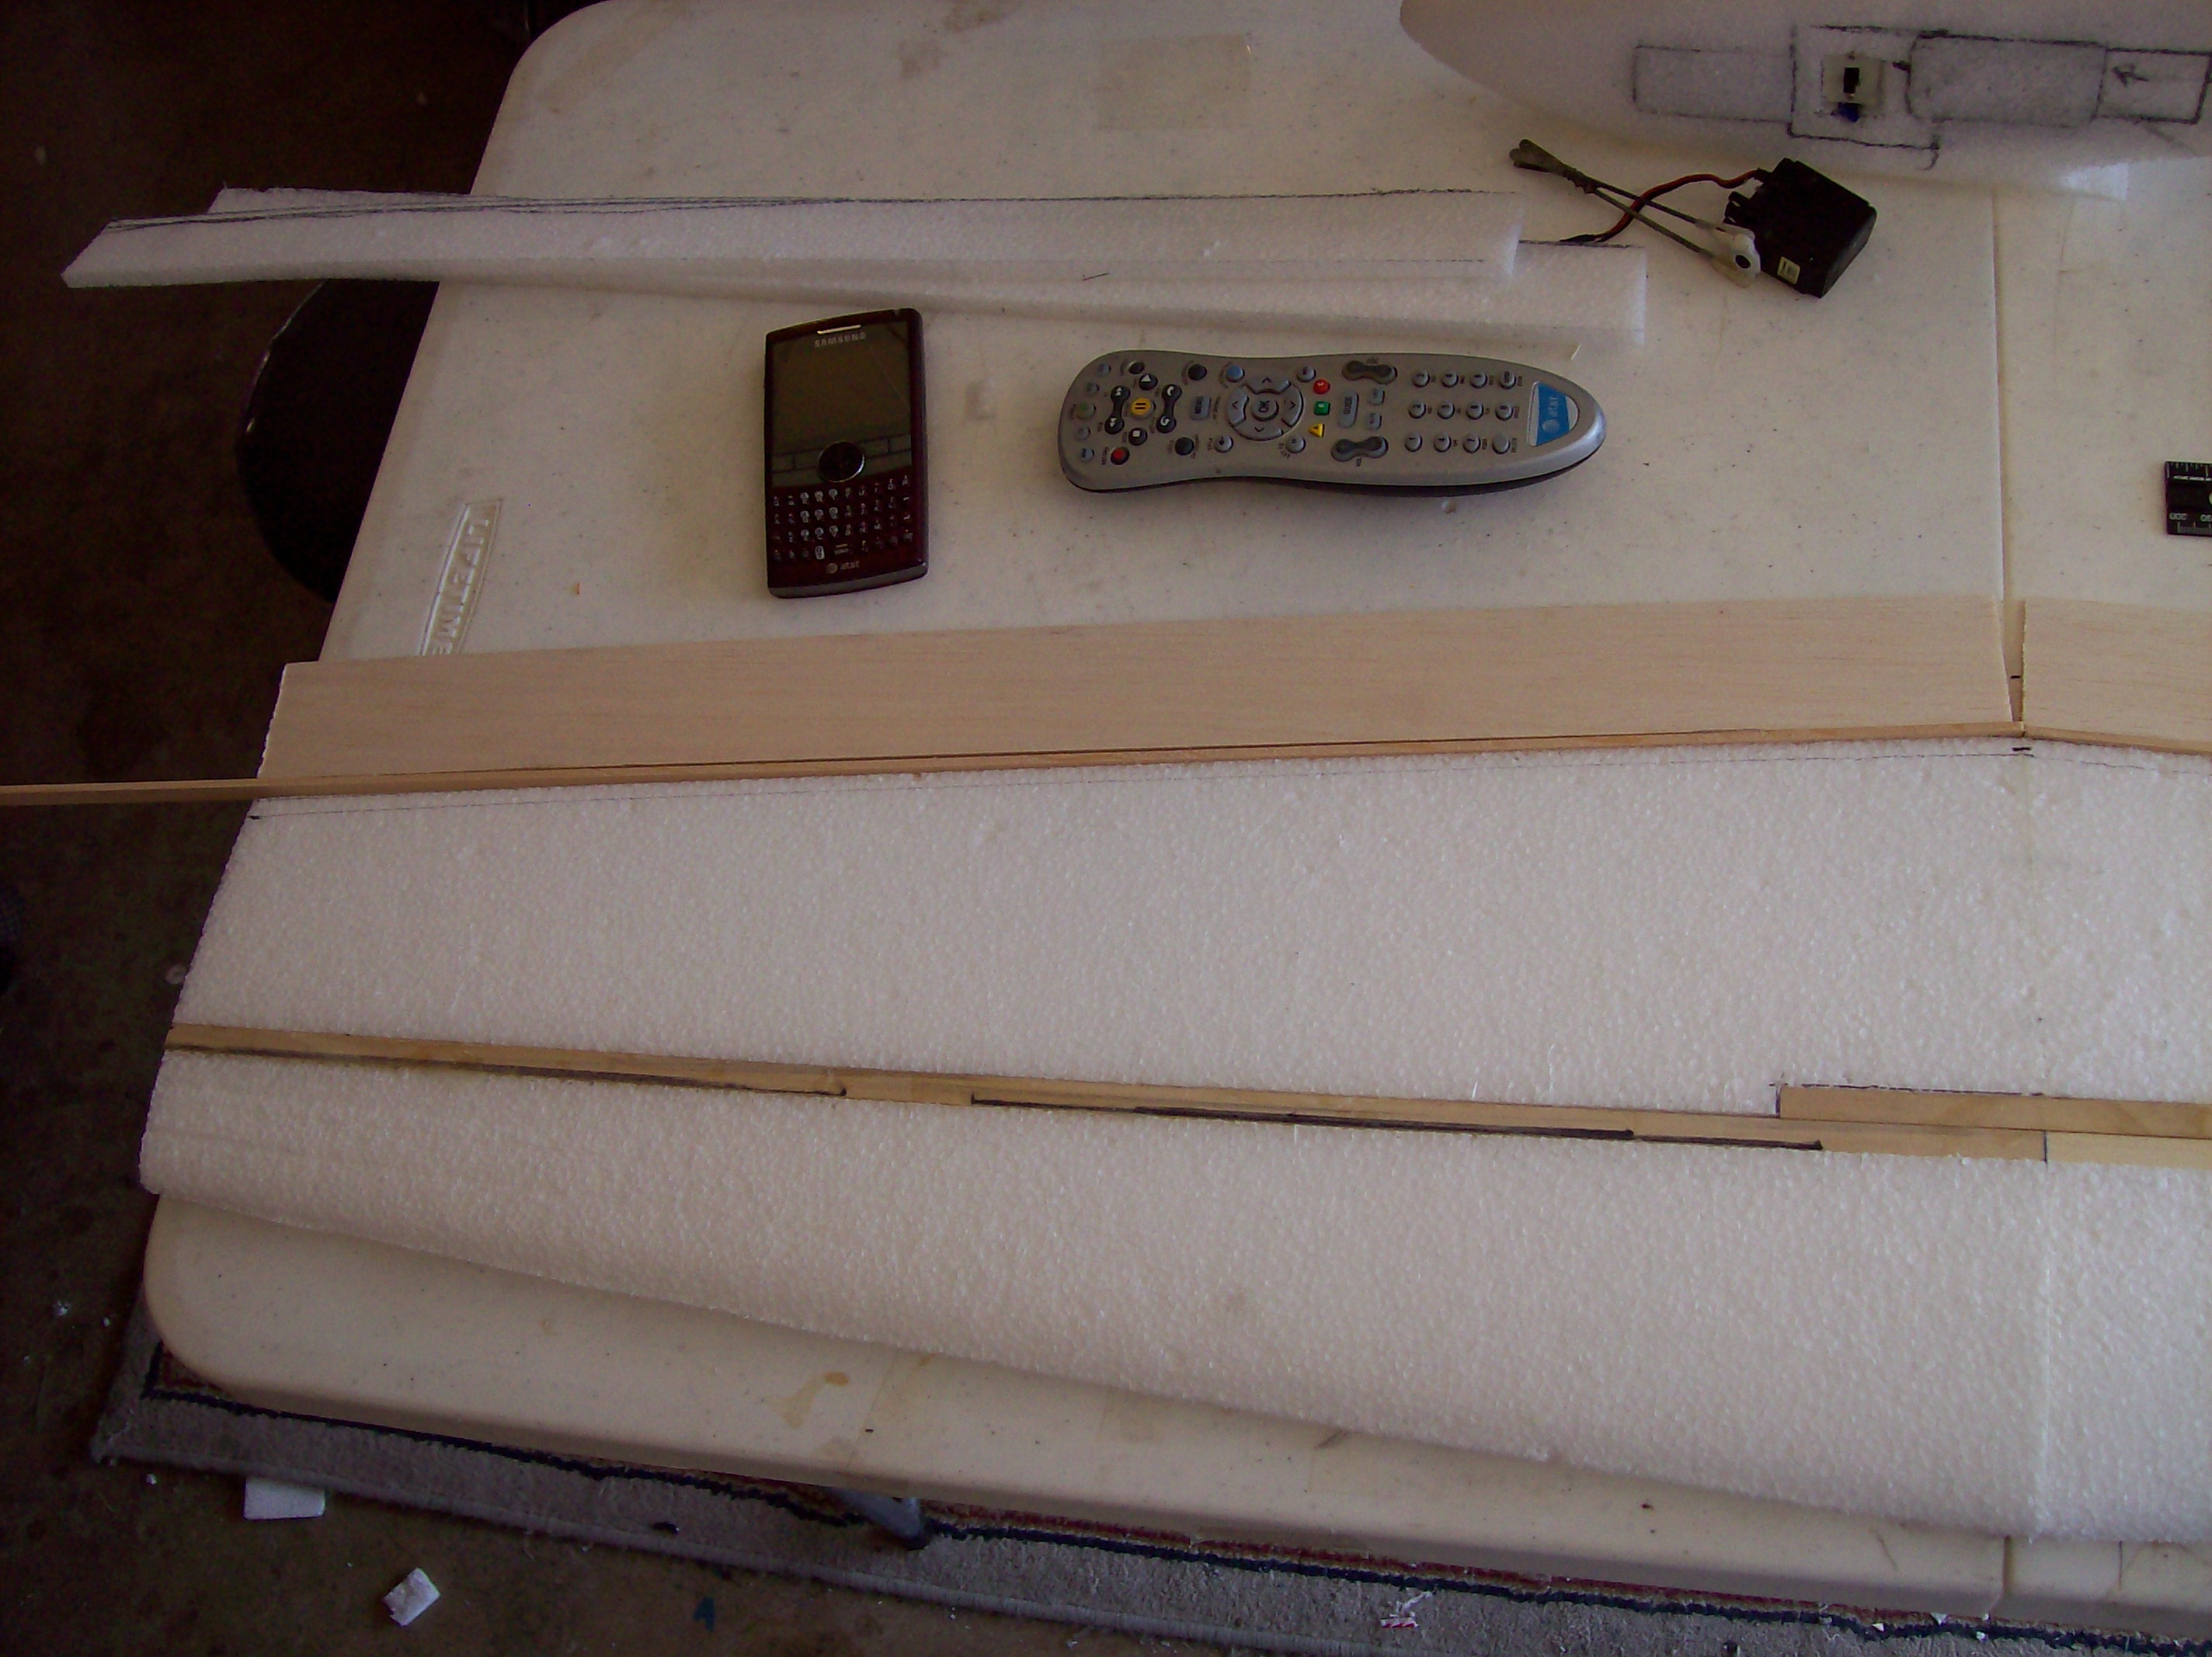
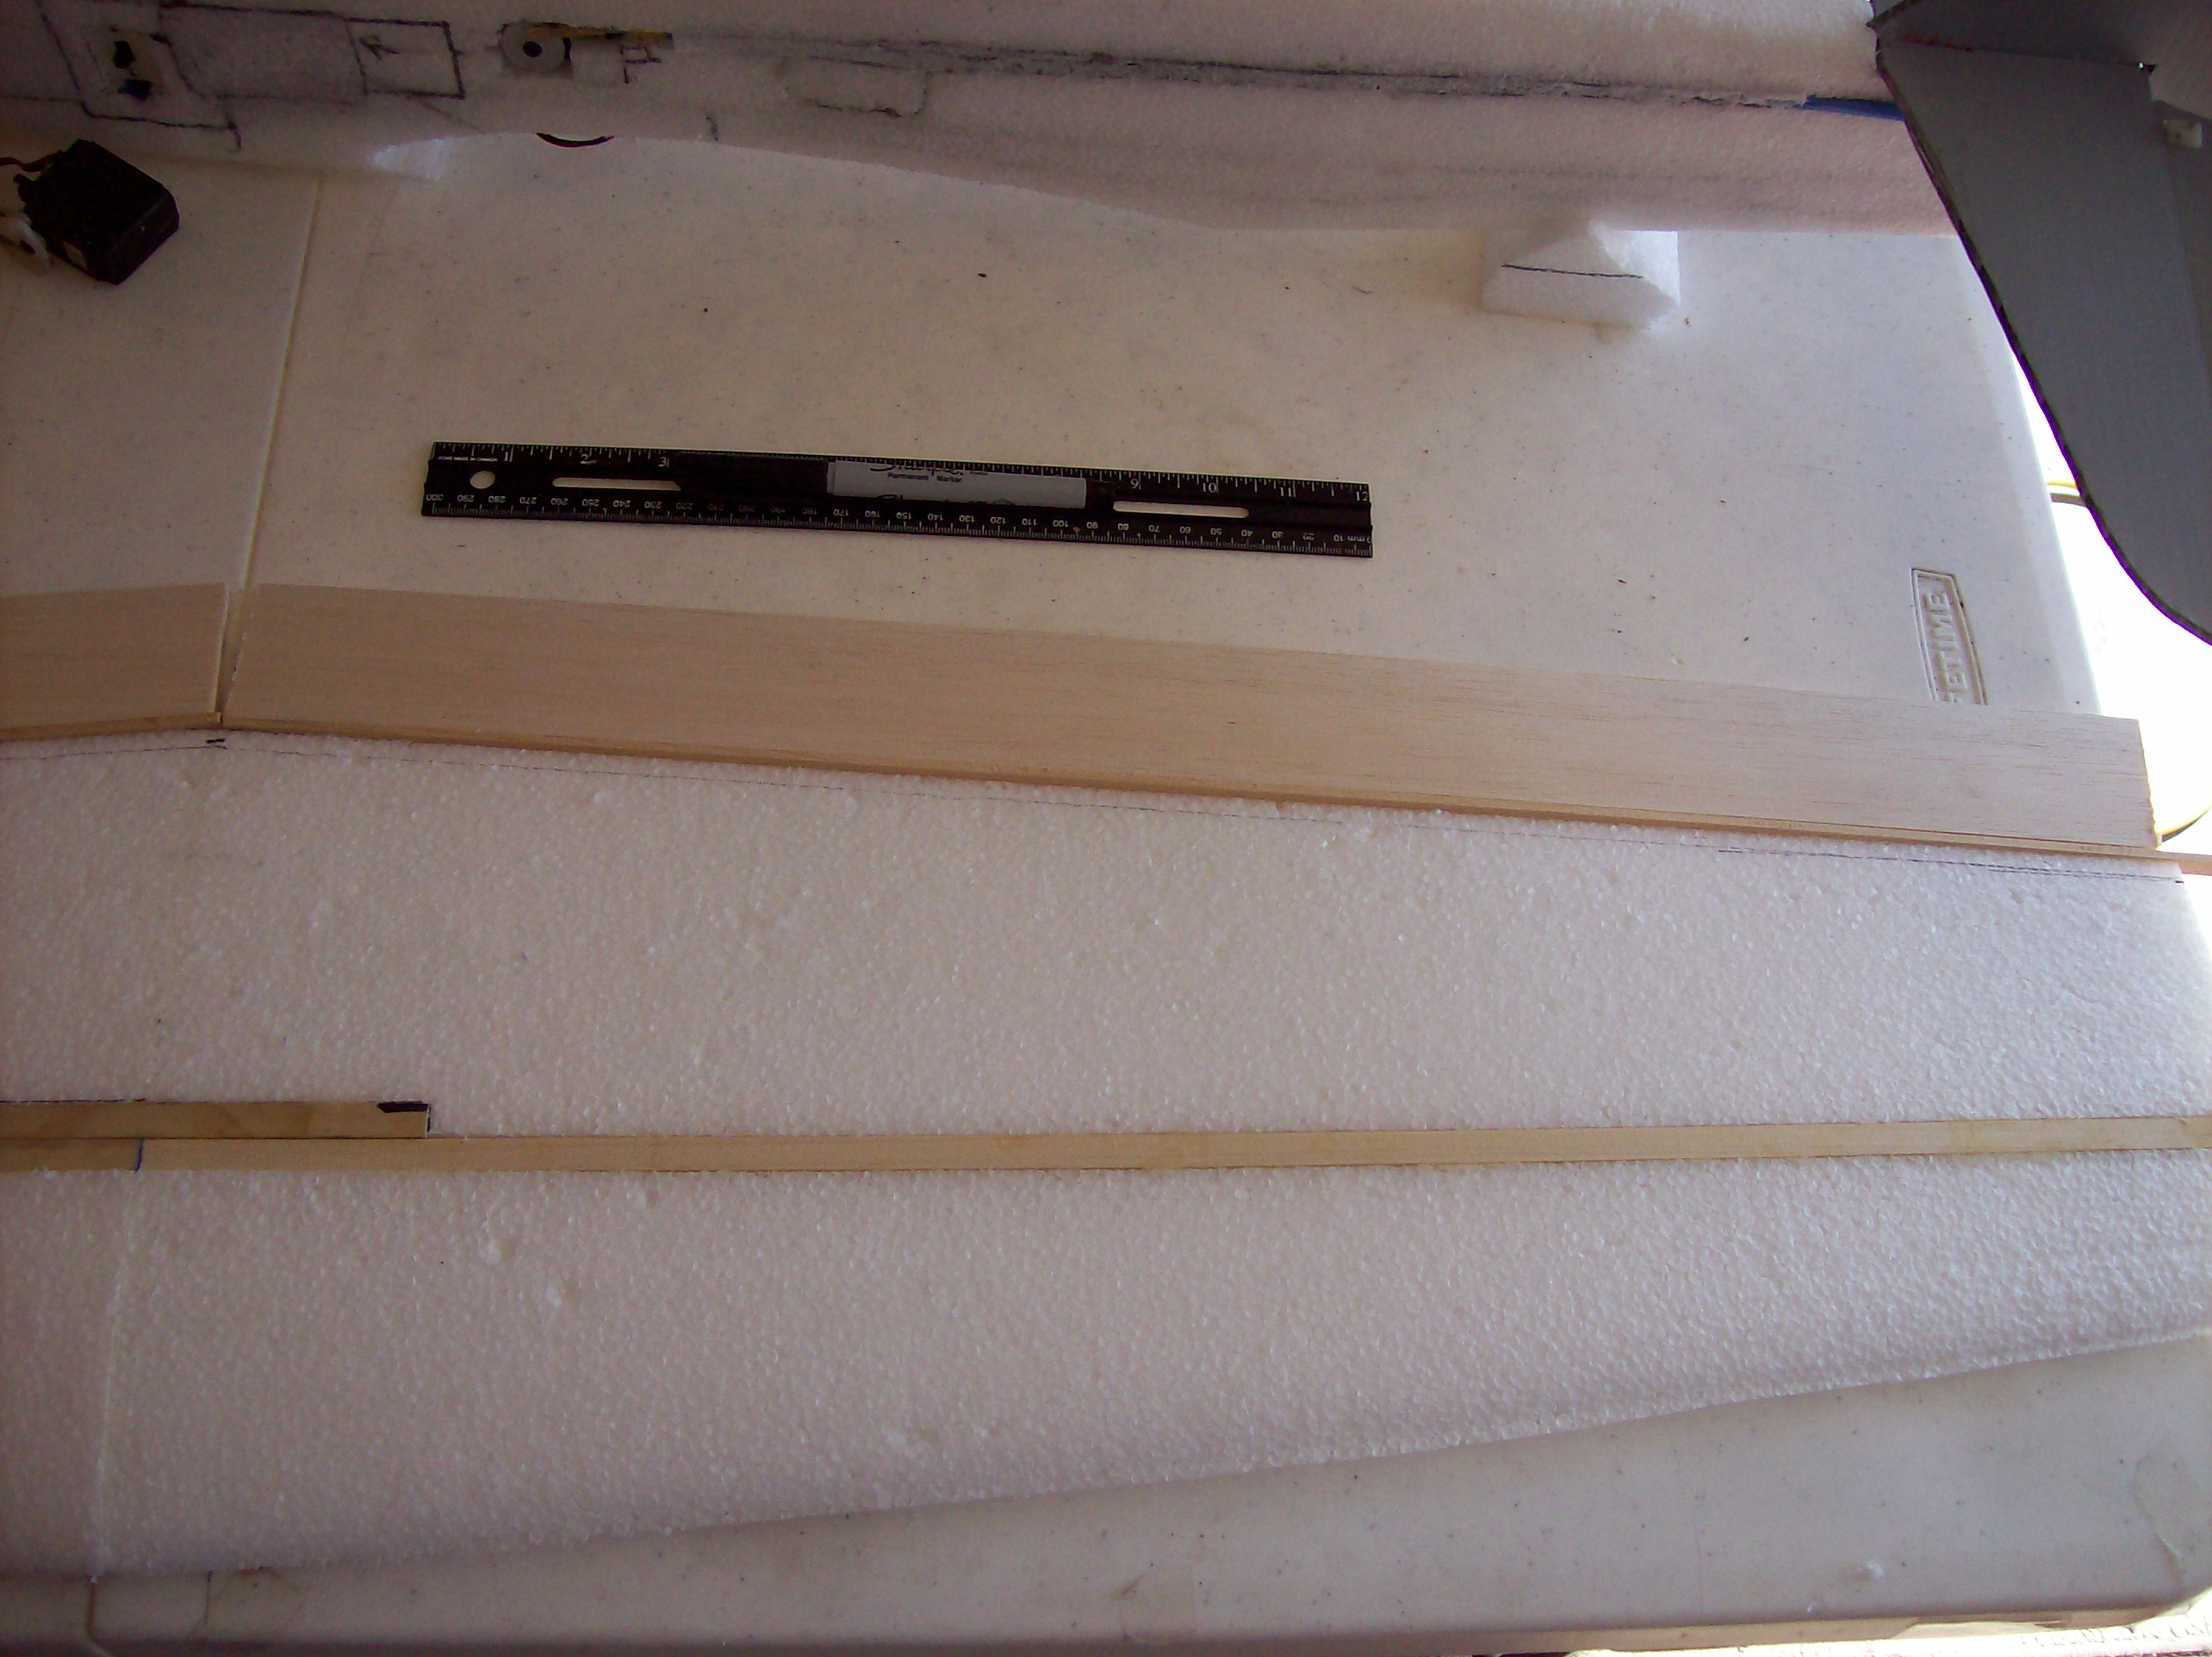
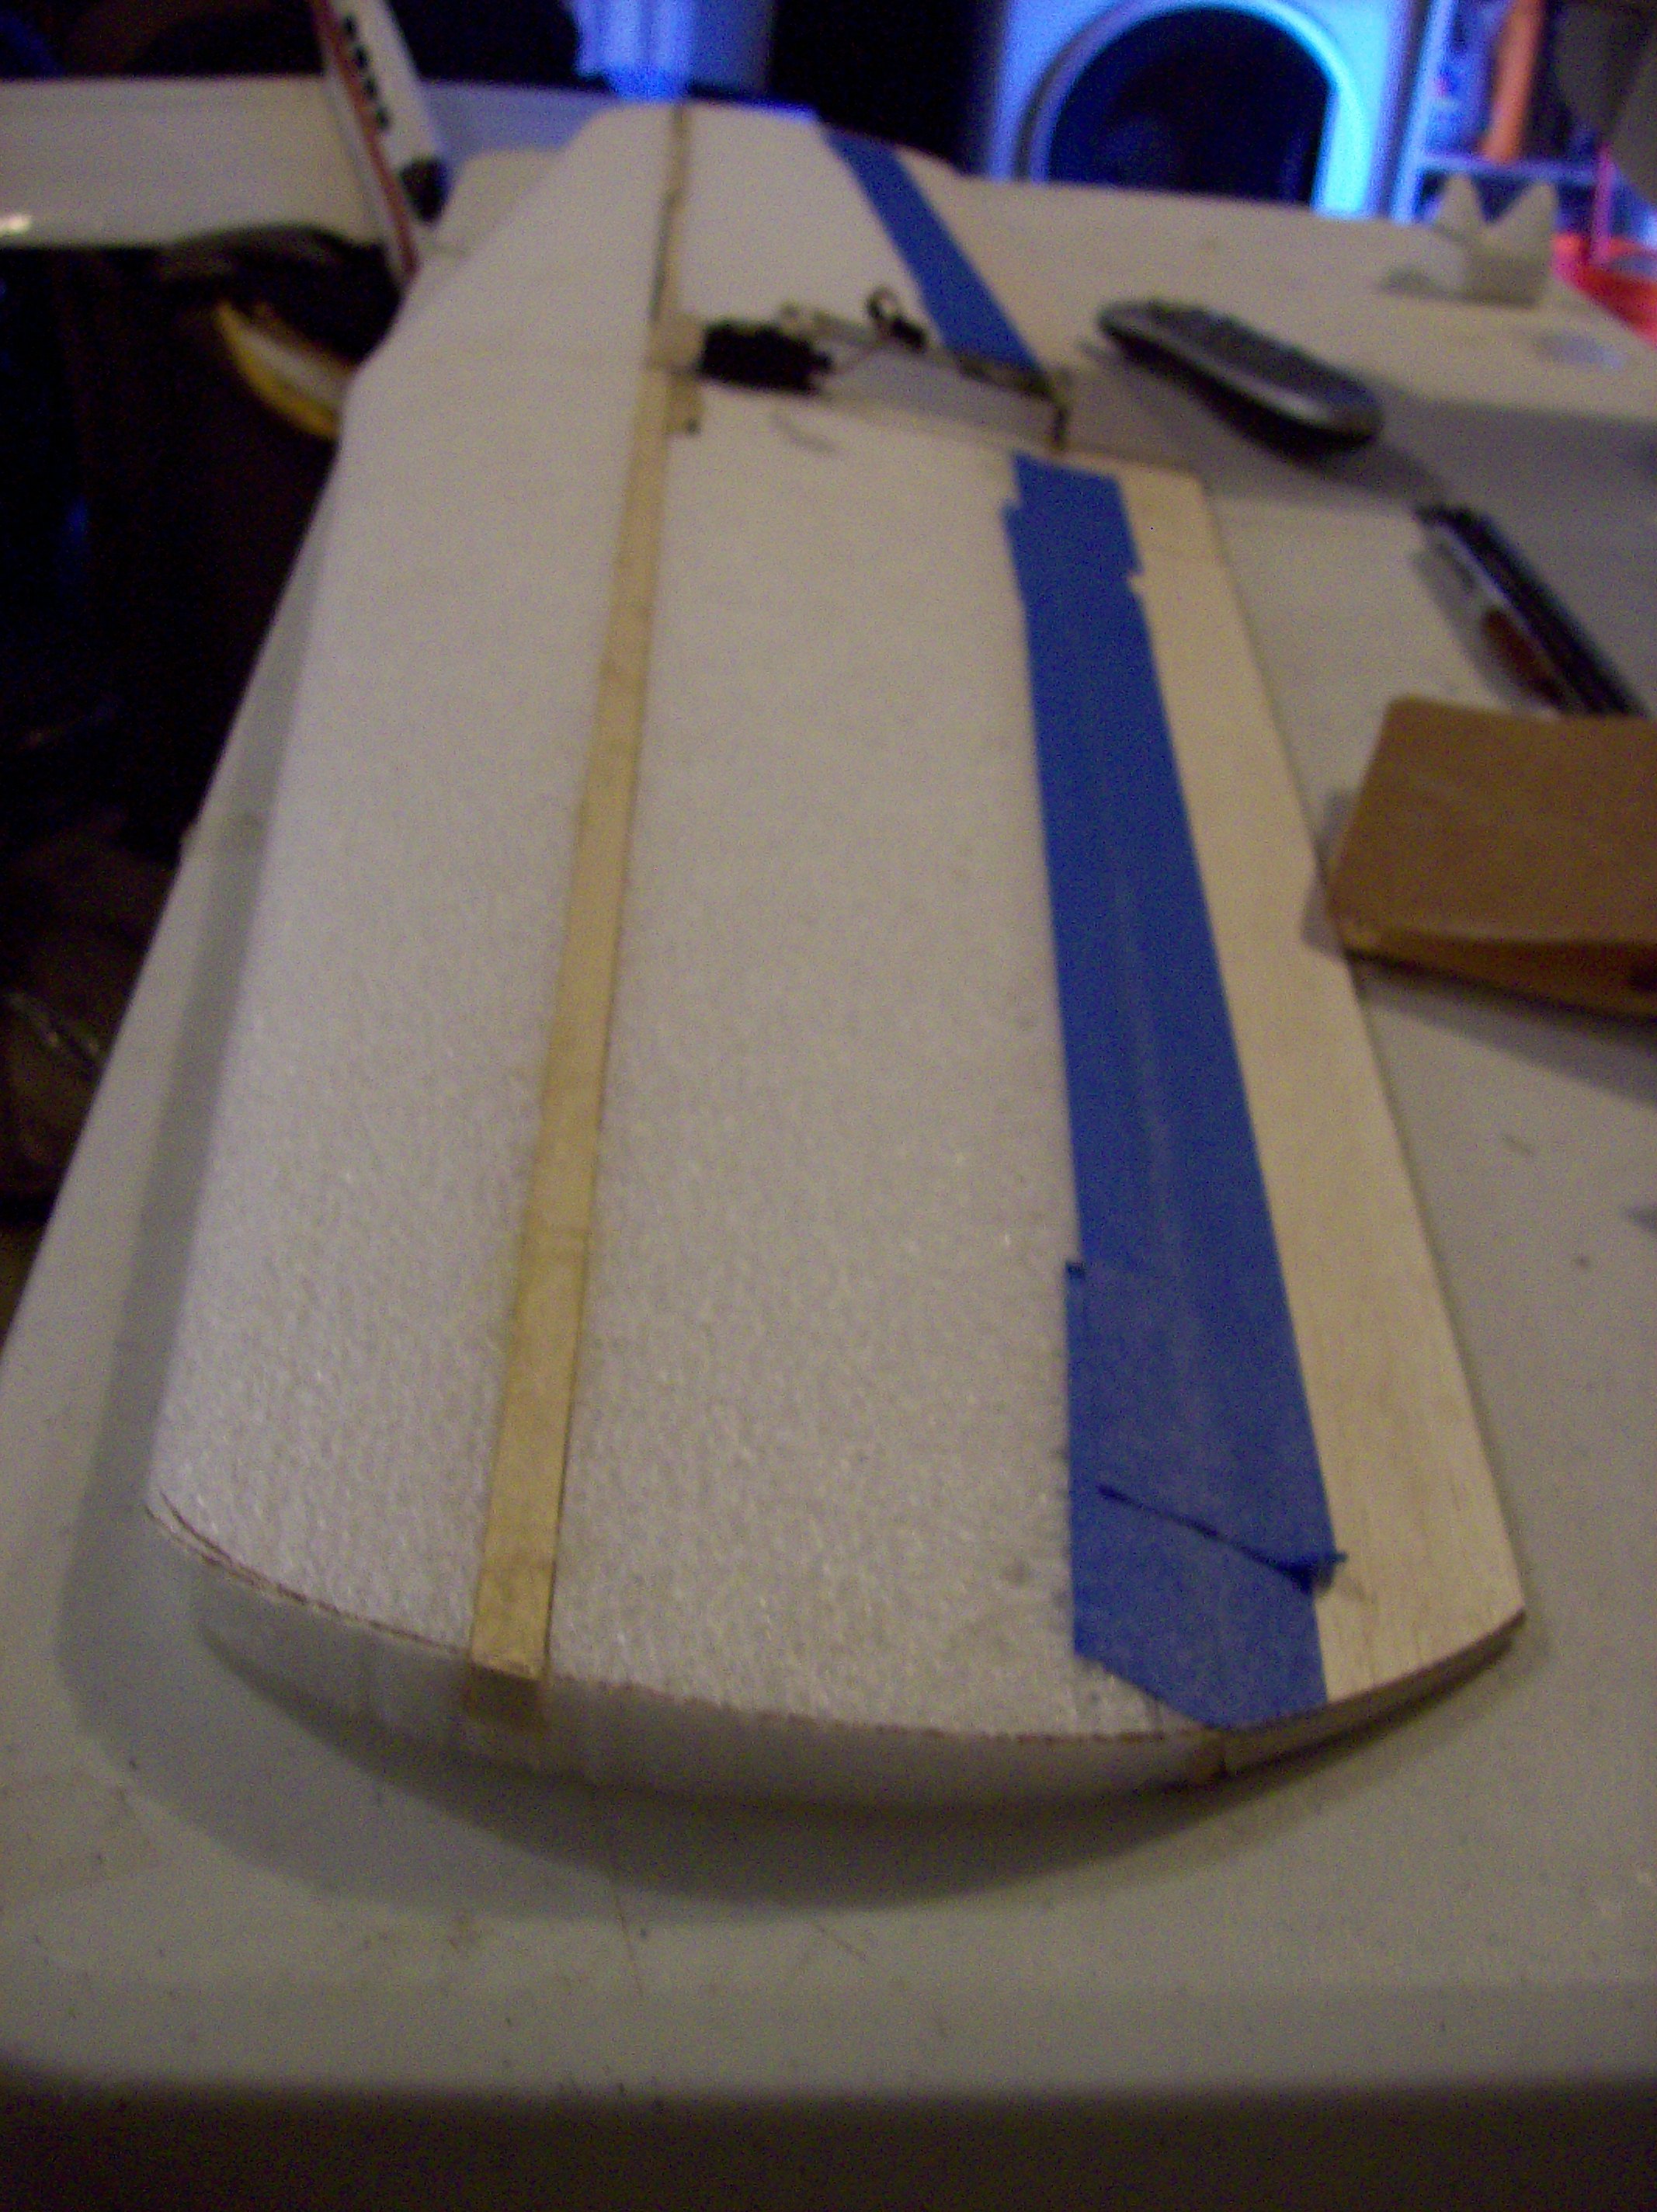
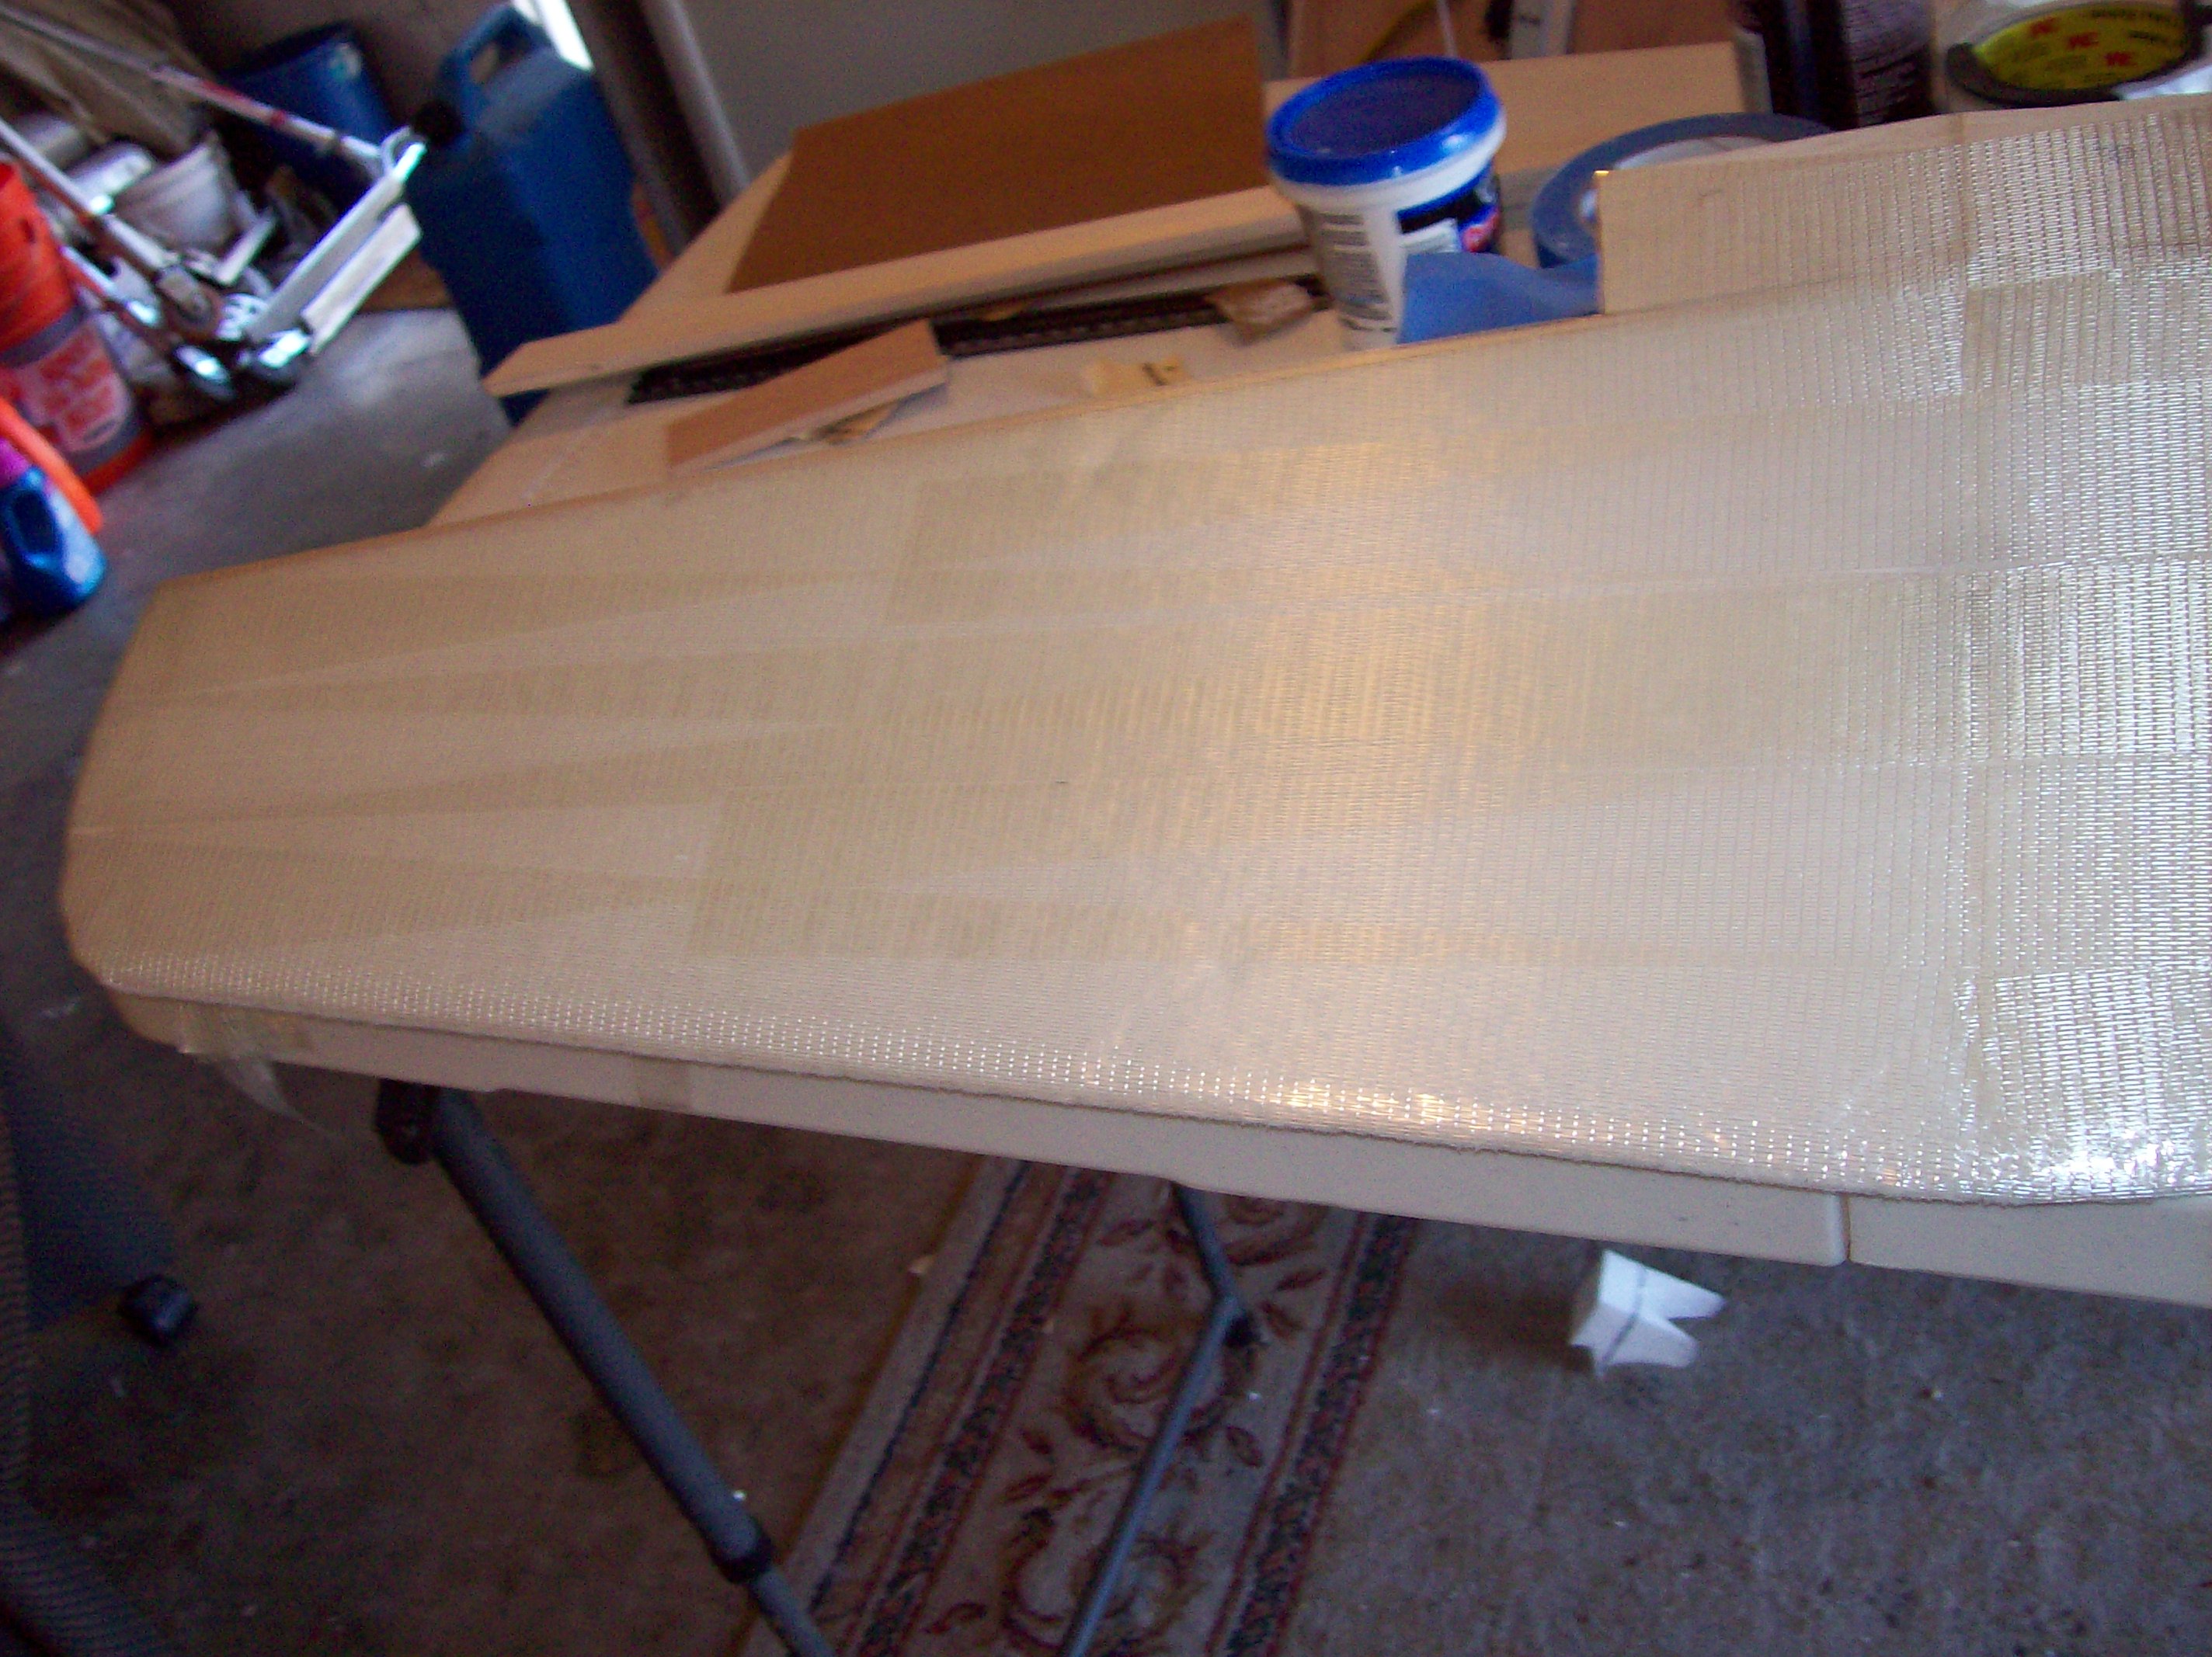
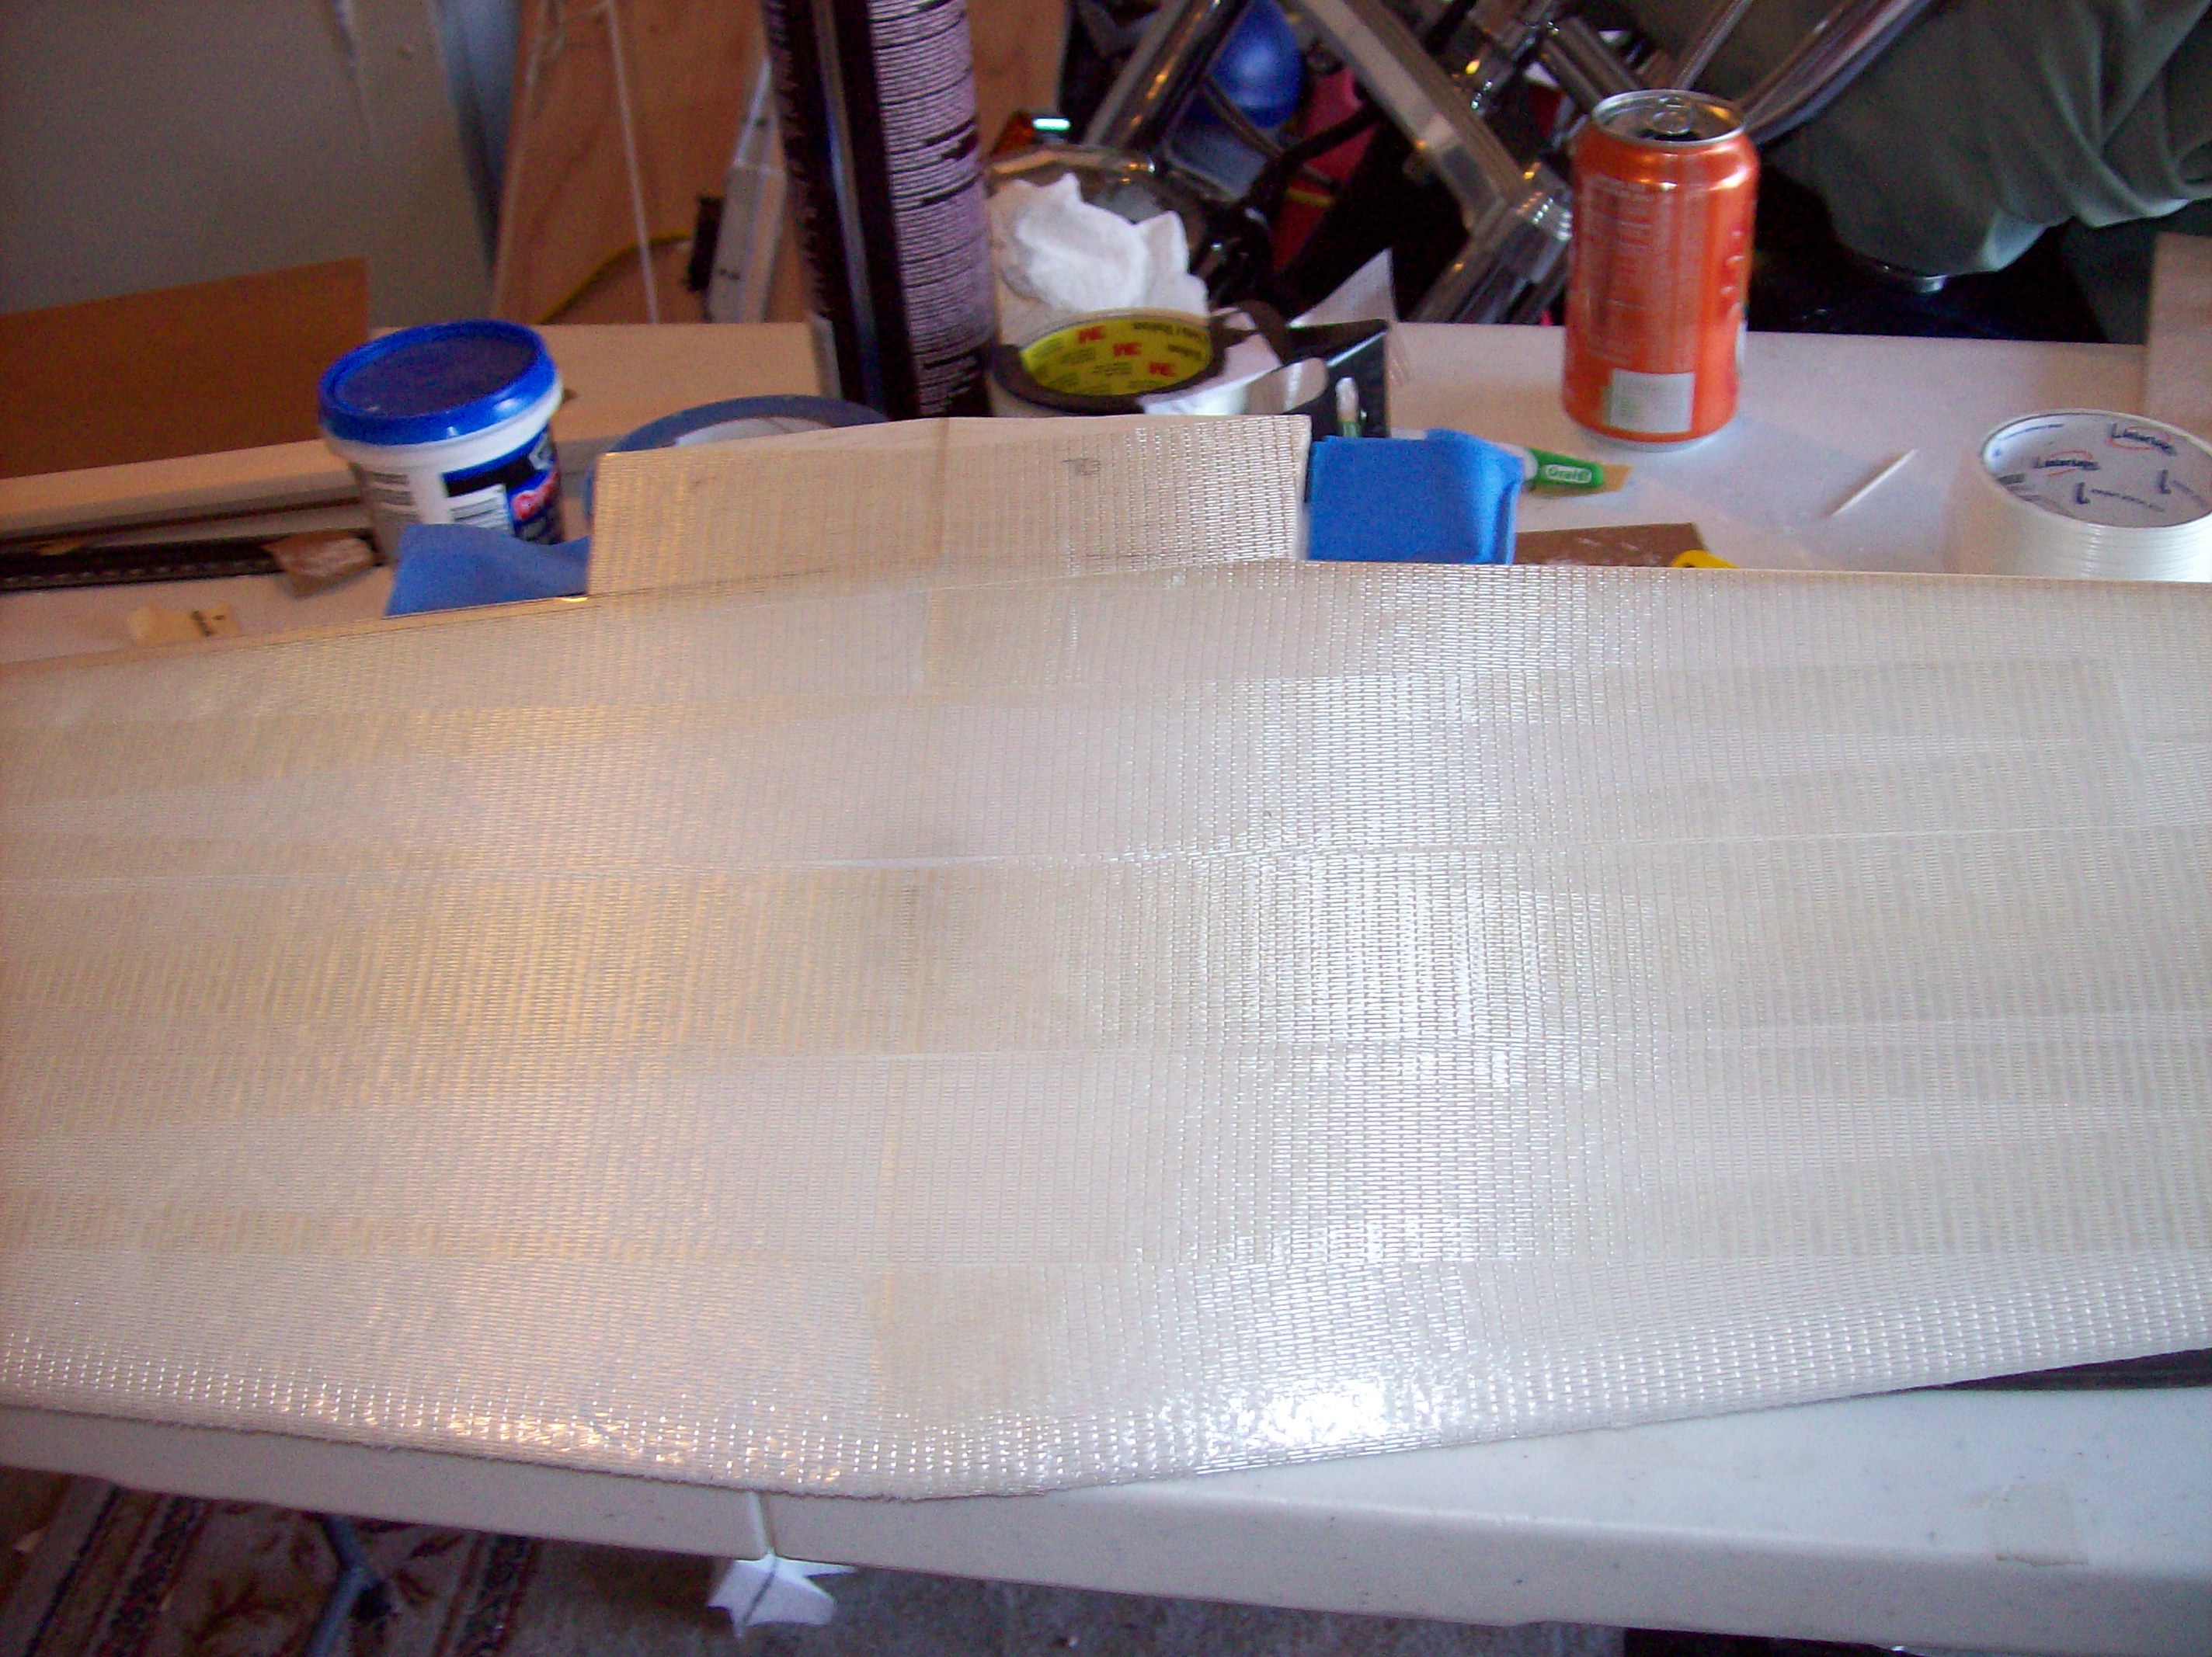
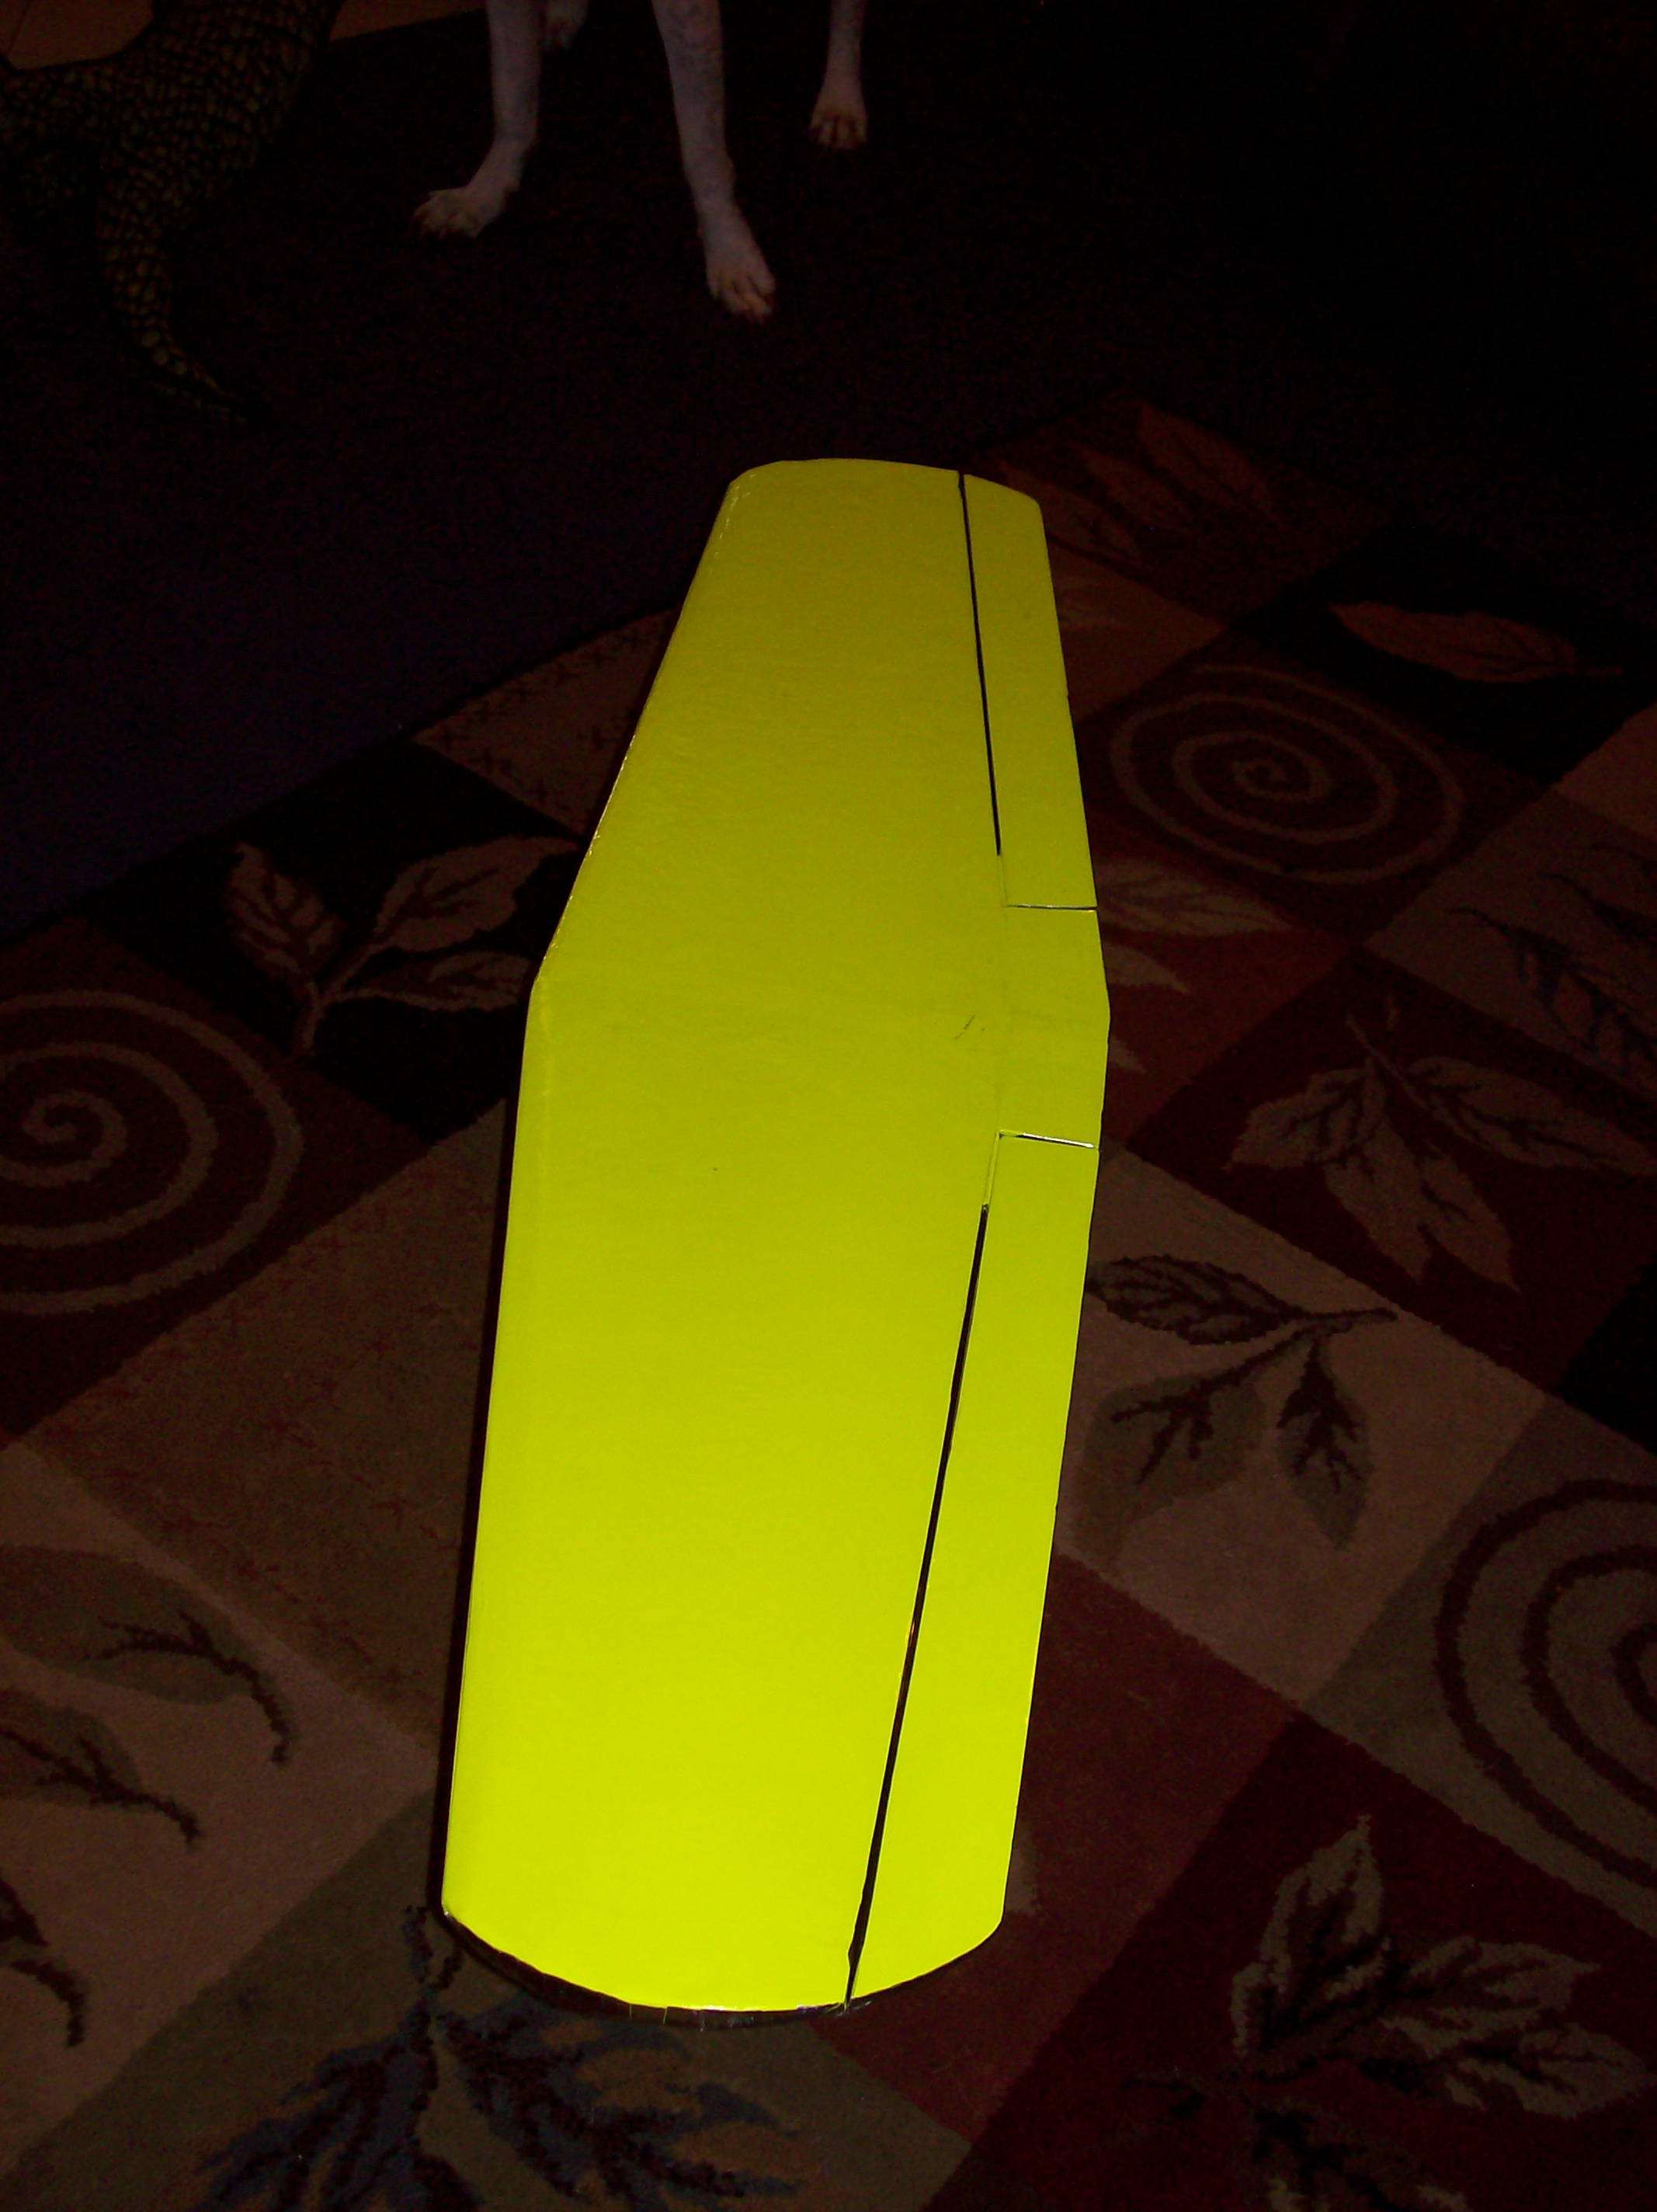
Here I cut the wing panels and glued them together.


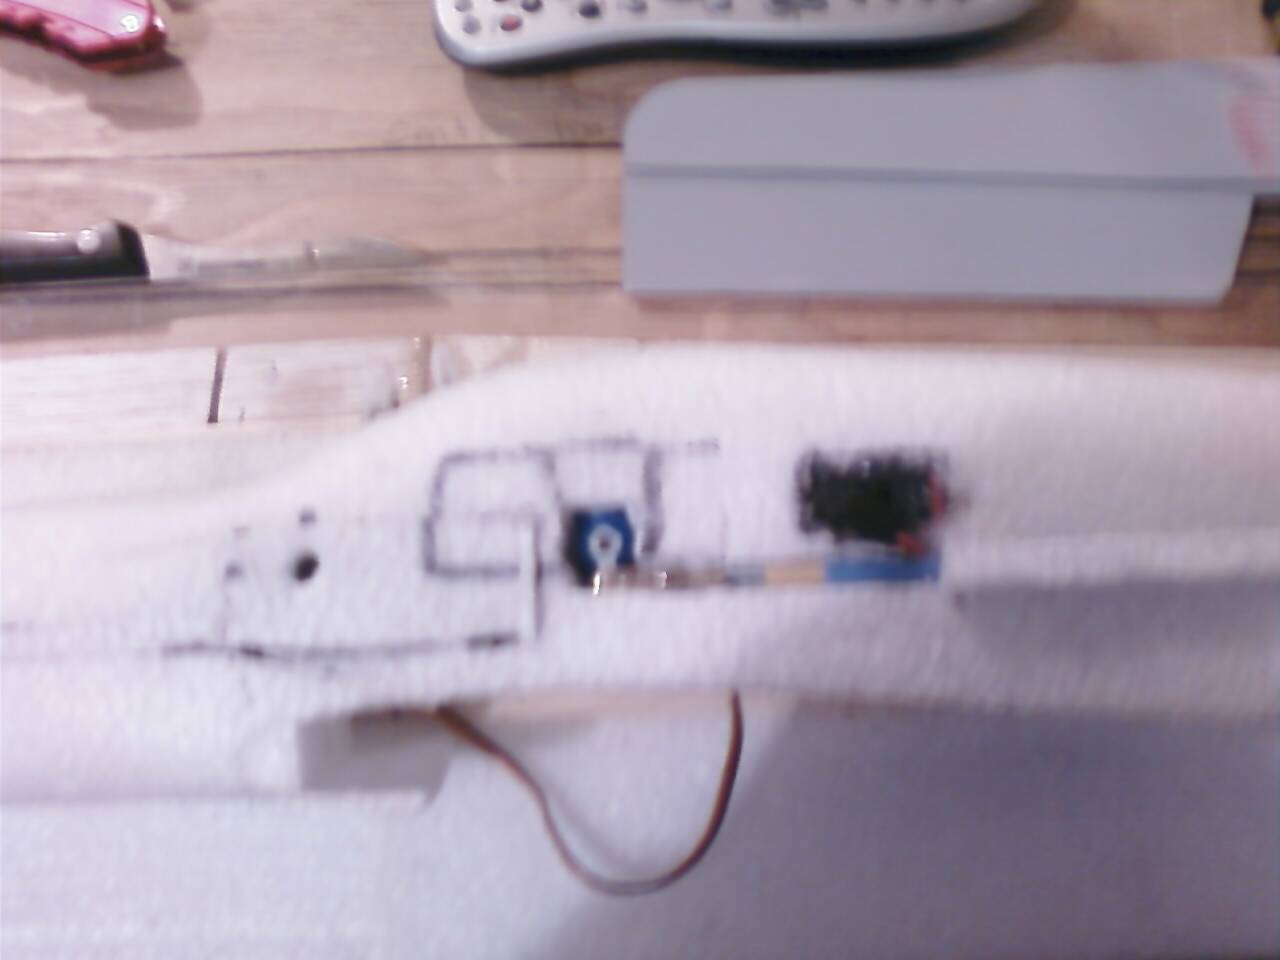
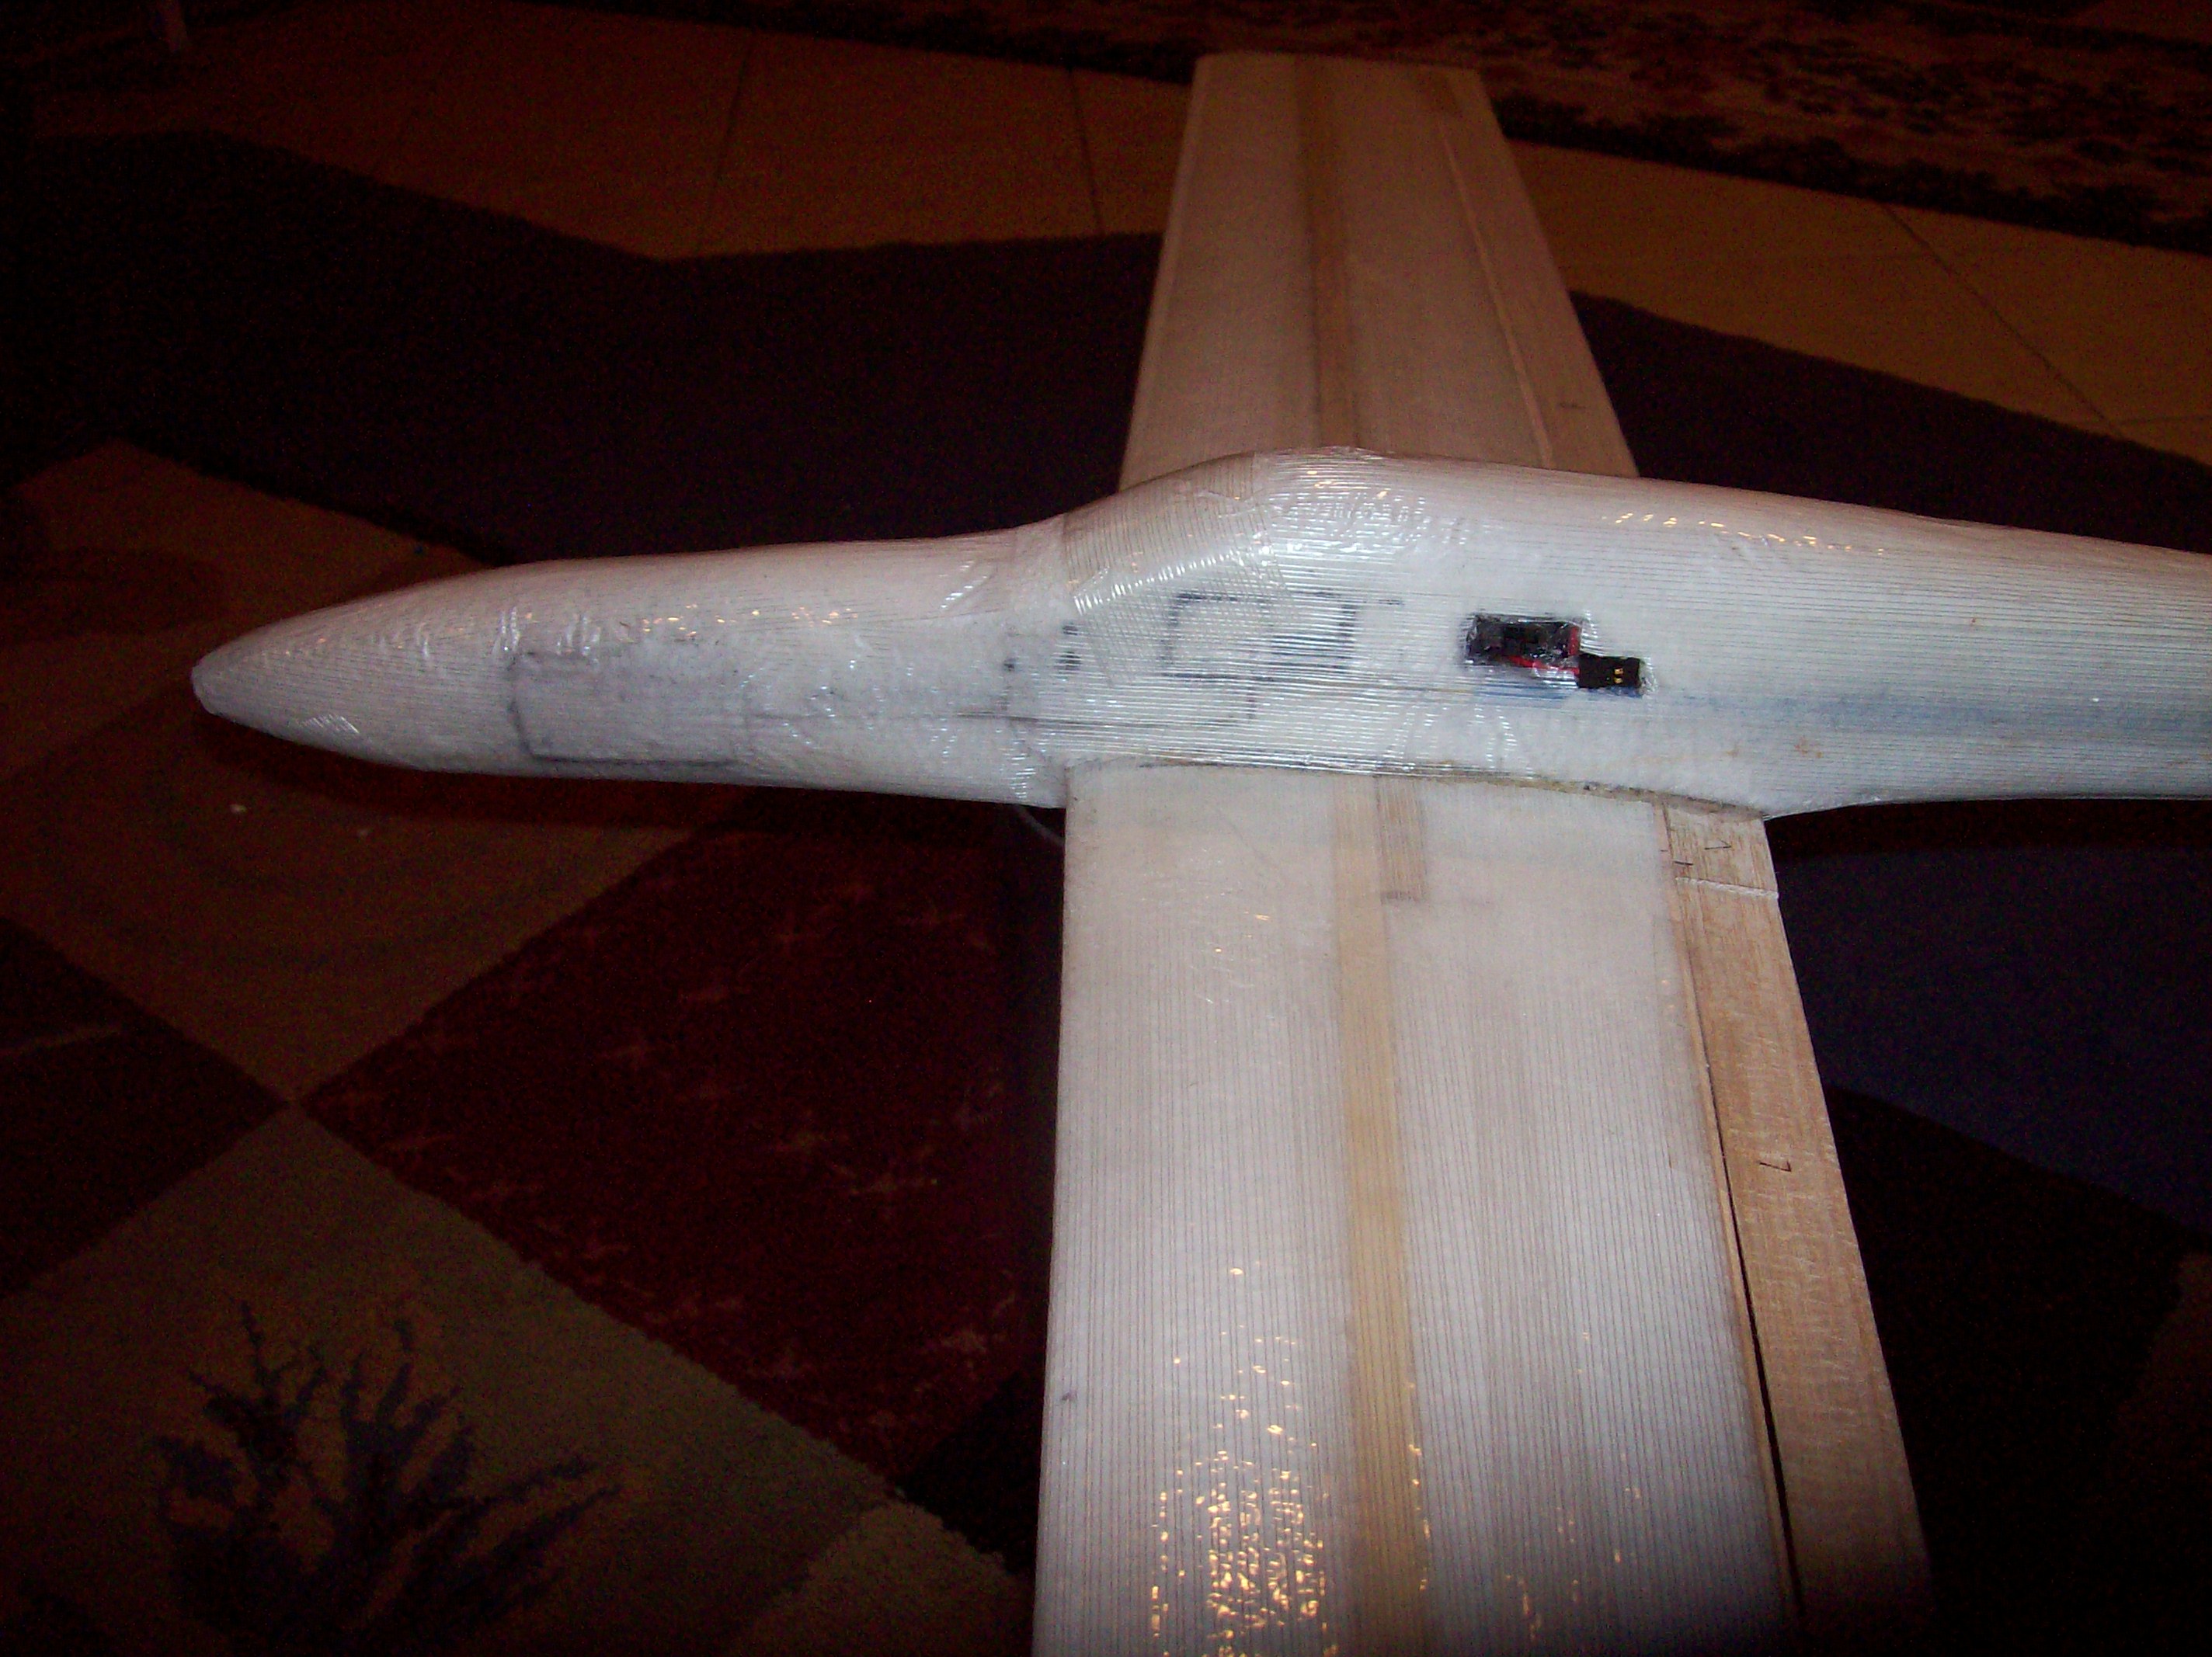
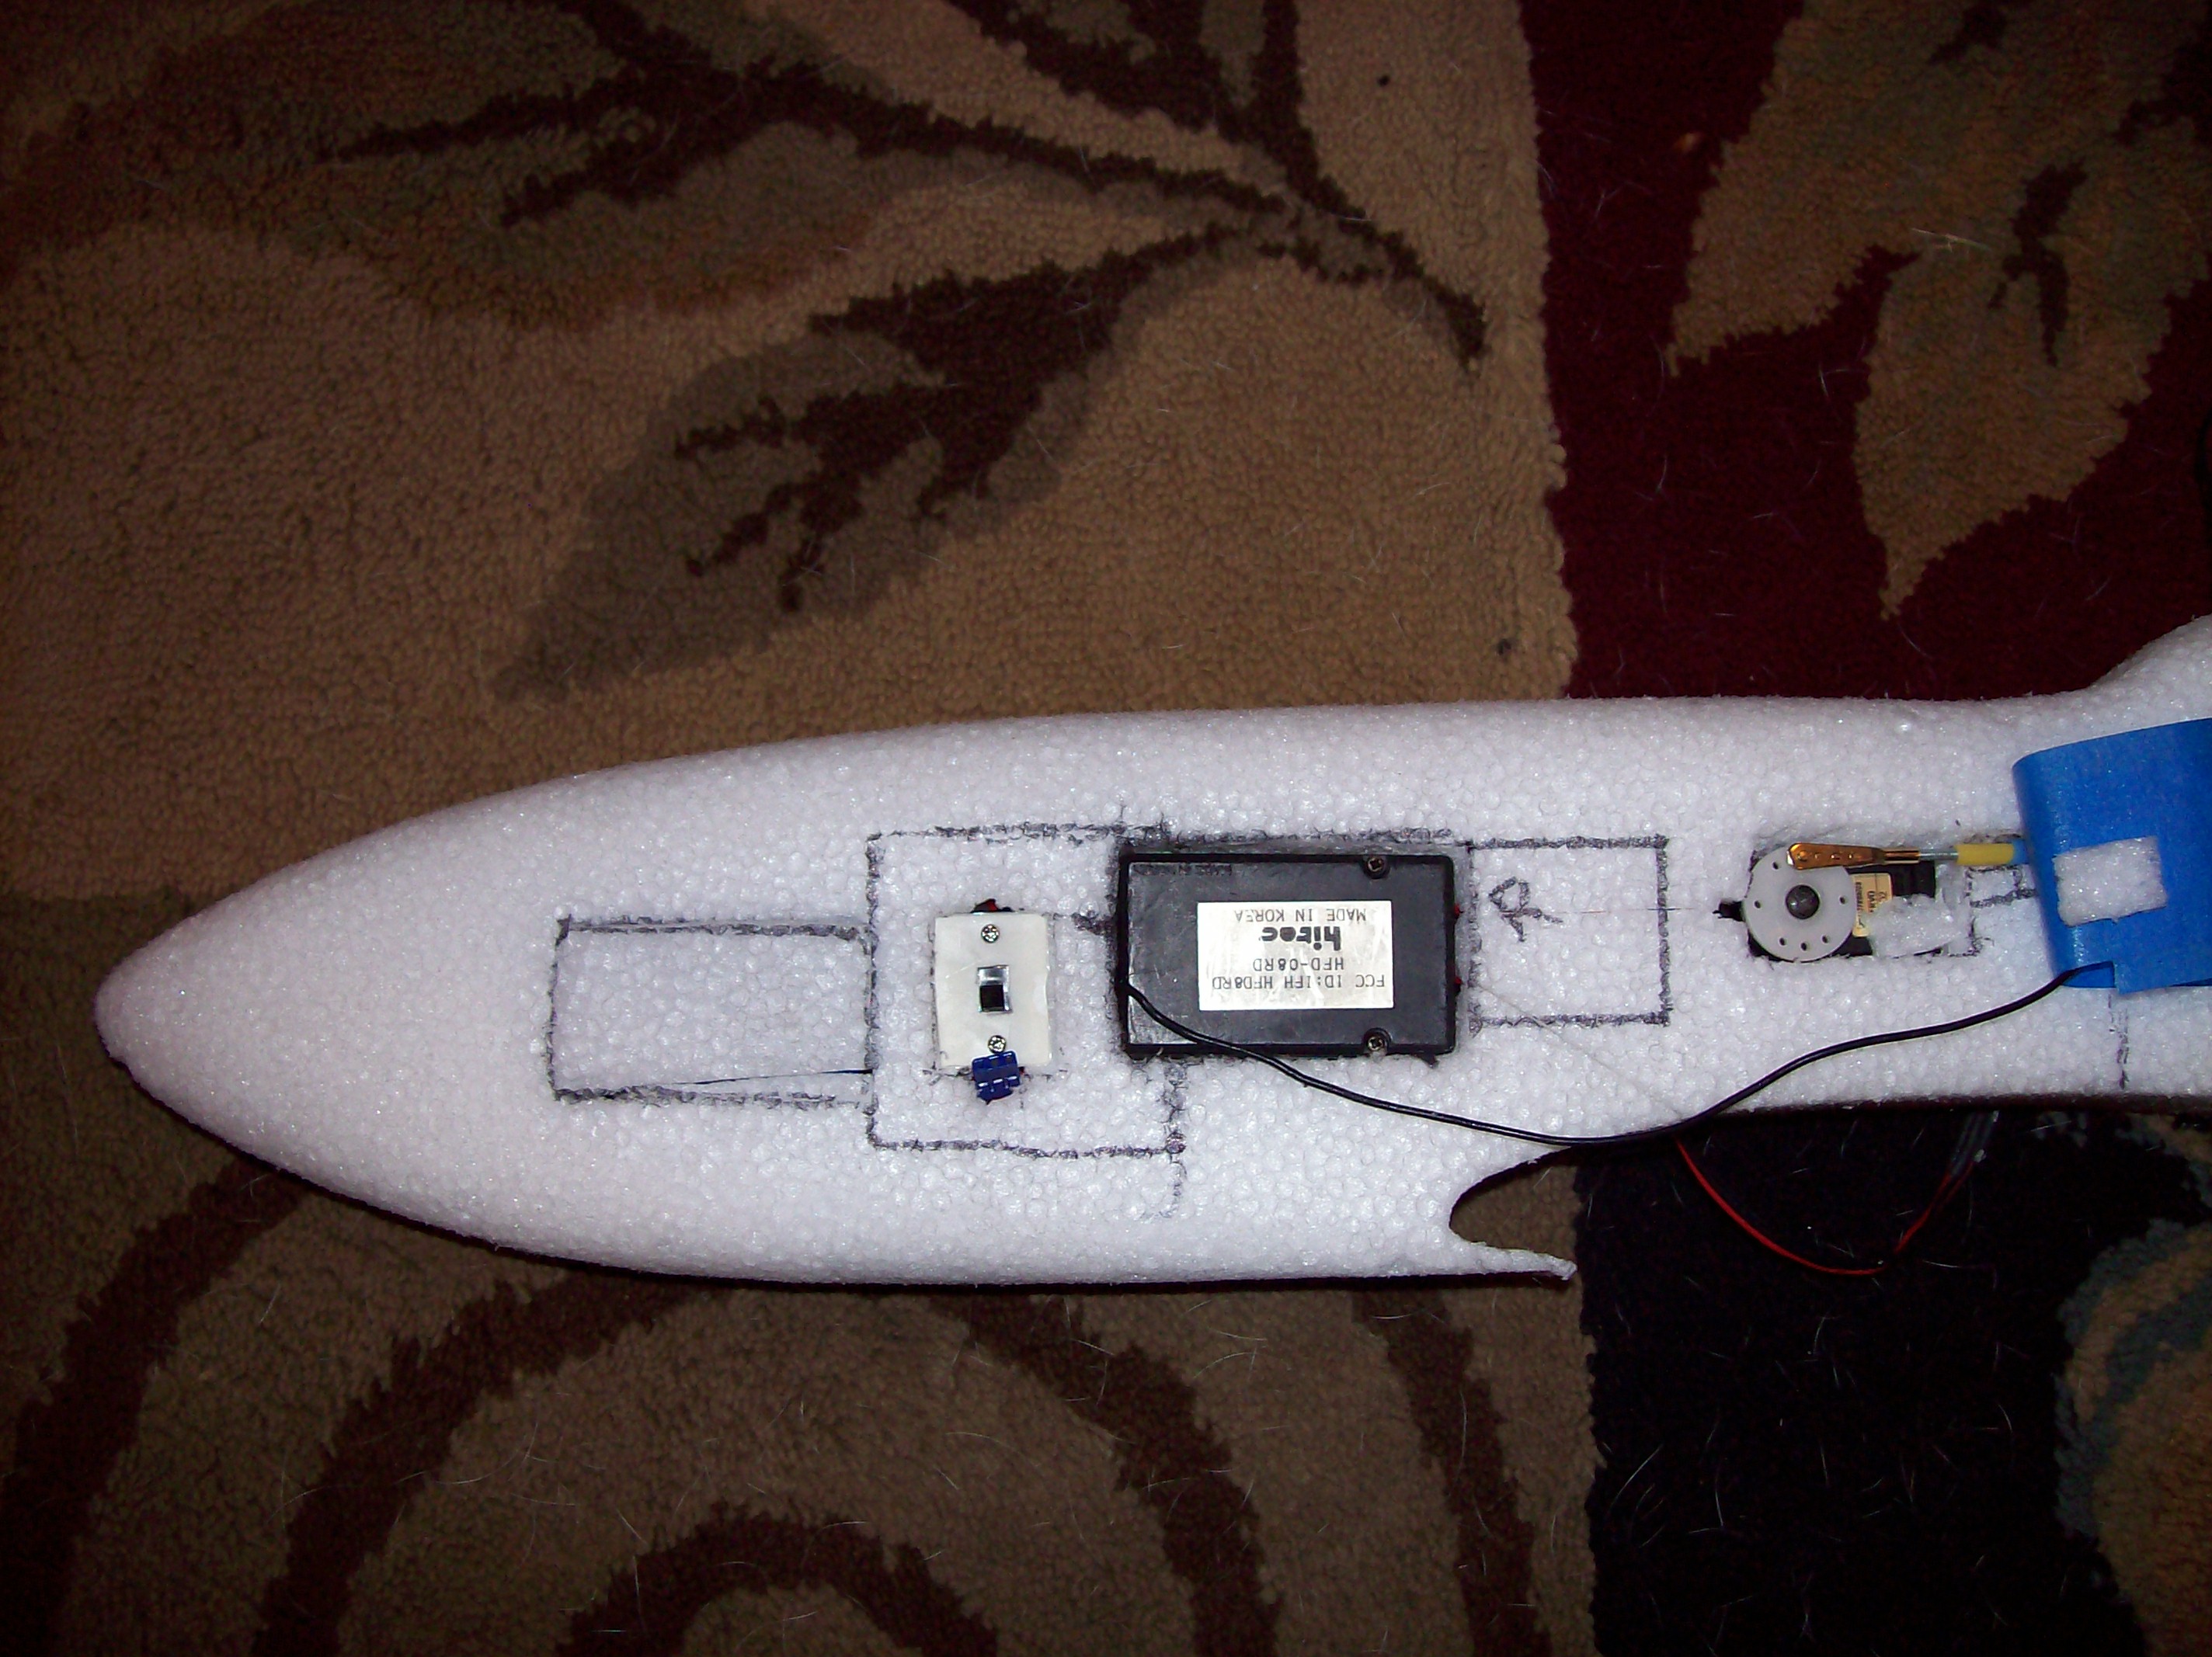
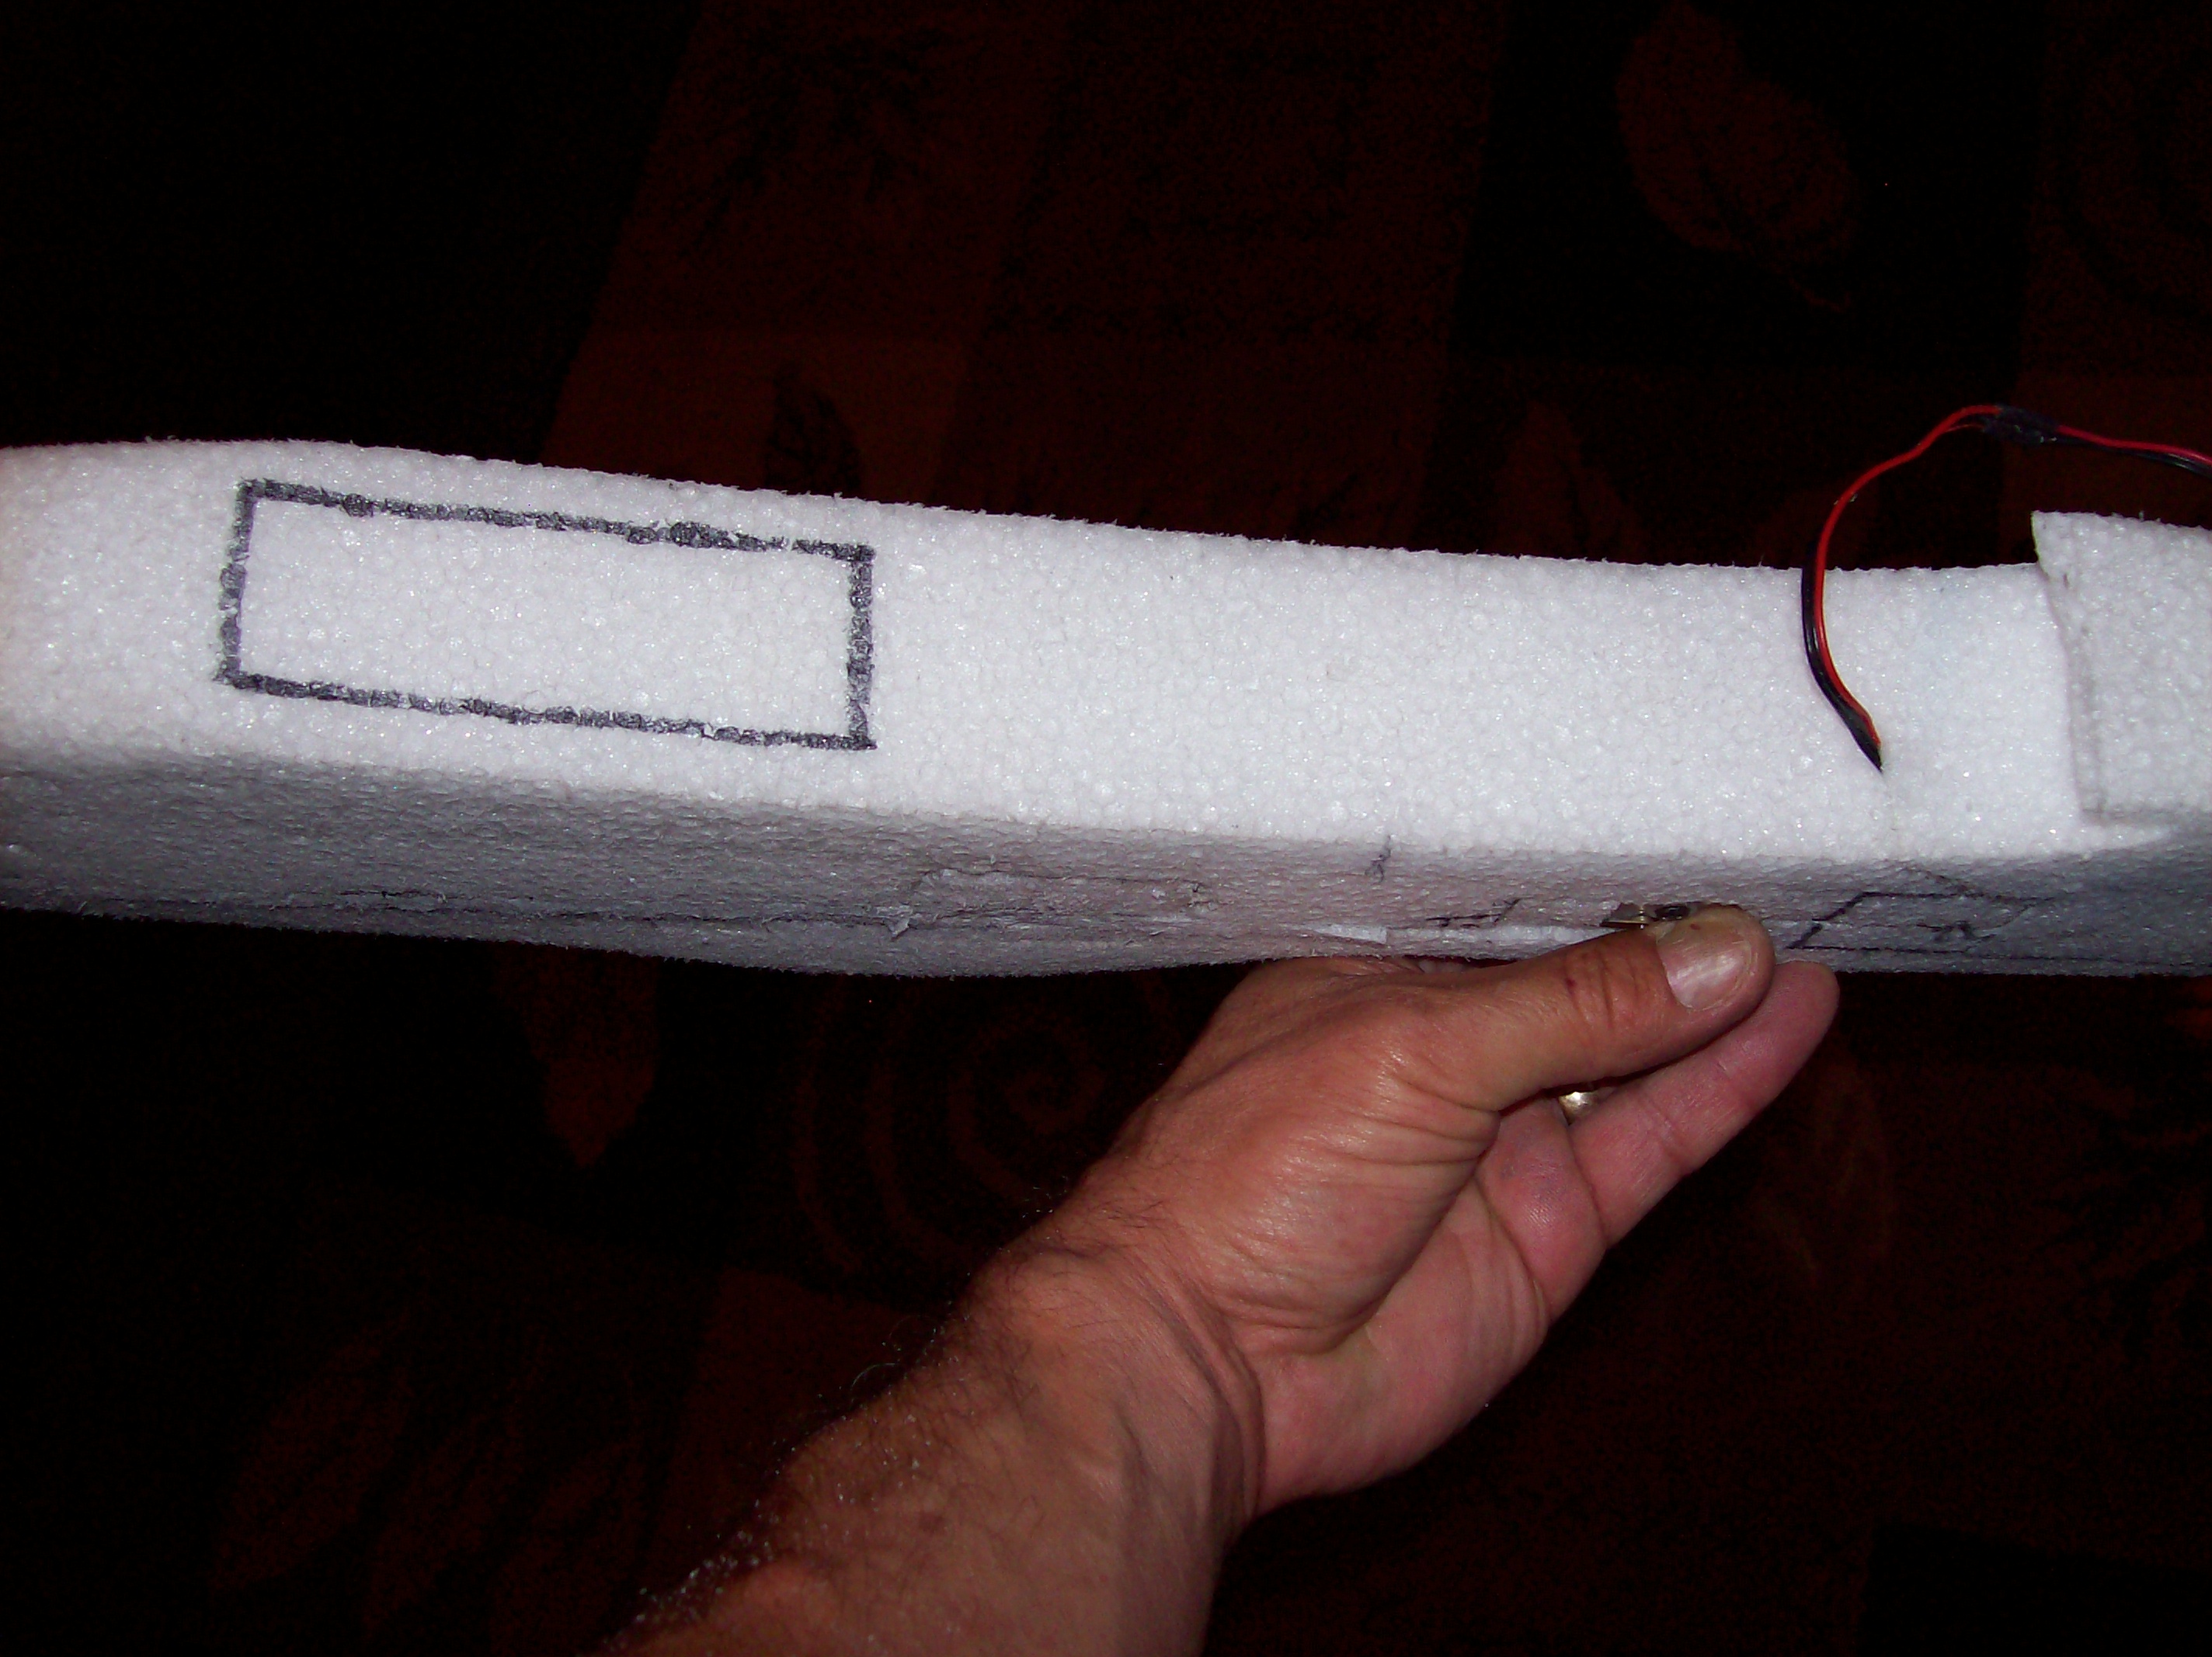
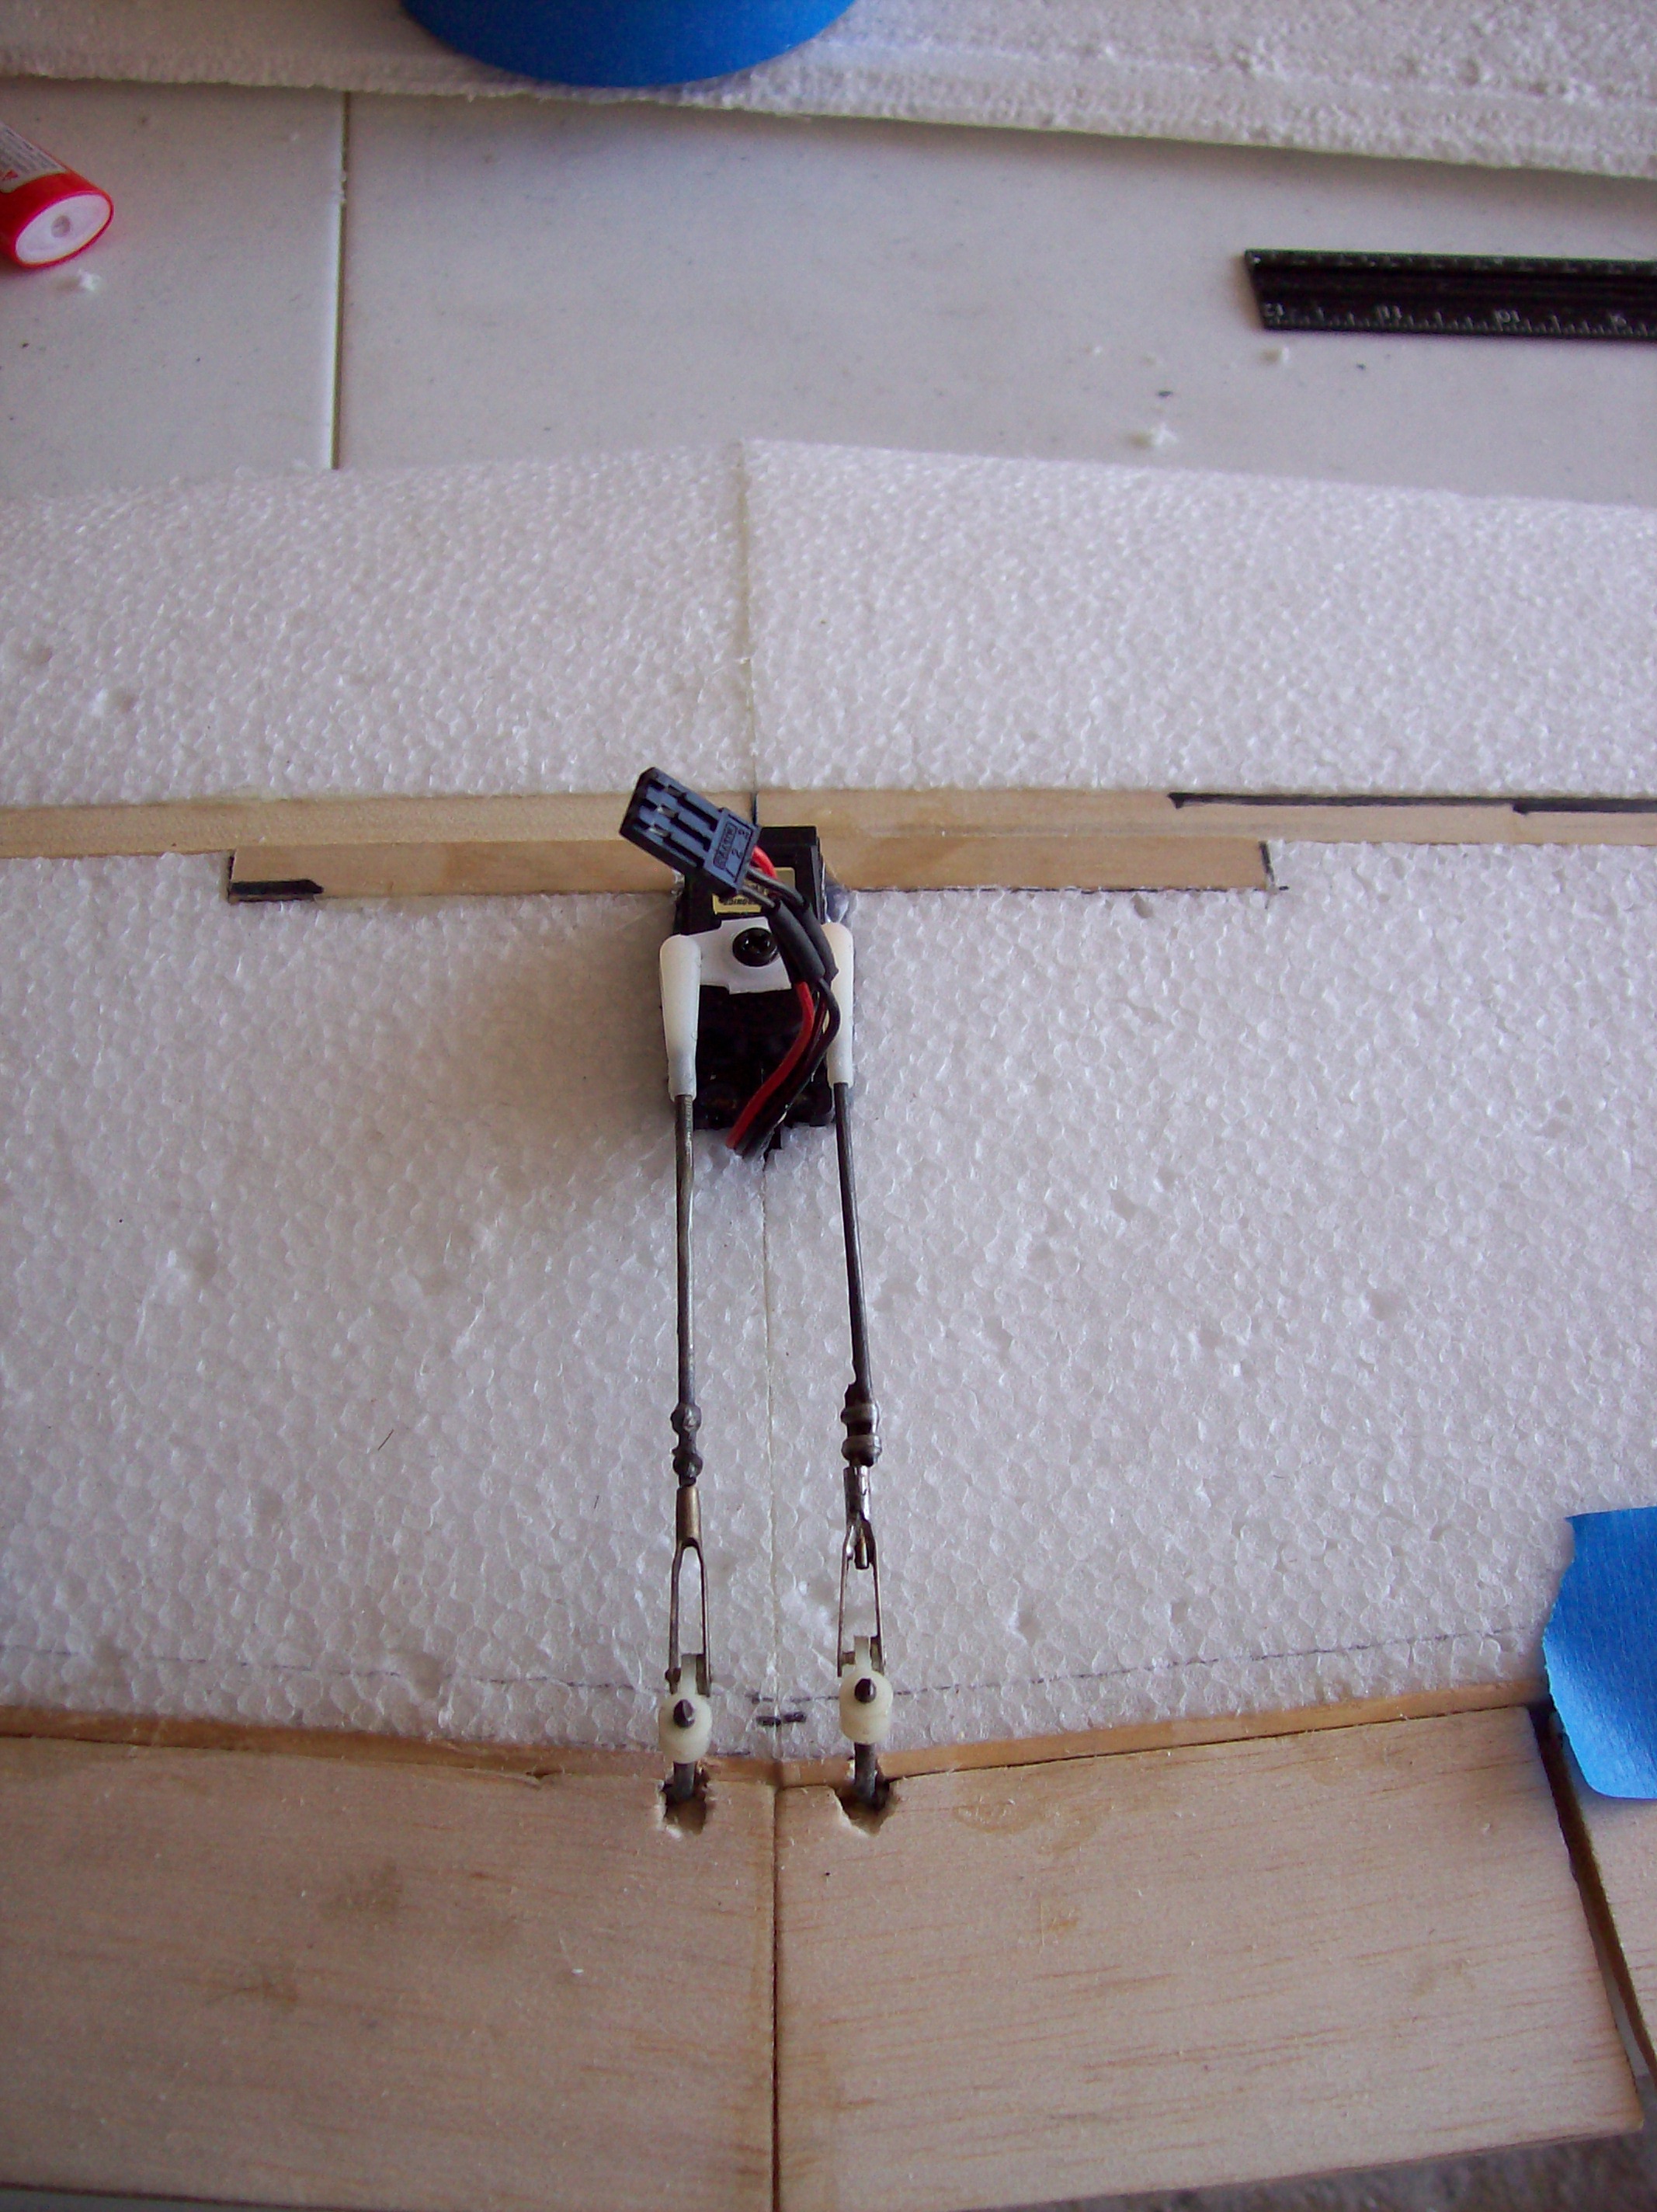
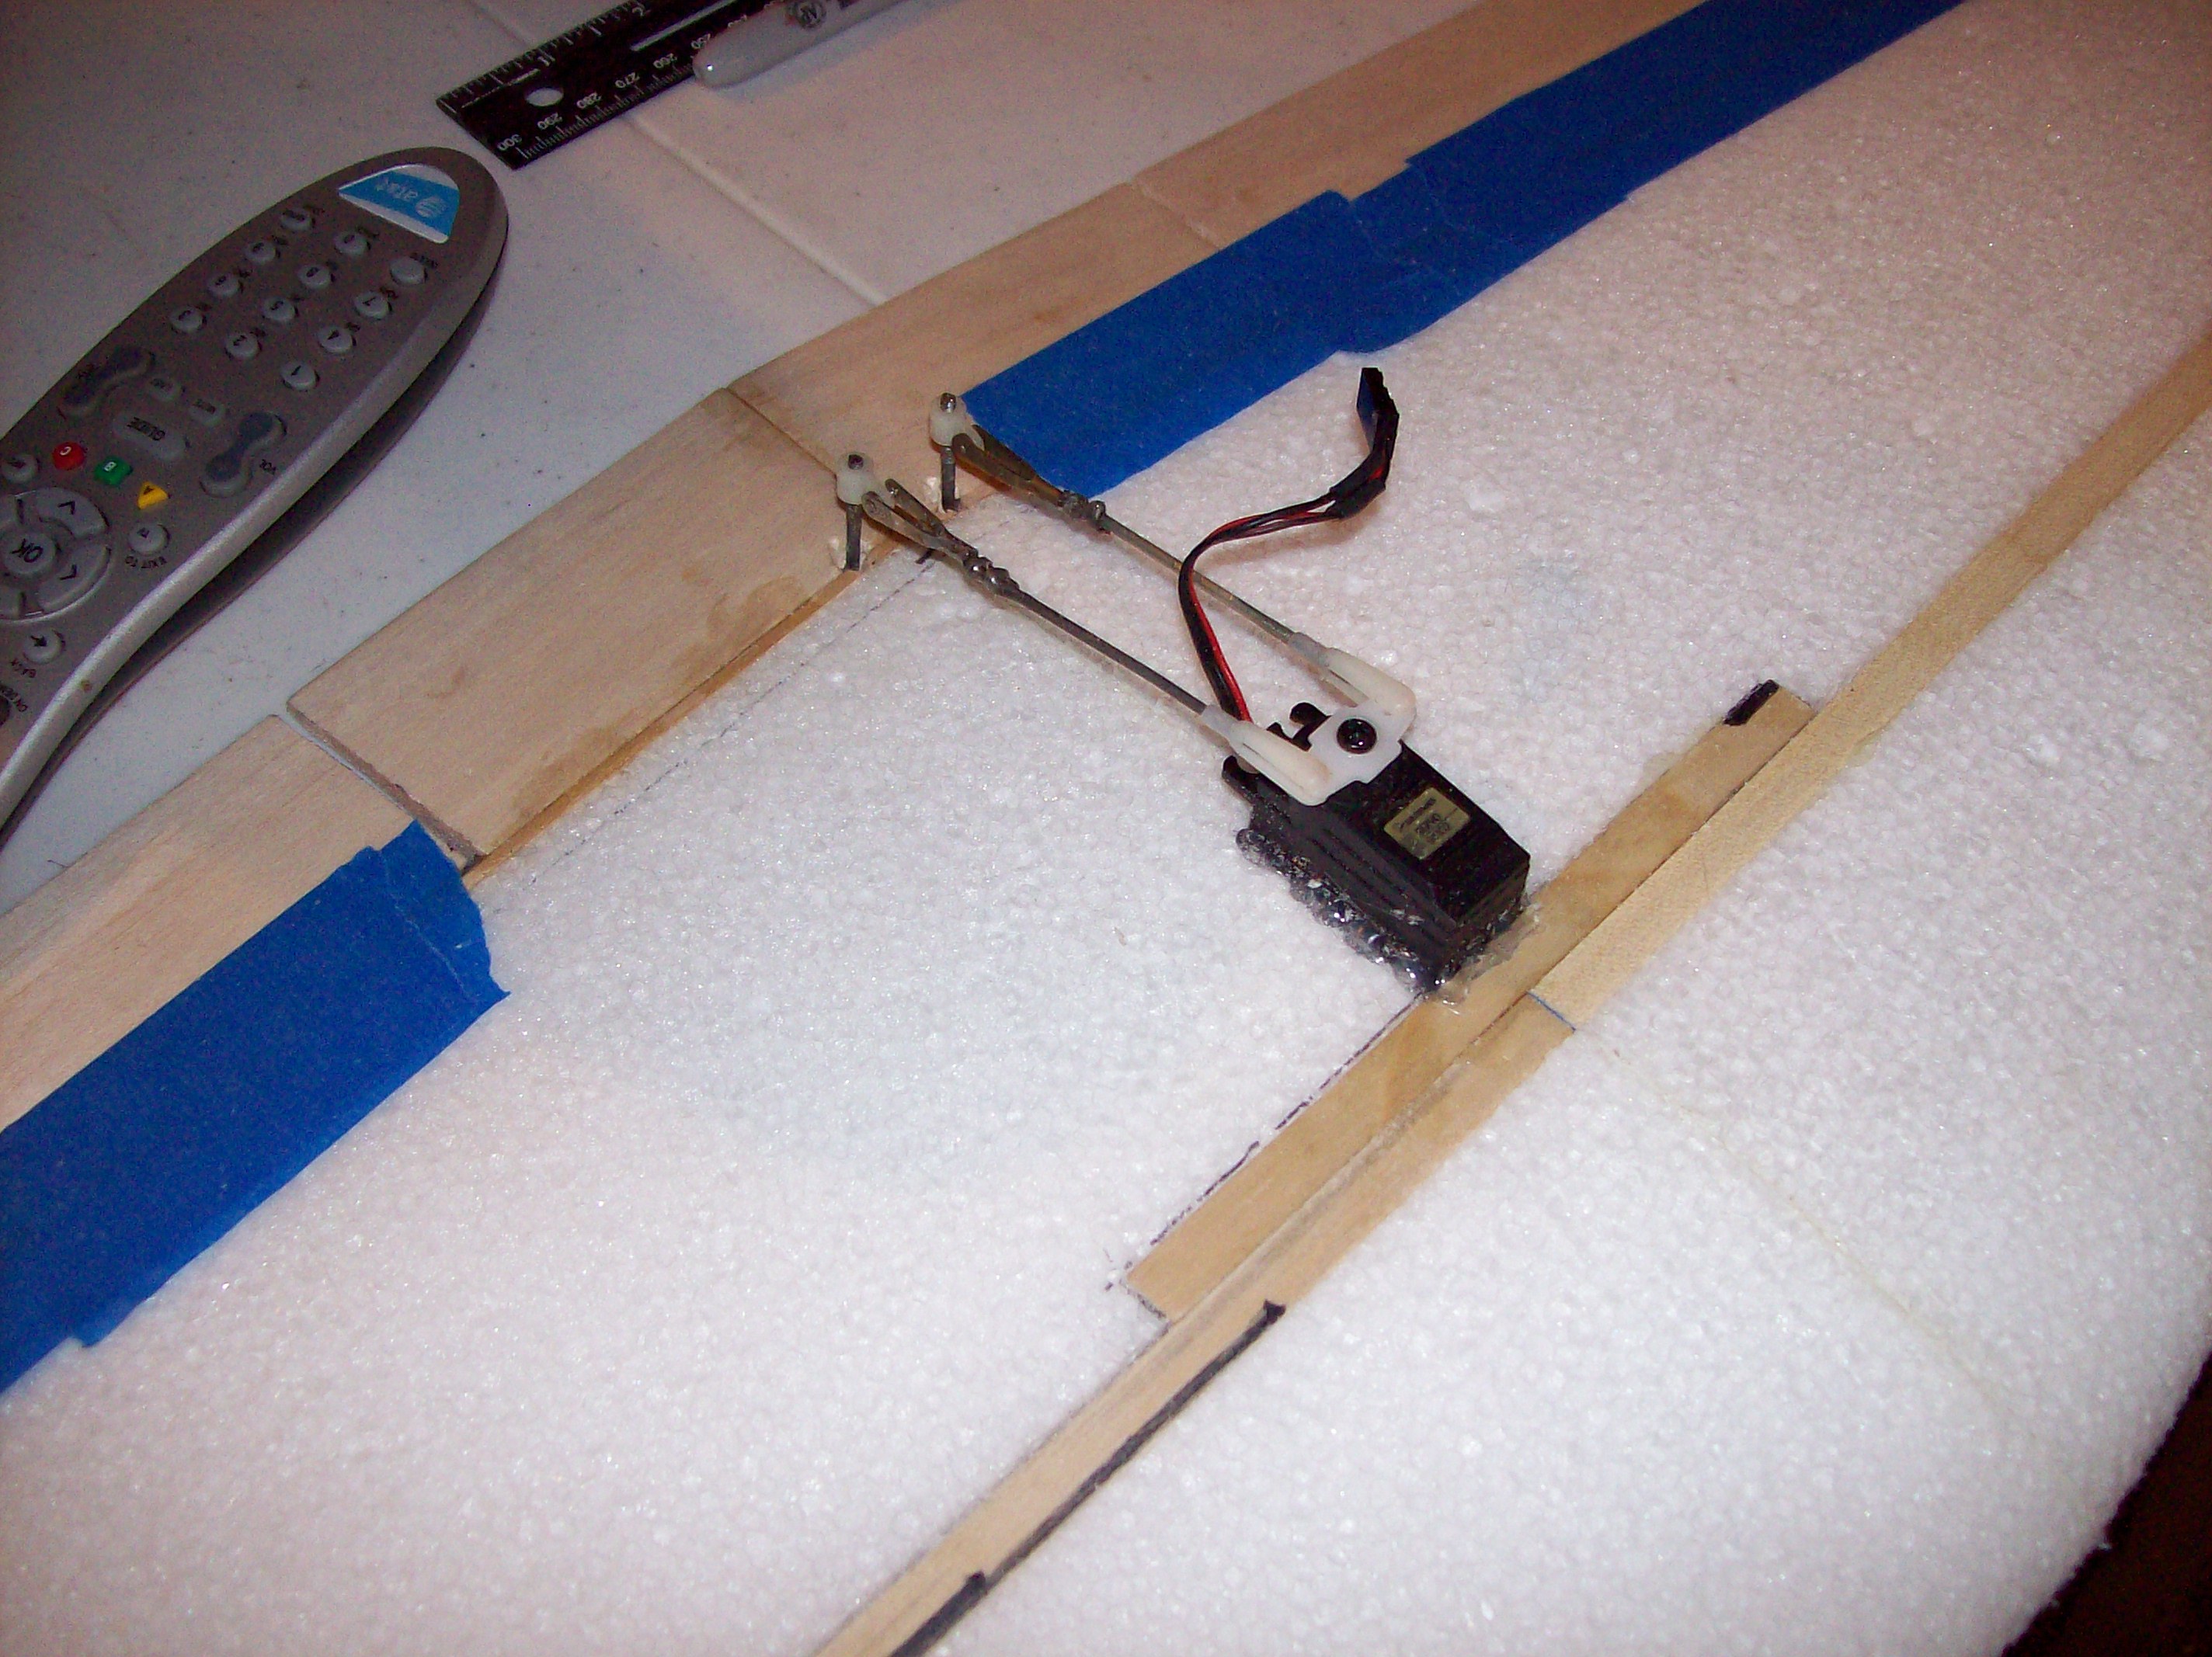
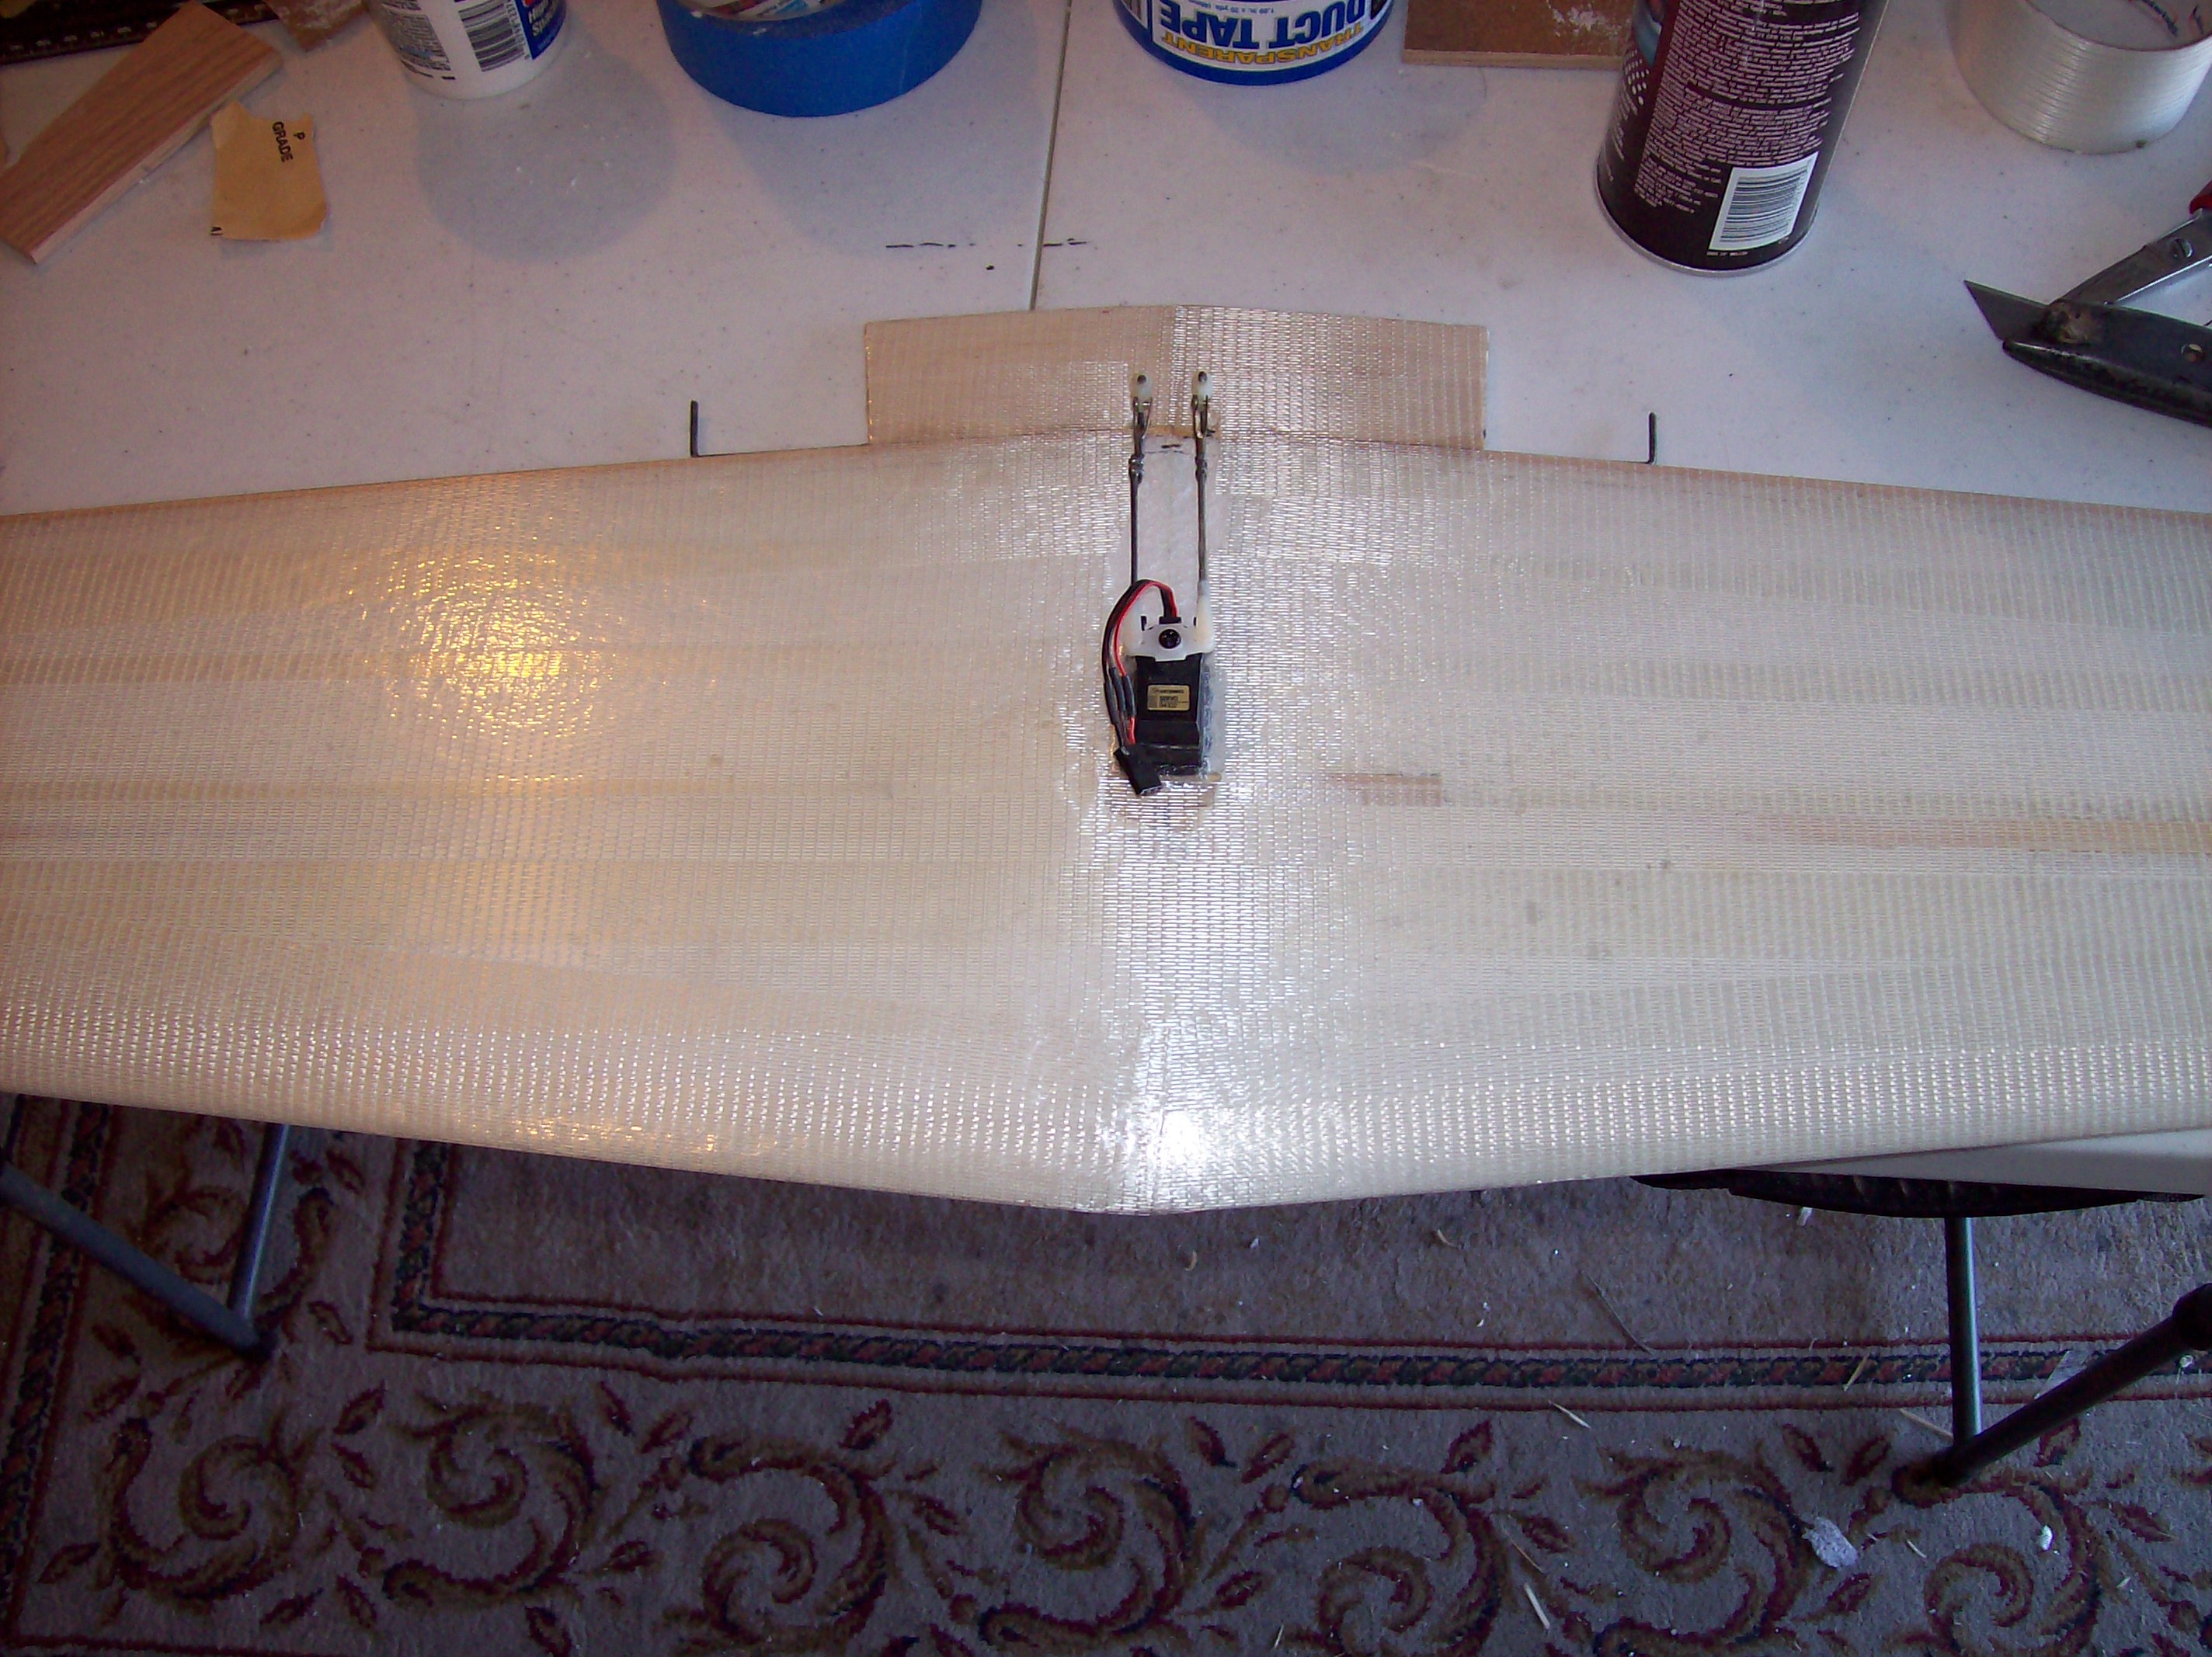
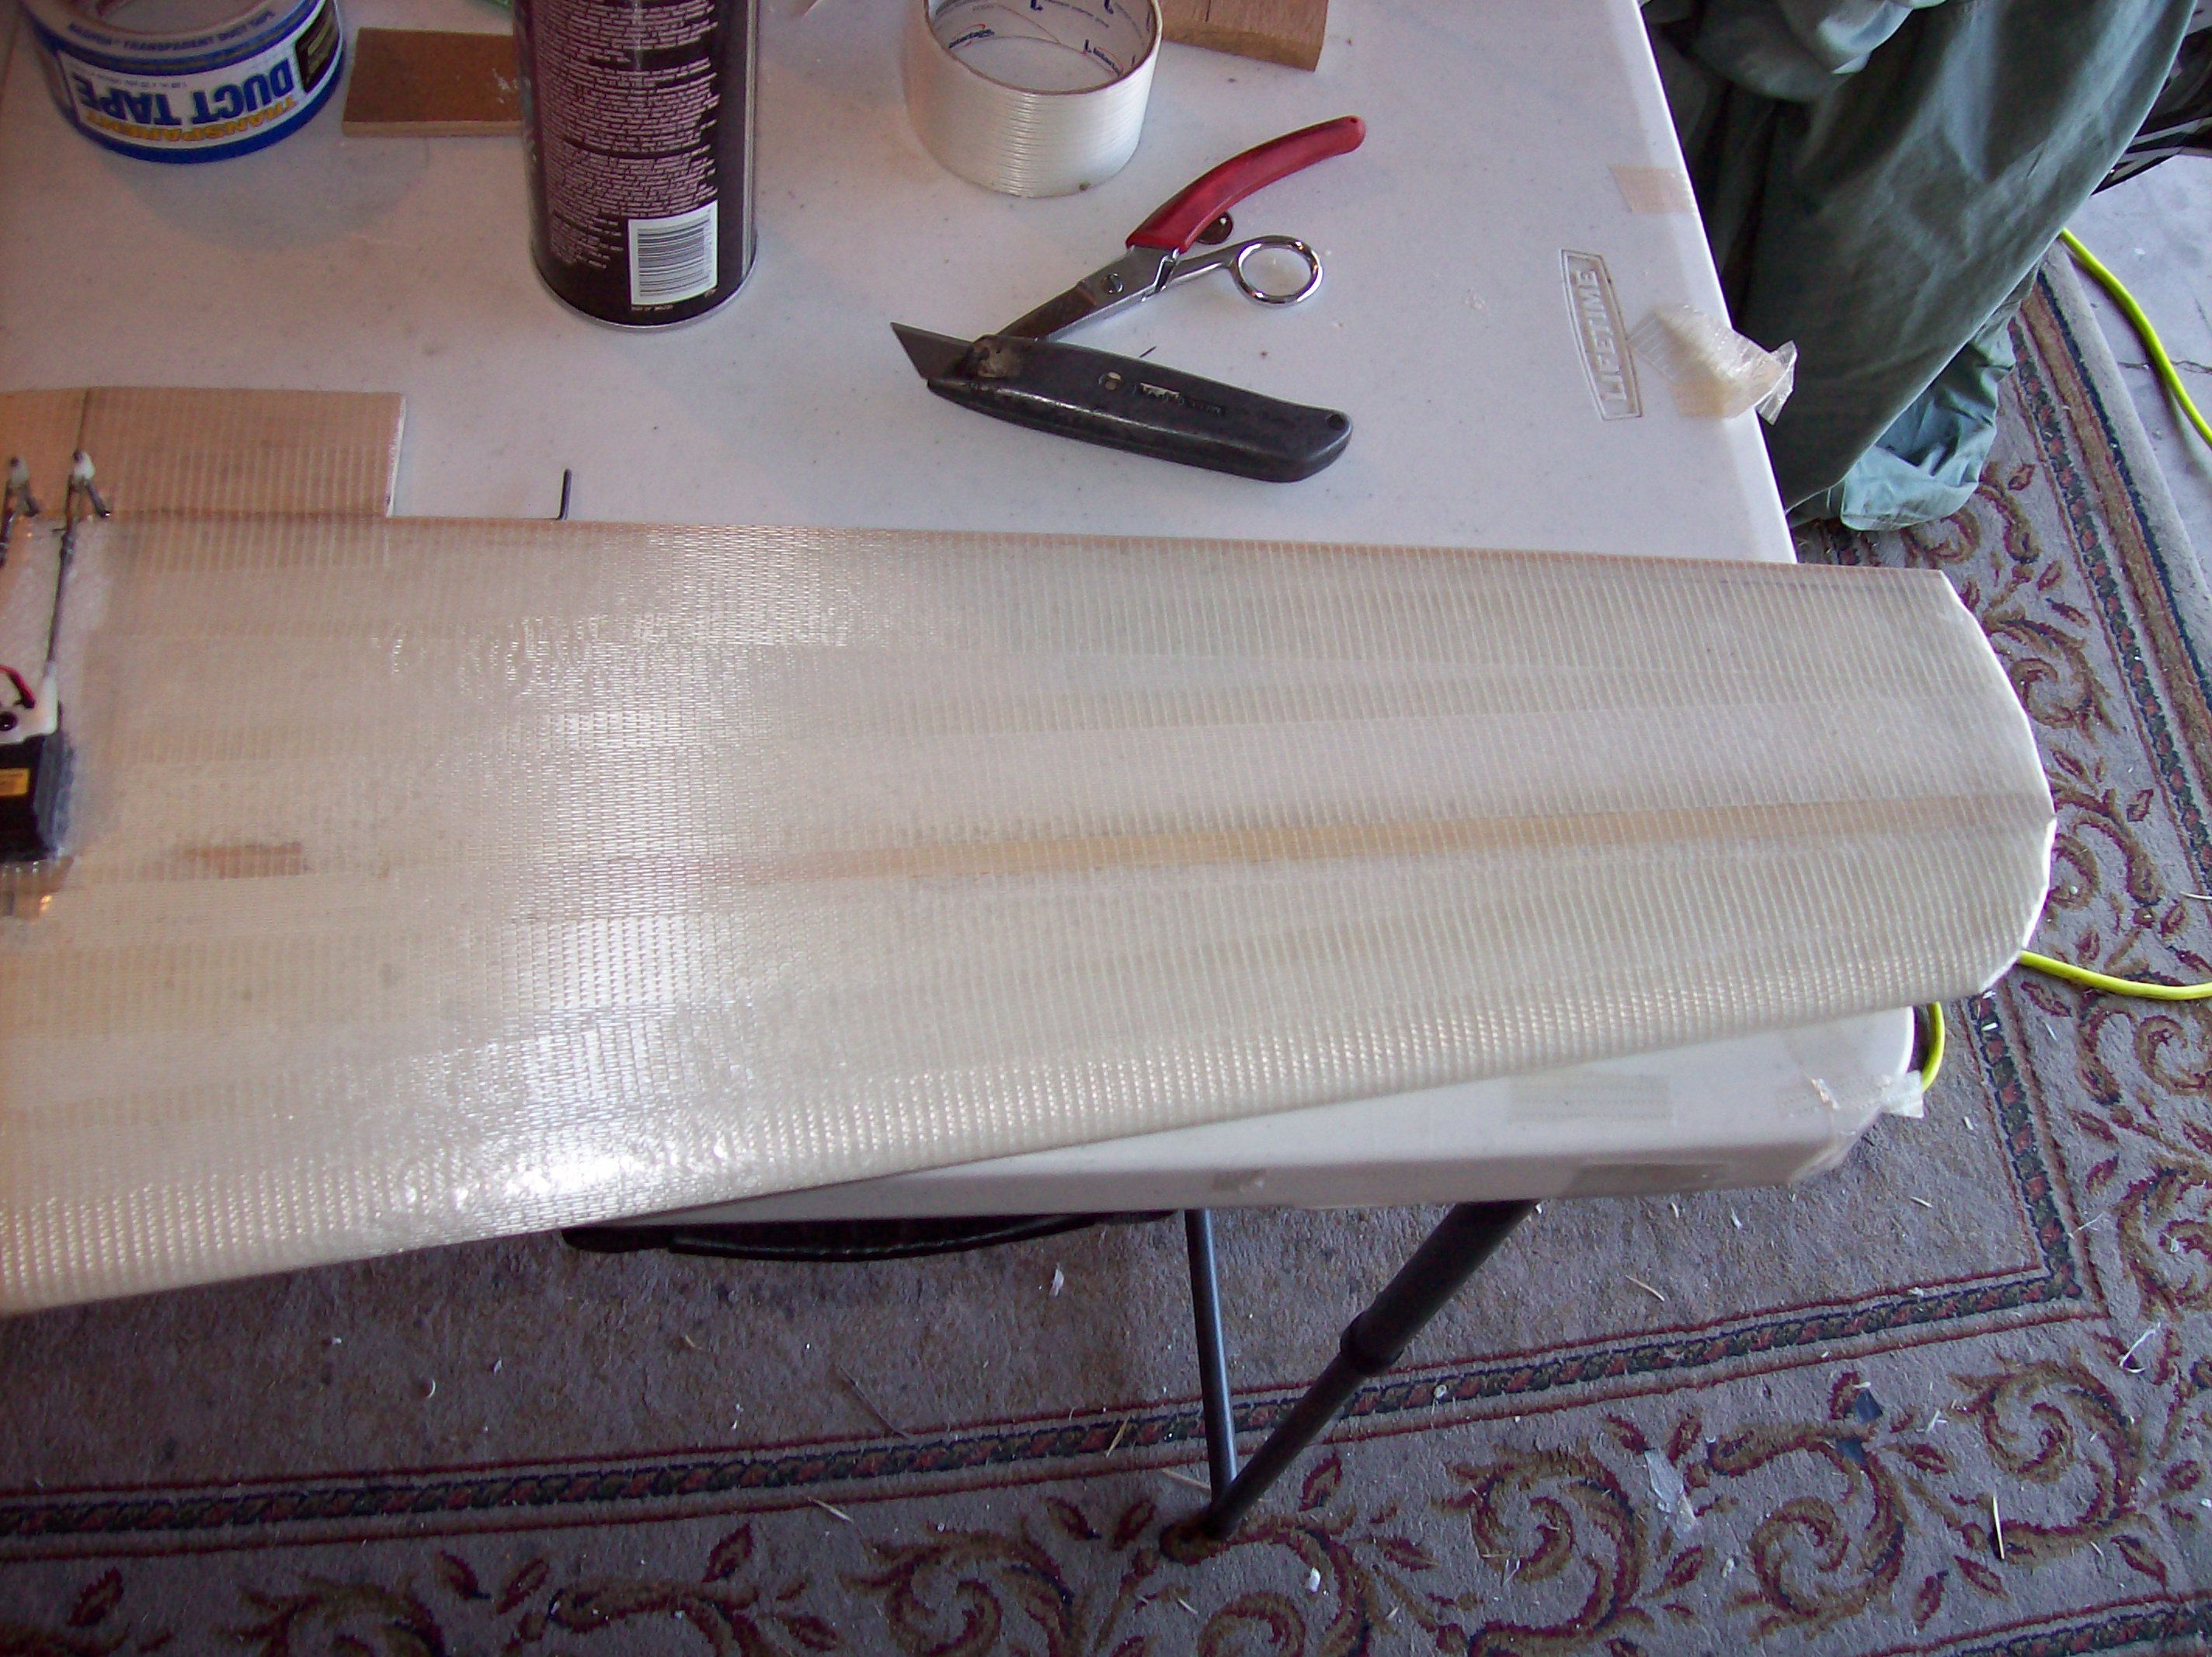
Here I'm installing the radio components.
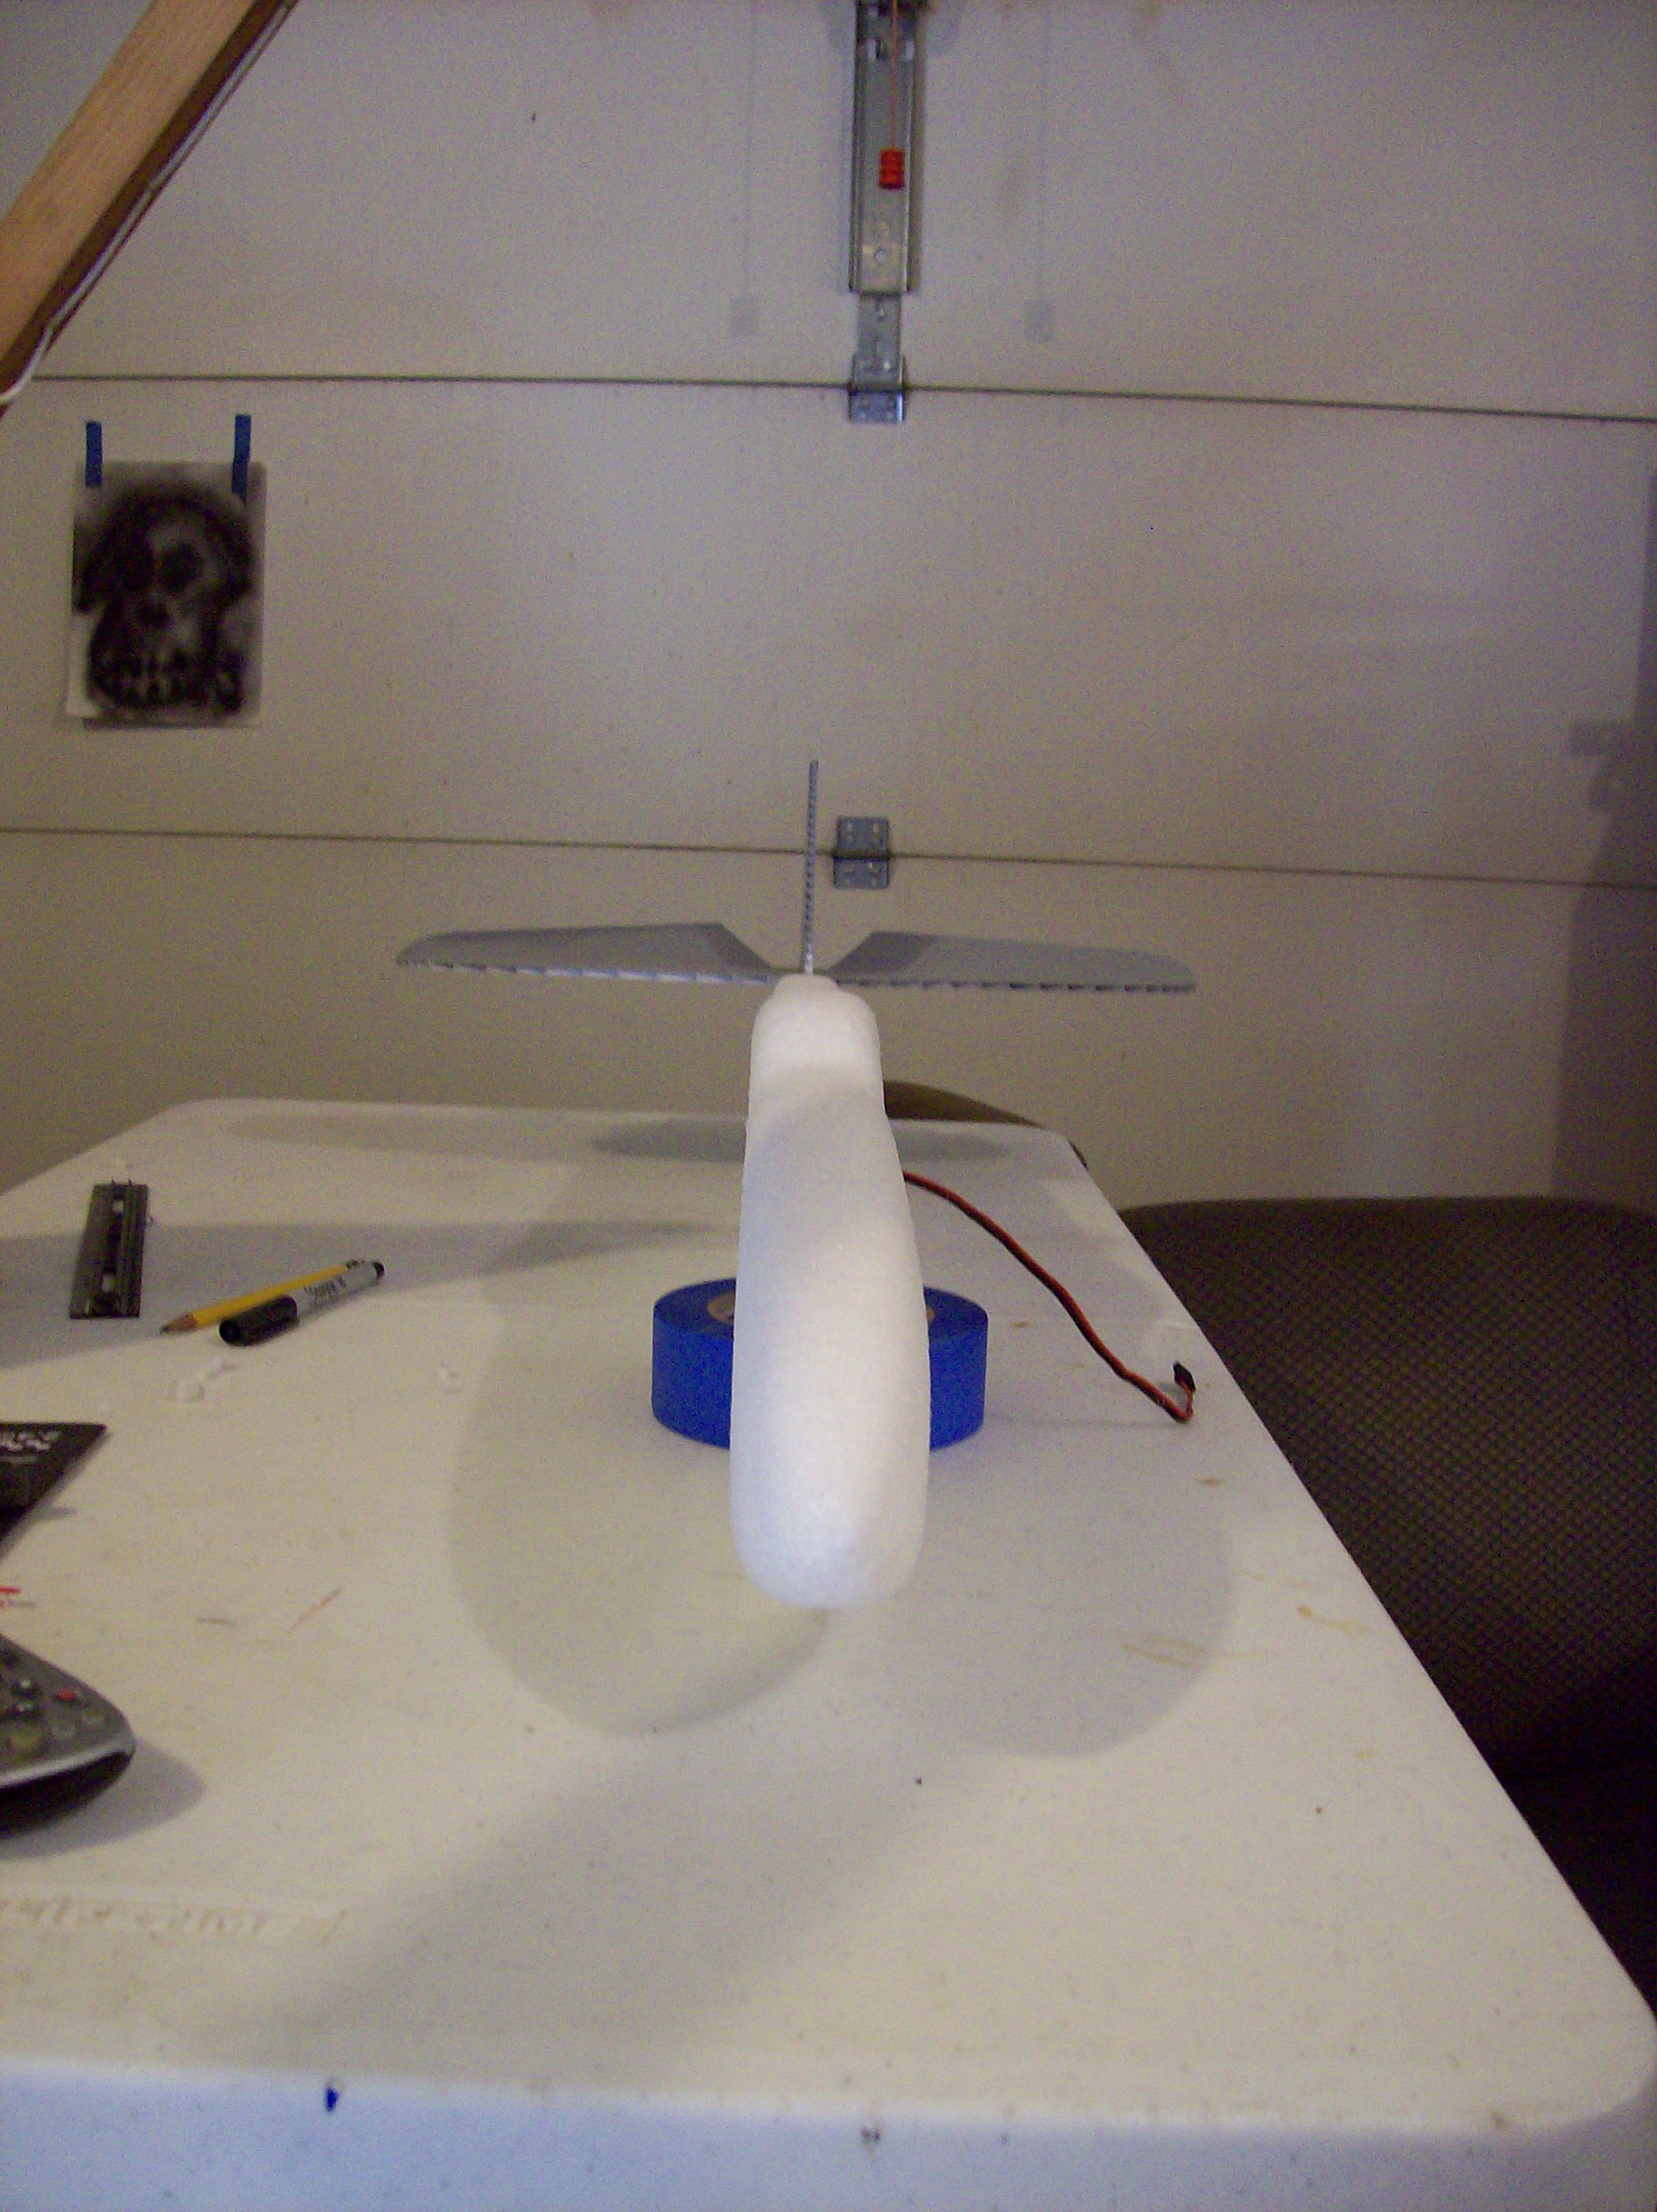
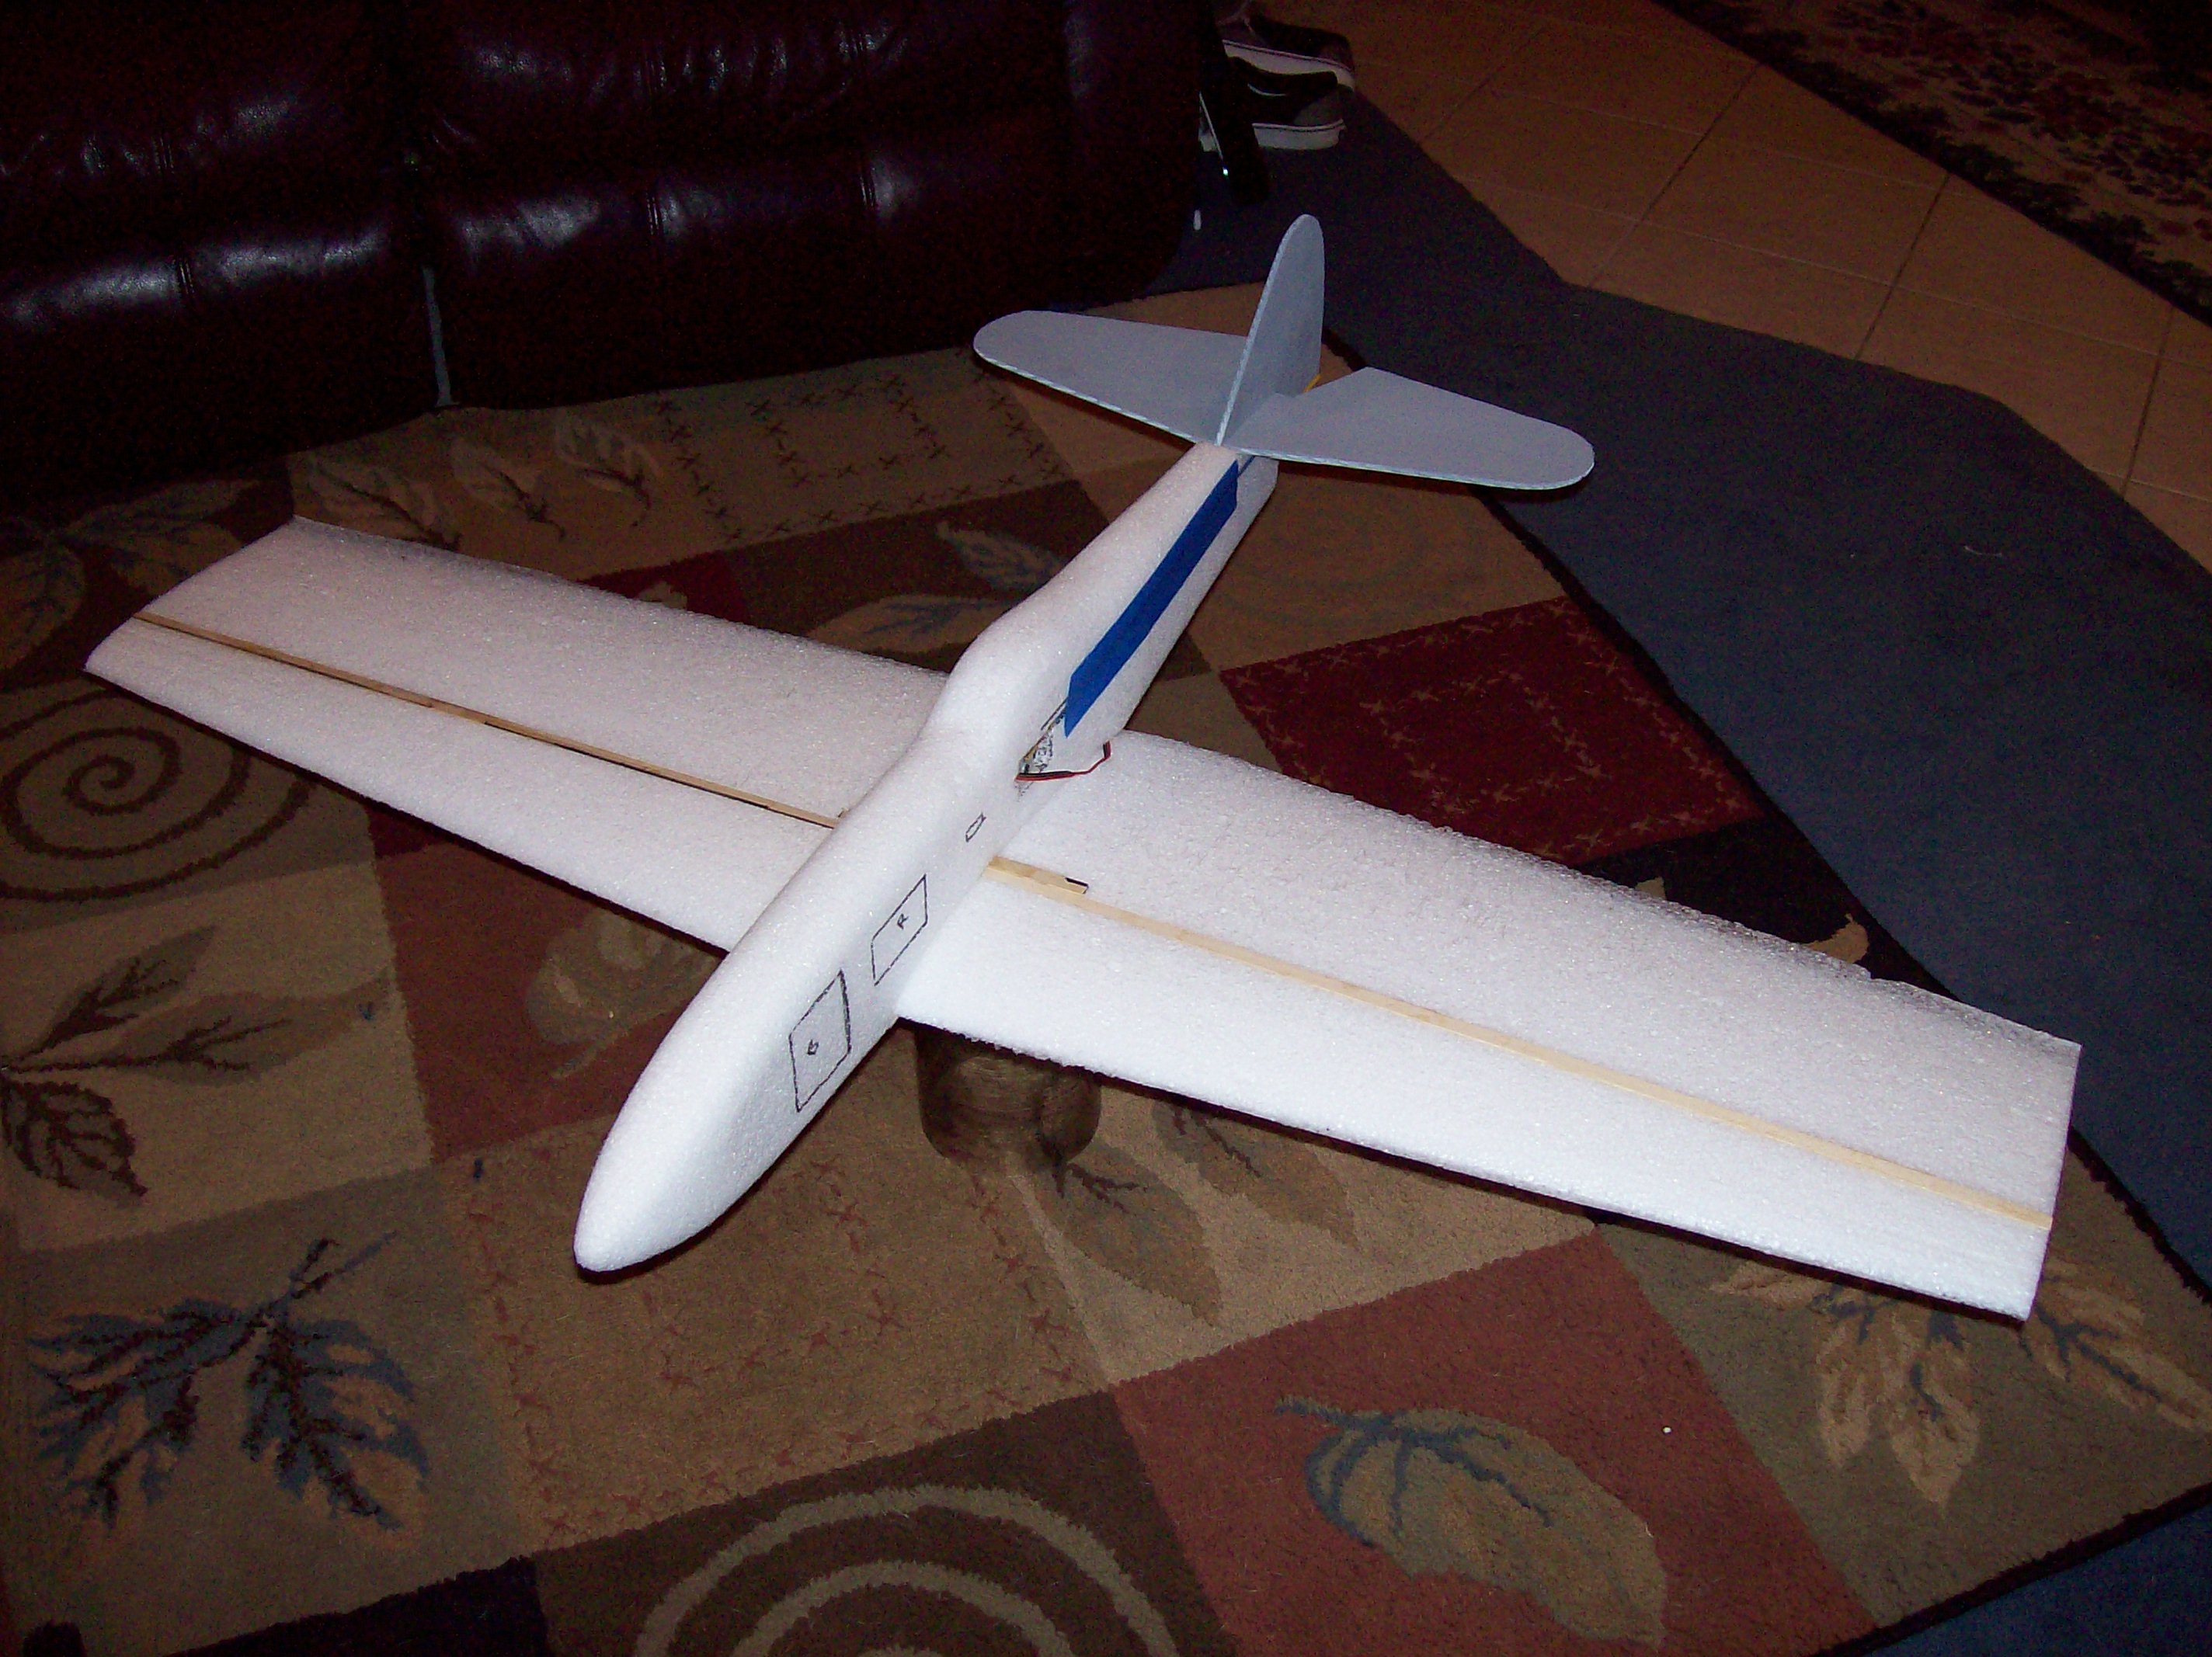
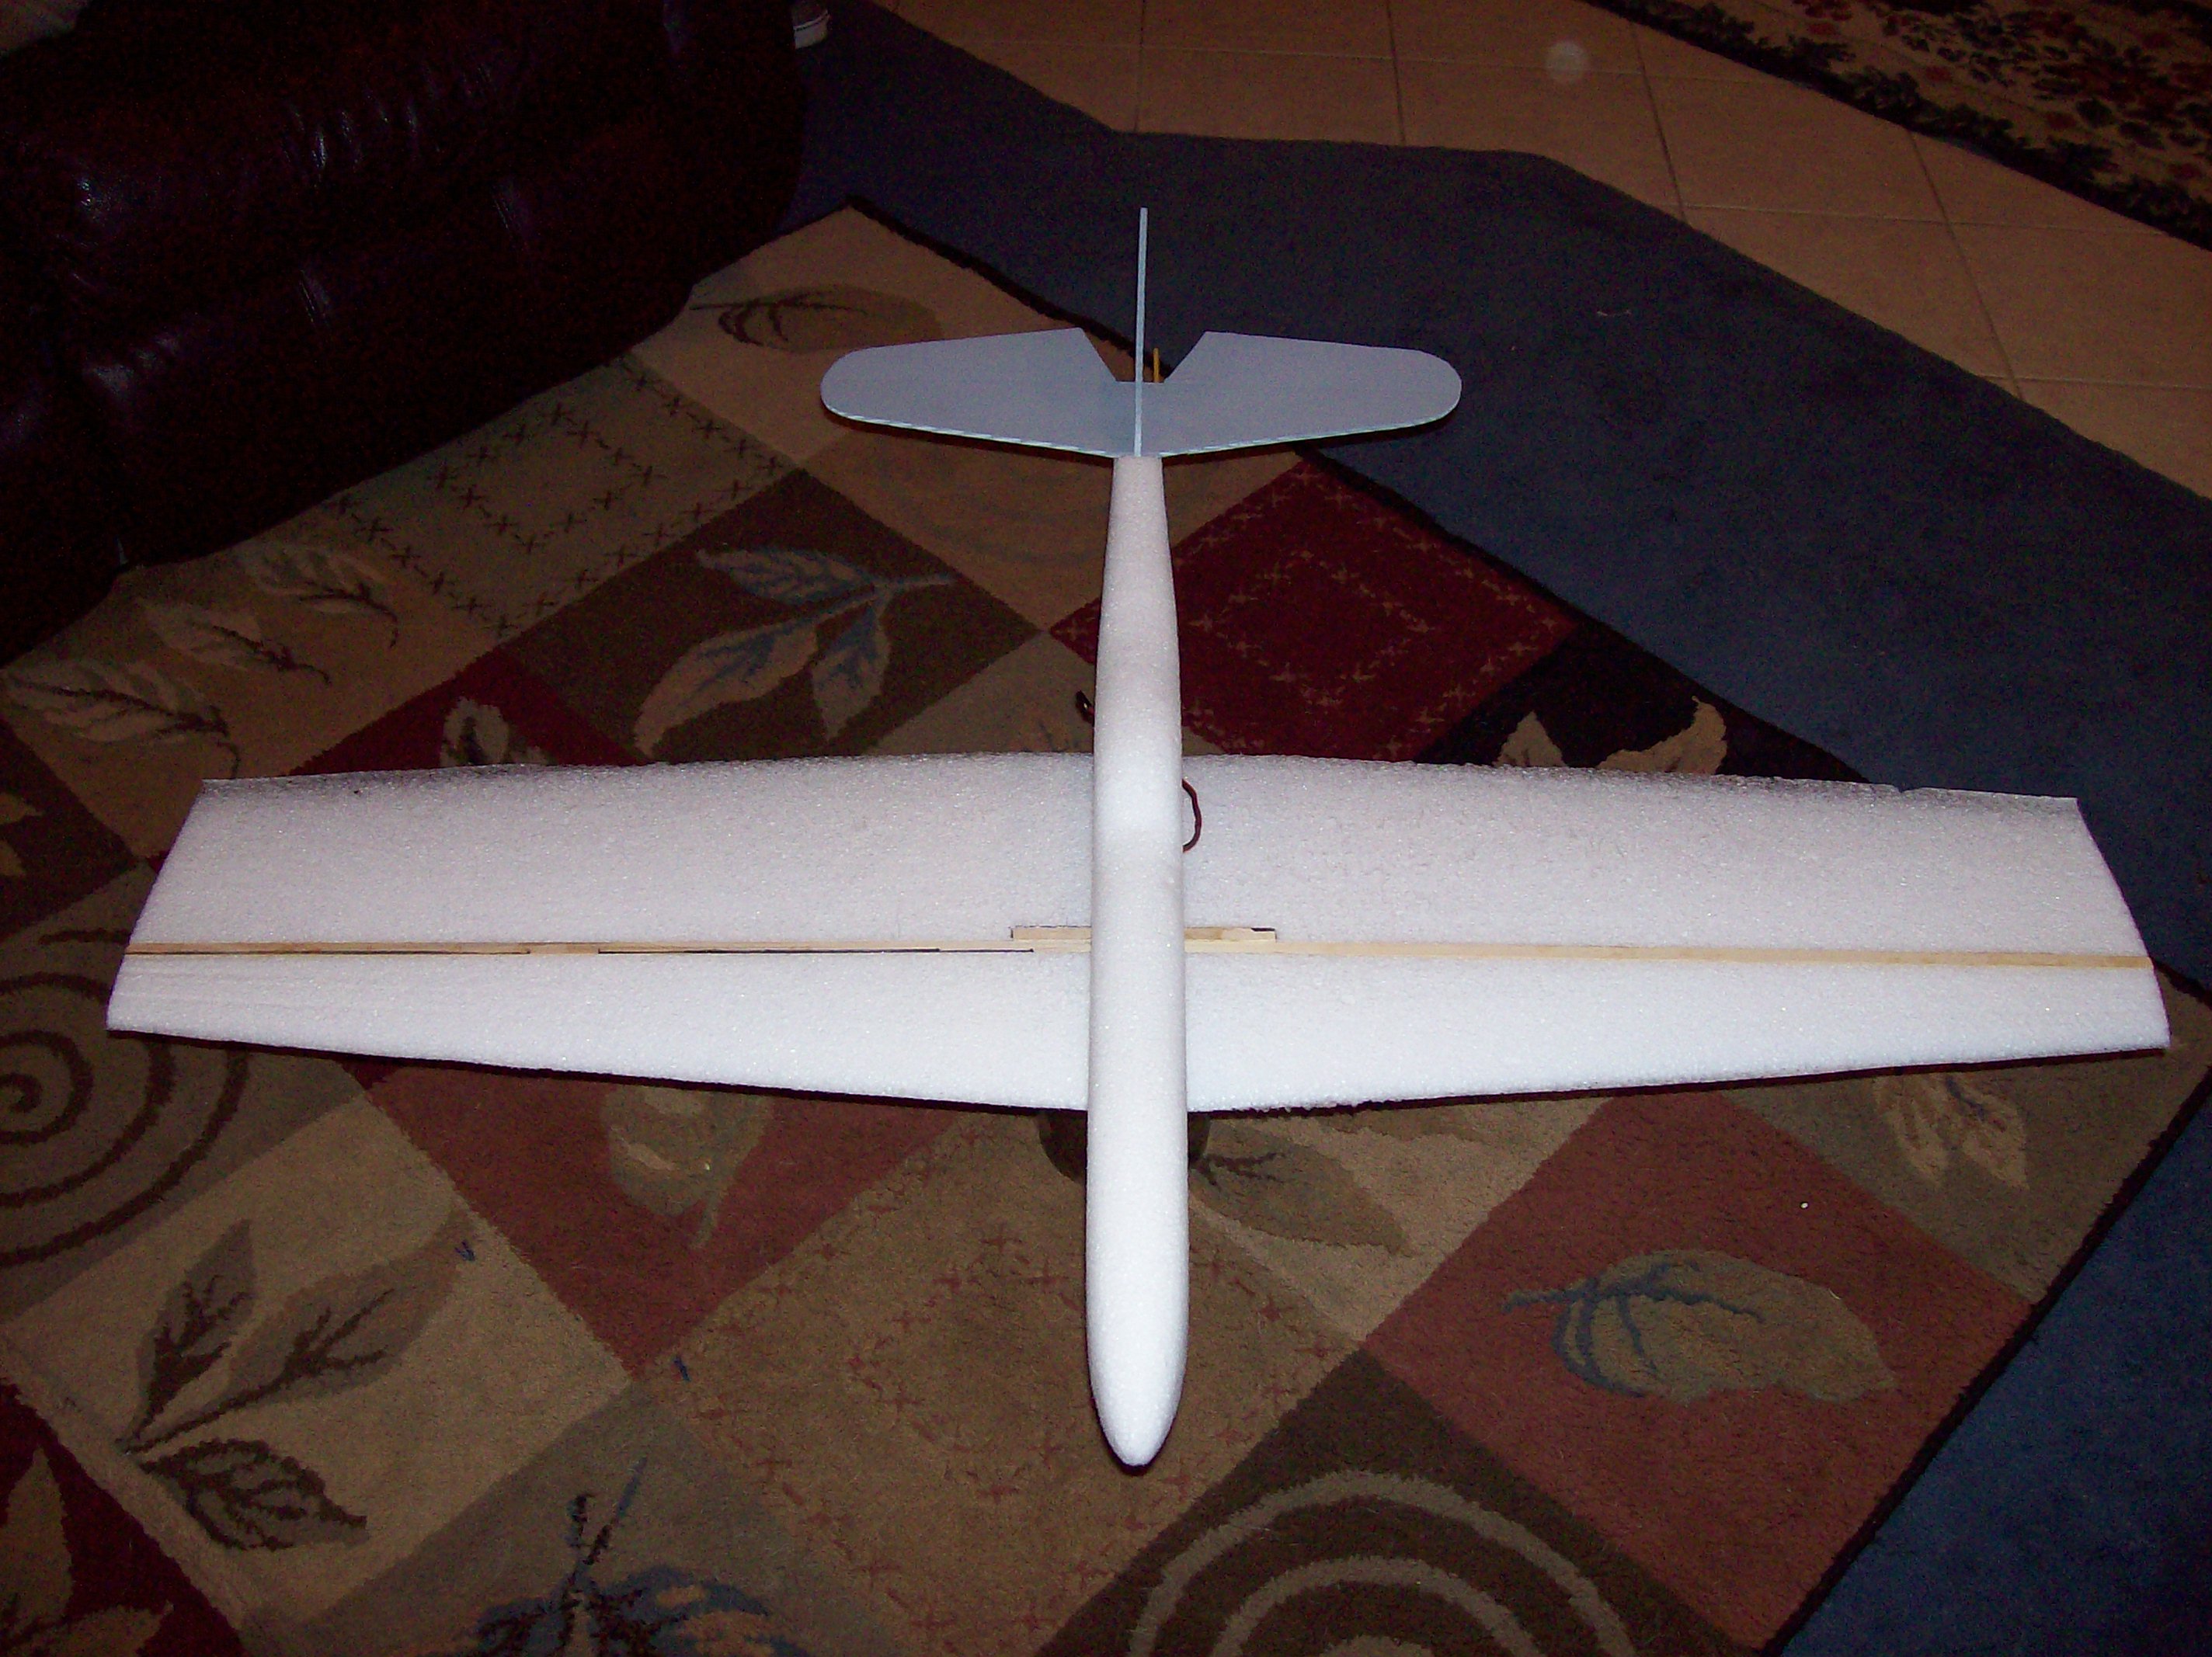
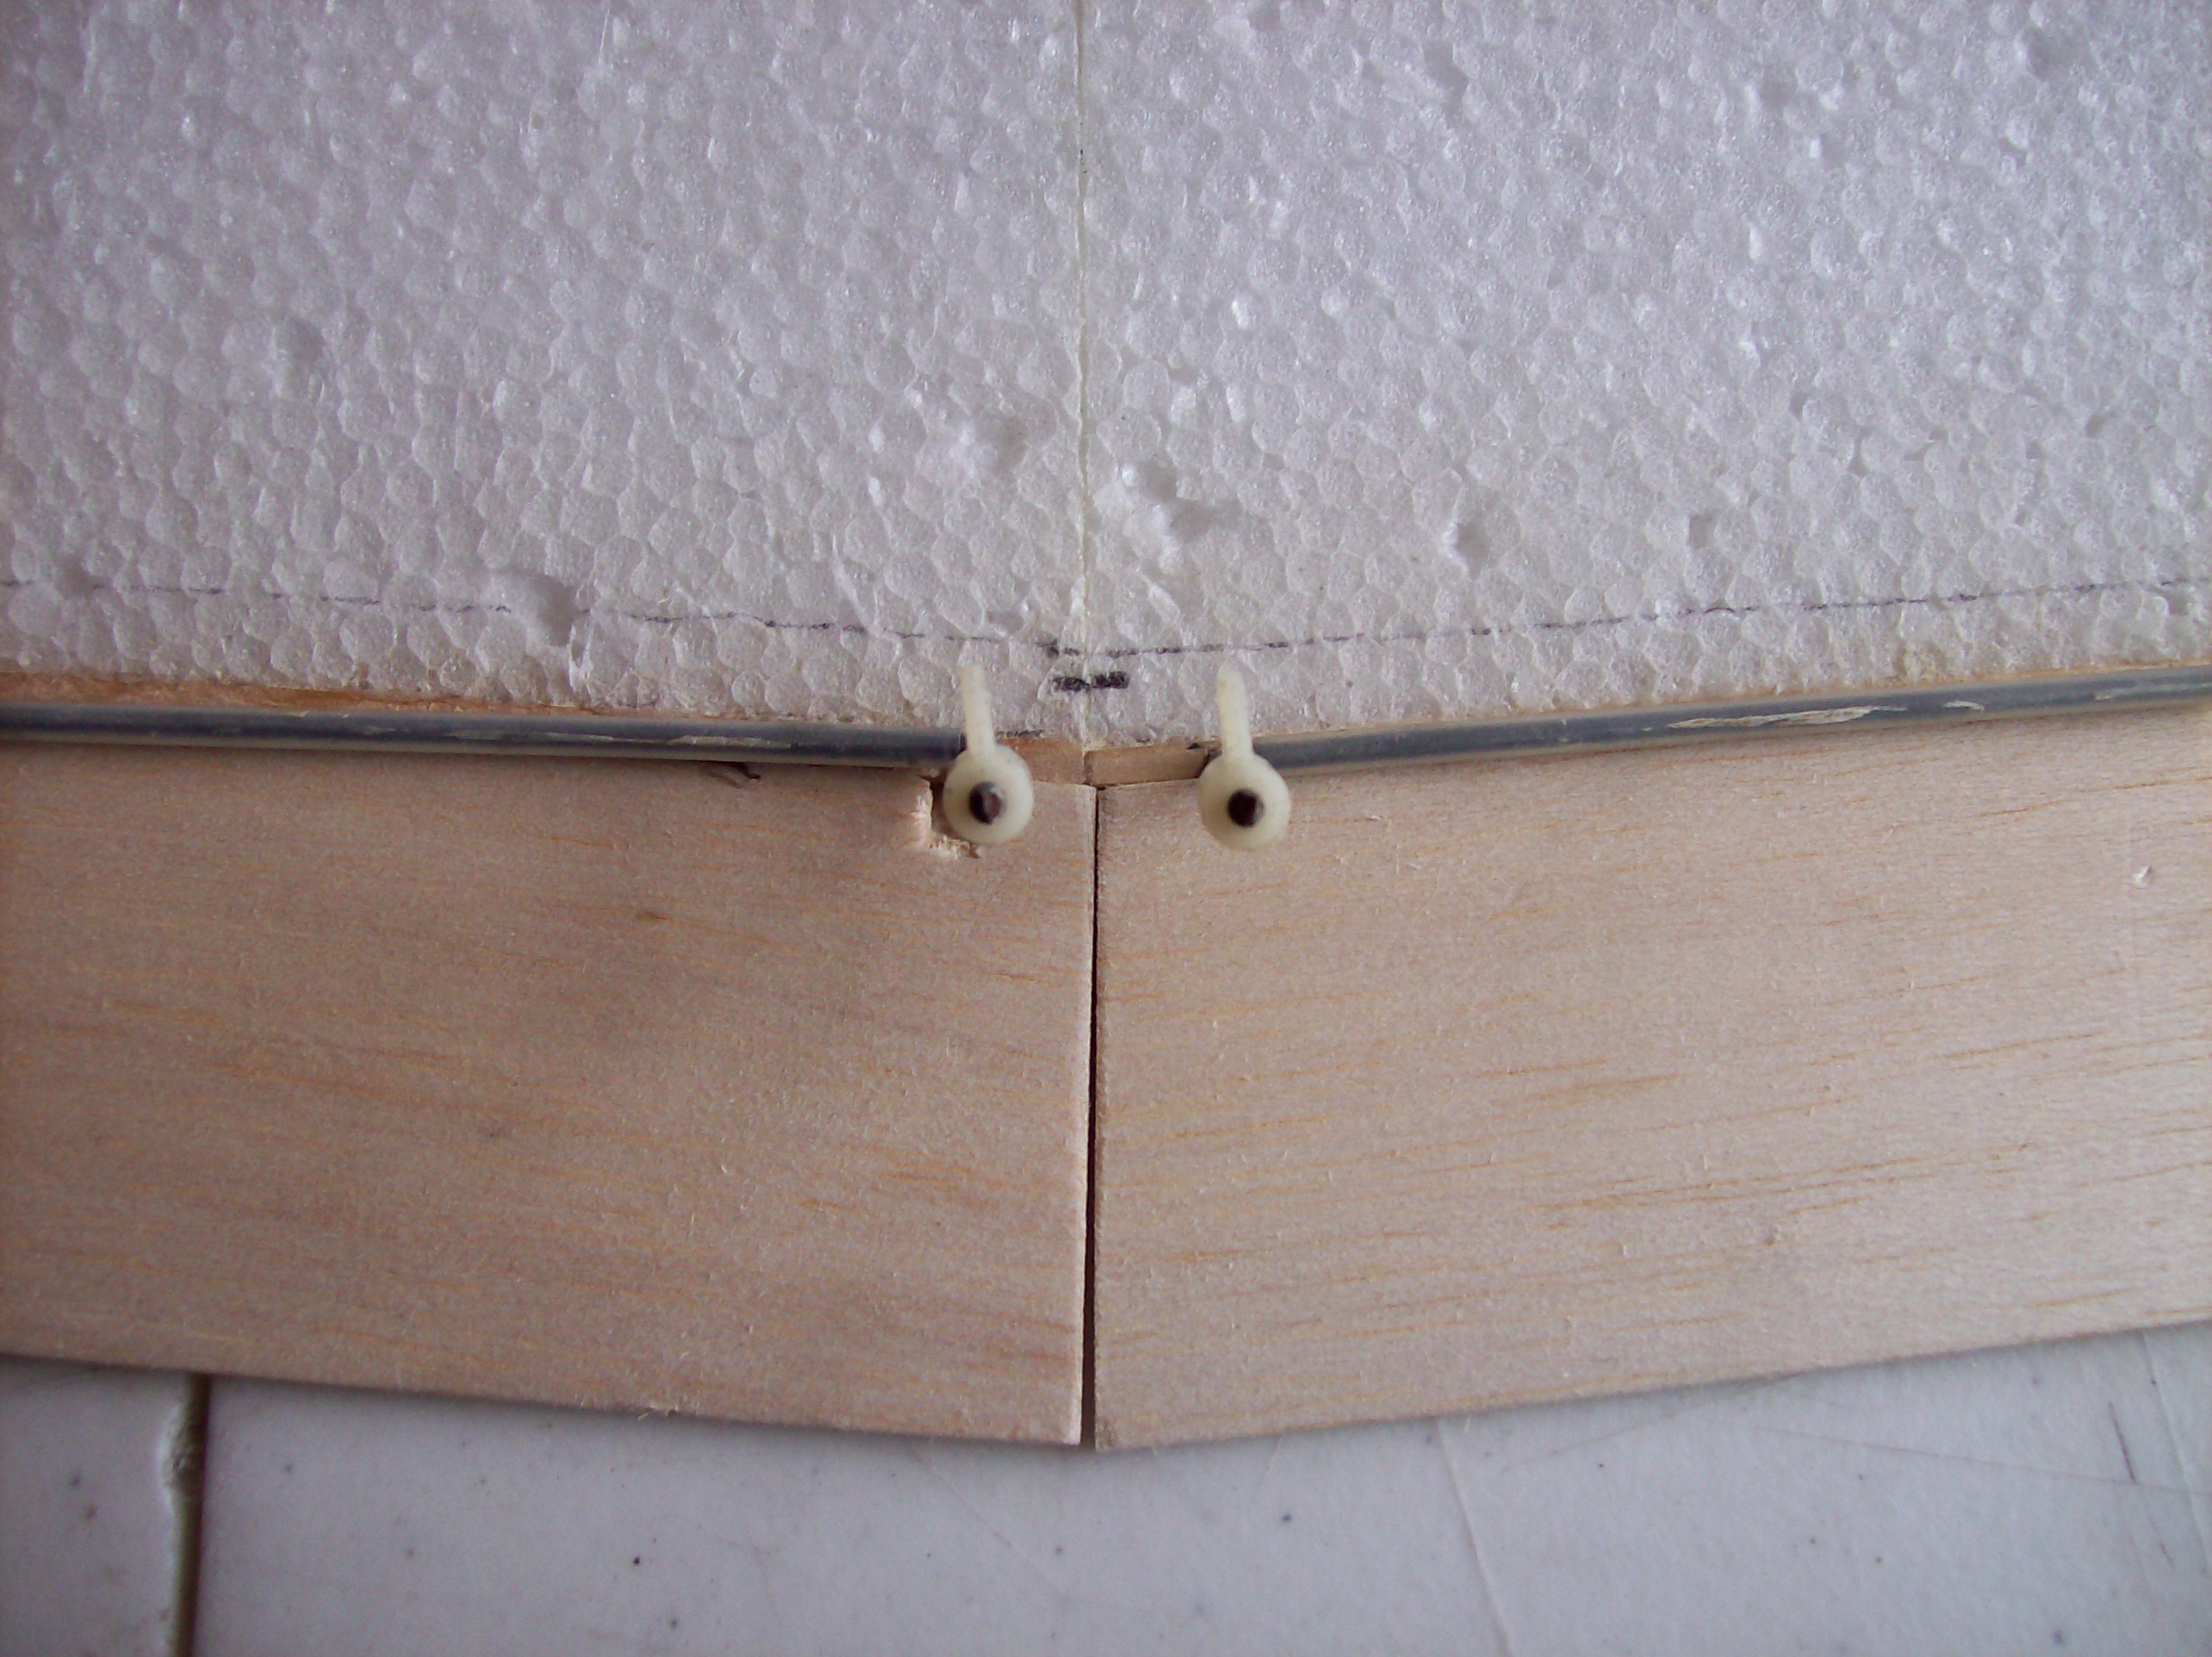
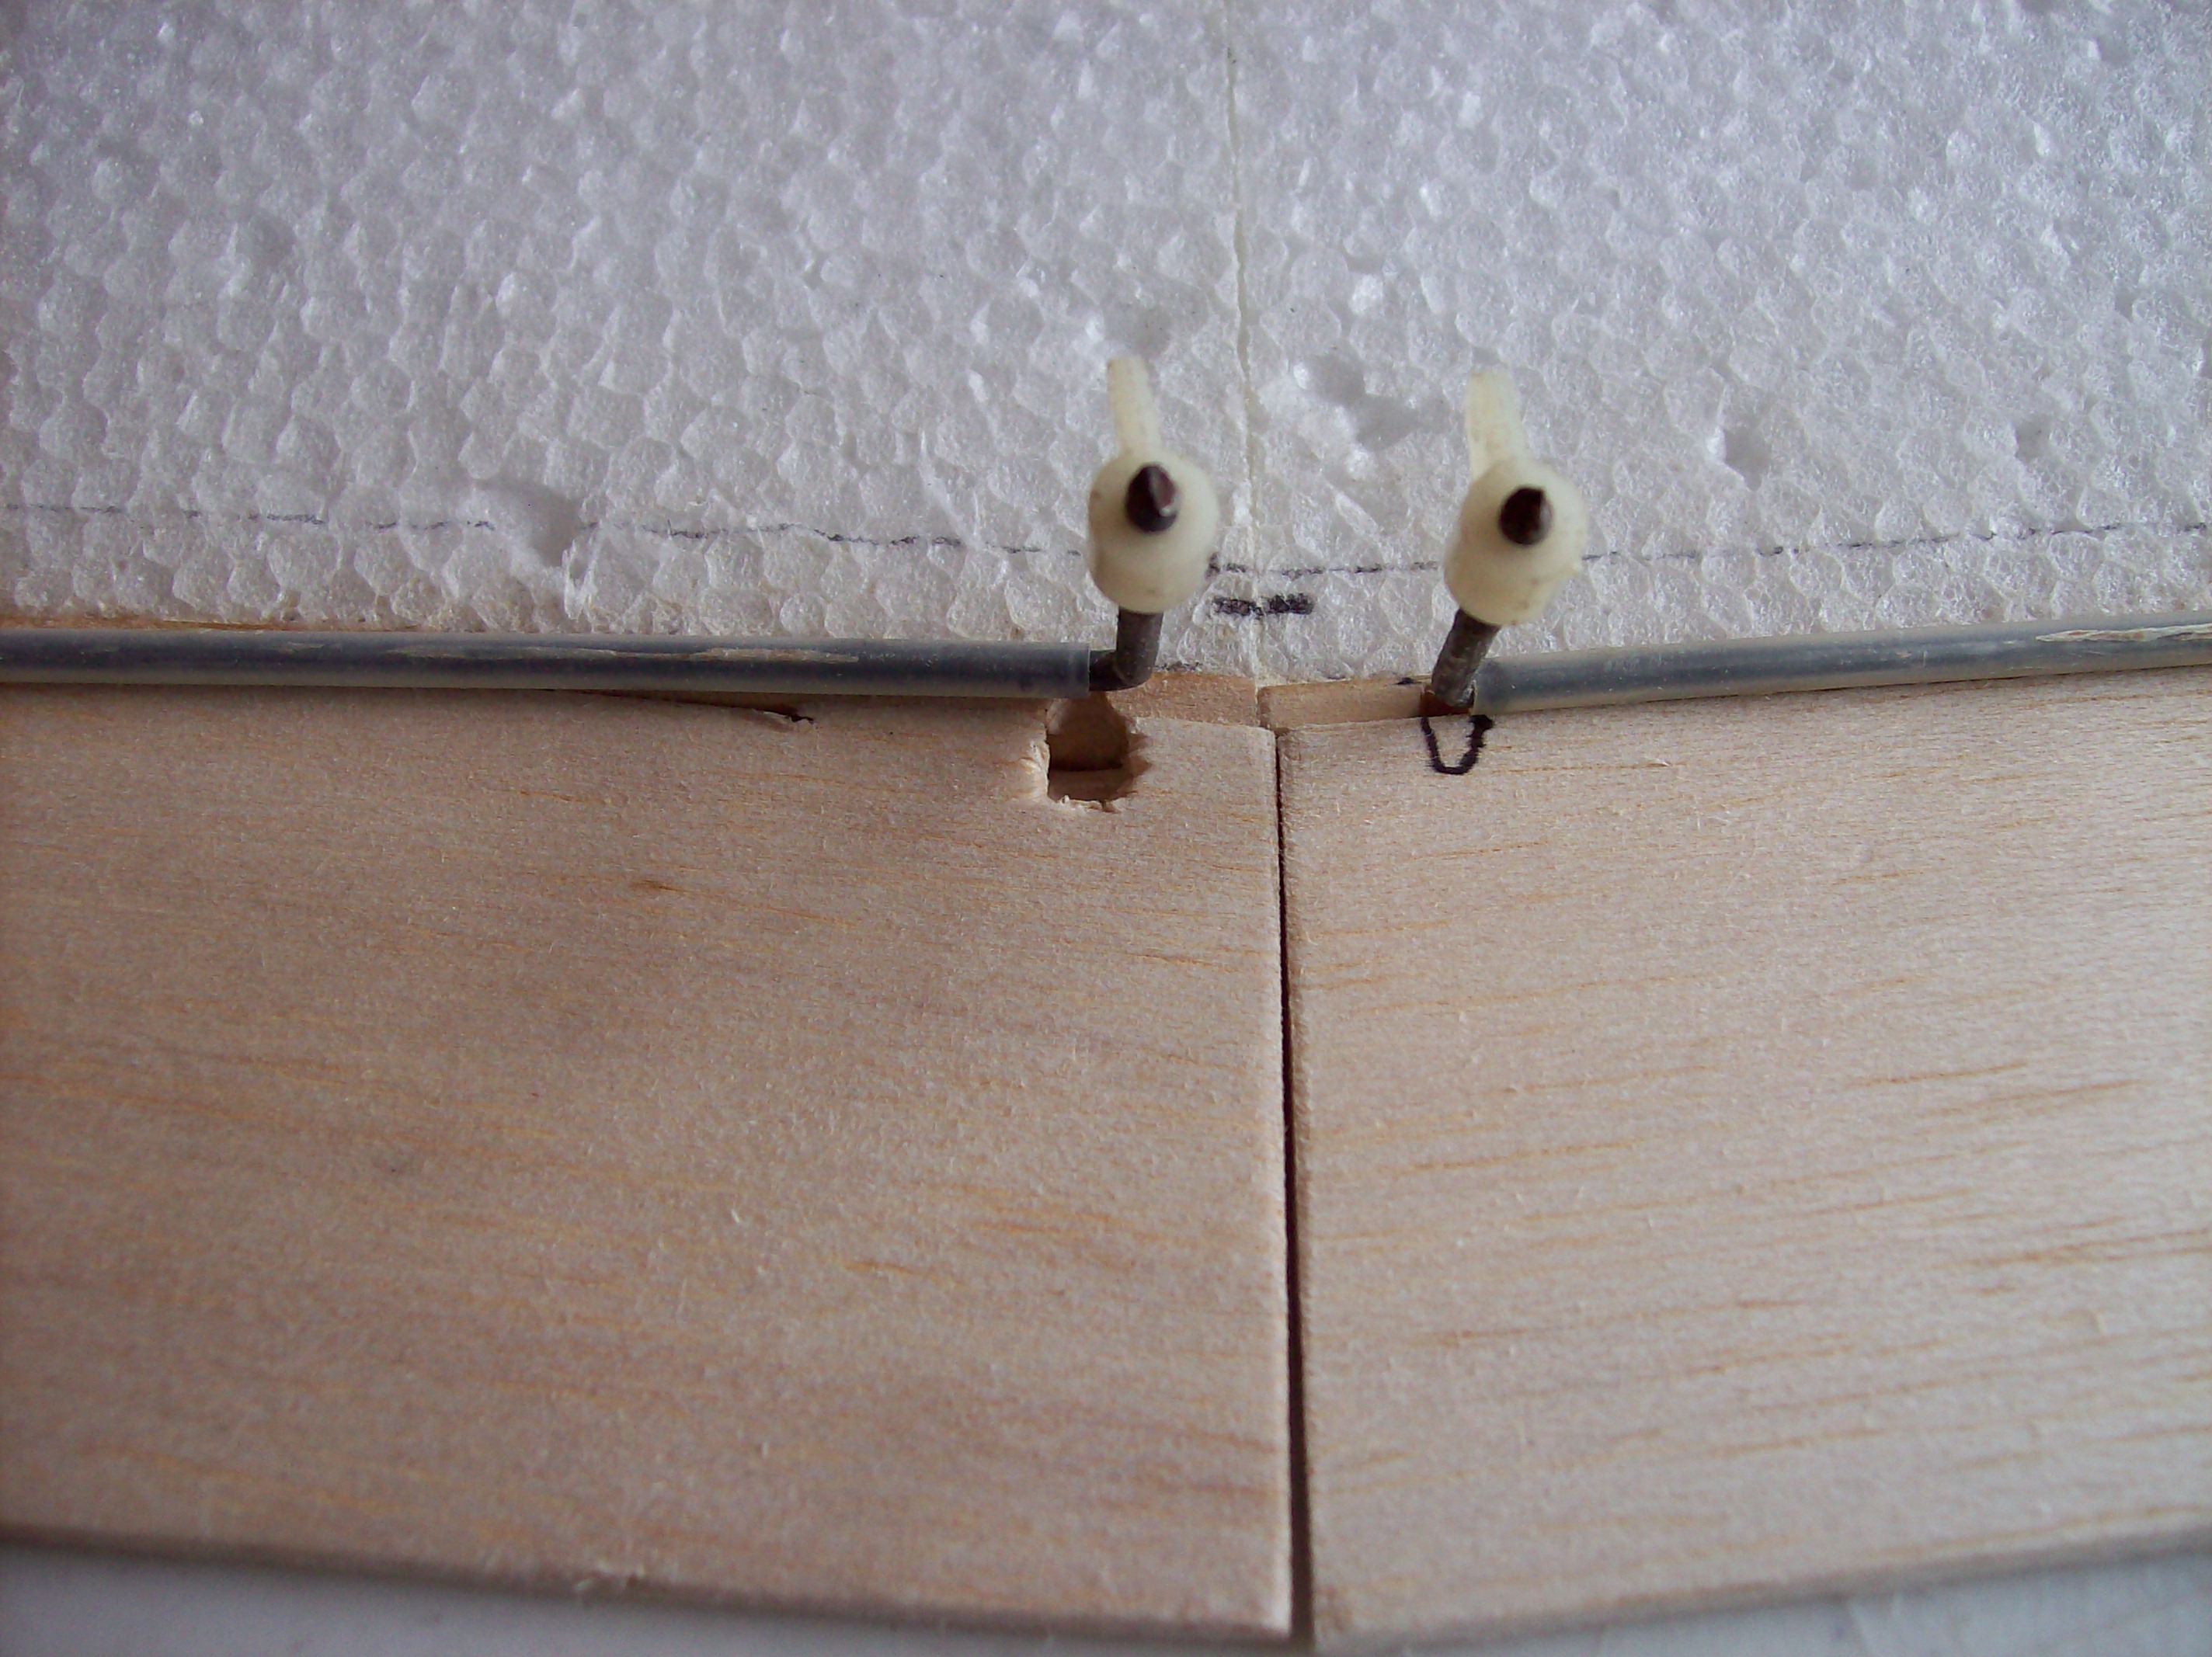
Sealed the components in with foam, mounted the horizontal and vertical stabilizers. Hooked up the elevator linkage. I'm almost ready to tape it


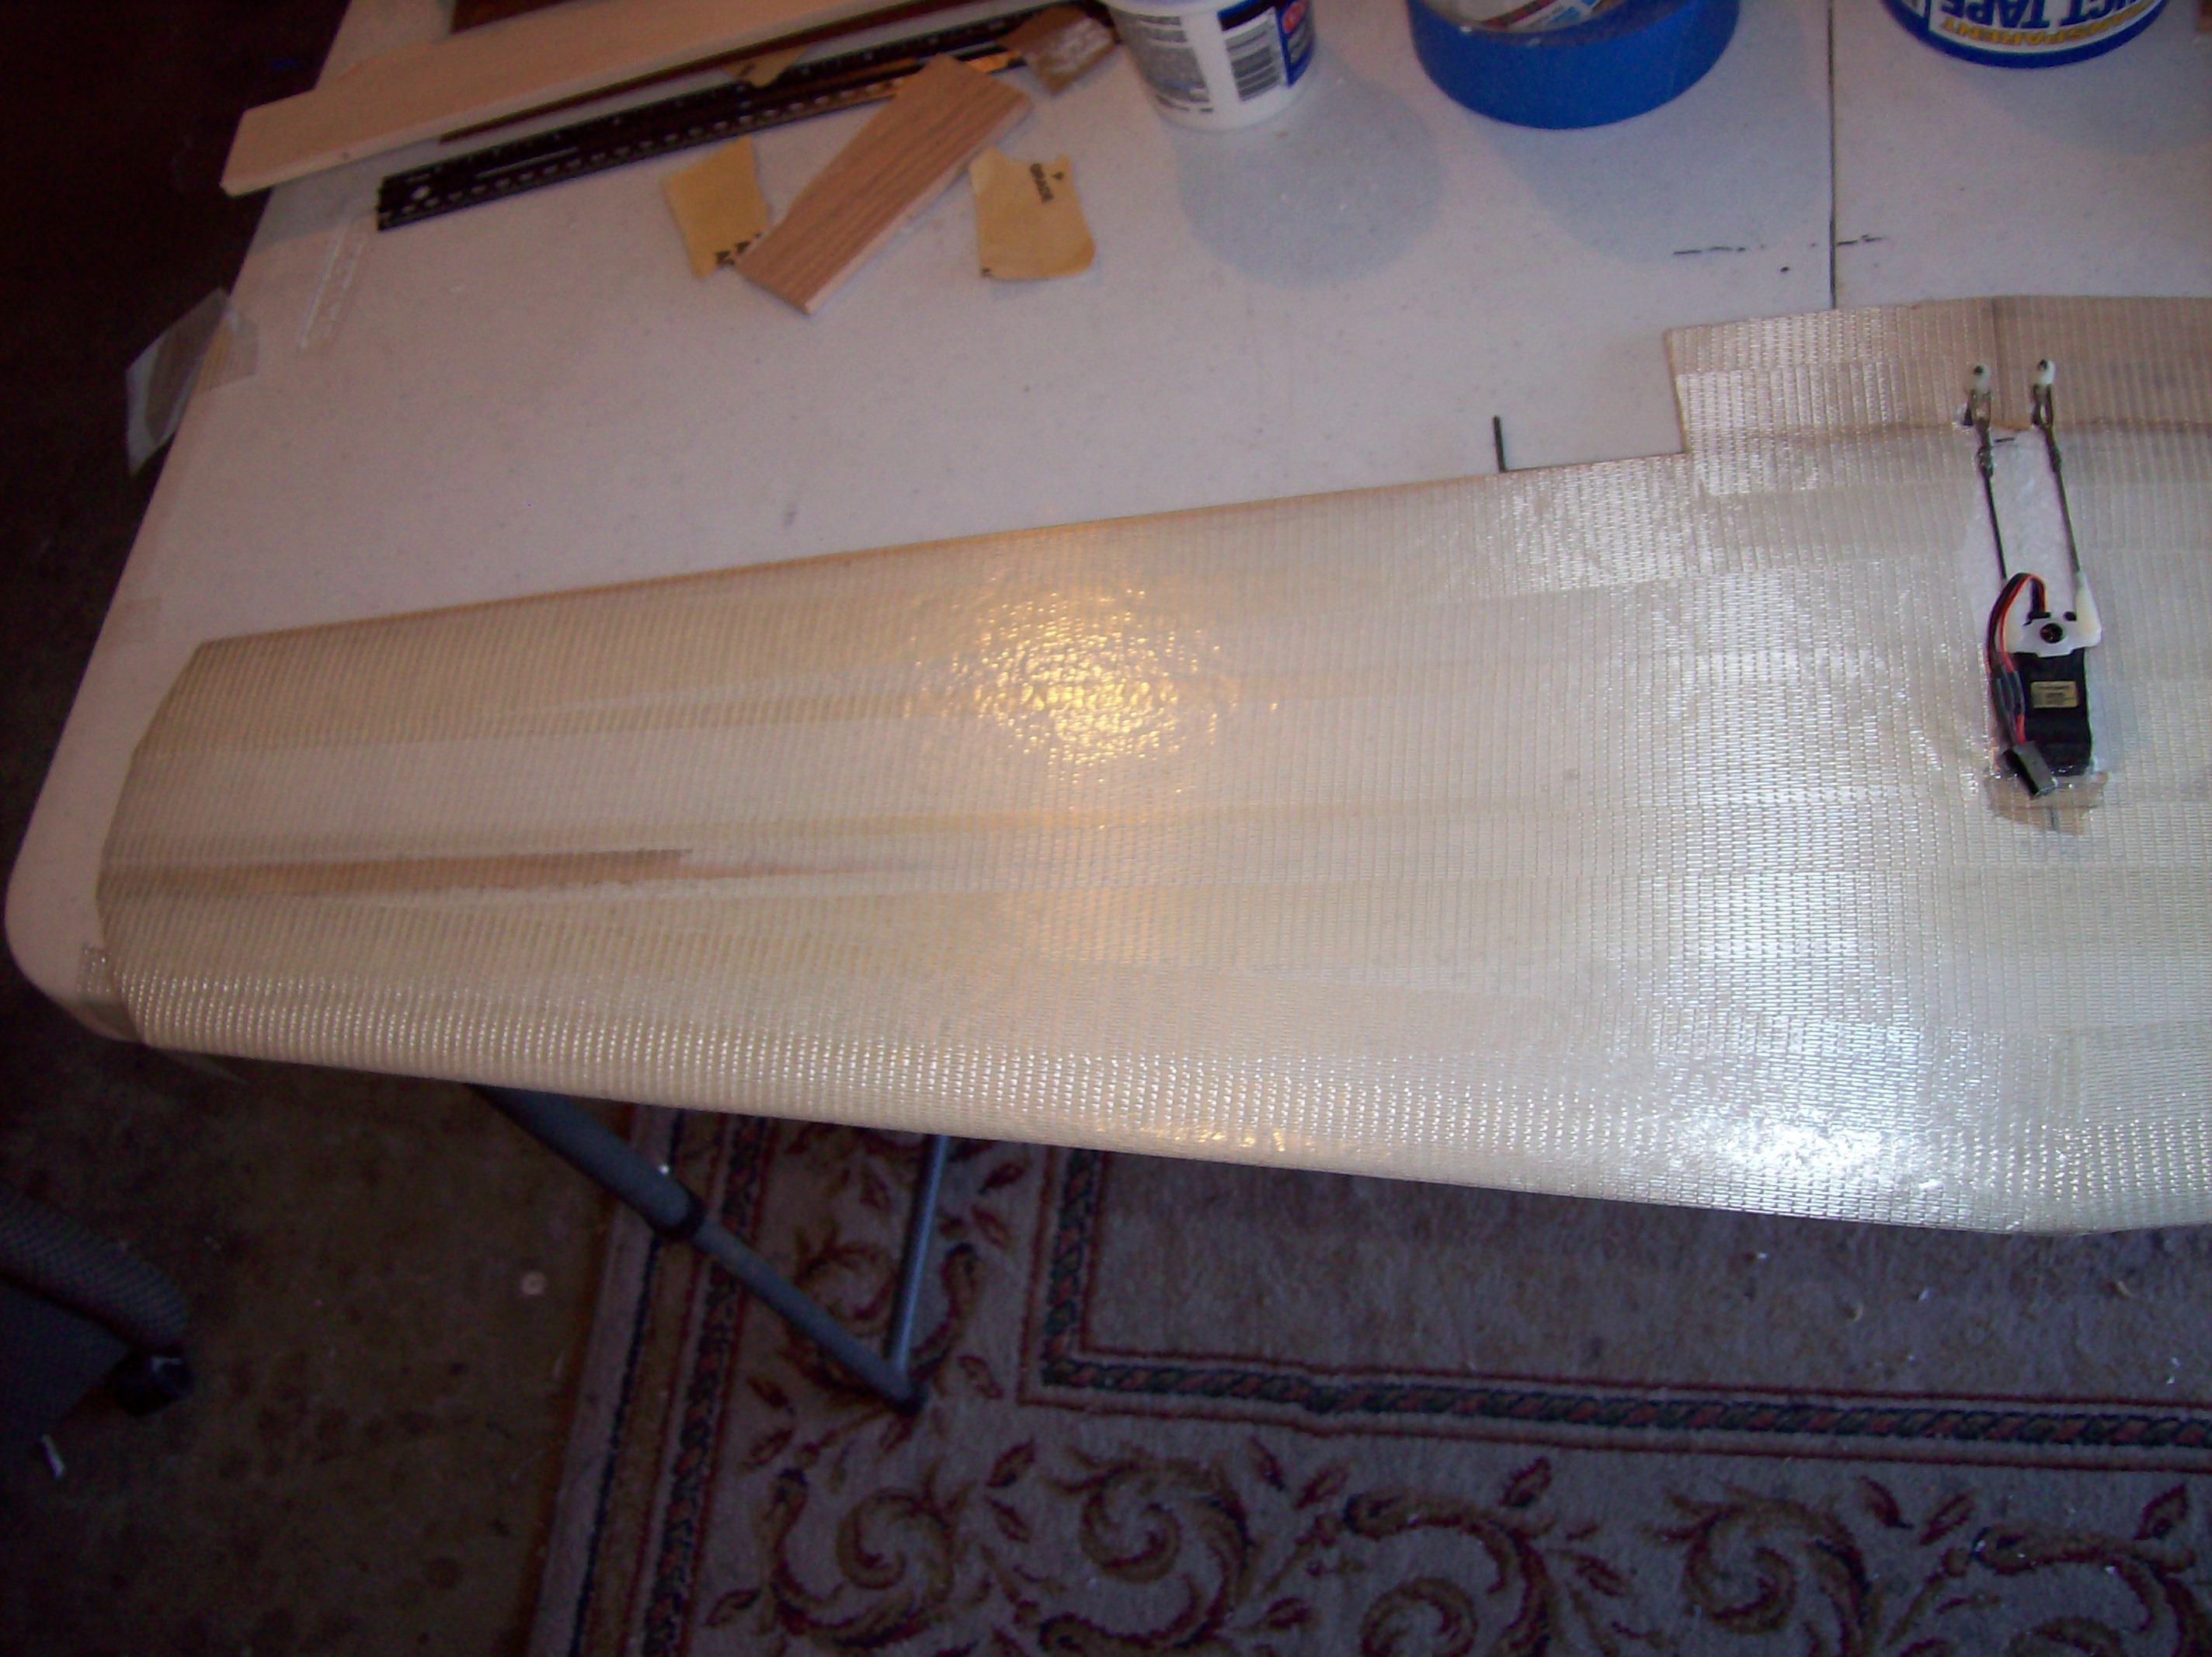
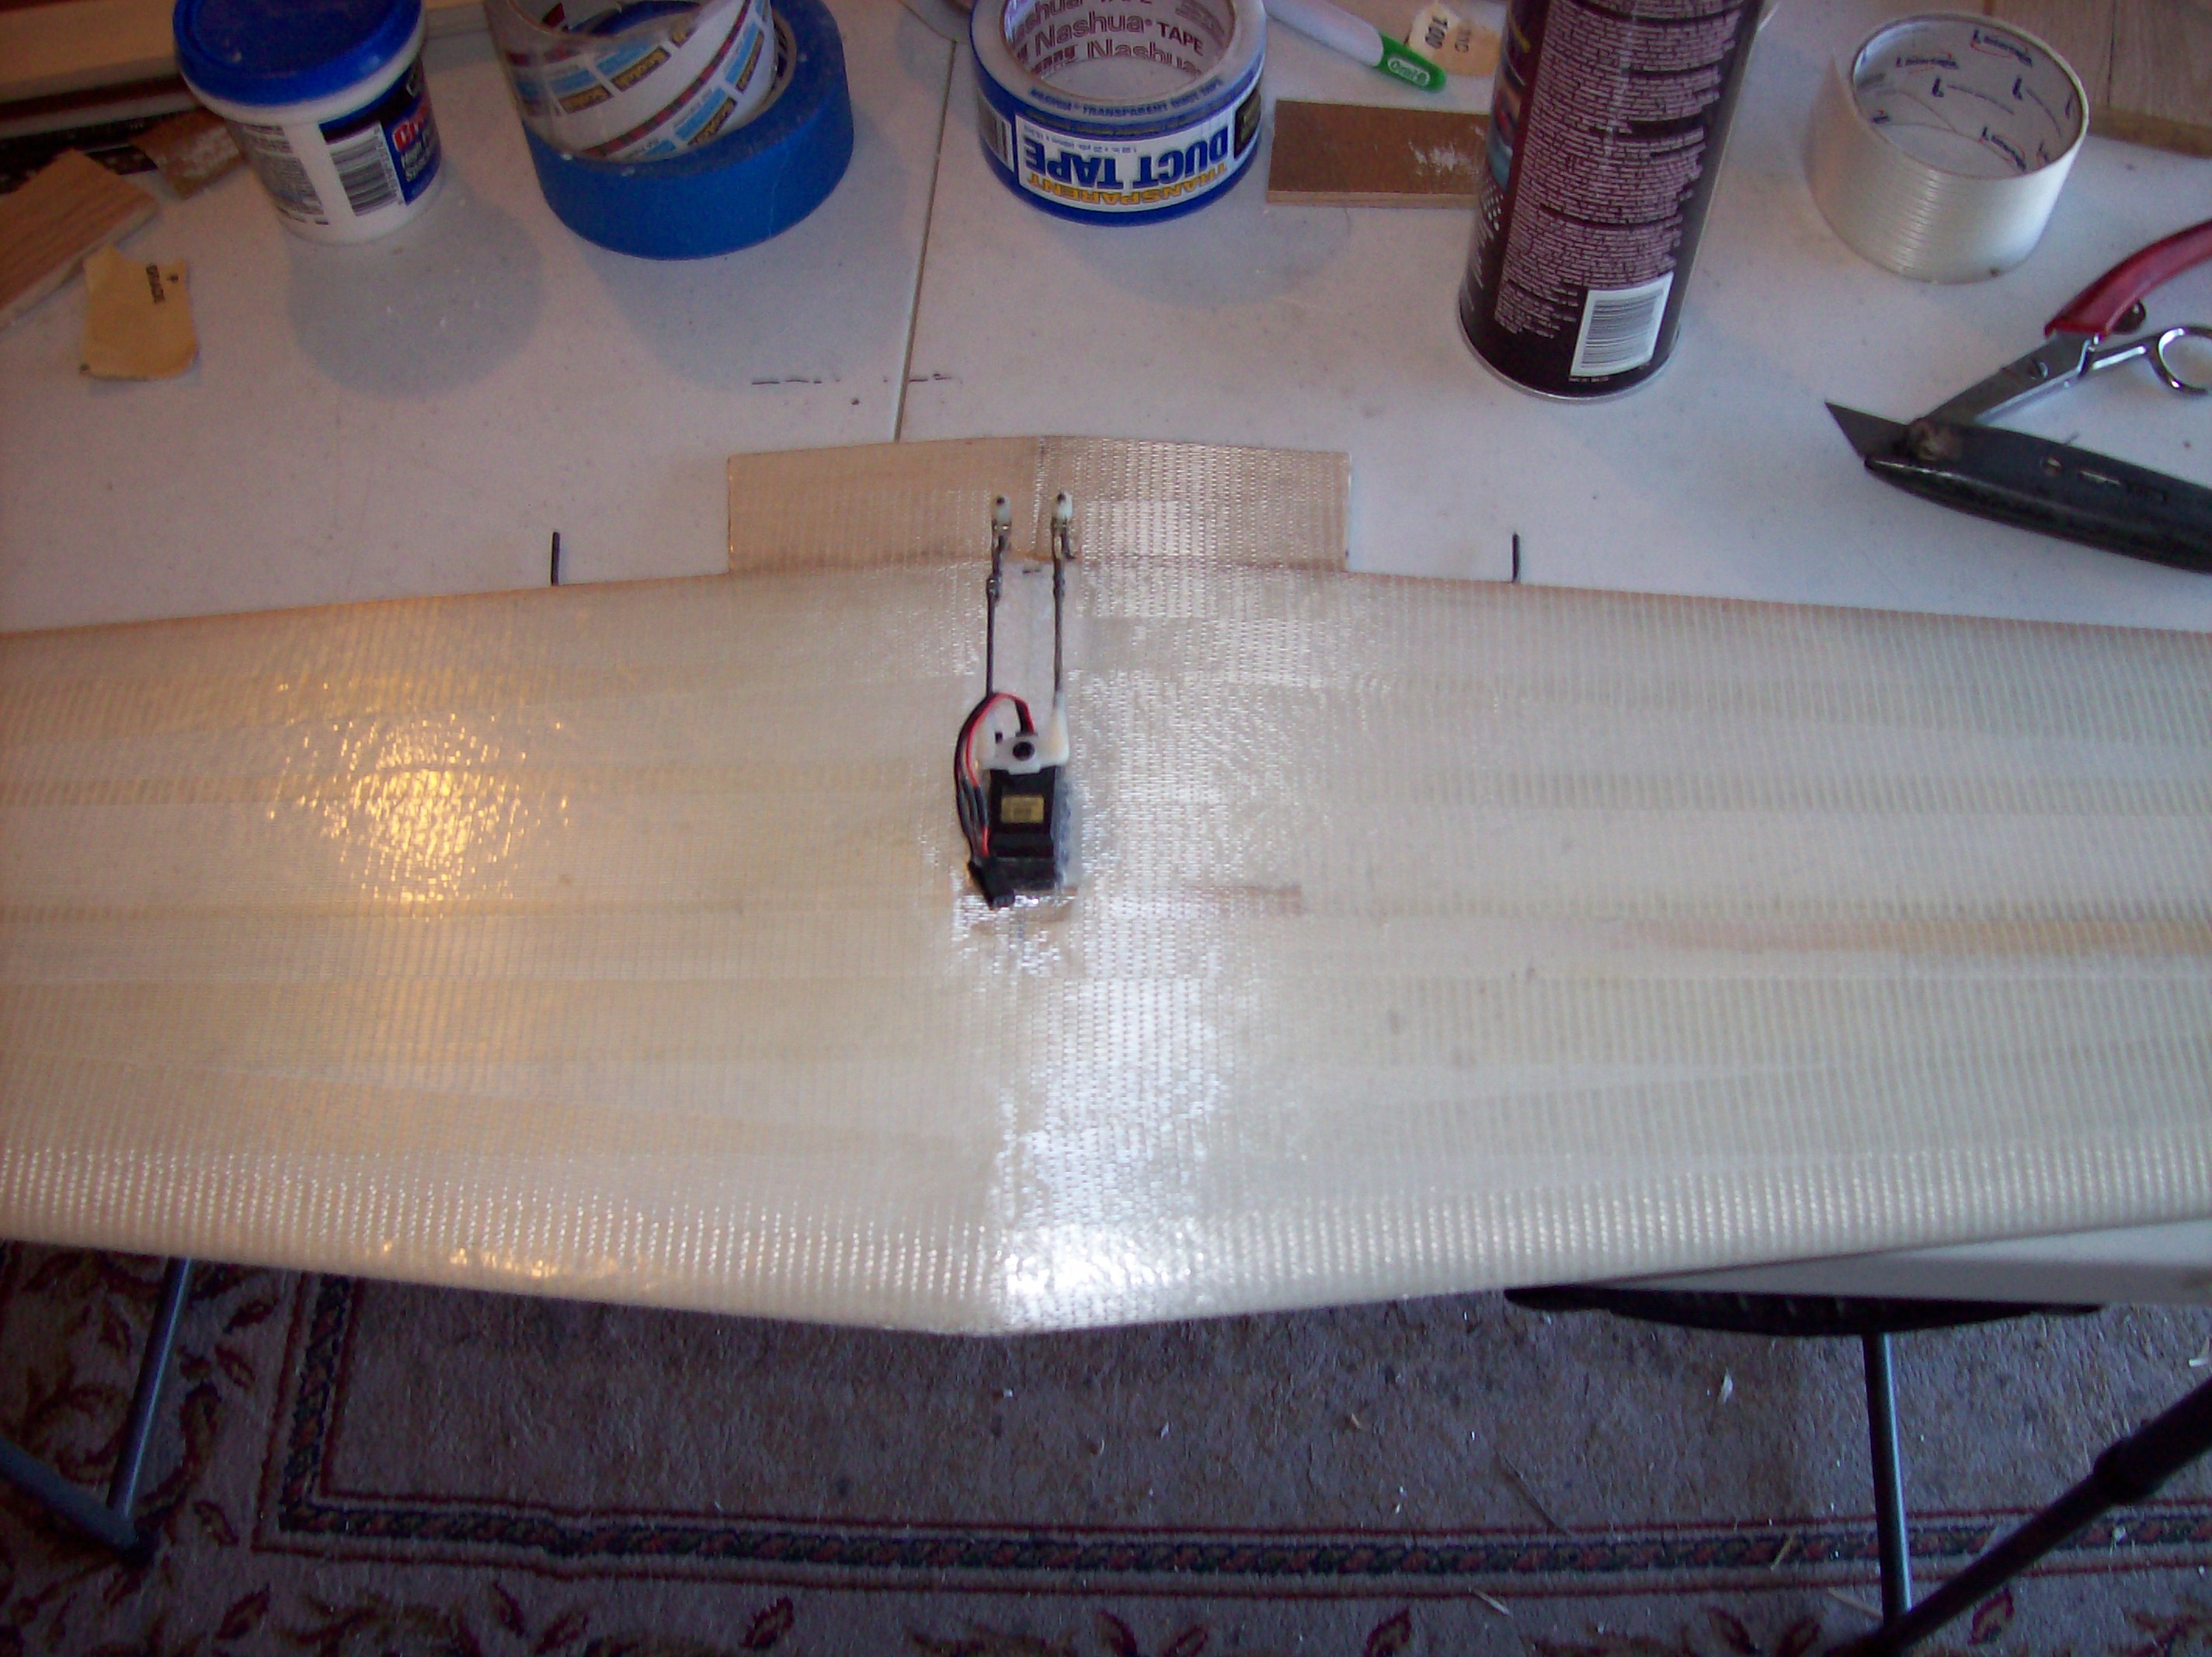
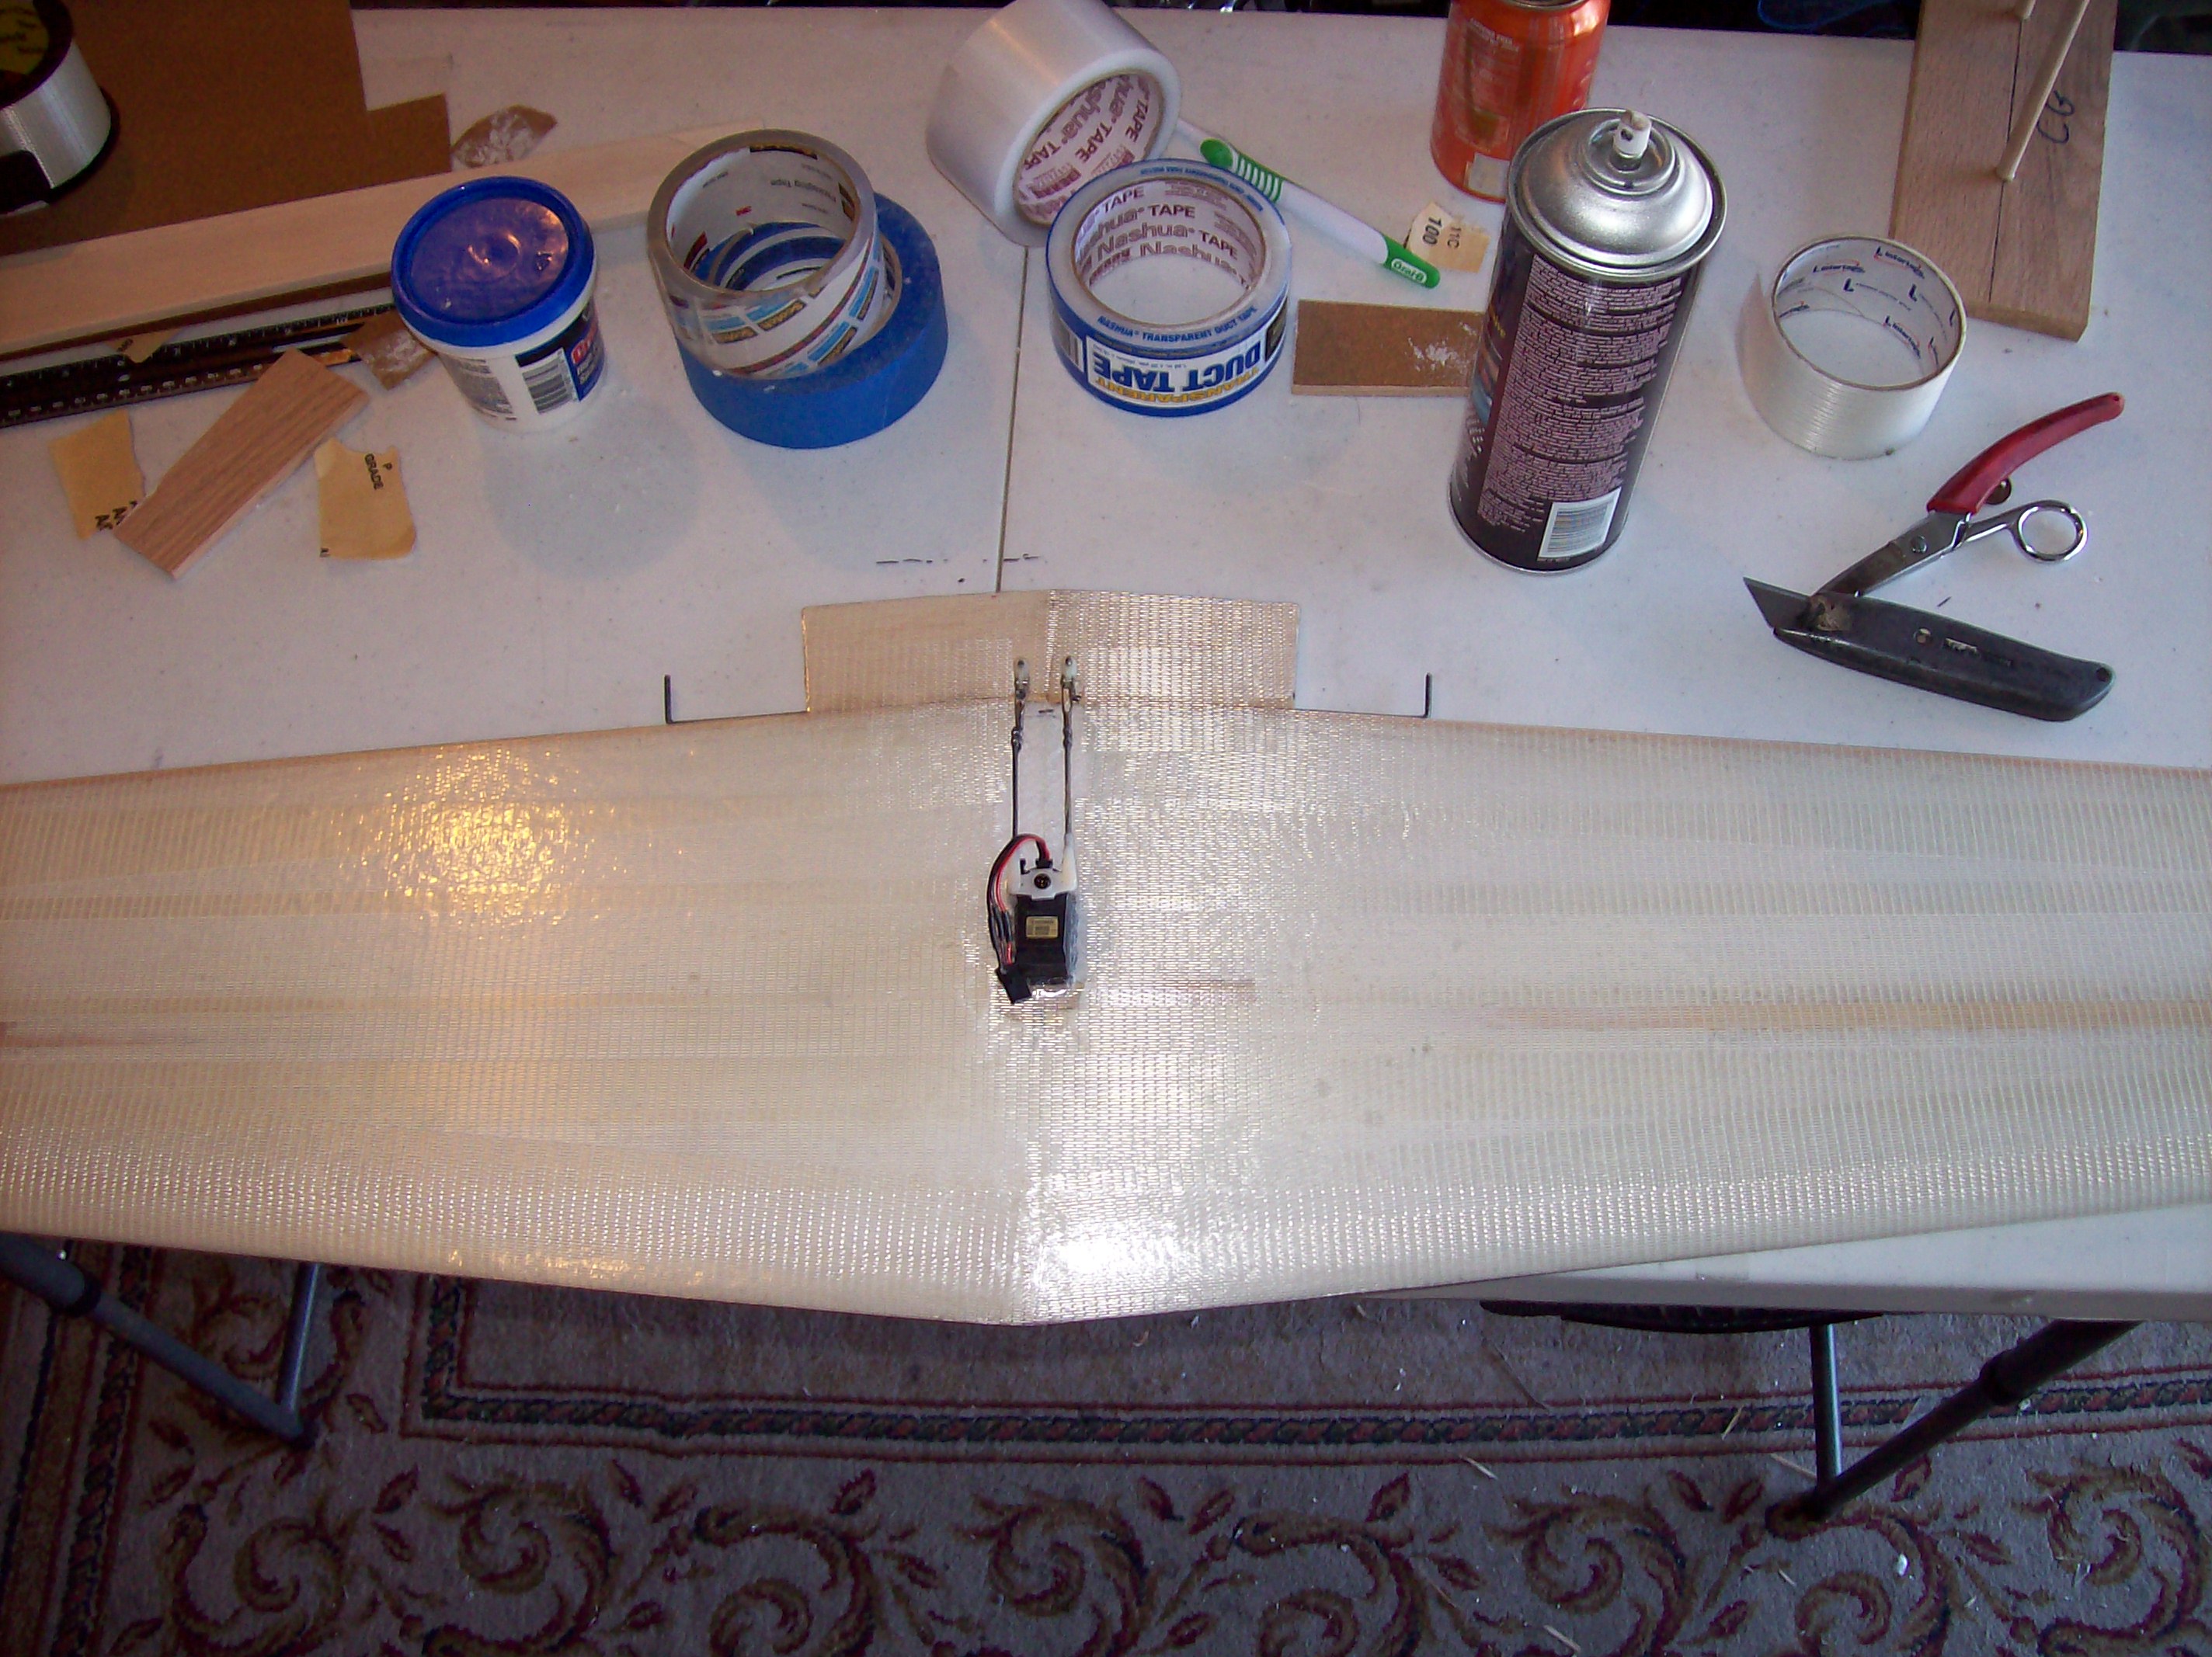
Here I'm installing the Strip Linkage, ailerons, trimming and taping the wing


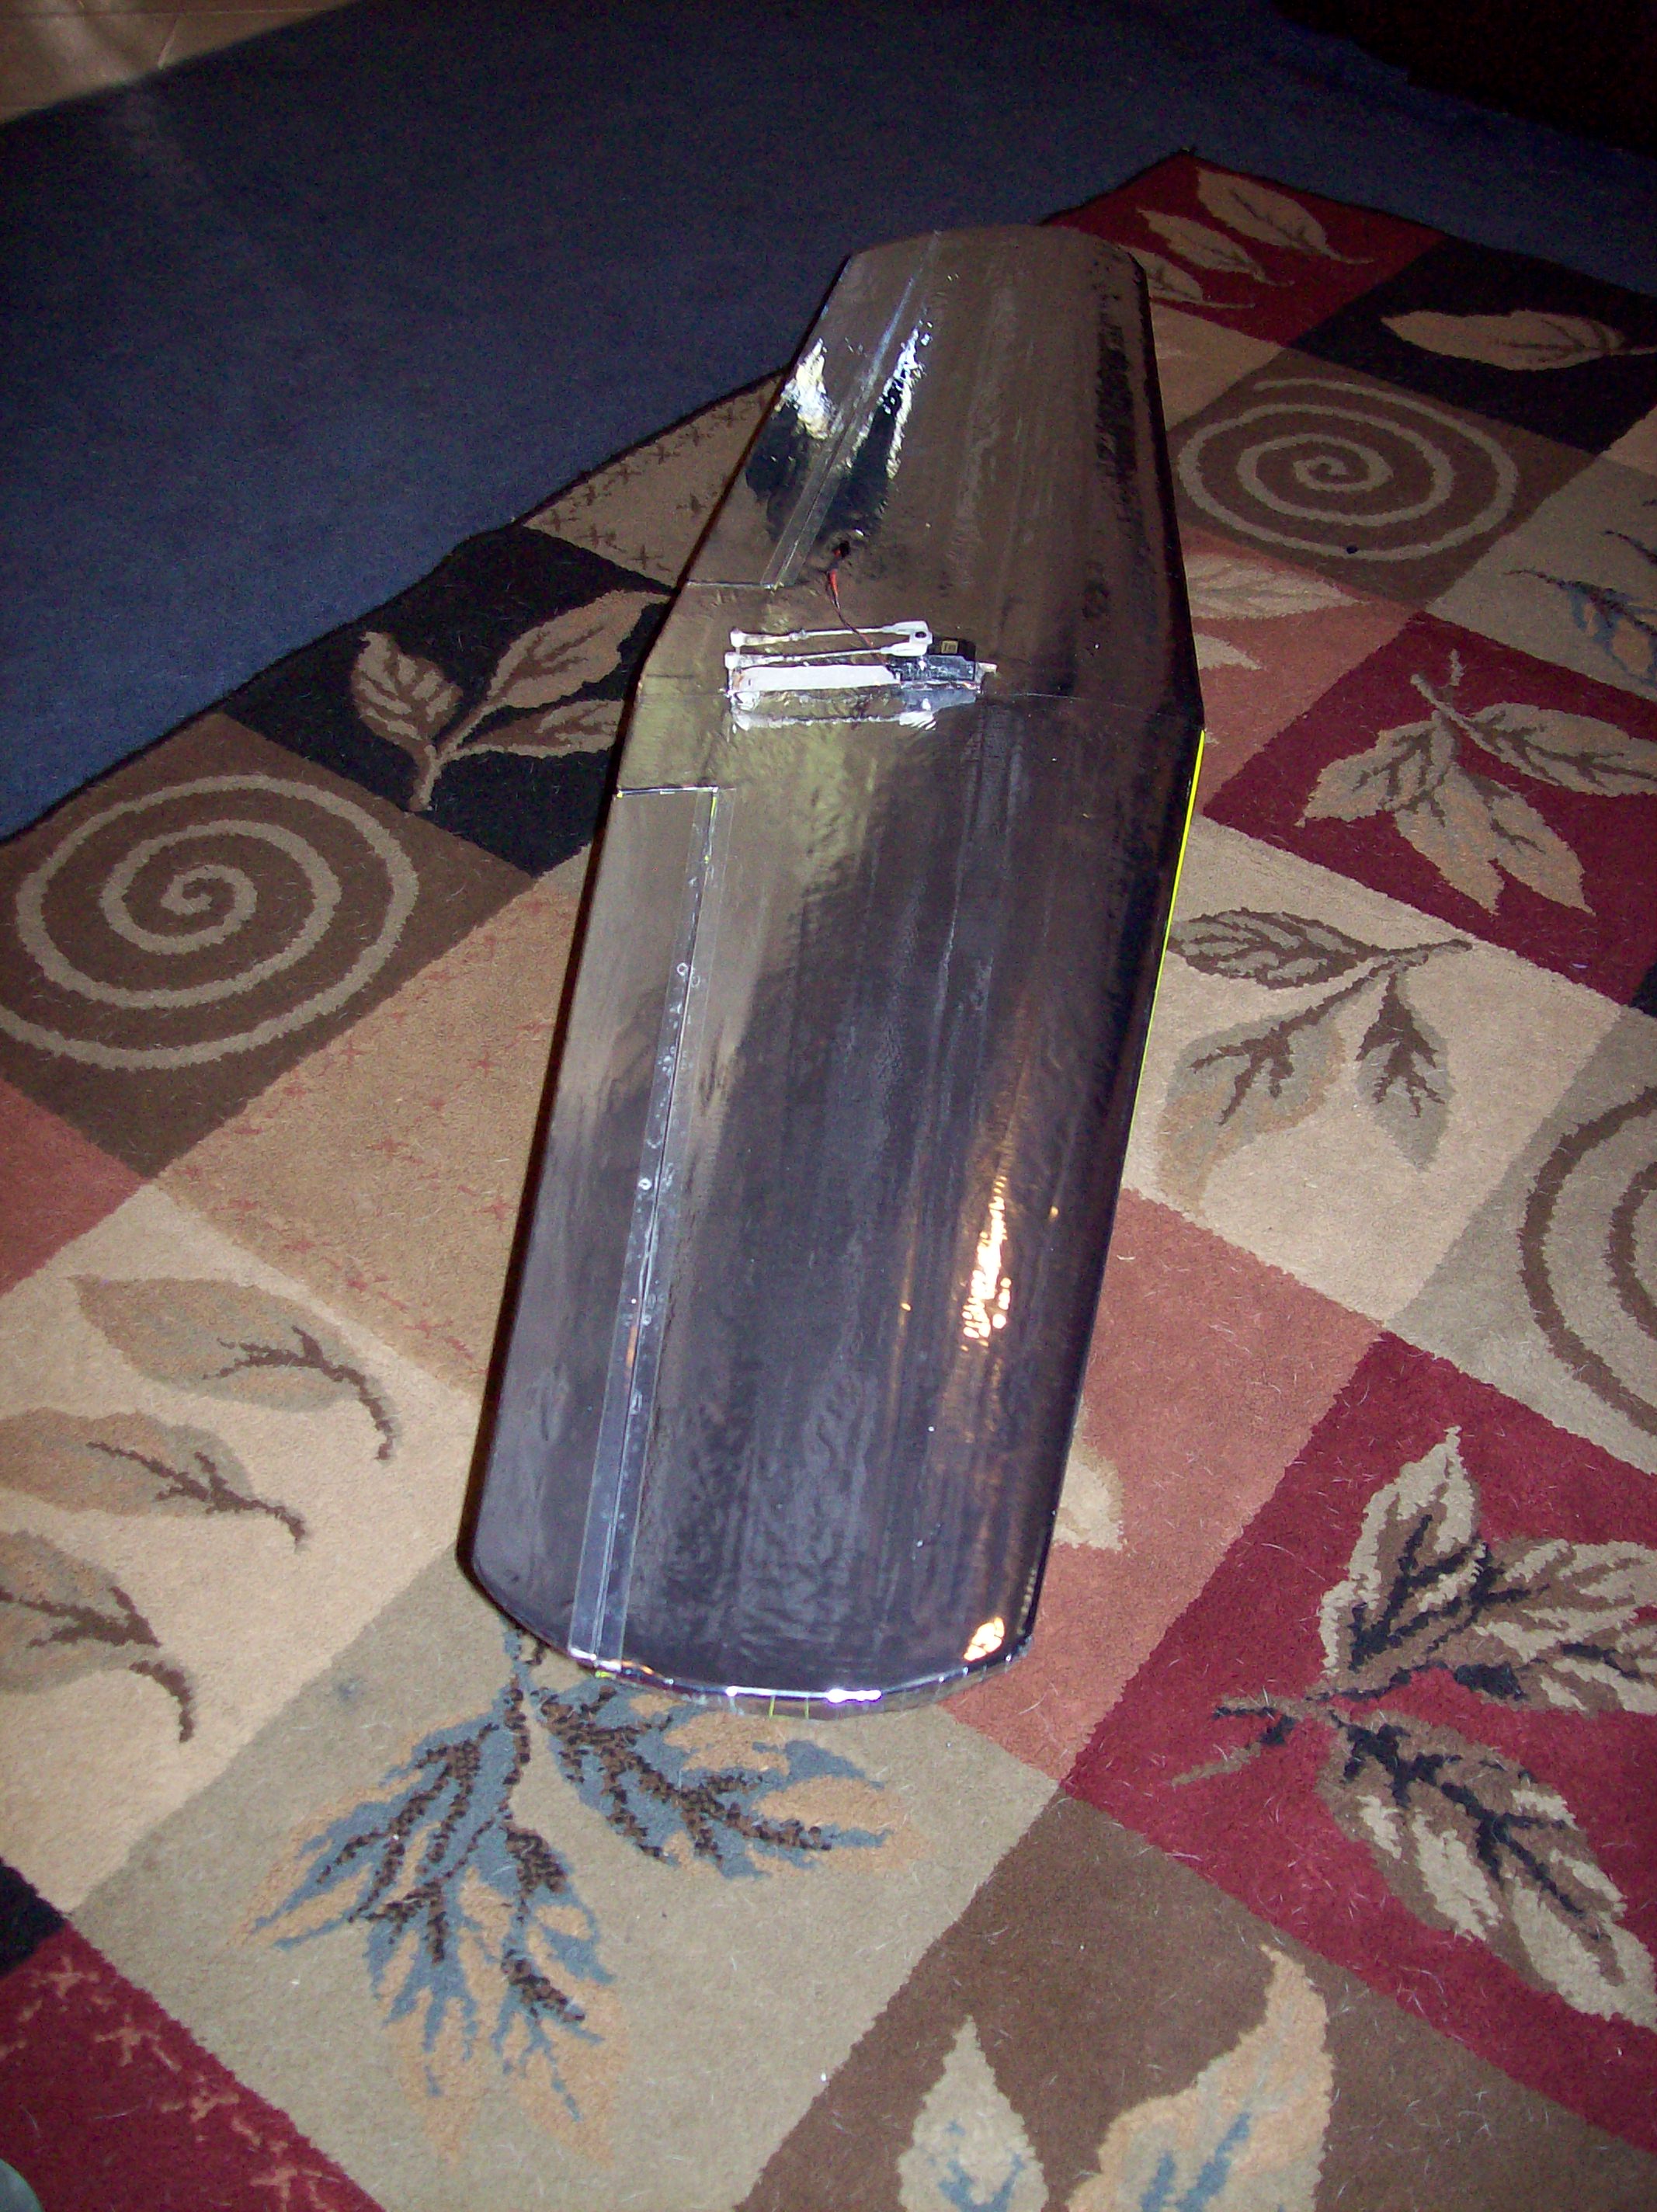
Here I covered the wing with UltraCoat


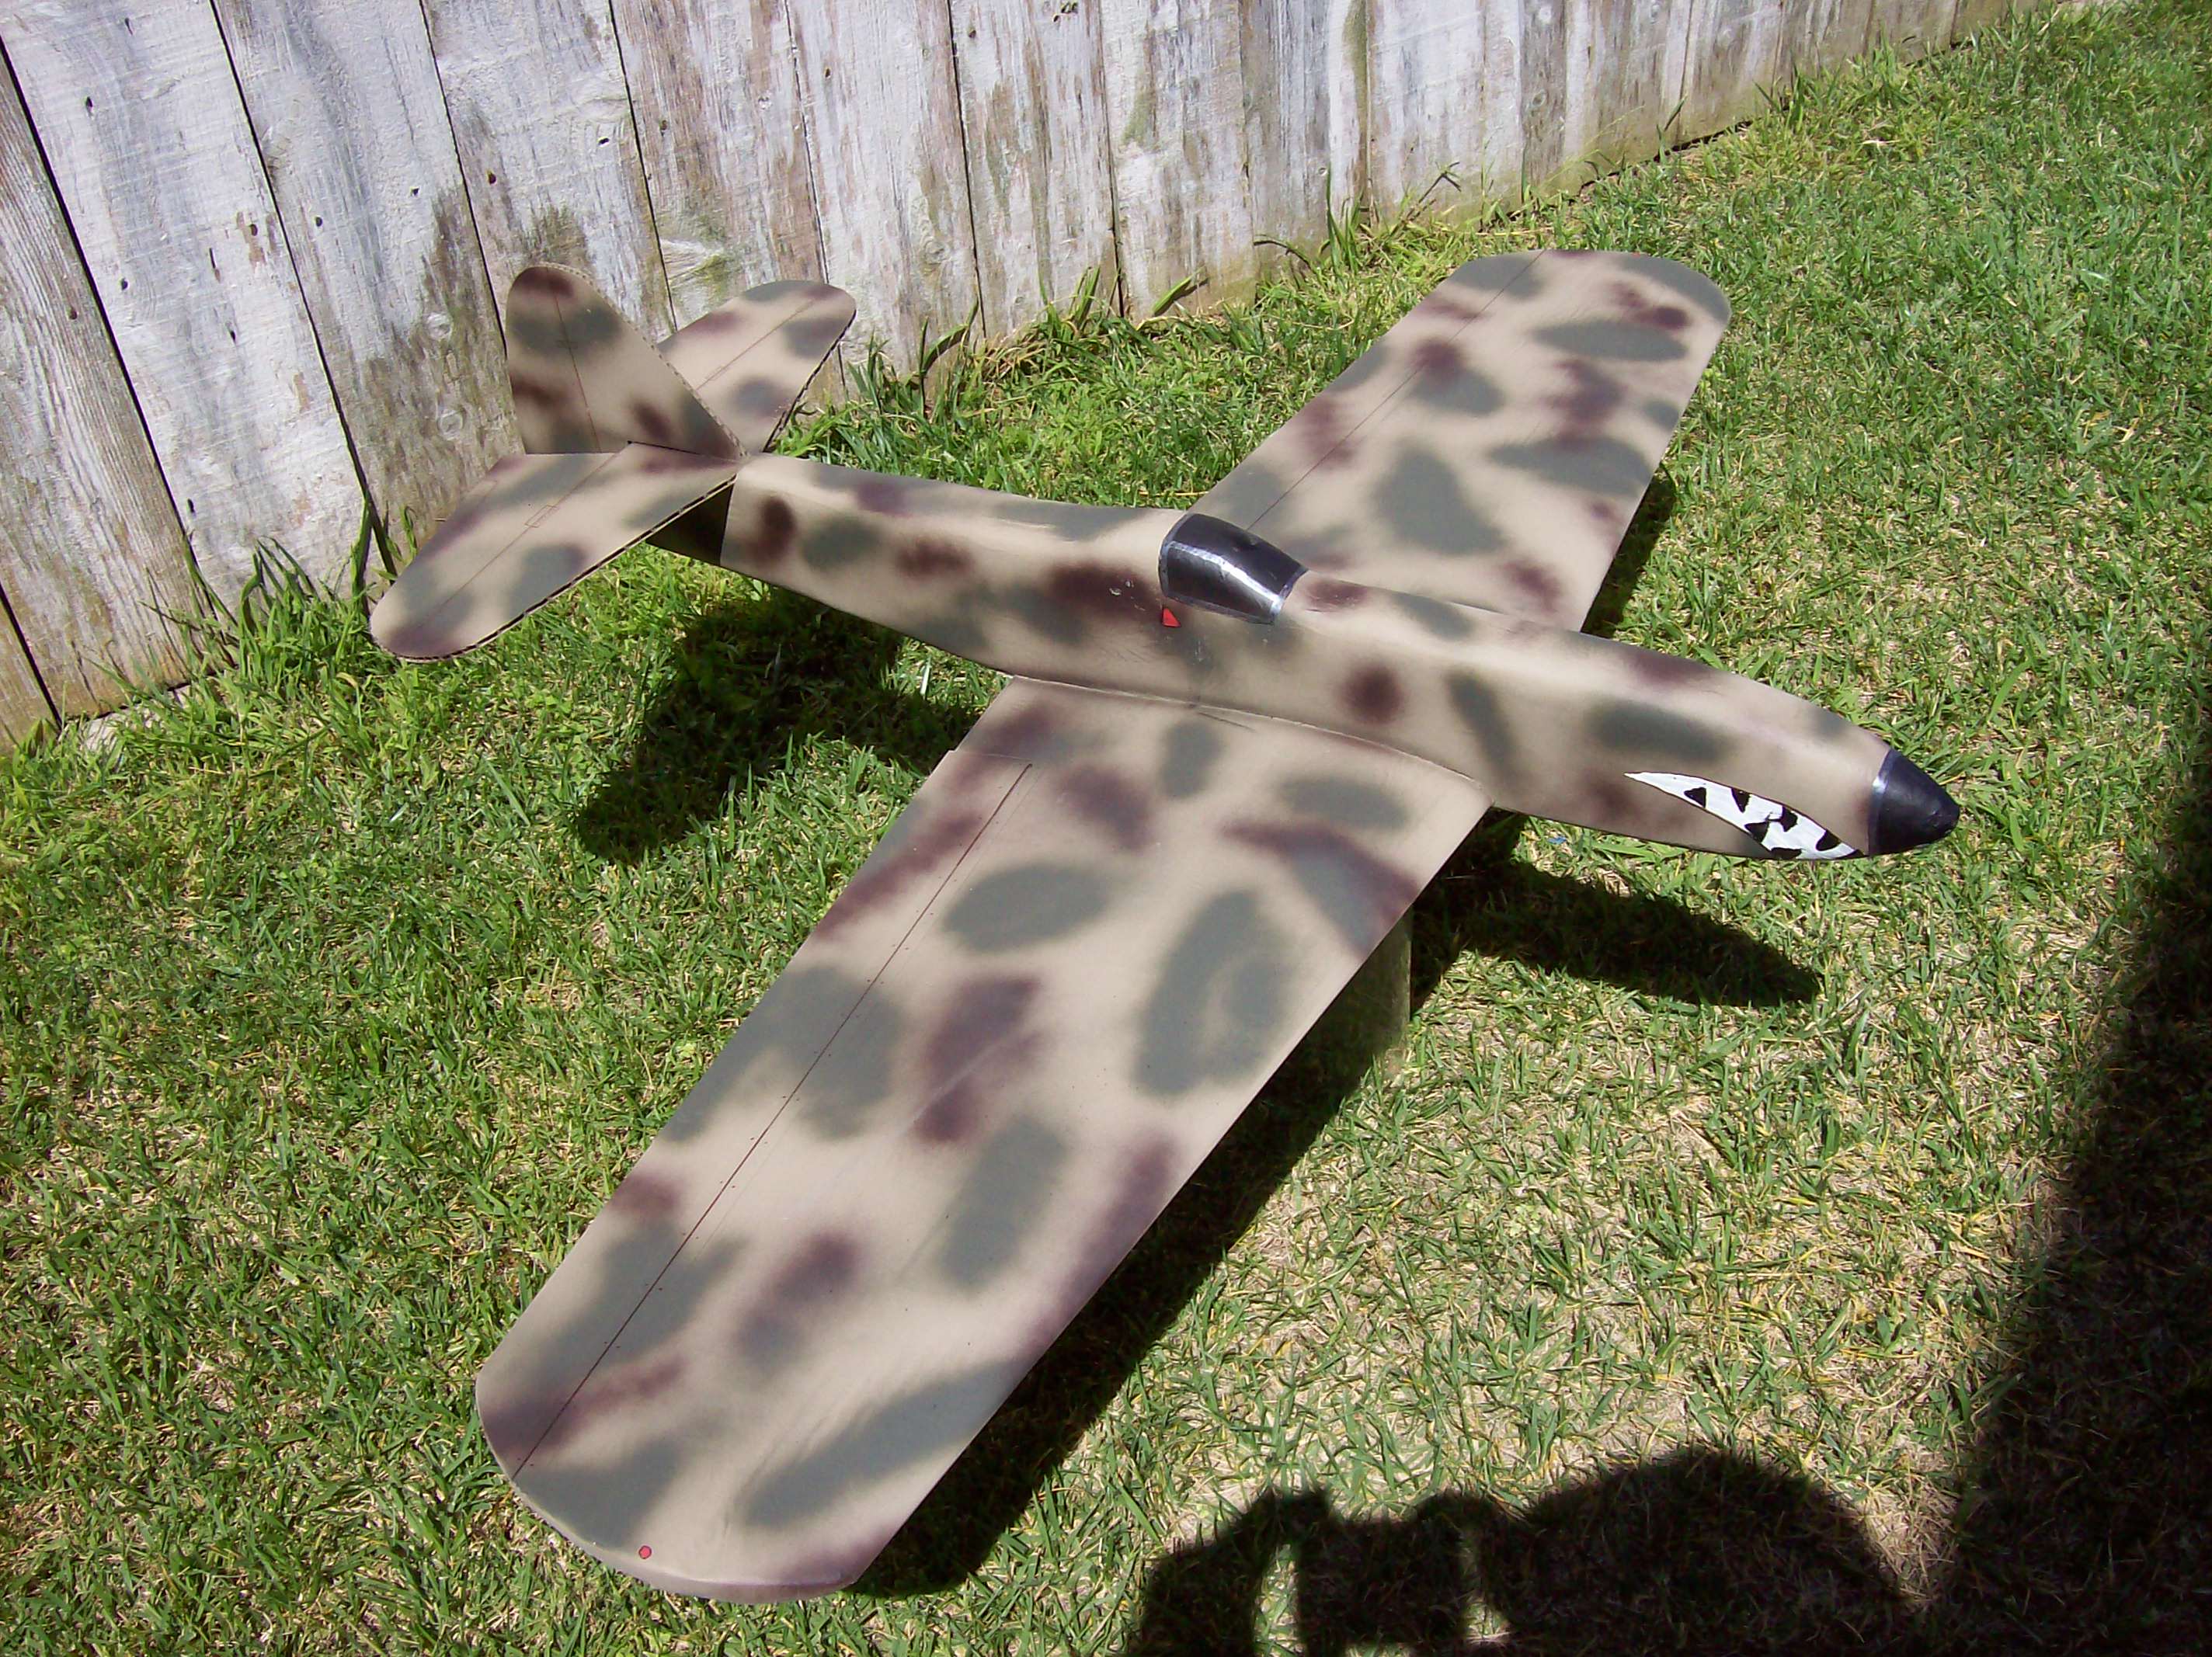
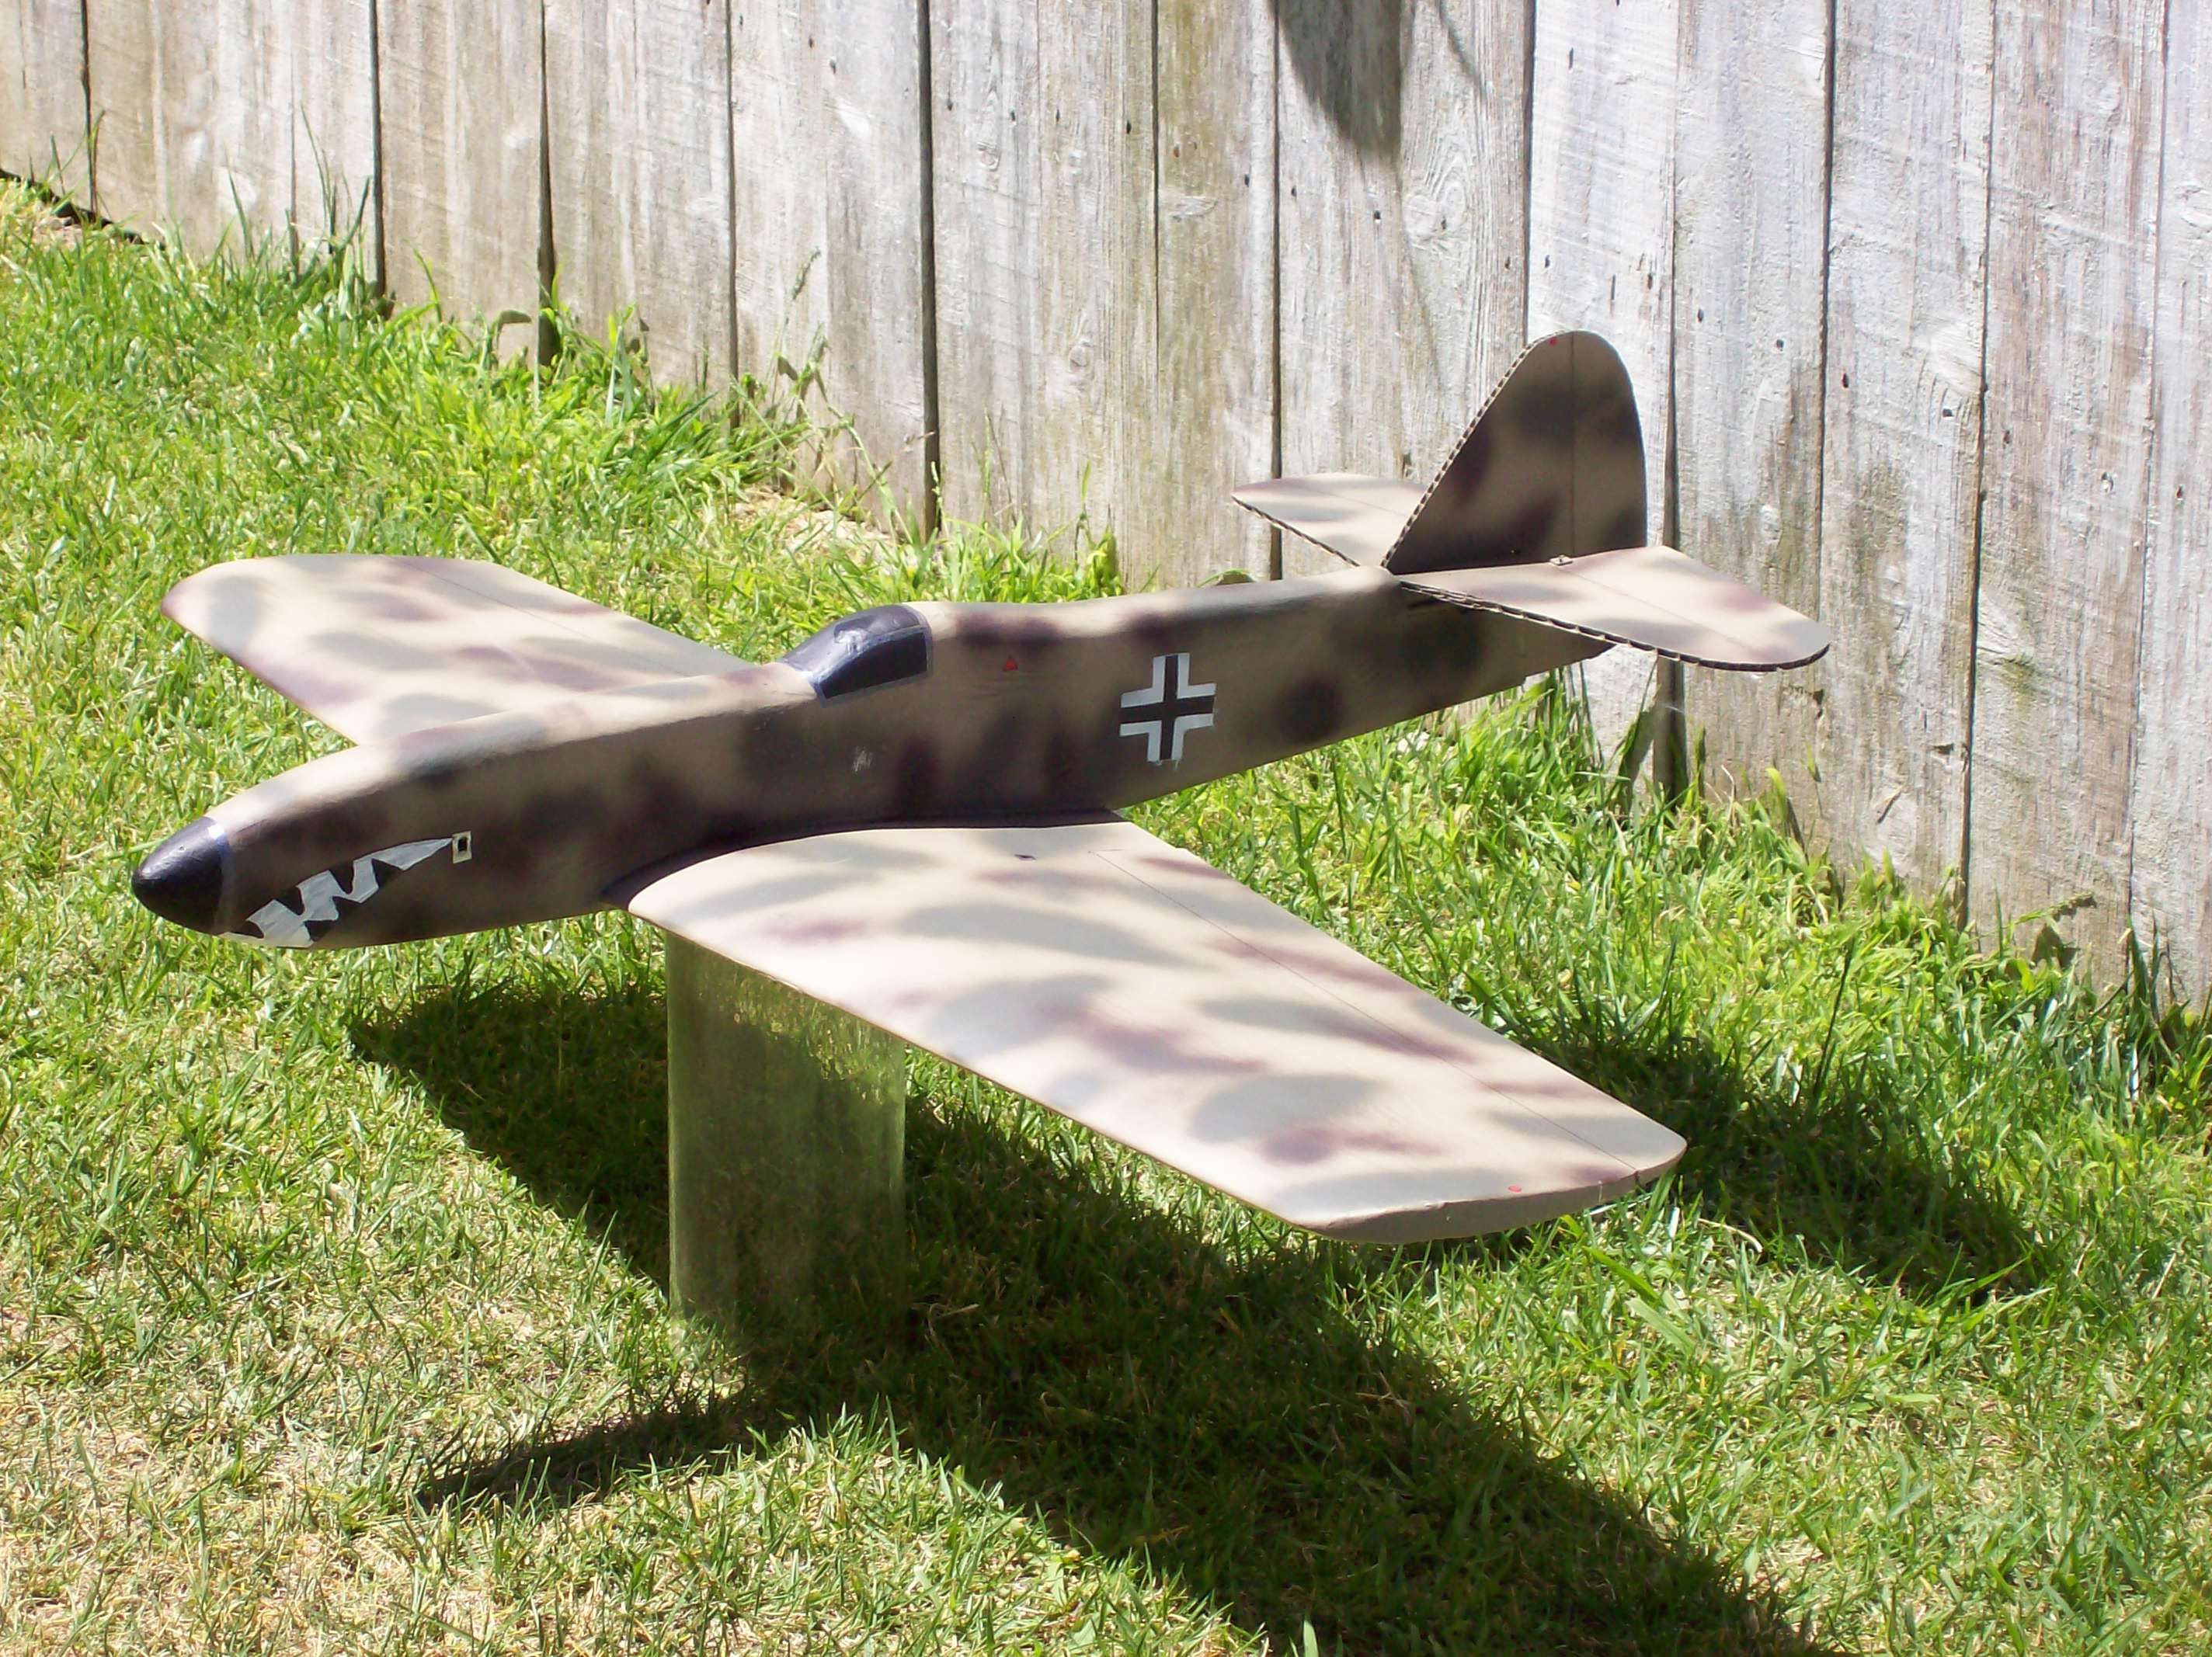
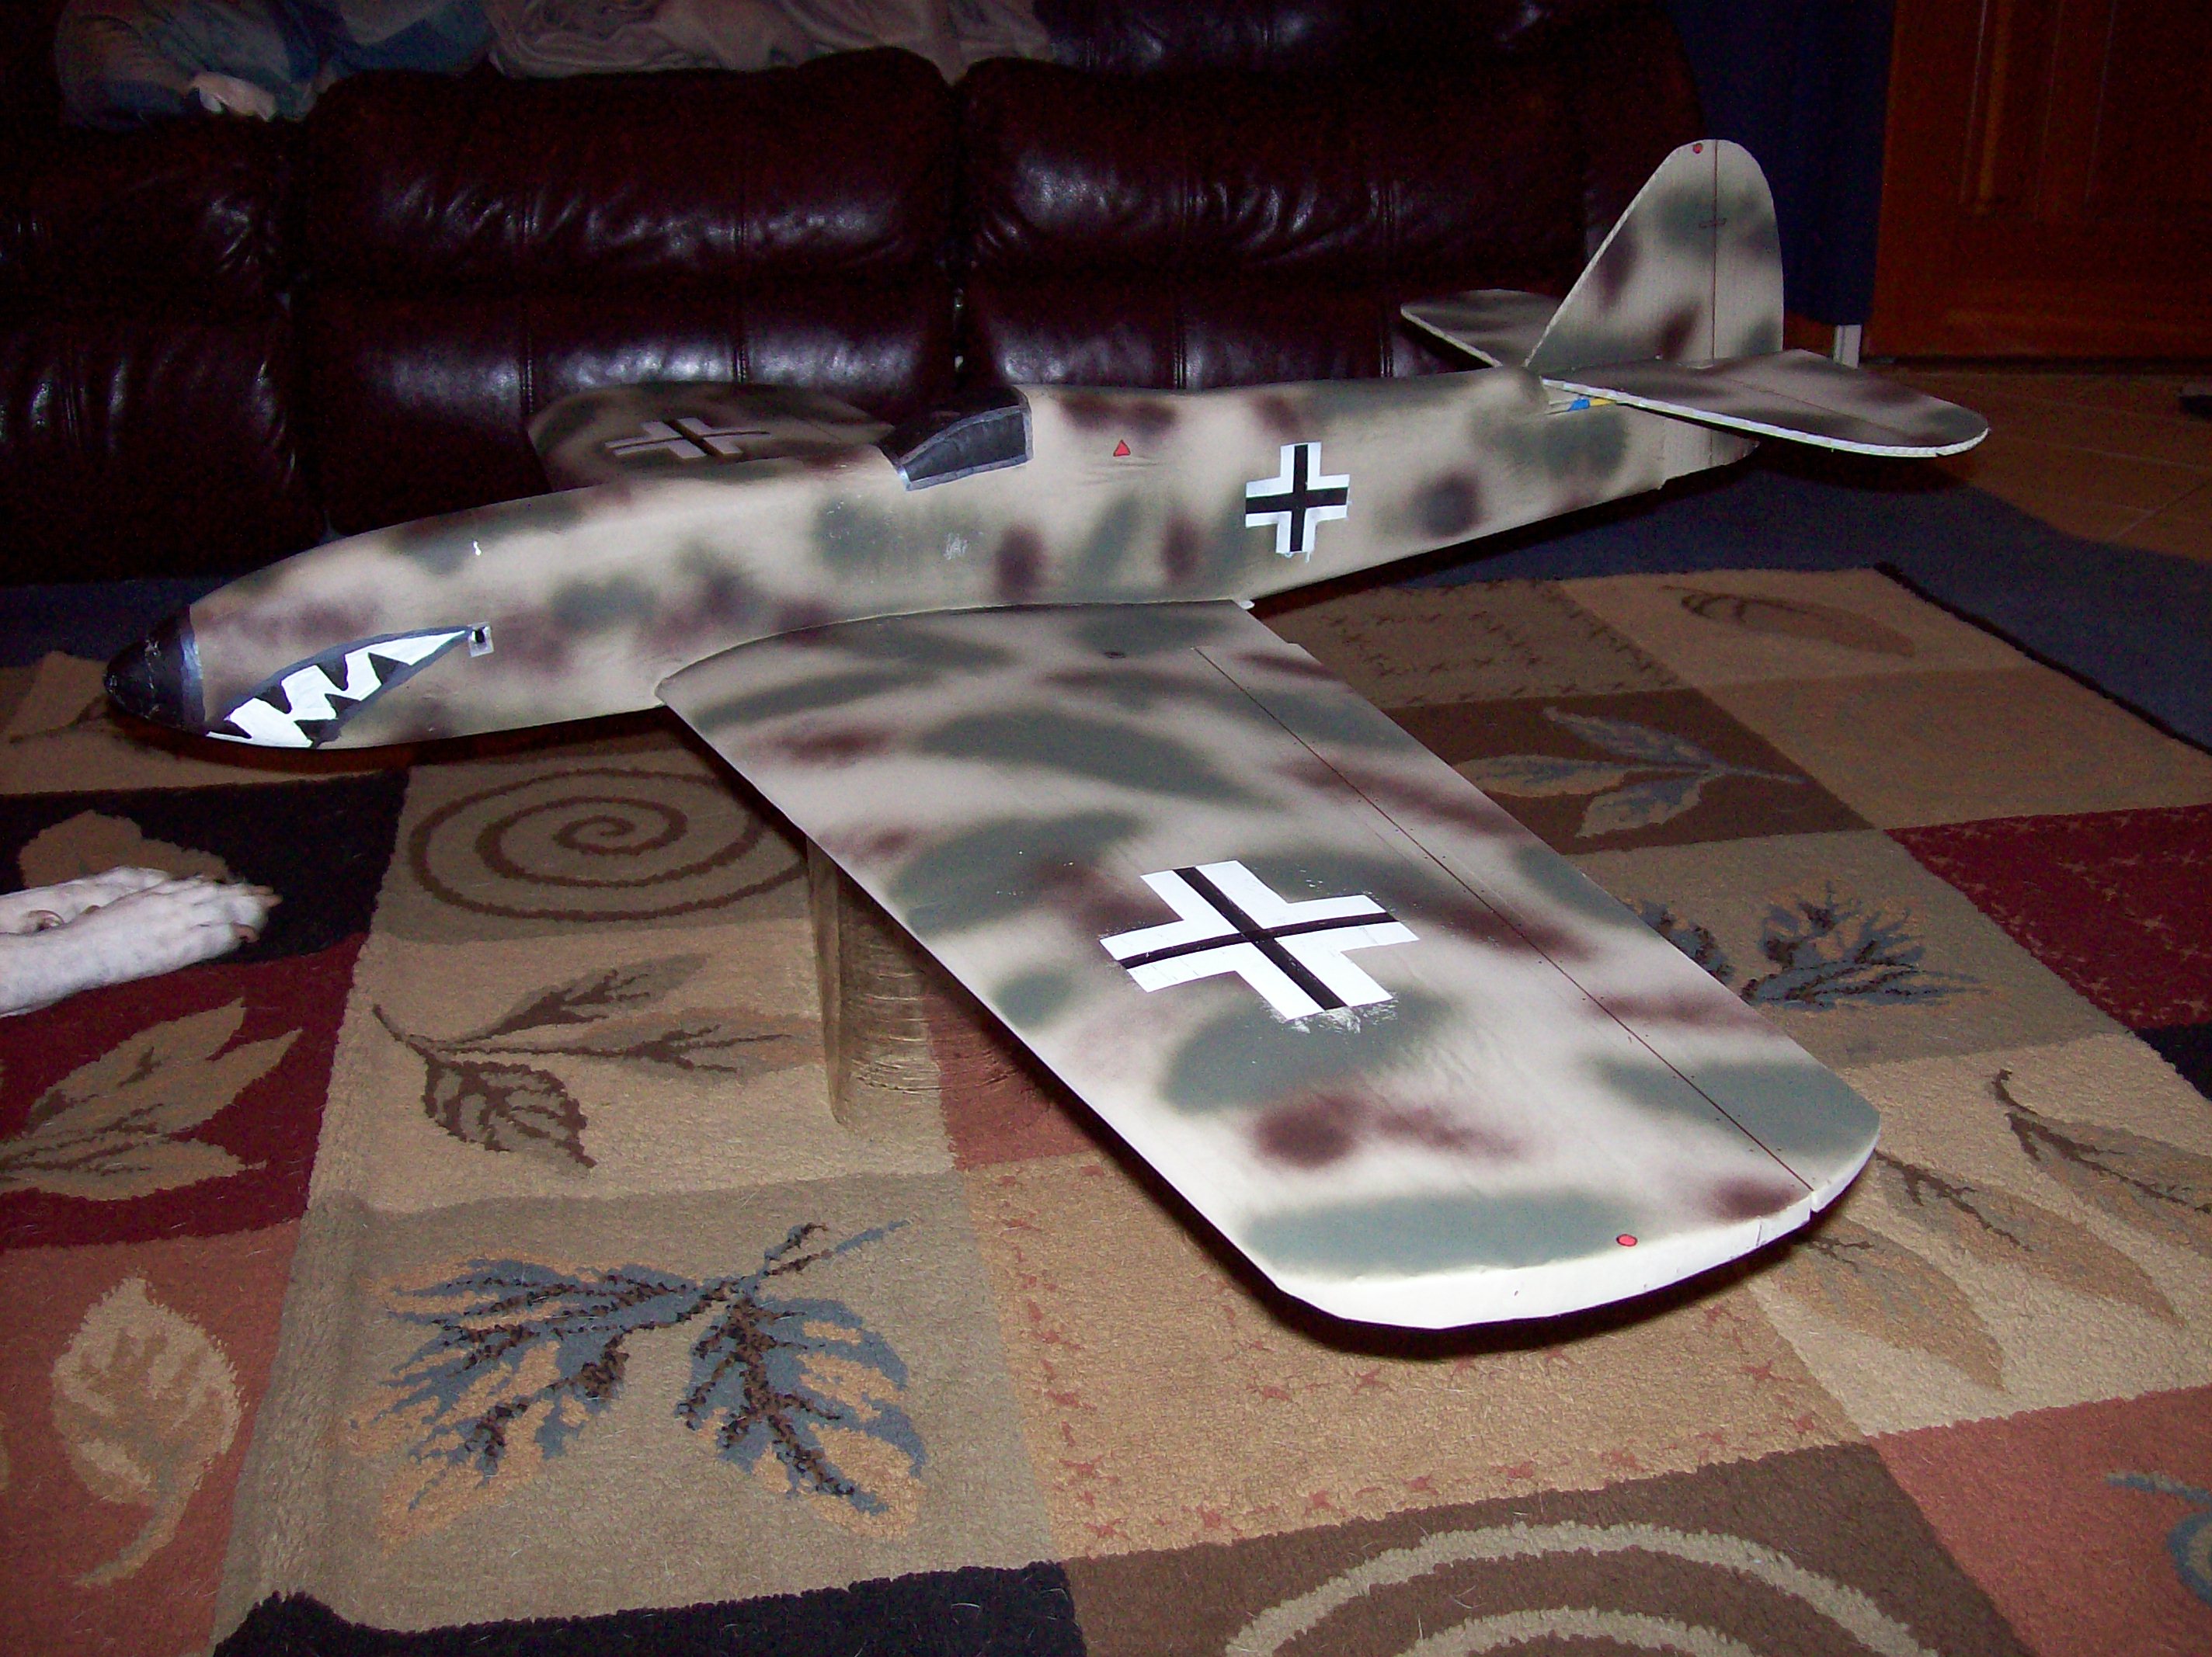
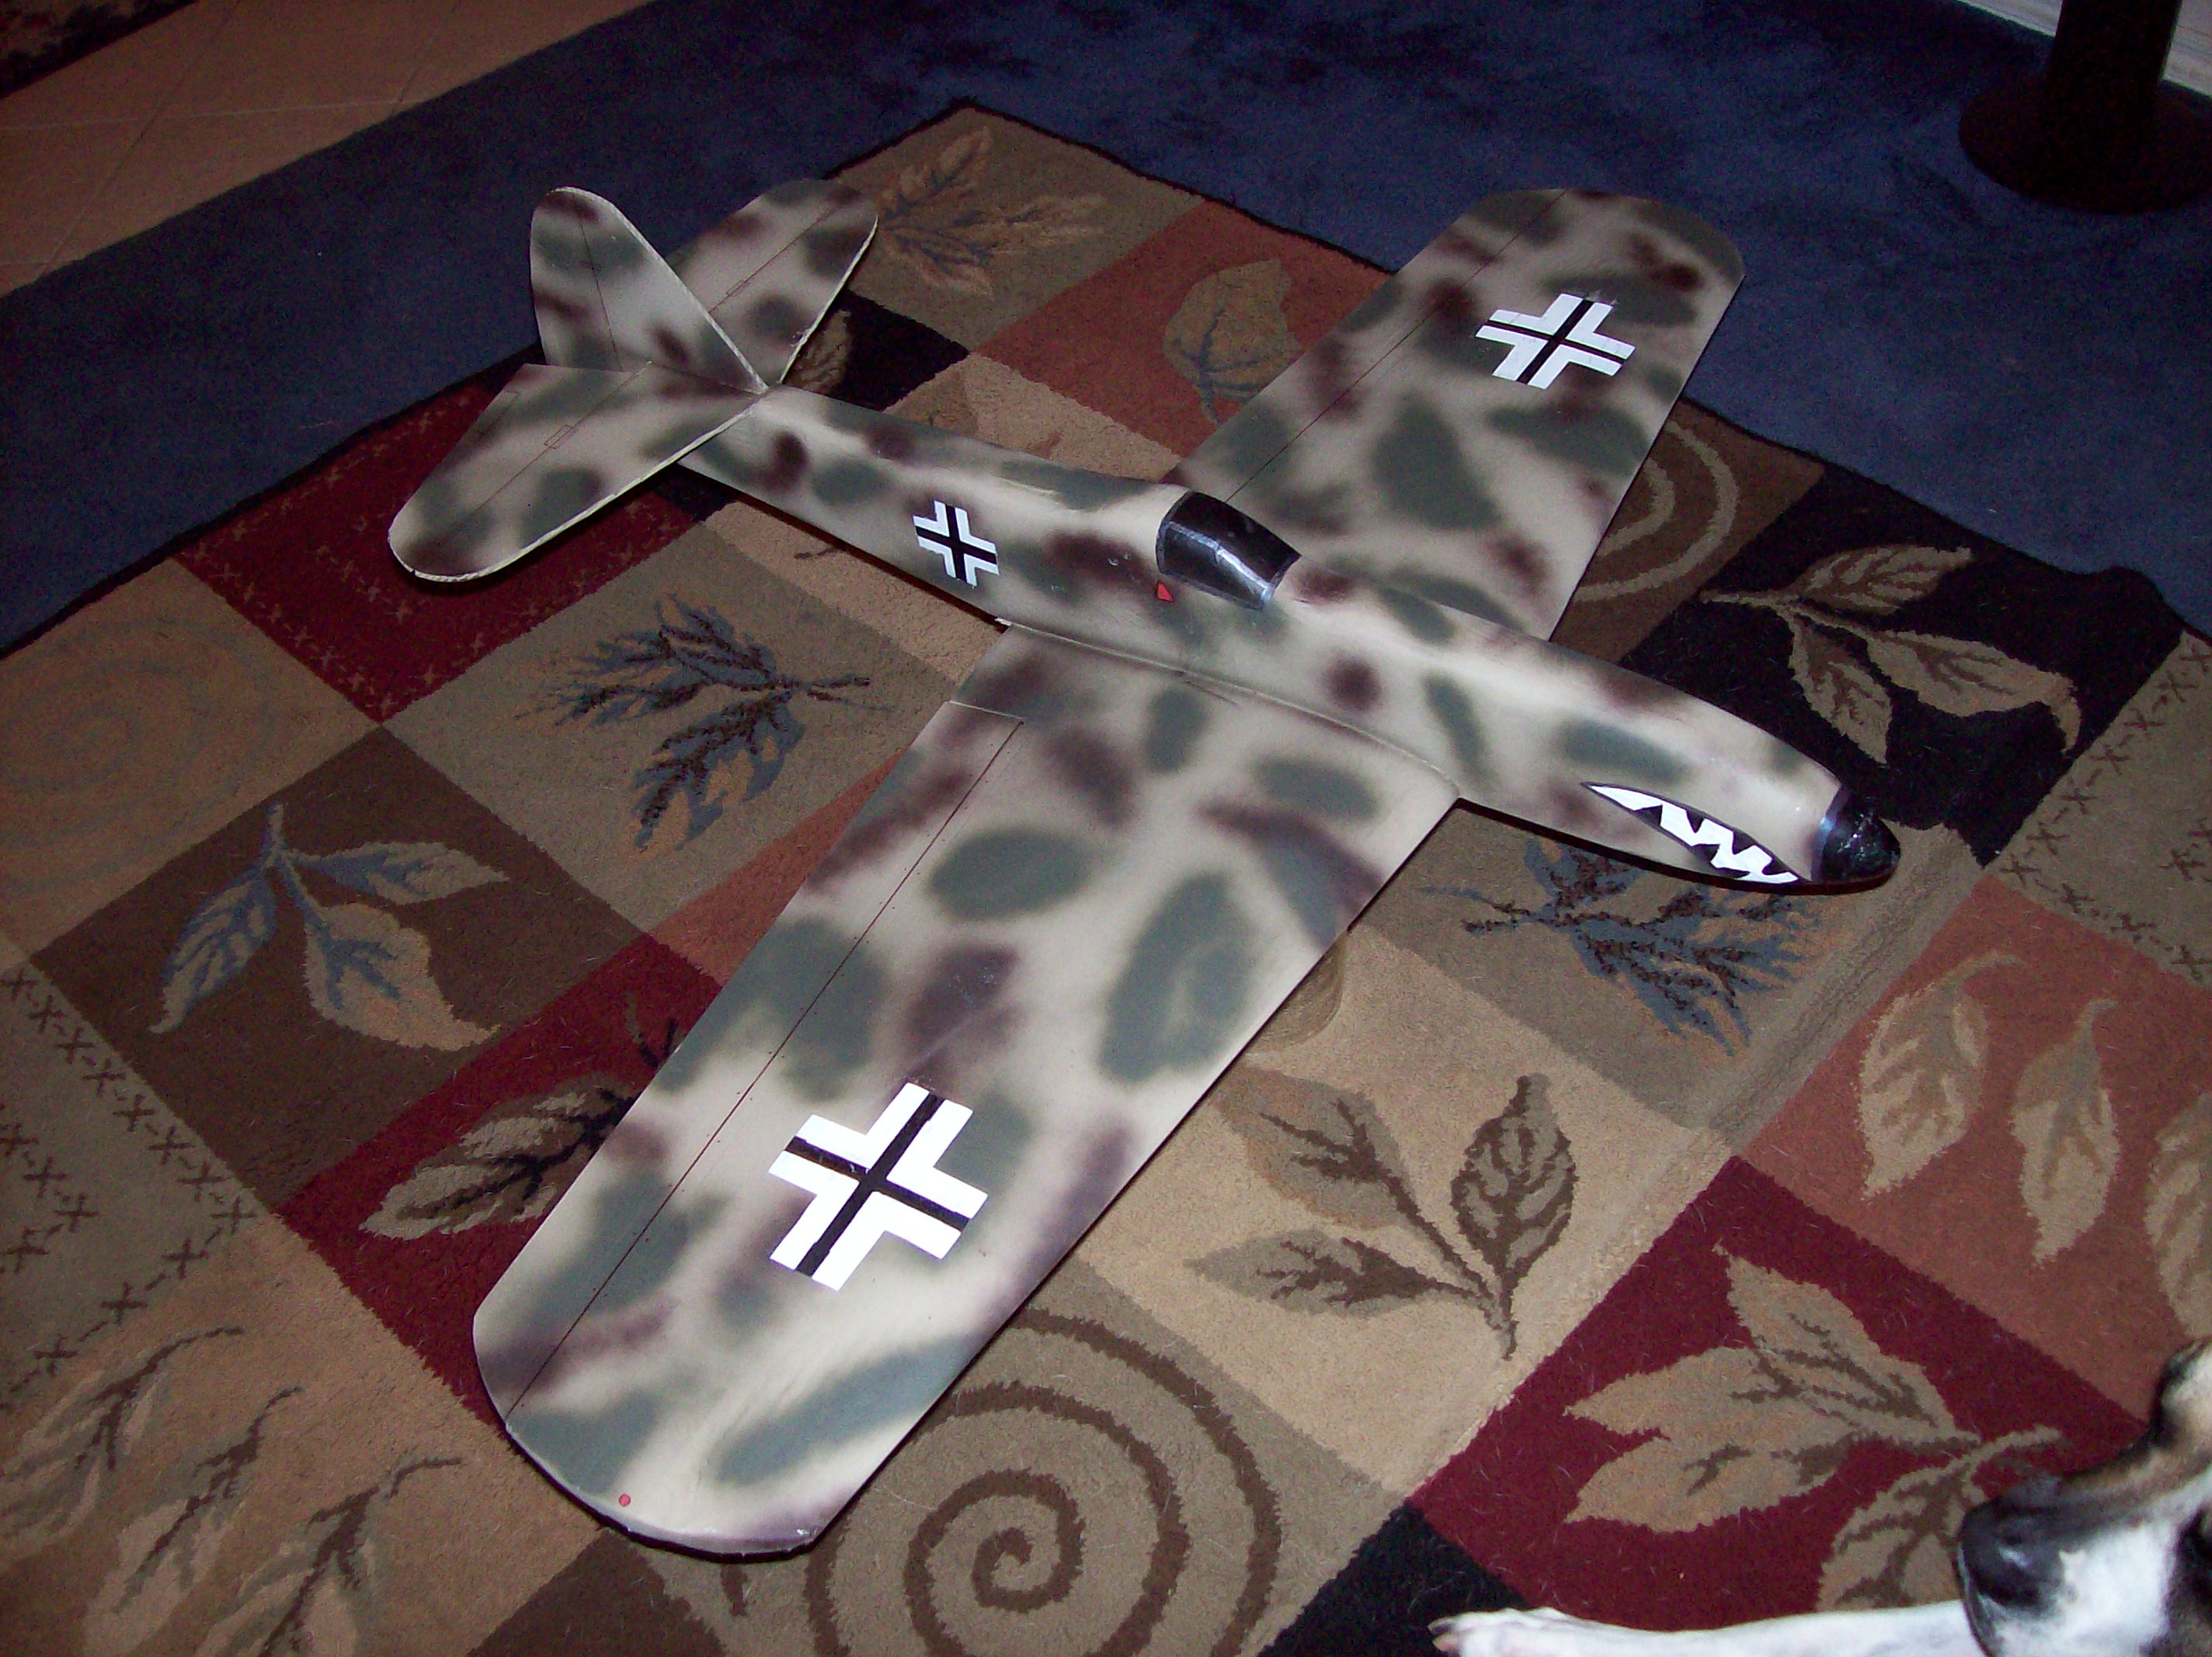
Here I covered the fuselage with UltraCoat and glued the wing to the fuselage. Next I will be painting it all Camouflage, I used the metal colored ultracoat so when the paint gets scratched it
will look likes its metal under the paint. I'm trying to get a realistic look when it has some battles under its belt.


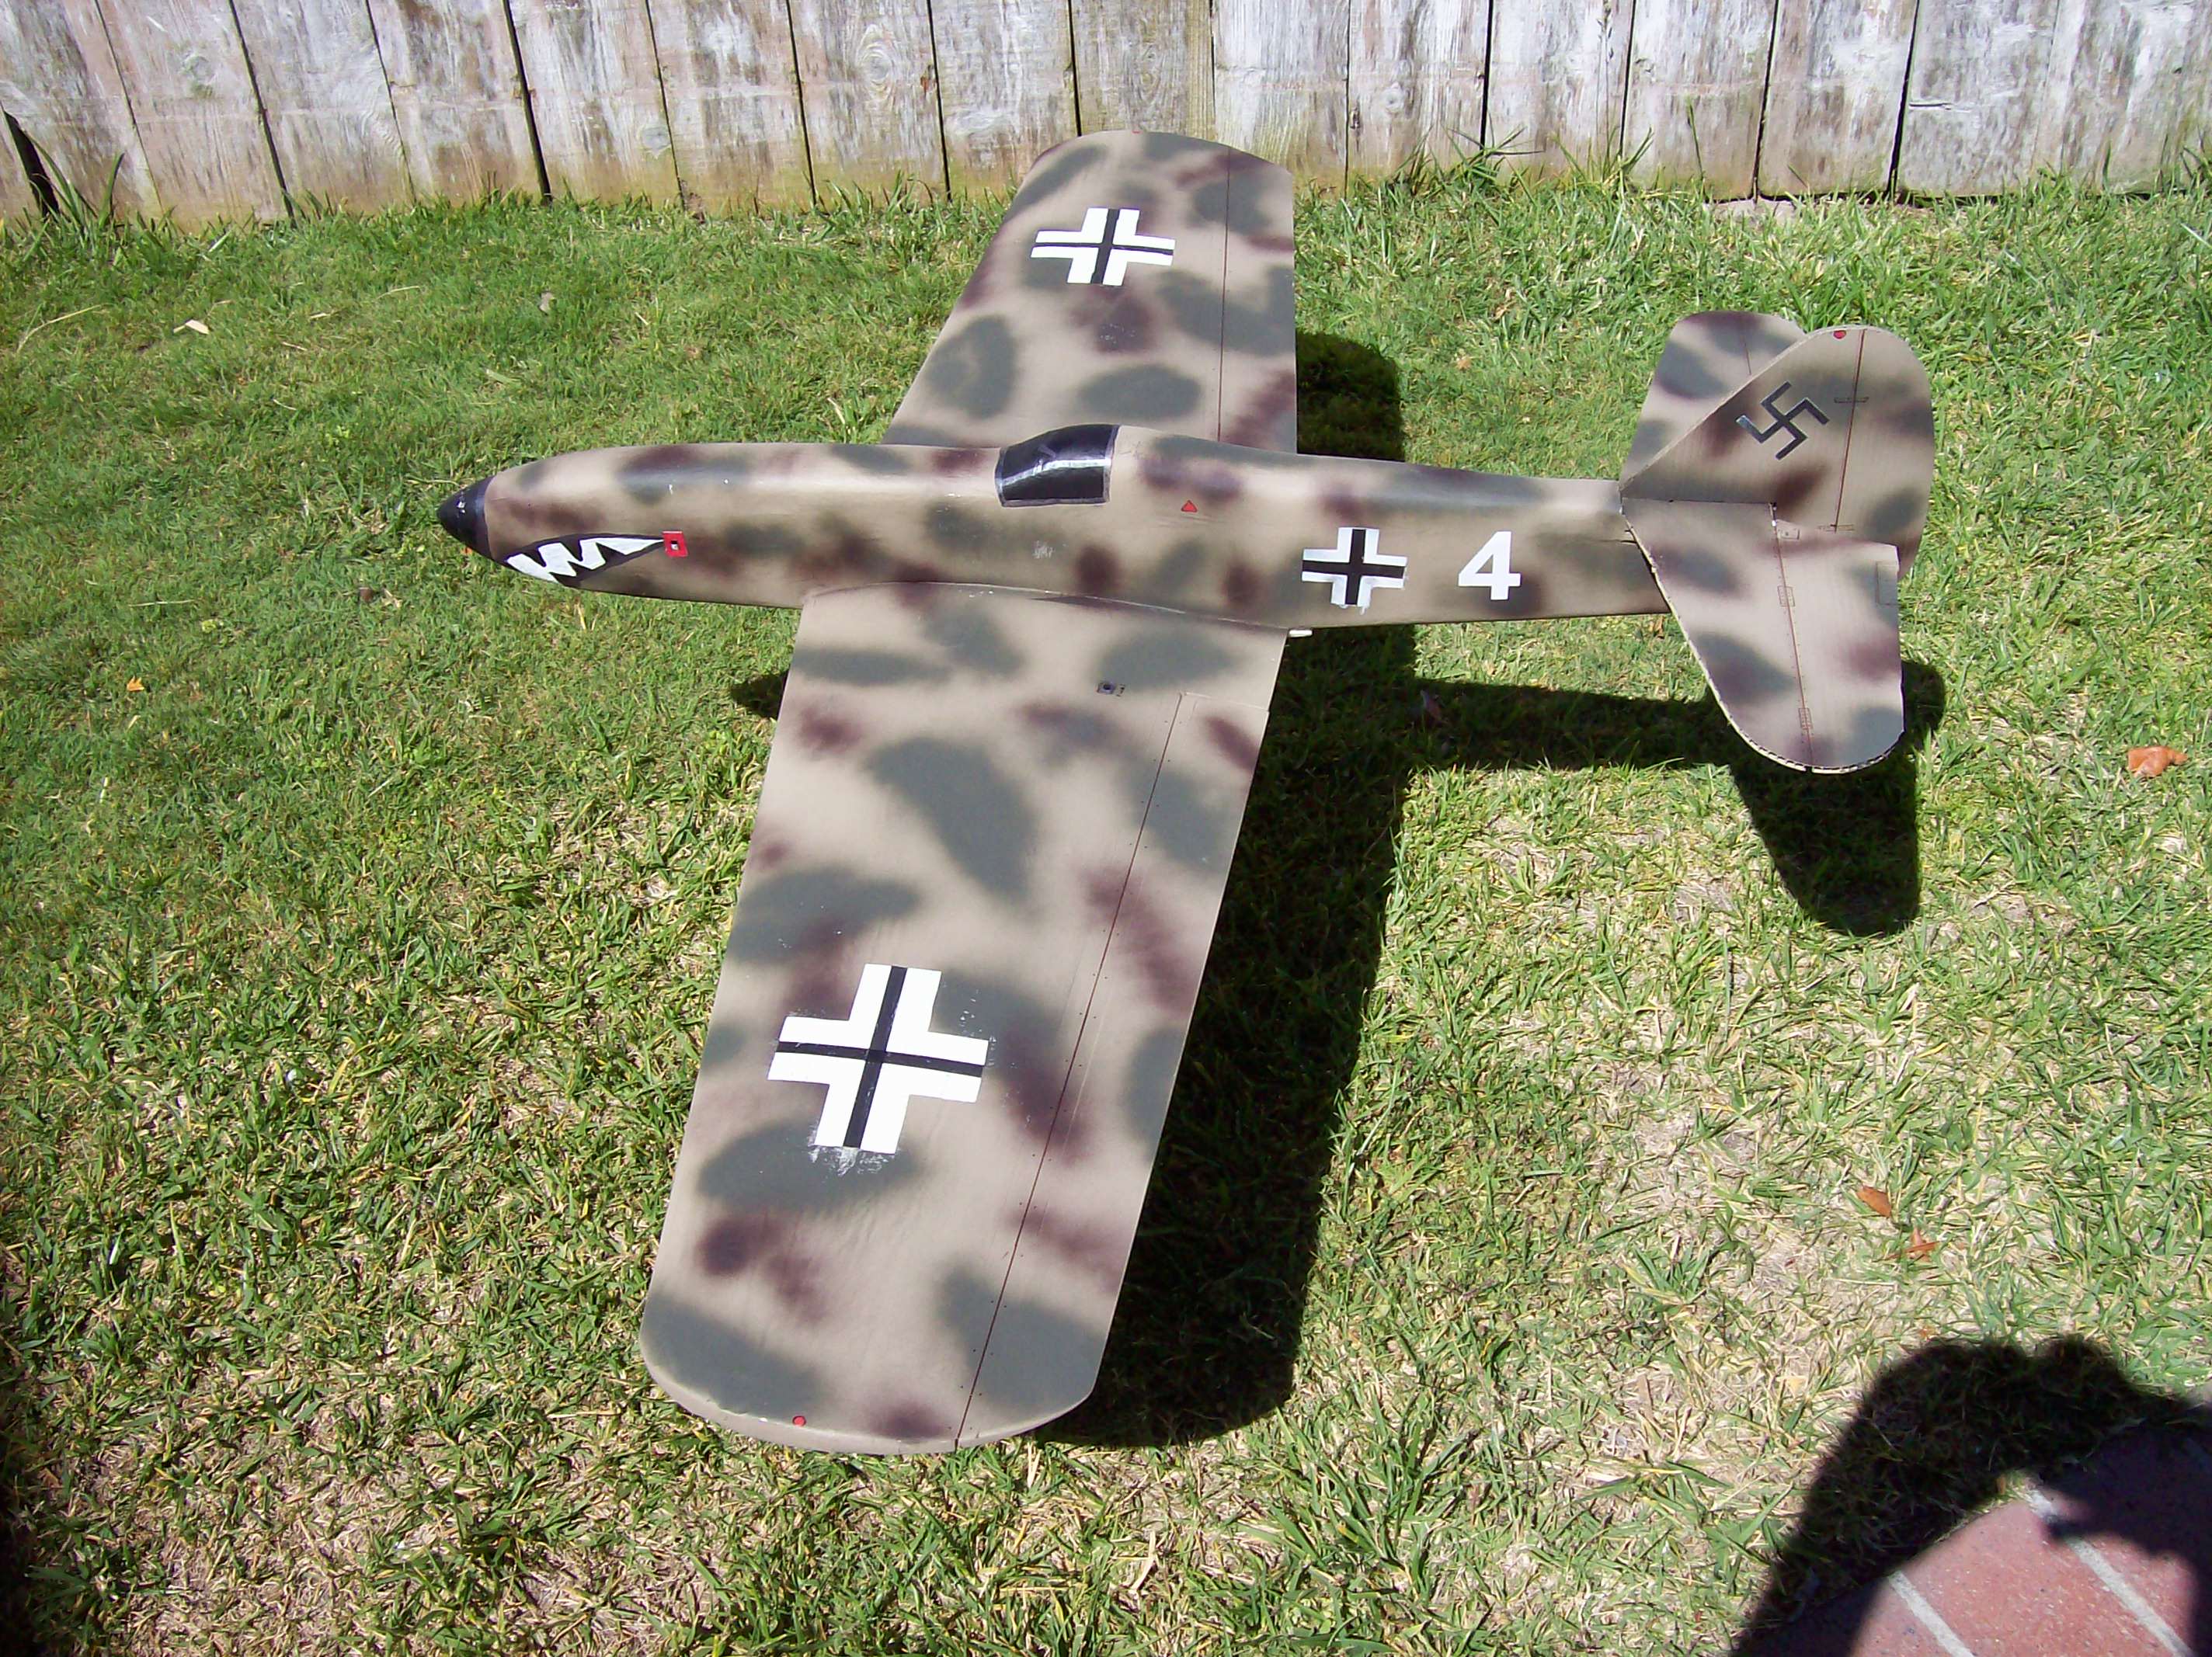
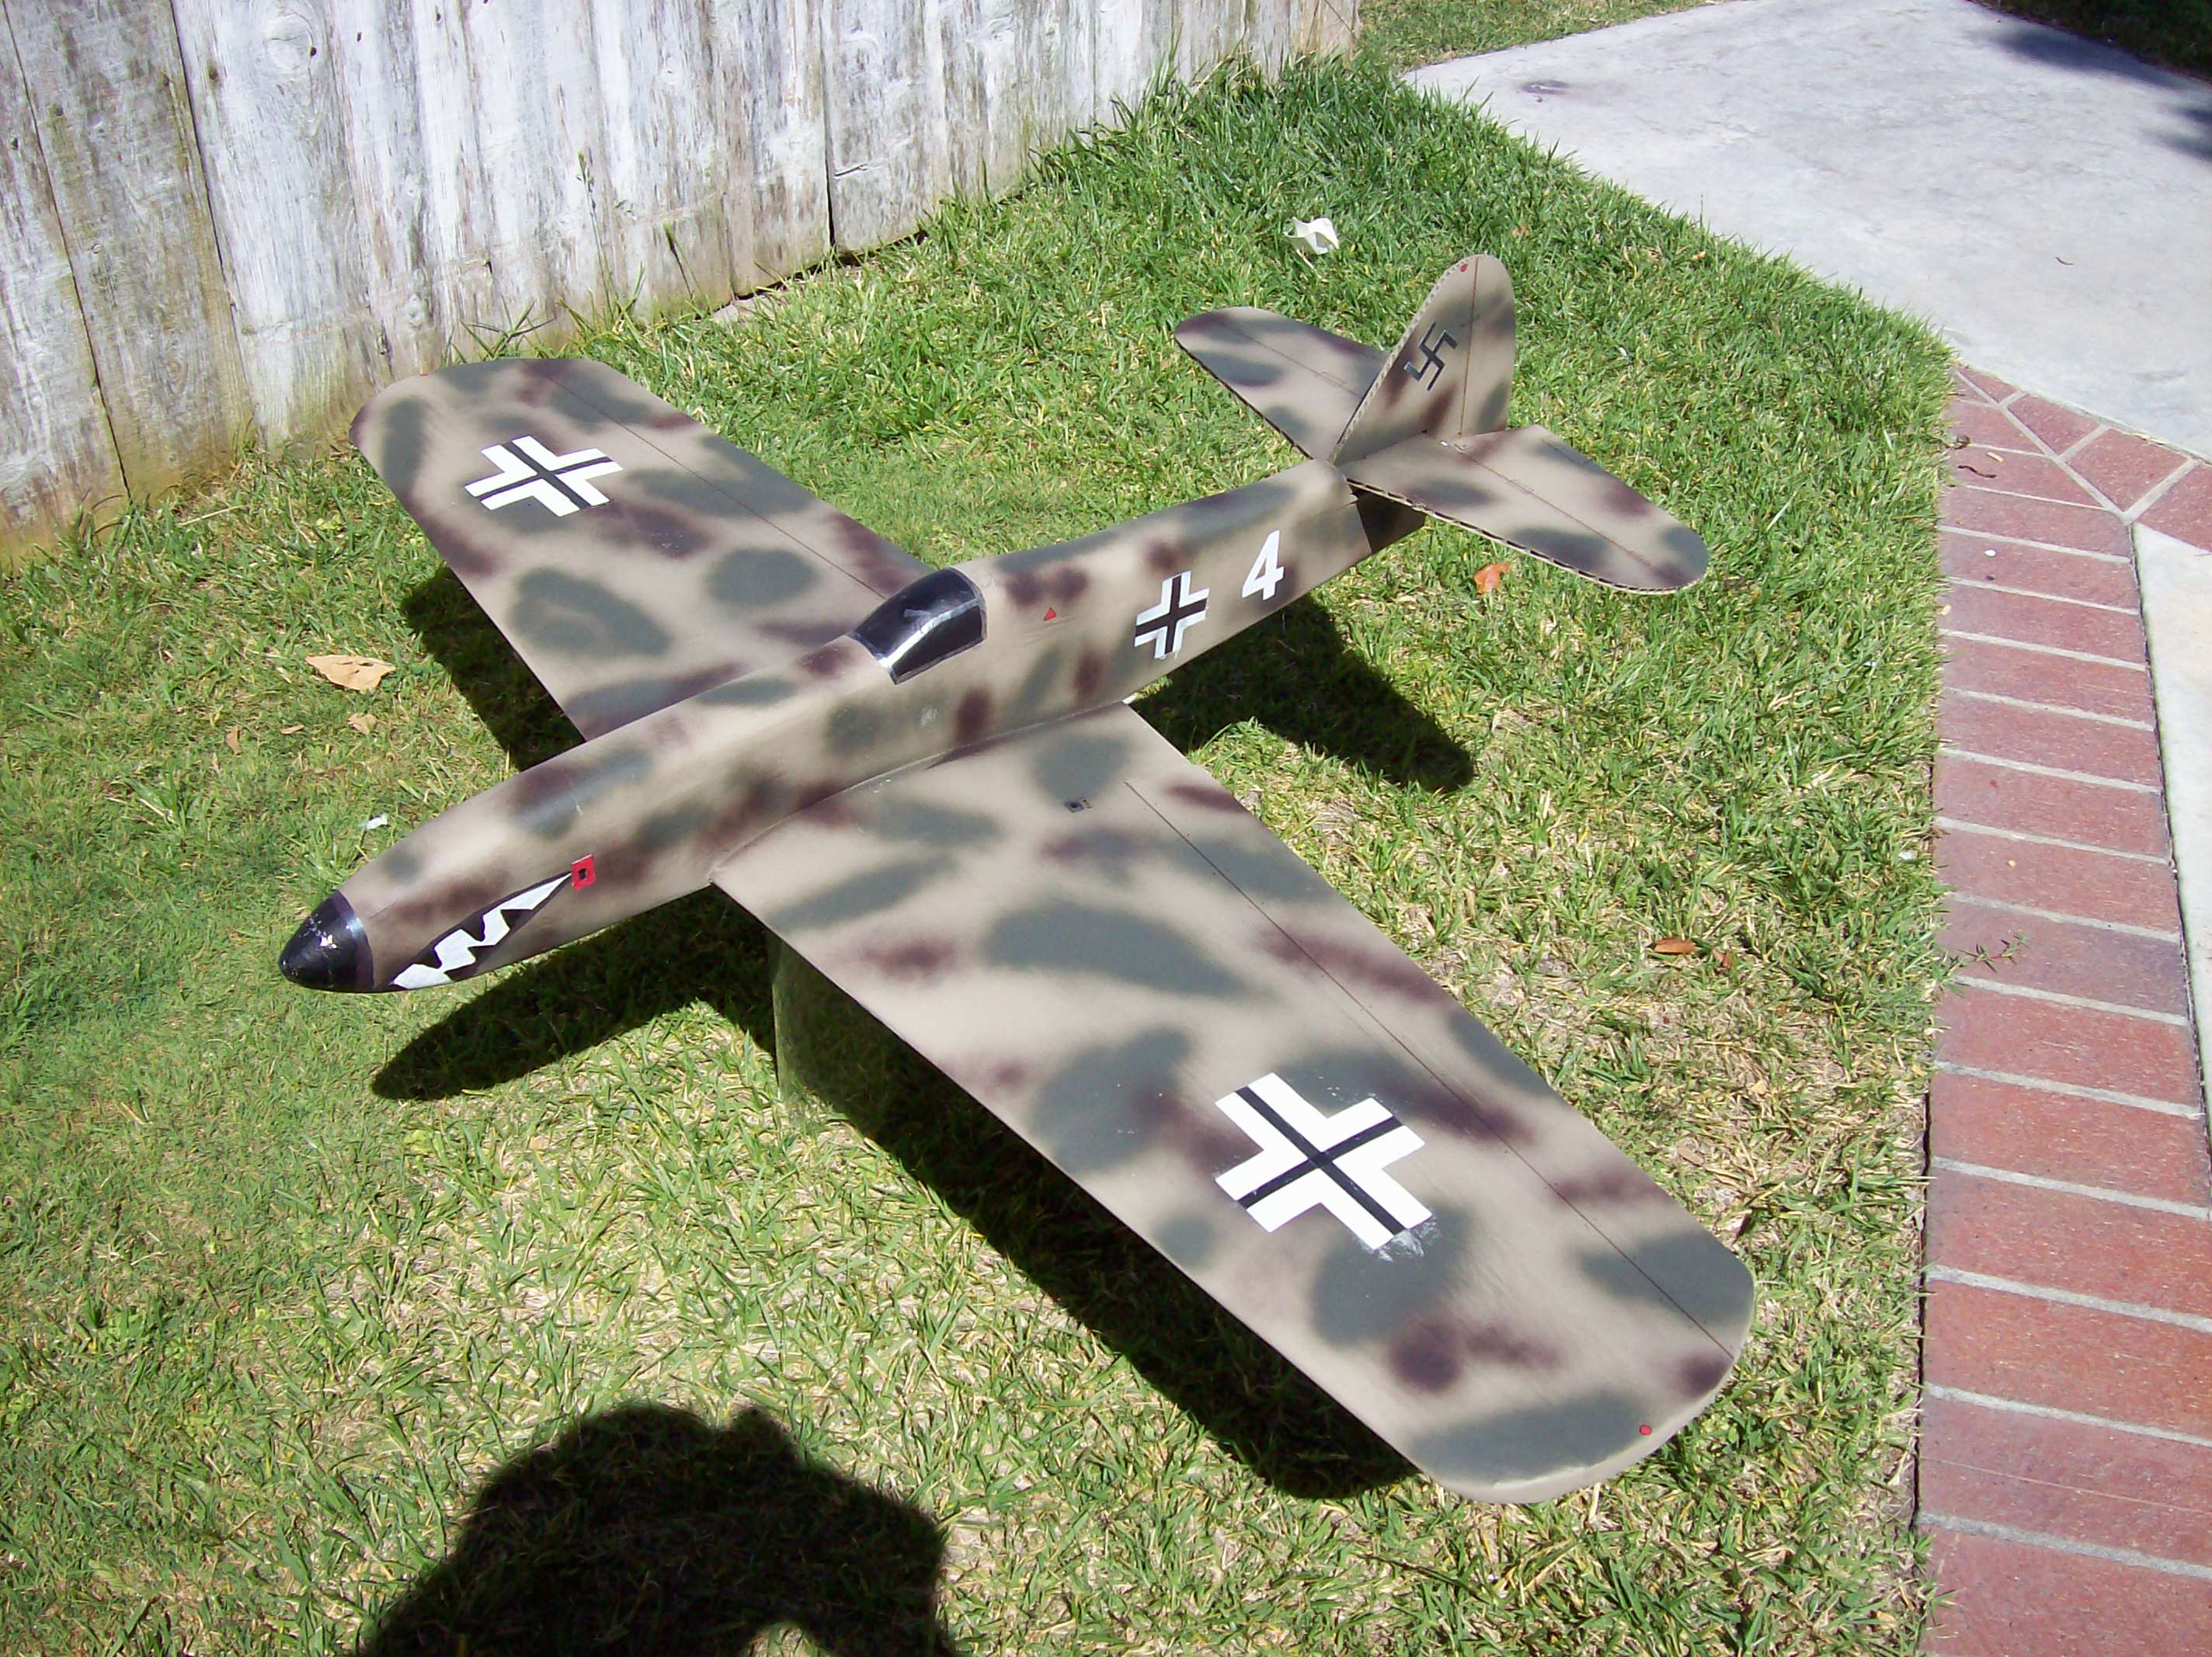
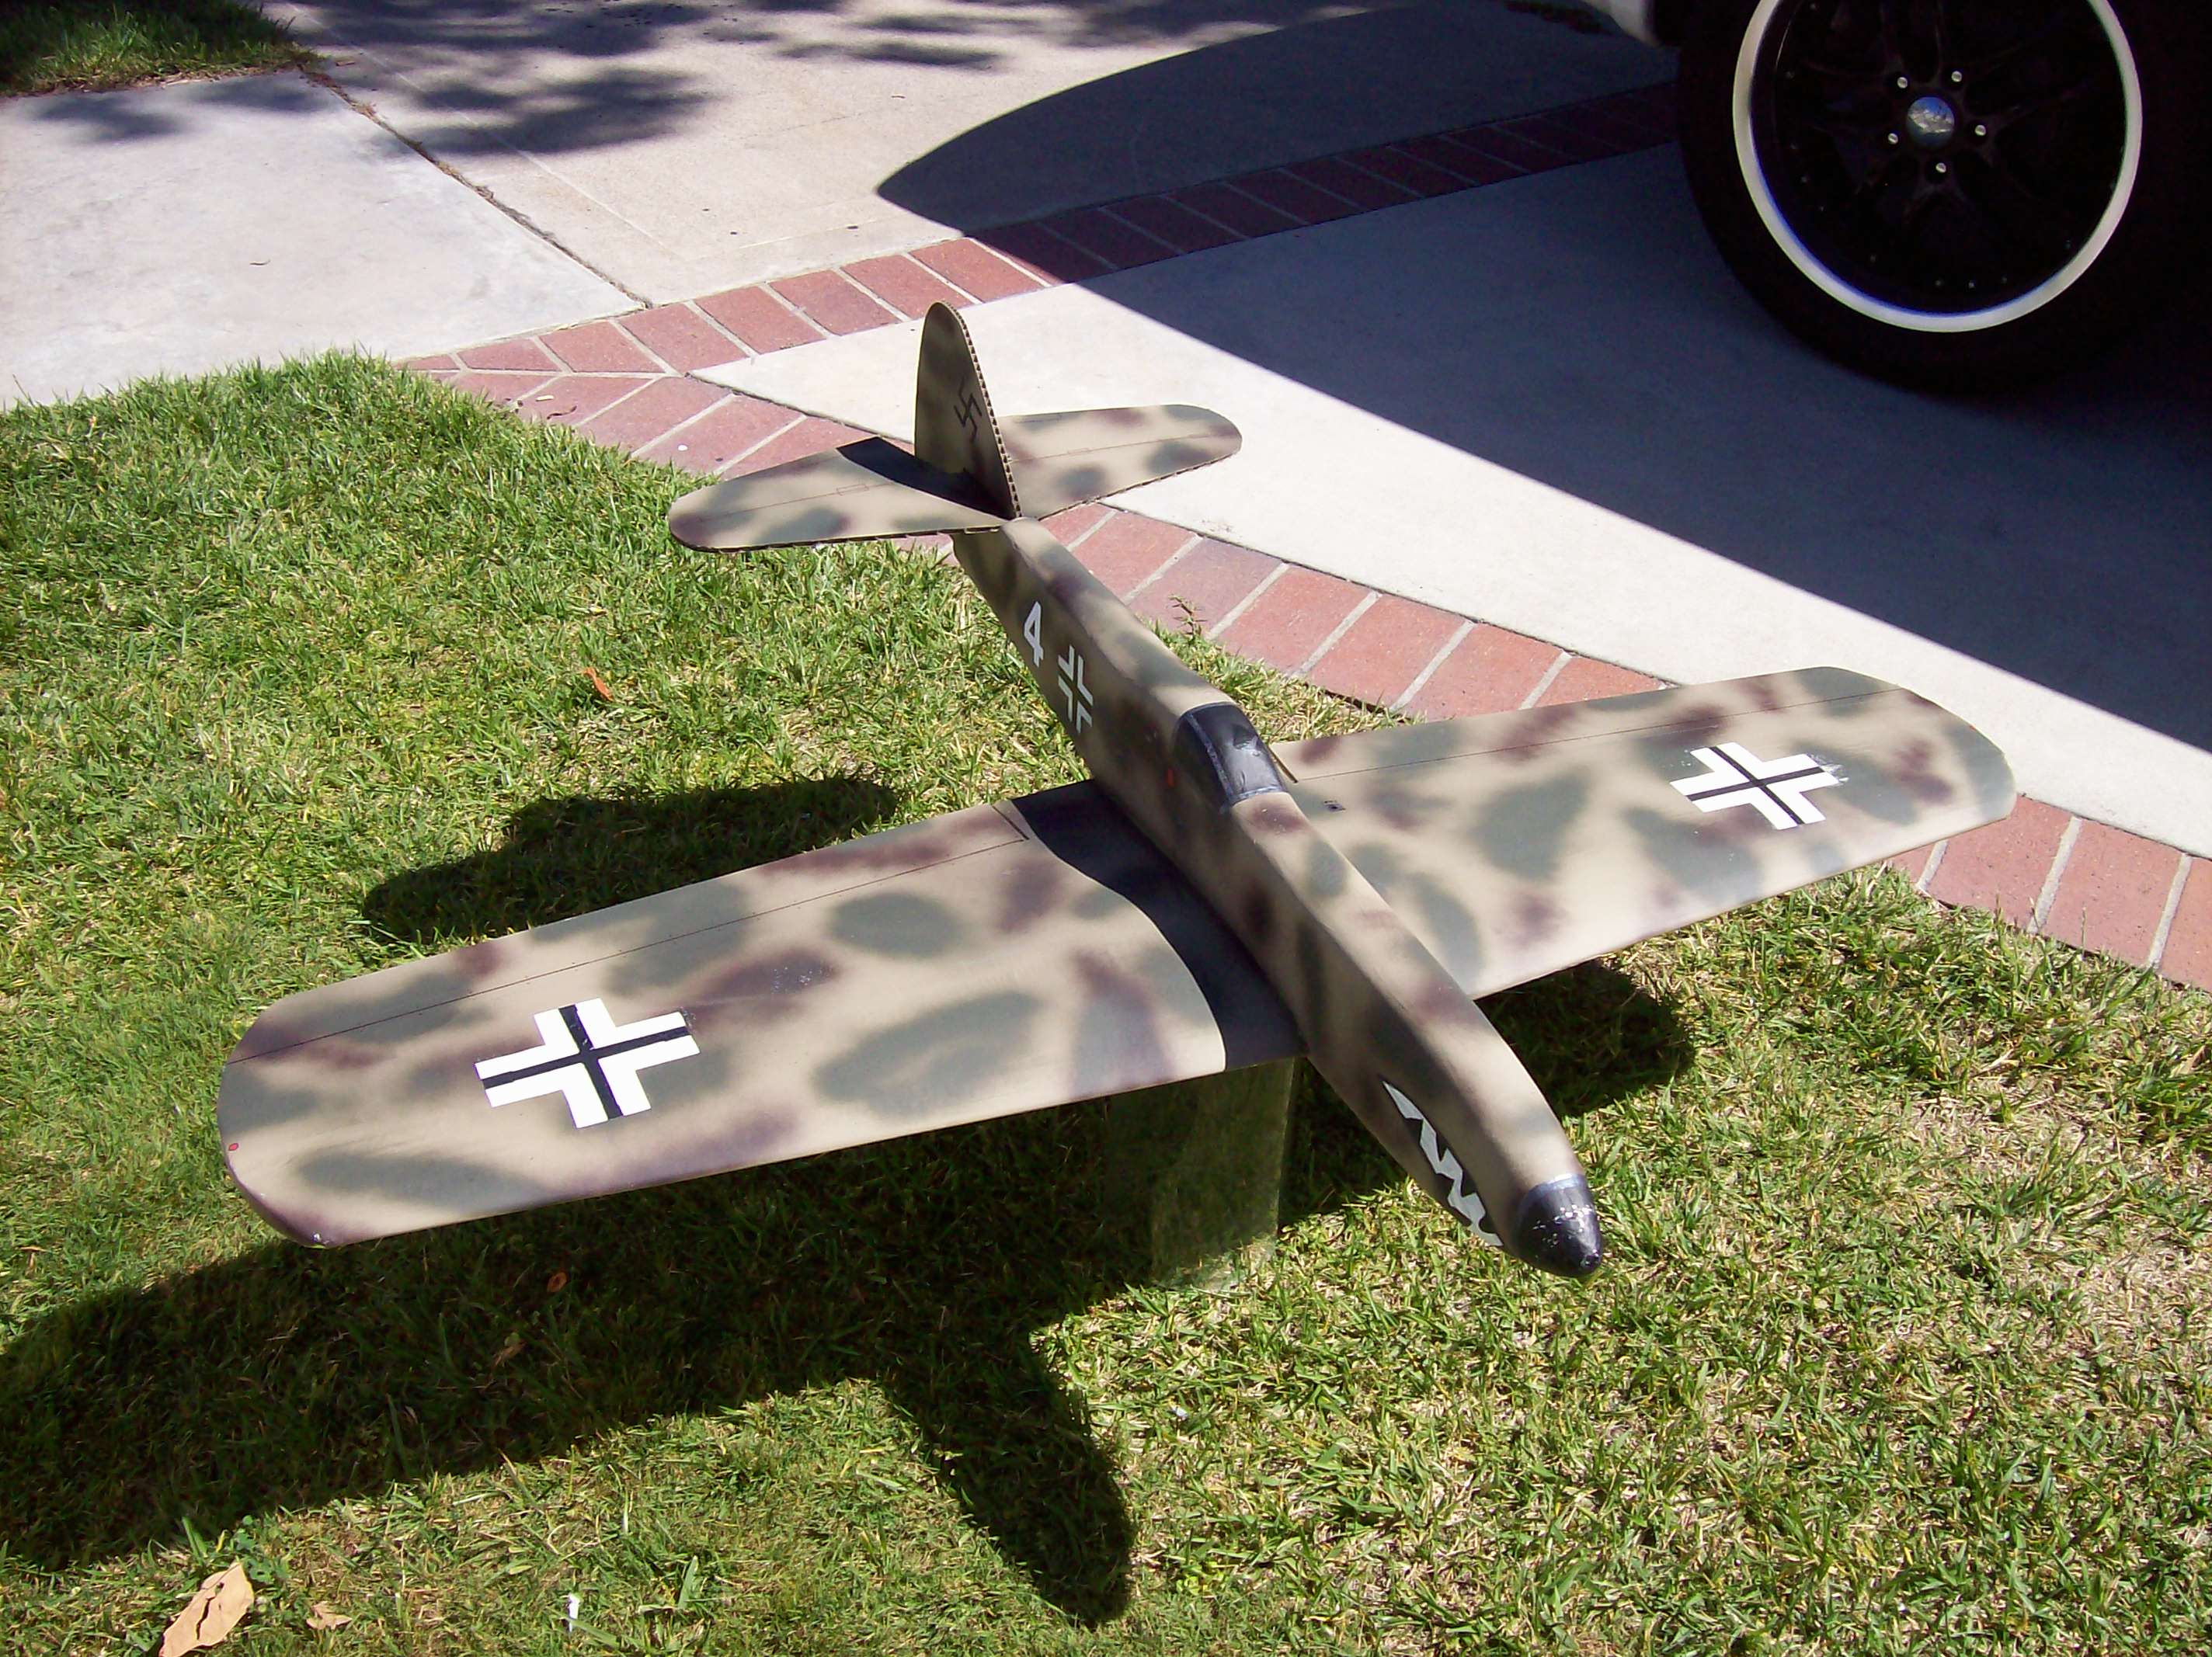
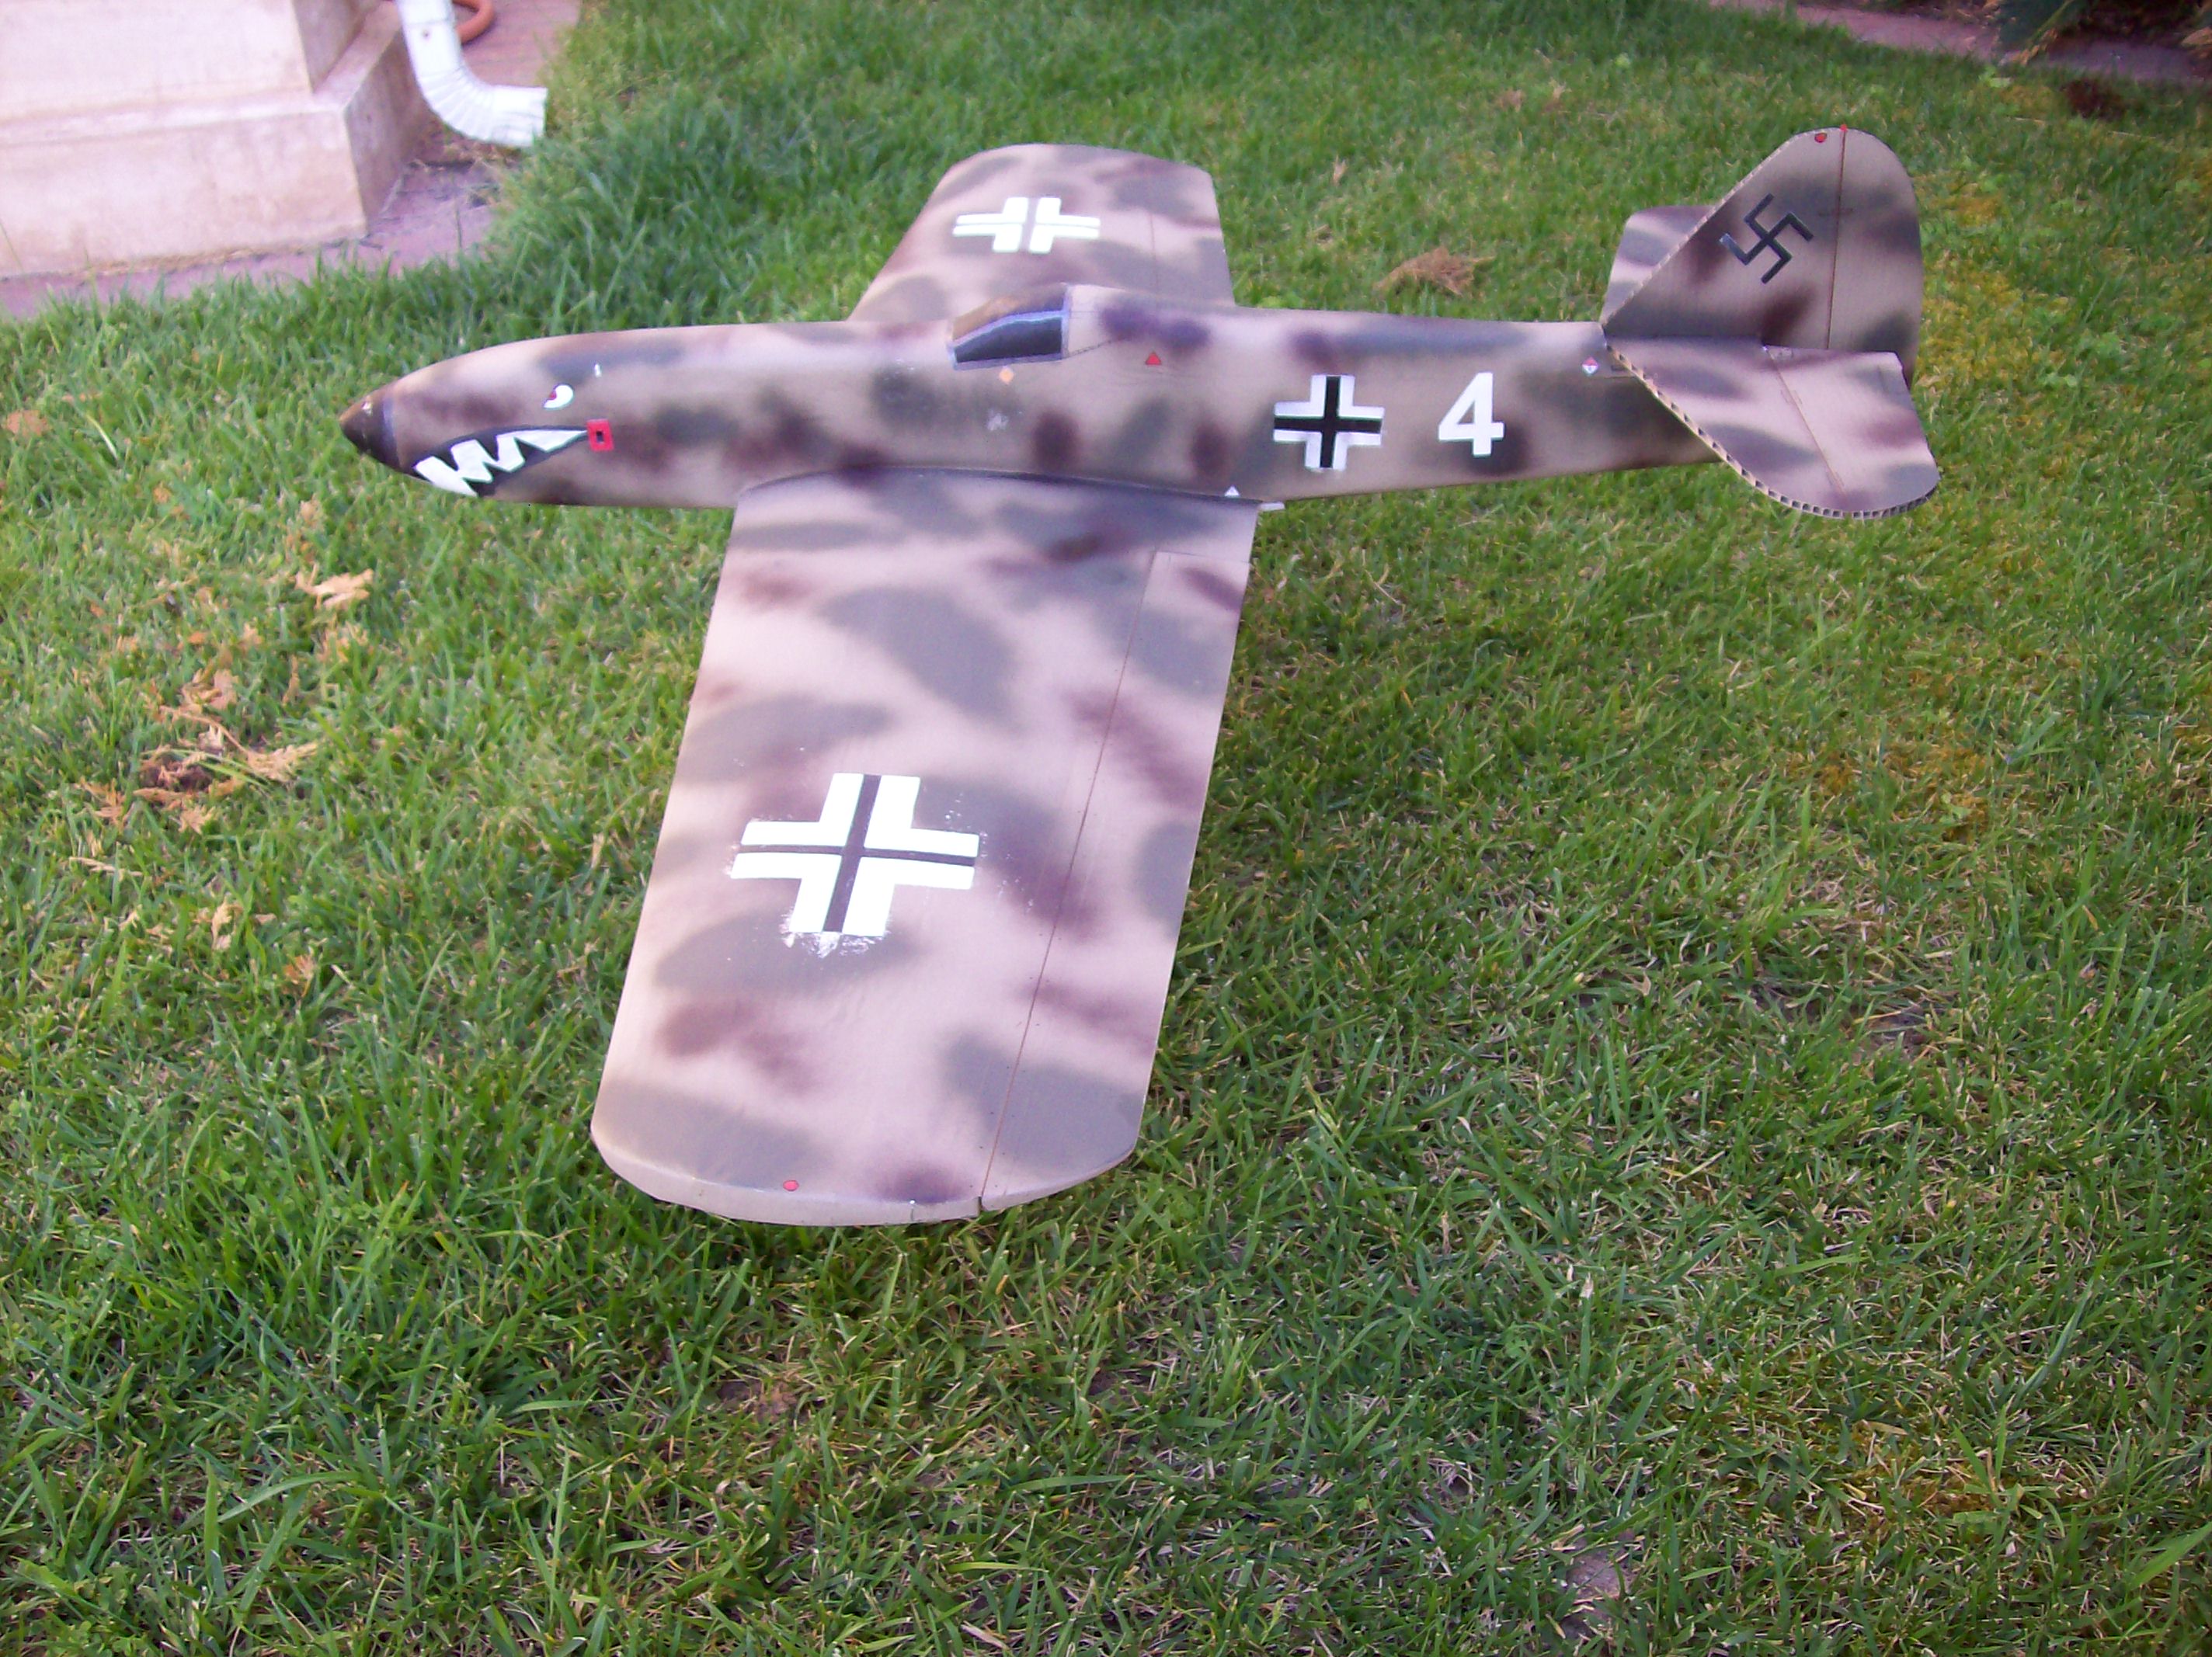
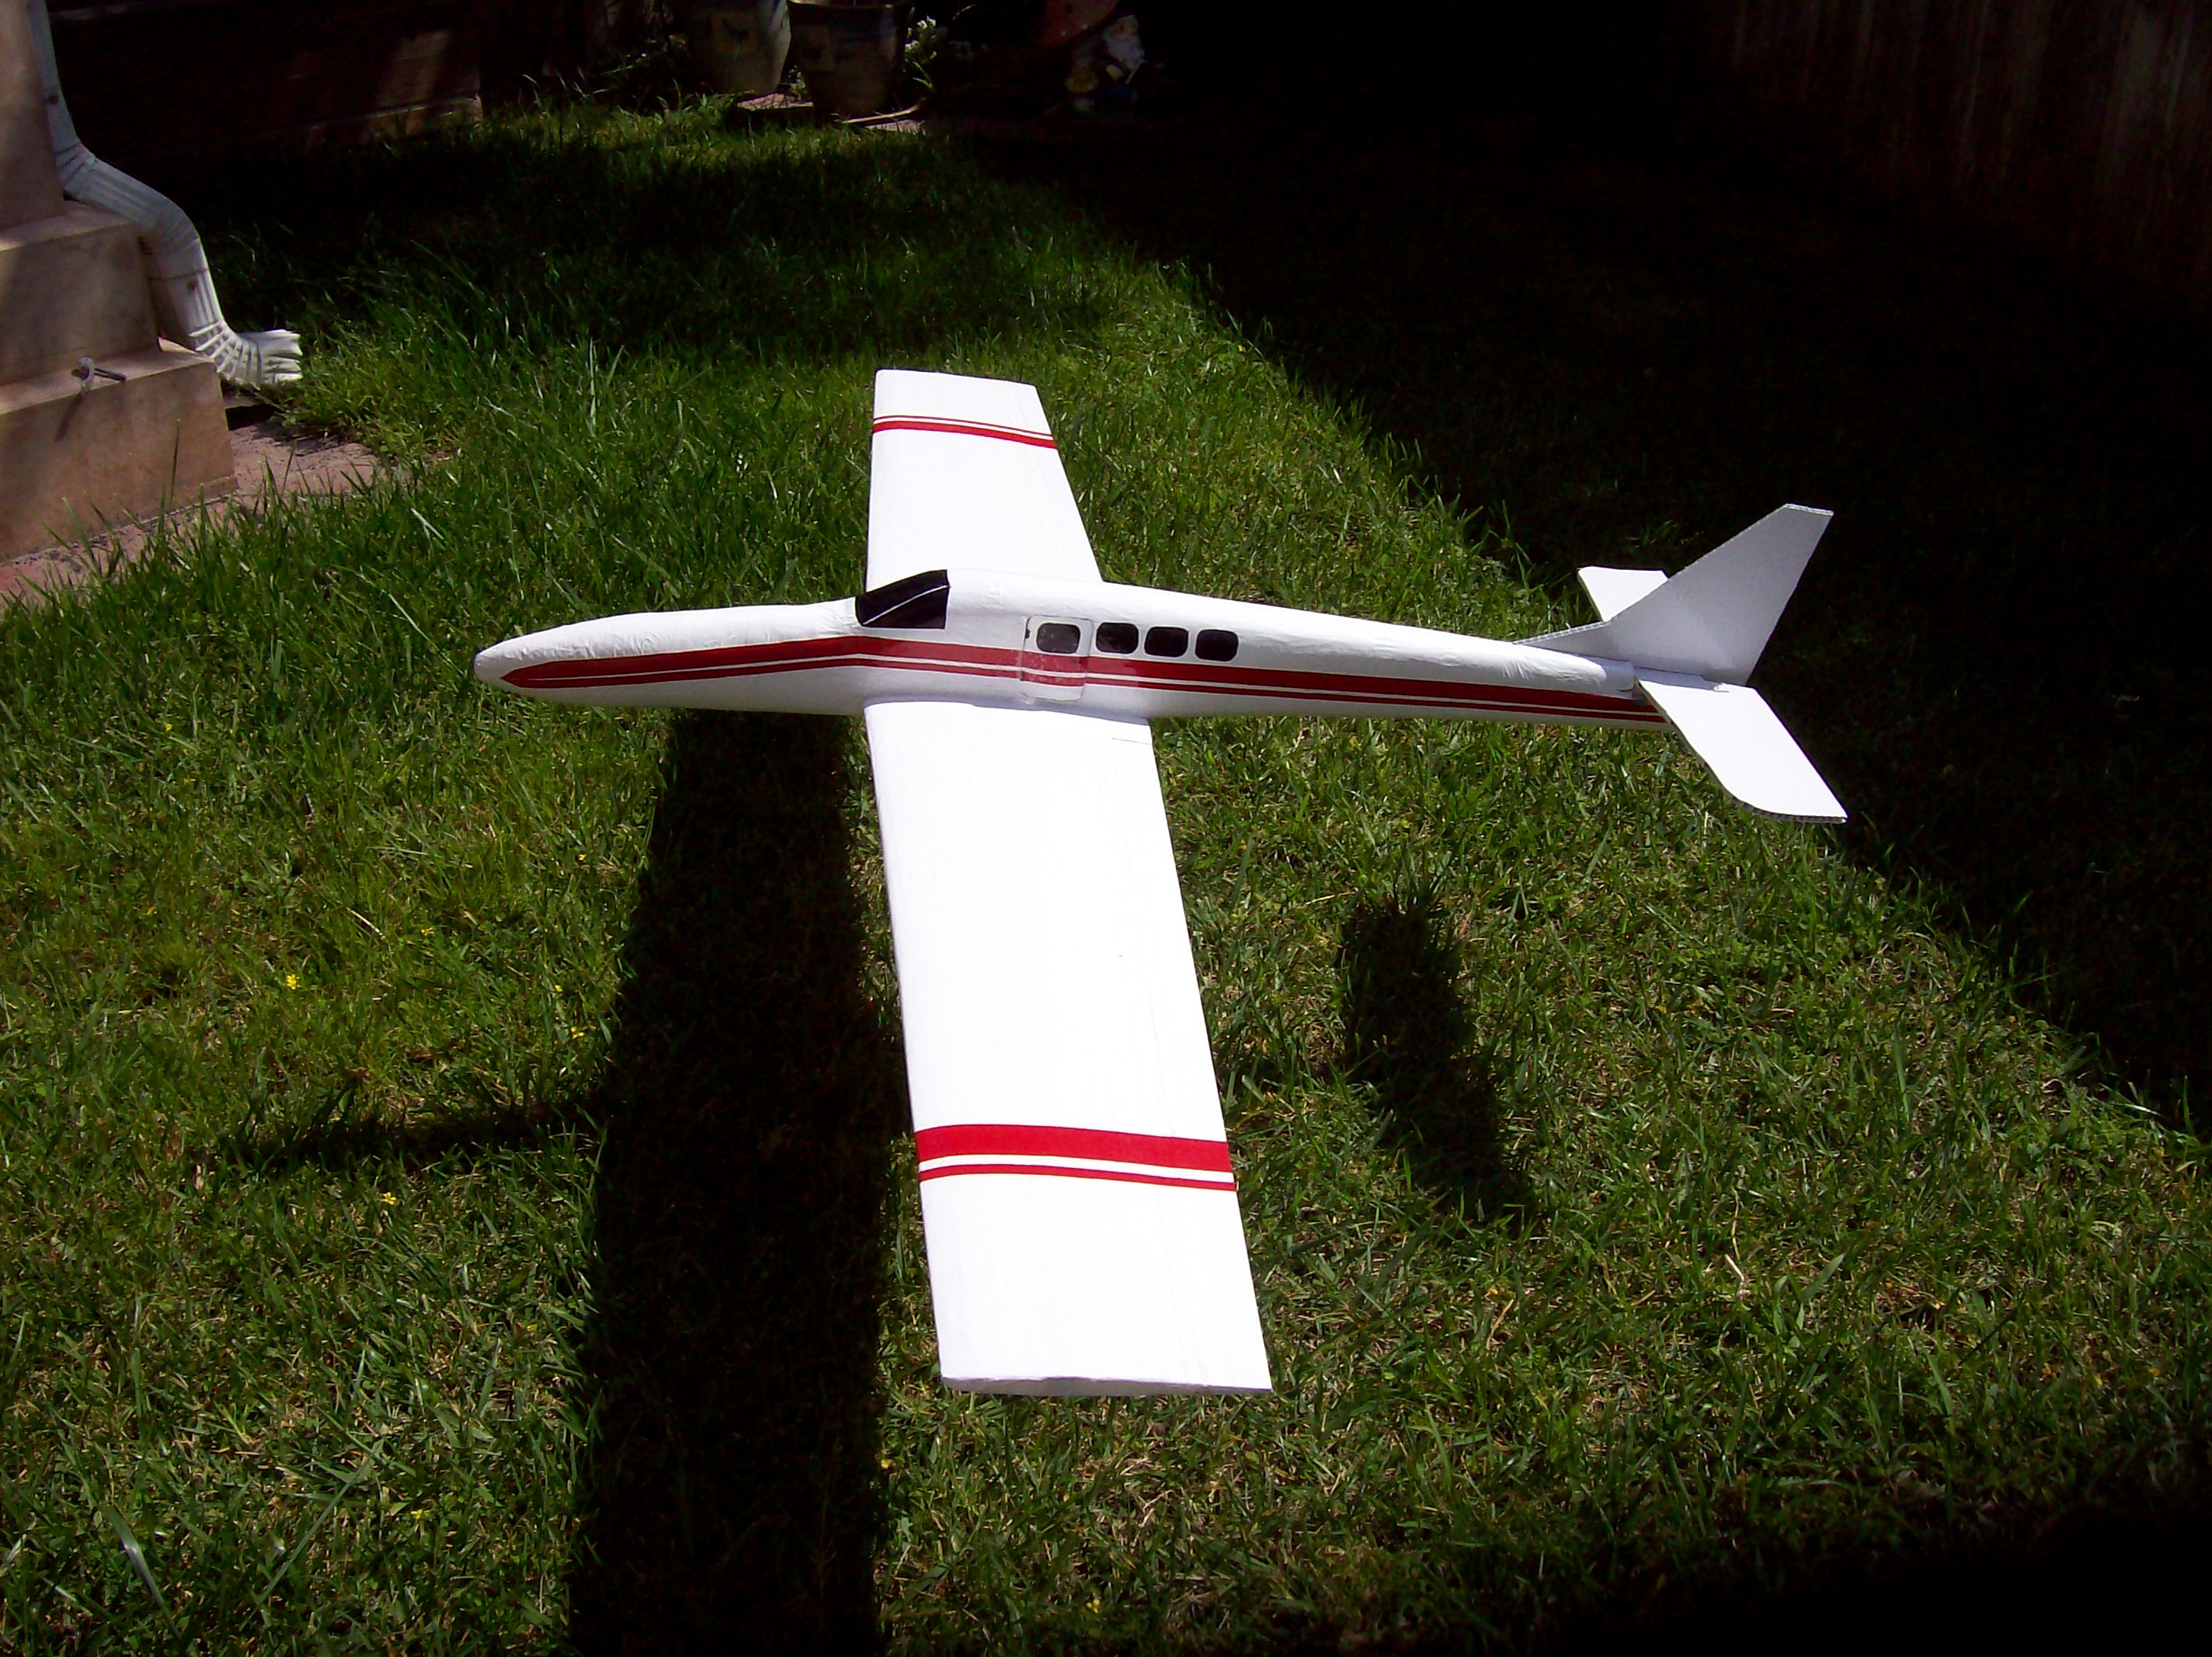
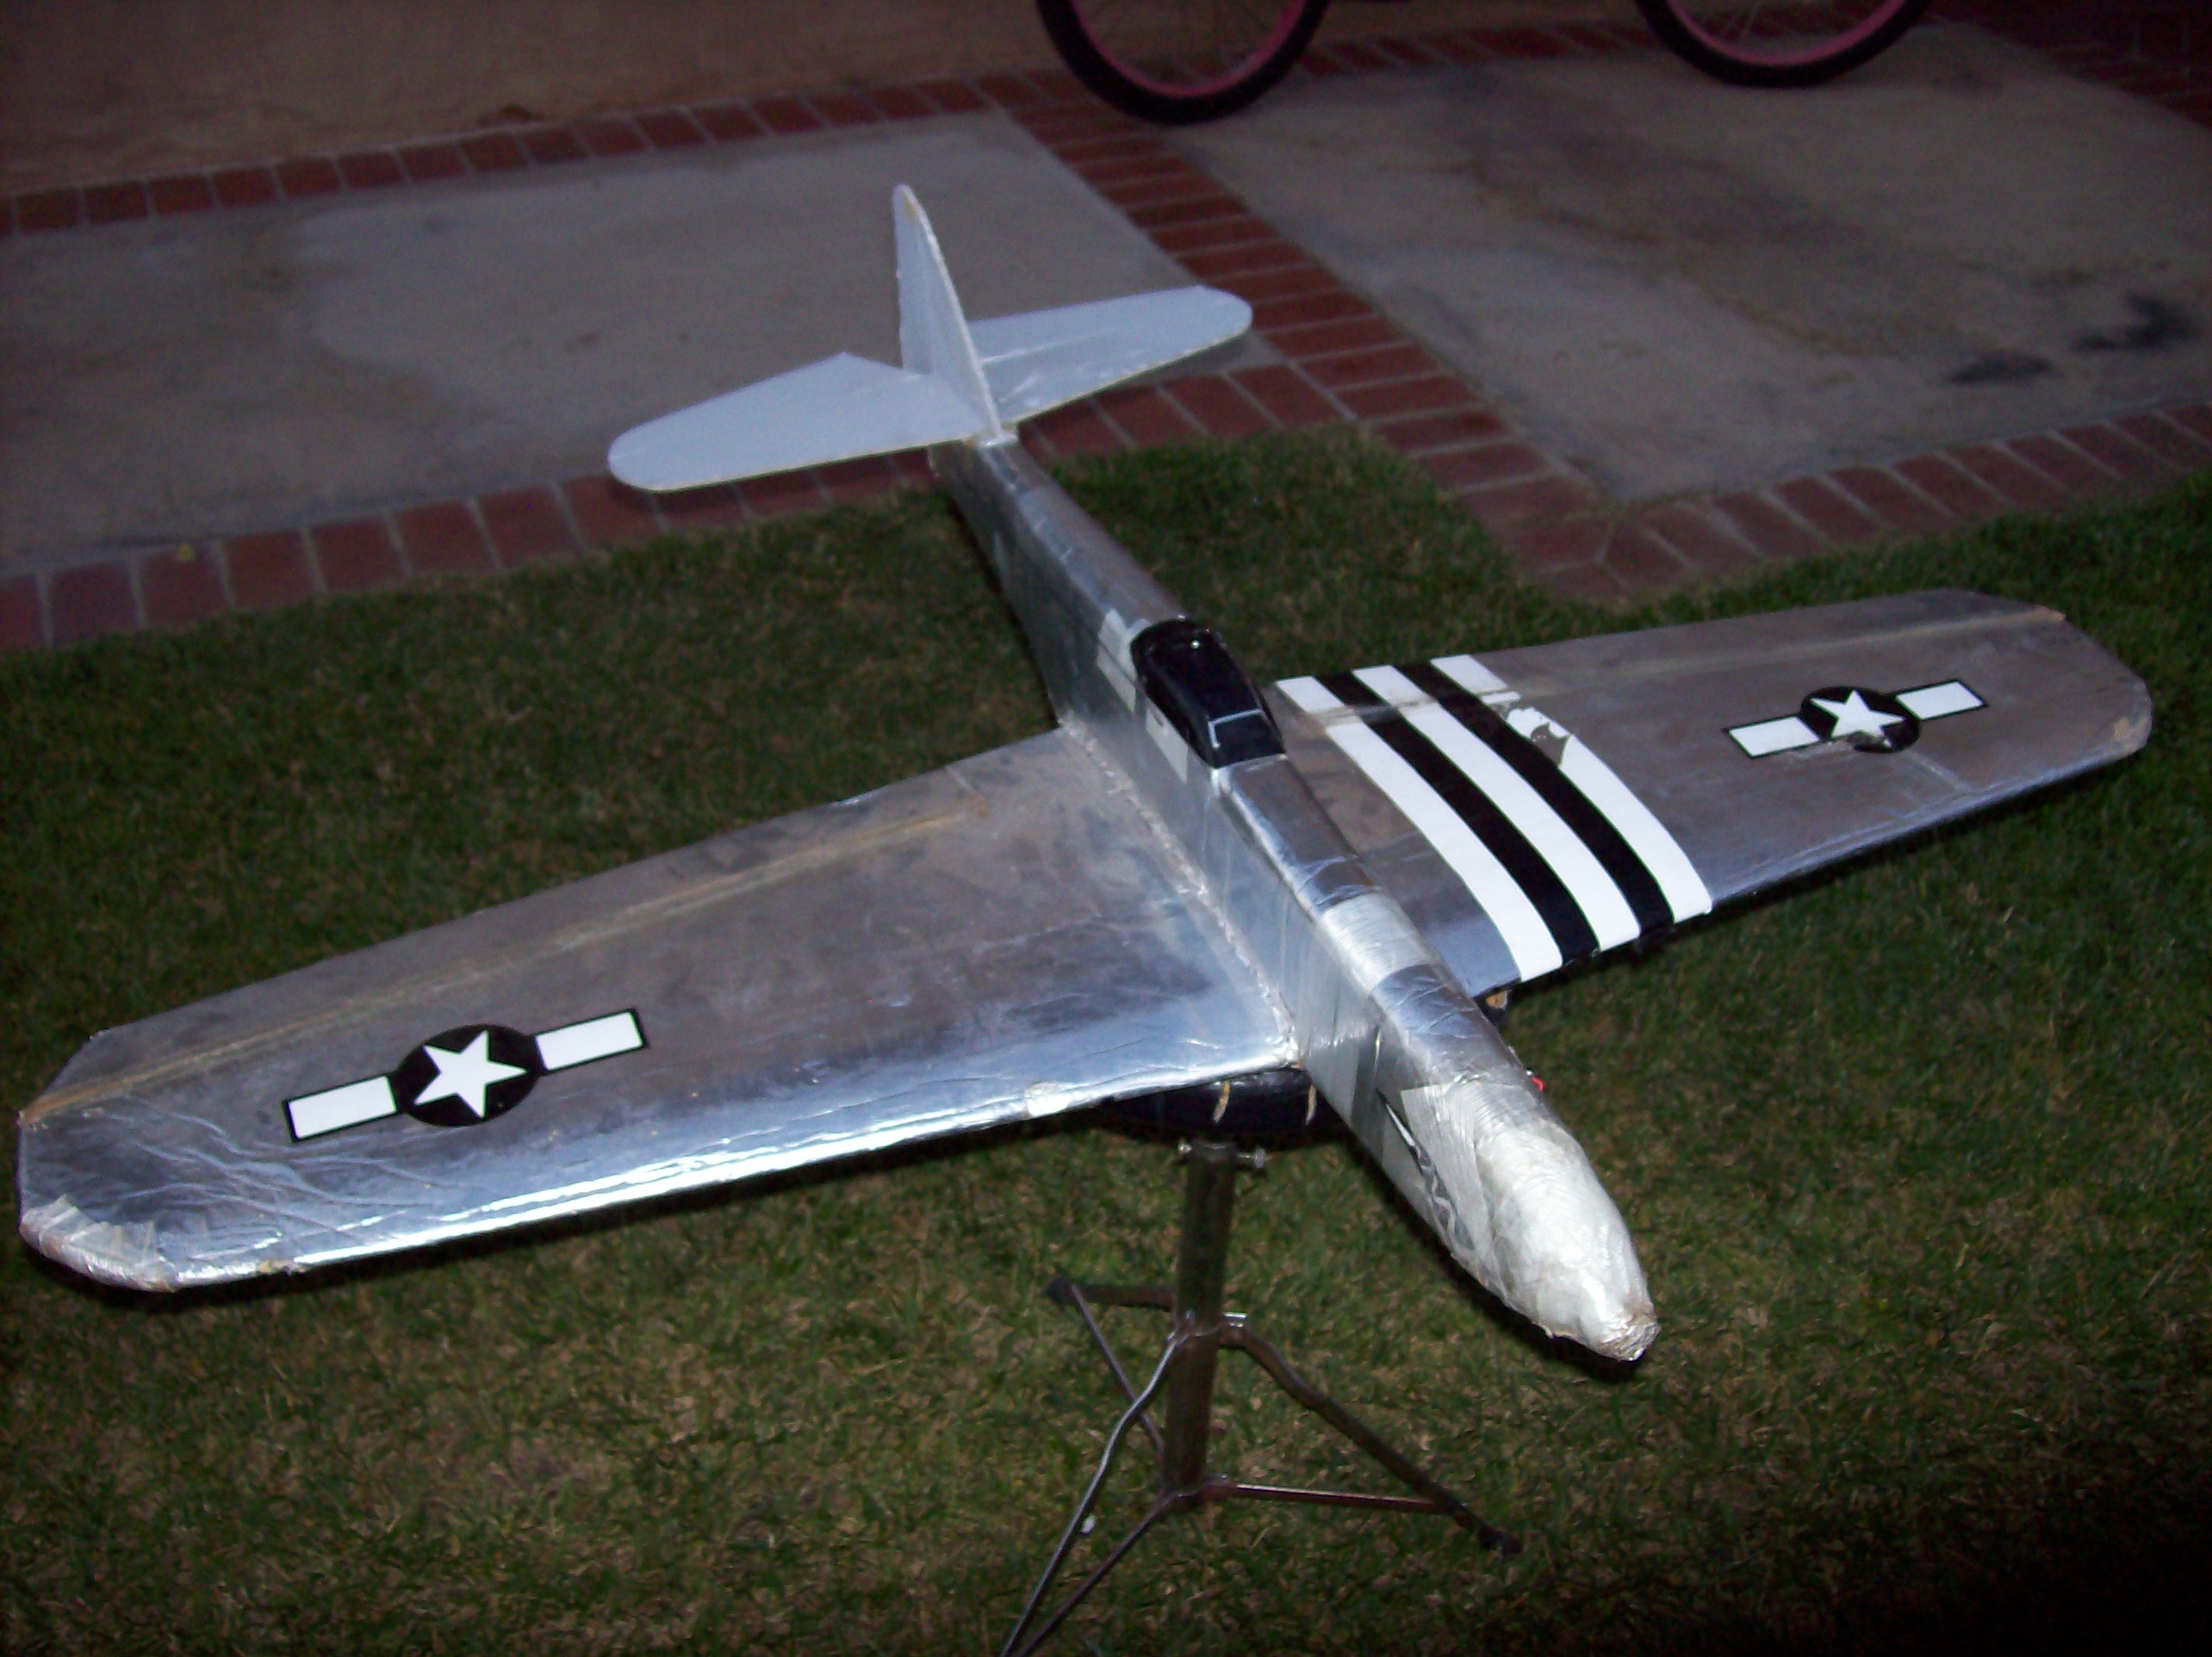
OK I did my camo paint job and started adding some of the detail things. I went to fast and could have made it look better but I just want to fly. It's ready to fly now and I'm just waiting for some good wind.